如何给蓝河应用新建页面与路由跳转【3】

一、新建页面
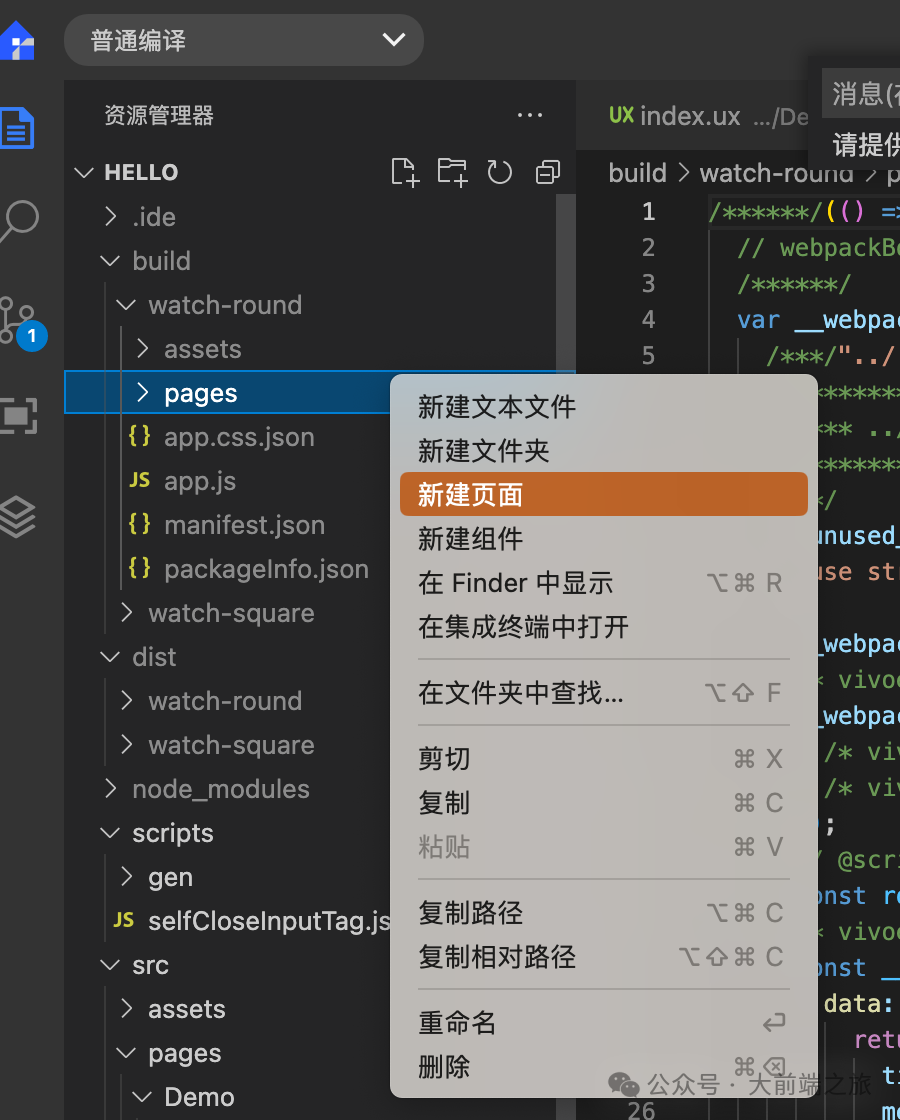
通过「文件」「新建页面」菜单打开 创建新的页面 功能界面。
- 填写页面标题:在标题栏显示,相当于 titlebarText,不限格式,可以为空
- 填写页面路径:
- 左边:选择路径,默认目录为 /src/pages/ 可以点击右侧图标修改,但必须在当前项目的 src 文件夹下。
- 右边:填写路径,格式为 name1/name2,不需要以/开头,路径中的文件夹名由字母、数字、连字符、_组成,长度 1-255。
- 点击完成,开发工具会自动打开新建的页面。
- 新建的页面将会放到用户所选择的路径下。
- 同时插件会自动在 manifest.json 中的 router 下的 pages 字段和 display 下的 pages 字段中添加页面信息。
注意:
- 页面路径格式规则较多,在填写时,红字提示格式错误。
比如下面是我创建的main.ux
<template>
  <div class="wrapper">
    <text class="title">{{ title }}

    </text>


  </div>
</template>

<script>
export default {
  data: {
    title: '👏欢迎来到首页'
  },

  onInit() {}
}
</script>

<style>
.wrapper {
  flex-direction: column;
  justify-content: center;
  align-items: center;
  background-color: #ffffff;
}
.title {
  text-align: center;
  color: #212121;
}
</style>
同时会影响的文件有manifest.json
"router": {
    "entry": "pages/Demo",
    "pages": {
      "pages/Demo": {
        "component": "index"
      },
      "pages/DemoDetail": {
        "component": "index"
      },
      "pages/main": {
        "component": "index"
      }
    }
  },
然后我们做一个跳转,来实现跳转到首页。
二、路由跳转
我们只需要在script中添加onclick事件。
<script>
import router from '@blueos.app.appmanager.router'

export default {
  data: {
    title: '👏欢迎使用蓝河OS',
     message: '坚果派'

  },

  onInit() {},
  onMainBtnClick() {
    // 跳转到应用内的某个页面,router 用法详见:文档 -> 接口 -> 页面路由
    router.push({
      uri: 'pages/main'
    })
  }
}
</script>
在template中
<template>
  <div class="wrapper">
    <text class="title">{{ title }}</text>
       <text class="title">{{ message }}</text>

      <input
      class="btn"
      type="button"
      value="跳转到首页"
      onclick="onMainBtnClick"
    />
  </div>
</template>
这样的话,我们就实现了页面的新建和路由的跳转,但是我们需要知道的是,有时候我们跳转的时候是需要进行路由传参的,我们来看一下如何实现。
三、路由传参
router 接口的参数 params 可配置页面跳转时需要传递的参数
示例如下:
<template>
  <div class="tutorial-page">
    <input class="btn" type="button" value="携带参数跳转页面" onclick="routePagePushWithParams"></input>
    <input class="btn" type="button" value="携带参数跳转页面,当前页面无法返回" onclick="routePageReplaceWithParams"></input>
  </div>
</template>

<style>
  .tutorial-page {
    flex-direction: column;
    justify-content: center;
    align-items: center;
  }
  .btn {
    width: 550px;
    height: 86px;
    margin-top: 75px;
    border-radius: 43px;
    background-color: #09ba07;
    font-size: 30px;
    color: #ffffff;
  }
</style>

<script>
  // 导入模块
  import router from '@blueos.app.router'

  export default {
    data: {
      title: 'Hello, world!'
    },
    onInit () {
      console.log('接口router切换页面并传递参数')
    },
    routePagePushWithParams () {
      // 跳转到应用内的某个页面
      router.push({
        uri: '/PageParams/receiveparams',
        params: { key: this.title }
      })
    },
    routePageReplaceWithParams () {
      // 跳转到应用内的某个页面,当前页面无法返回
      router.replace({
        uri: '/PageParams/receiveparams',
        params: { key: this.title }
      })
    }
  }
</script>
四、接收参数
现在,开发者已经掌握了通过组件 a 和接口 router 在页面之间传递参数的方法,如何接收参数呢?
其实很简单,组件 a 和接口 router 传递的参数的接收方法完全一致:在页面的 ViewModel 的data属性中声明使用的属性
示例如下:
<template>
  <div class="tutorial-page">
    <text>page</text>
    <!-- template中显示页面传递的参数 -->
    <text>{{key}}</text>
  </div>
</template>

<style>
  .tutorial-page {
    flex-direction: column;
    justify-content: center;
    align-items: center;
  }
</style>

<script>
  export default {
    data: {
      key: '',
    },
    onInit() {
      console.log('接收参数')

      // js中输出页面传递的参数
      console.info('key: ' + this.key)
    },
  }
</script>
五、运行效果
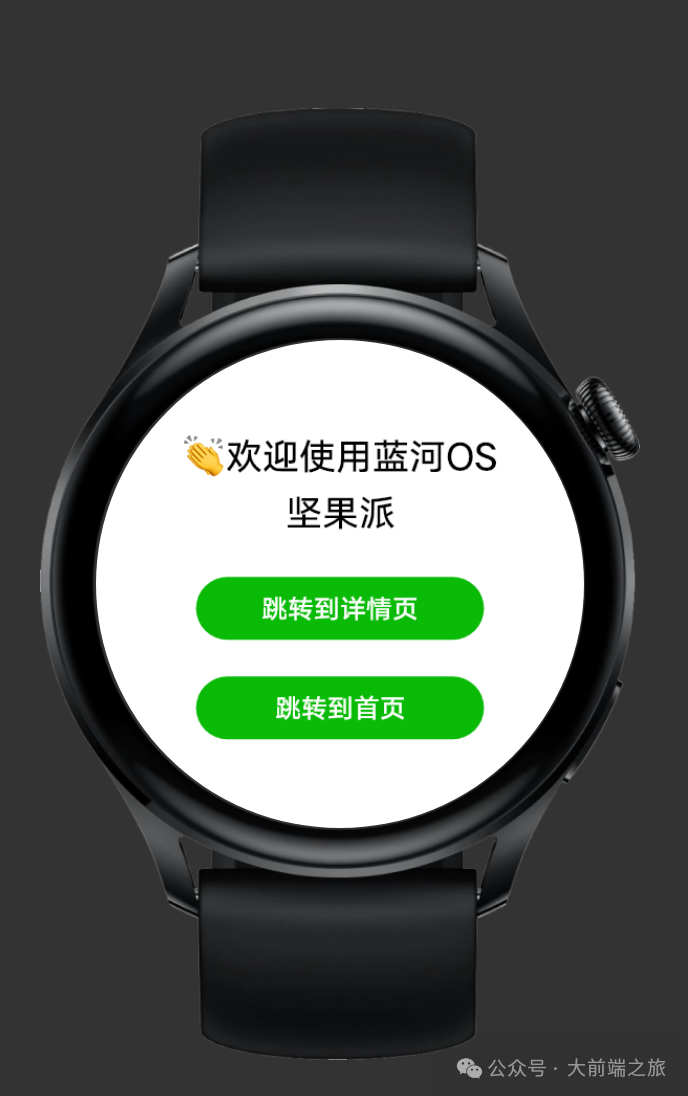
image-20231230155406748

六、总结
本次新建页面的体验还是很不错的,比较方便。不得不说,坚果派还是遥遥领先的
本文参与 腾讯云自媒体同步曝光计划,分享自微信公众号。
原始发表:2024-01-20,如有侵权请联系 cloudcommunity@tencent.com 删除
评论
登录后参与评论
推荐阅读
目录