
用OpenCV检测图像中的粗黑线
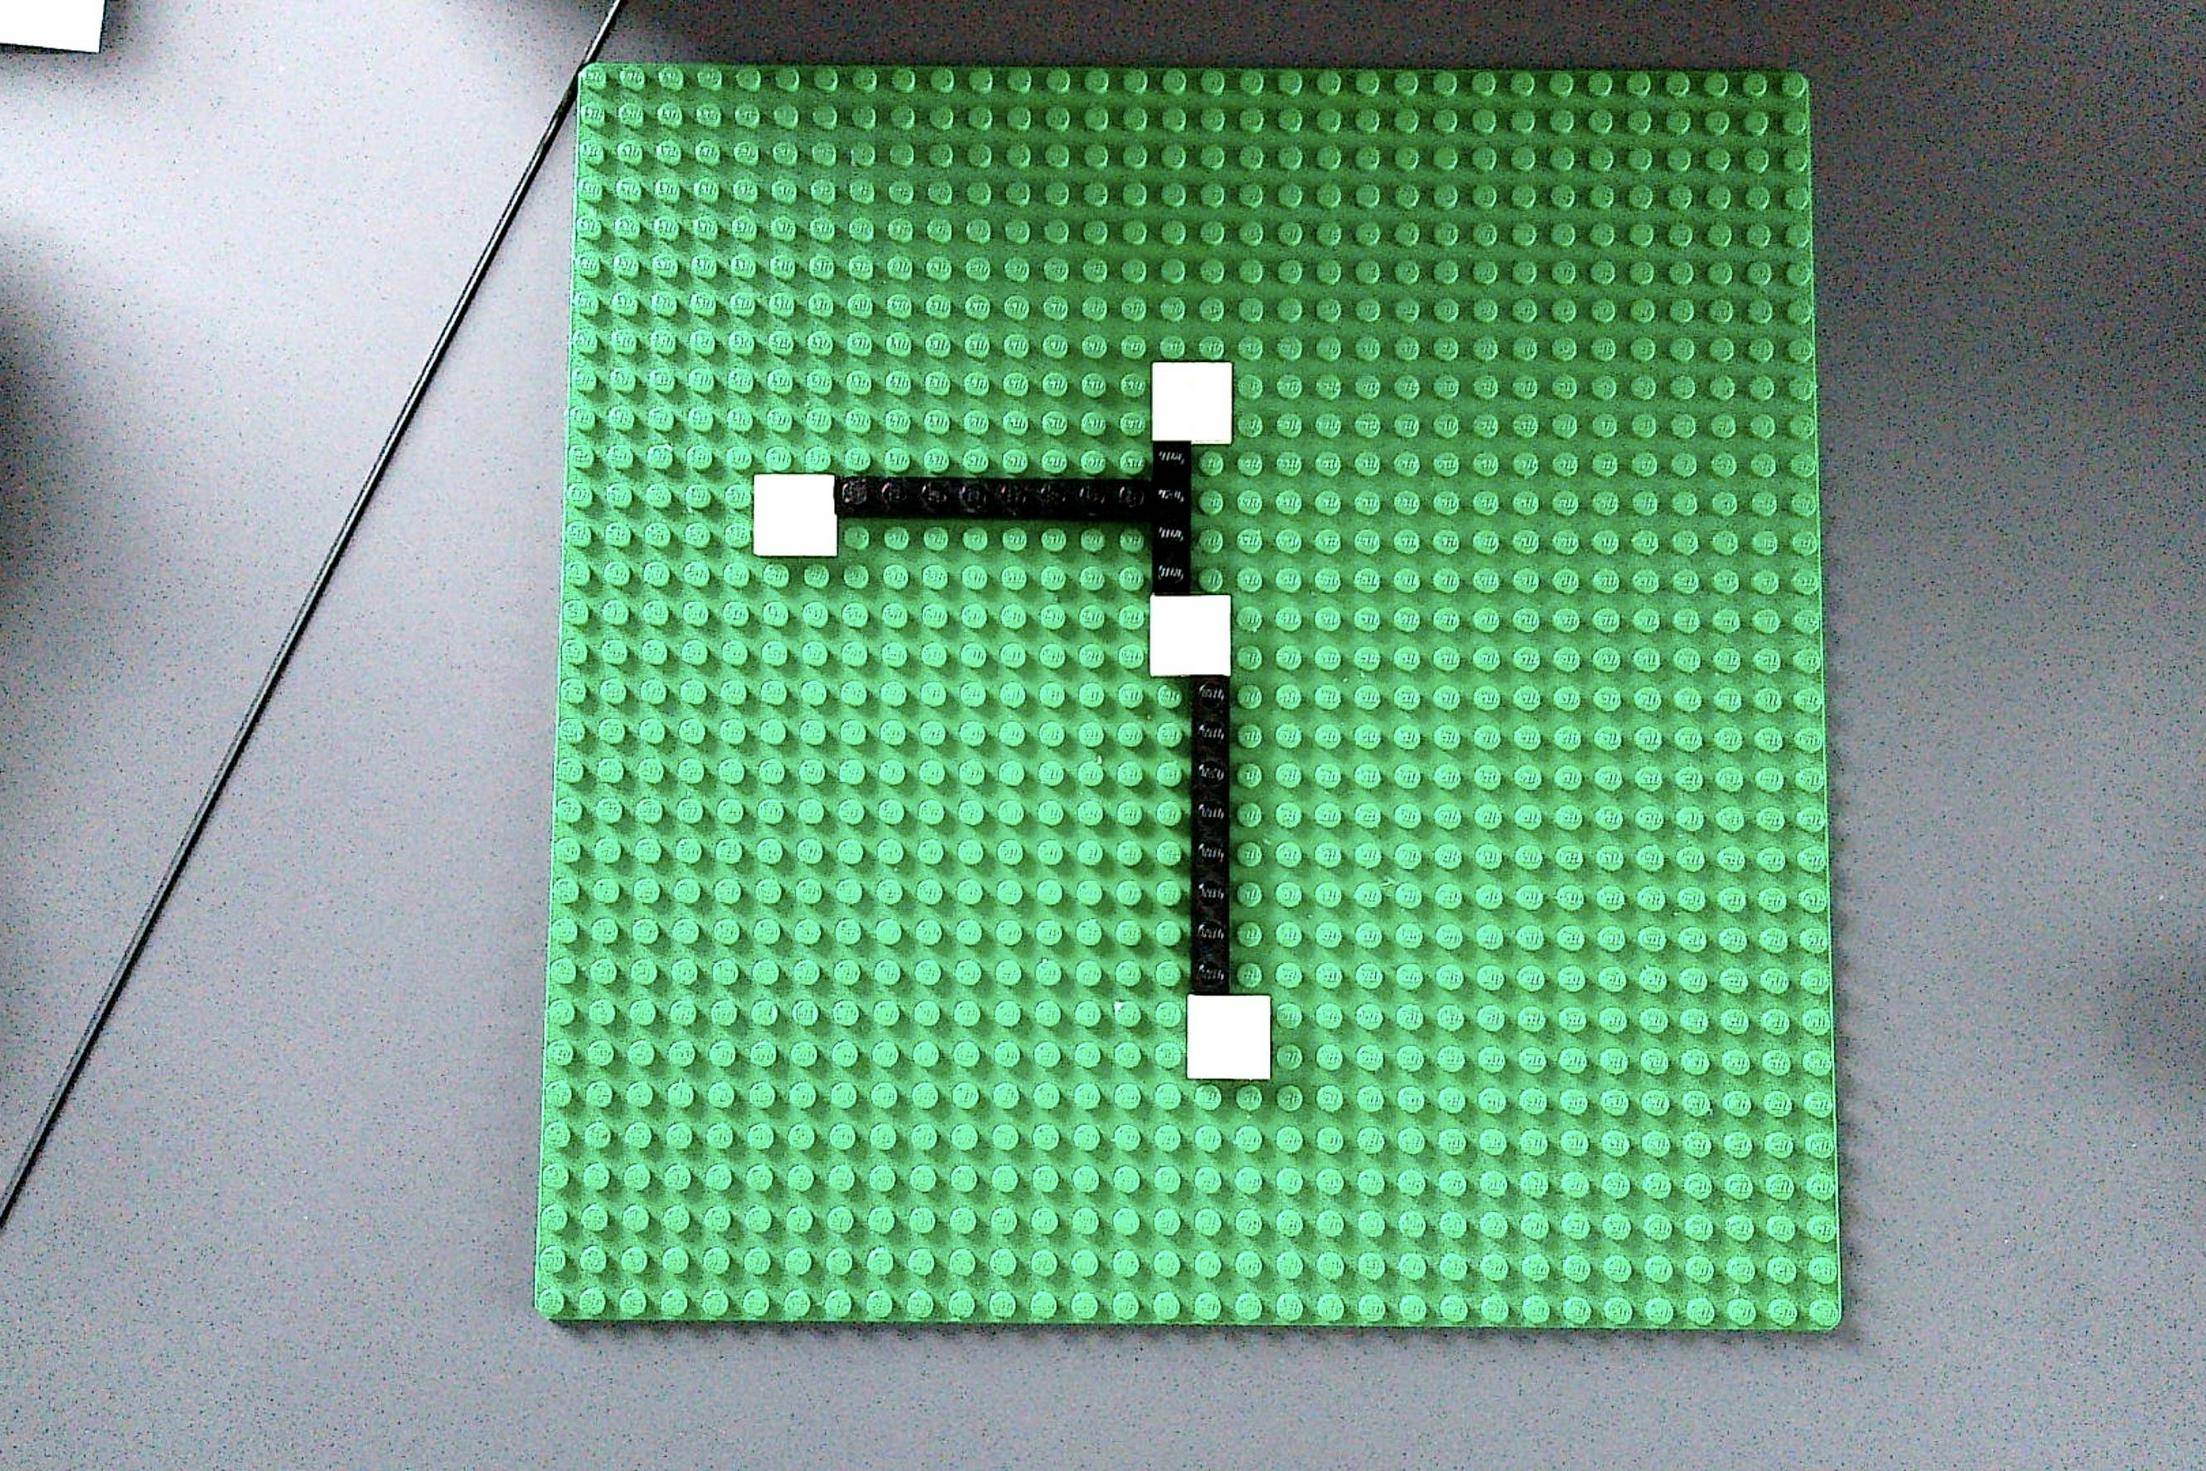
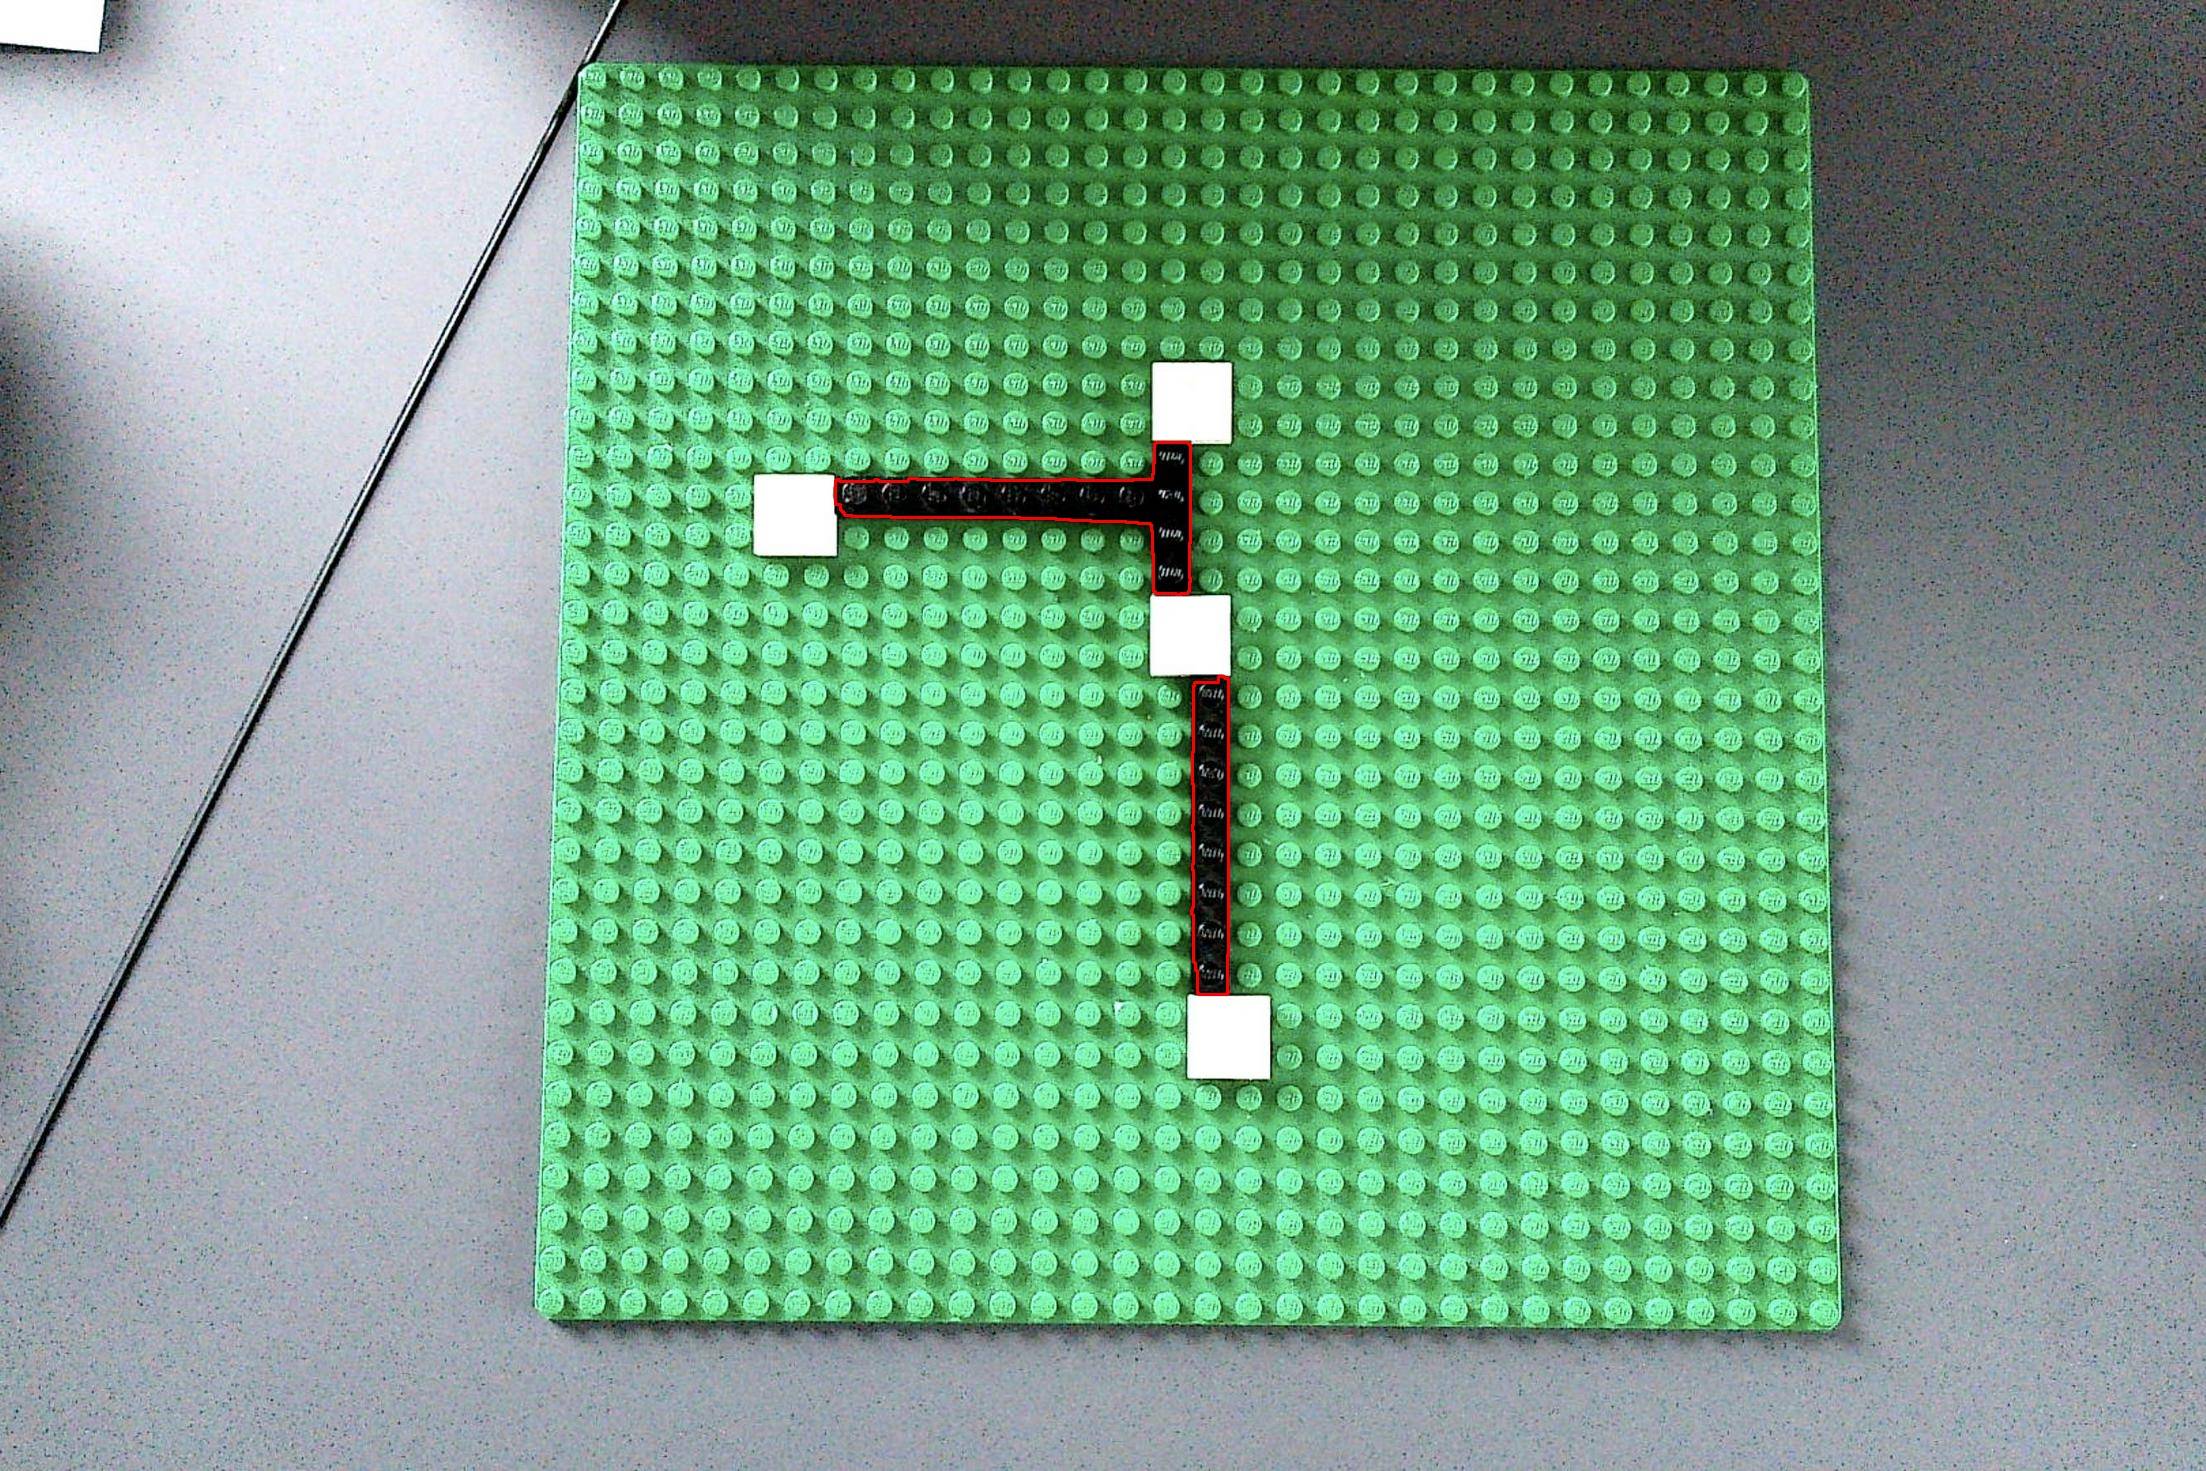
我有一个乐高棋盘的图片,上面有一些砖头
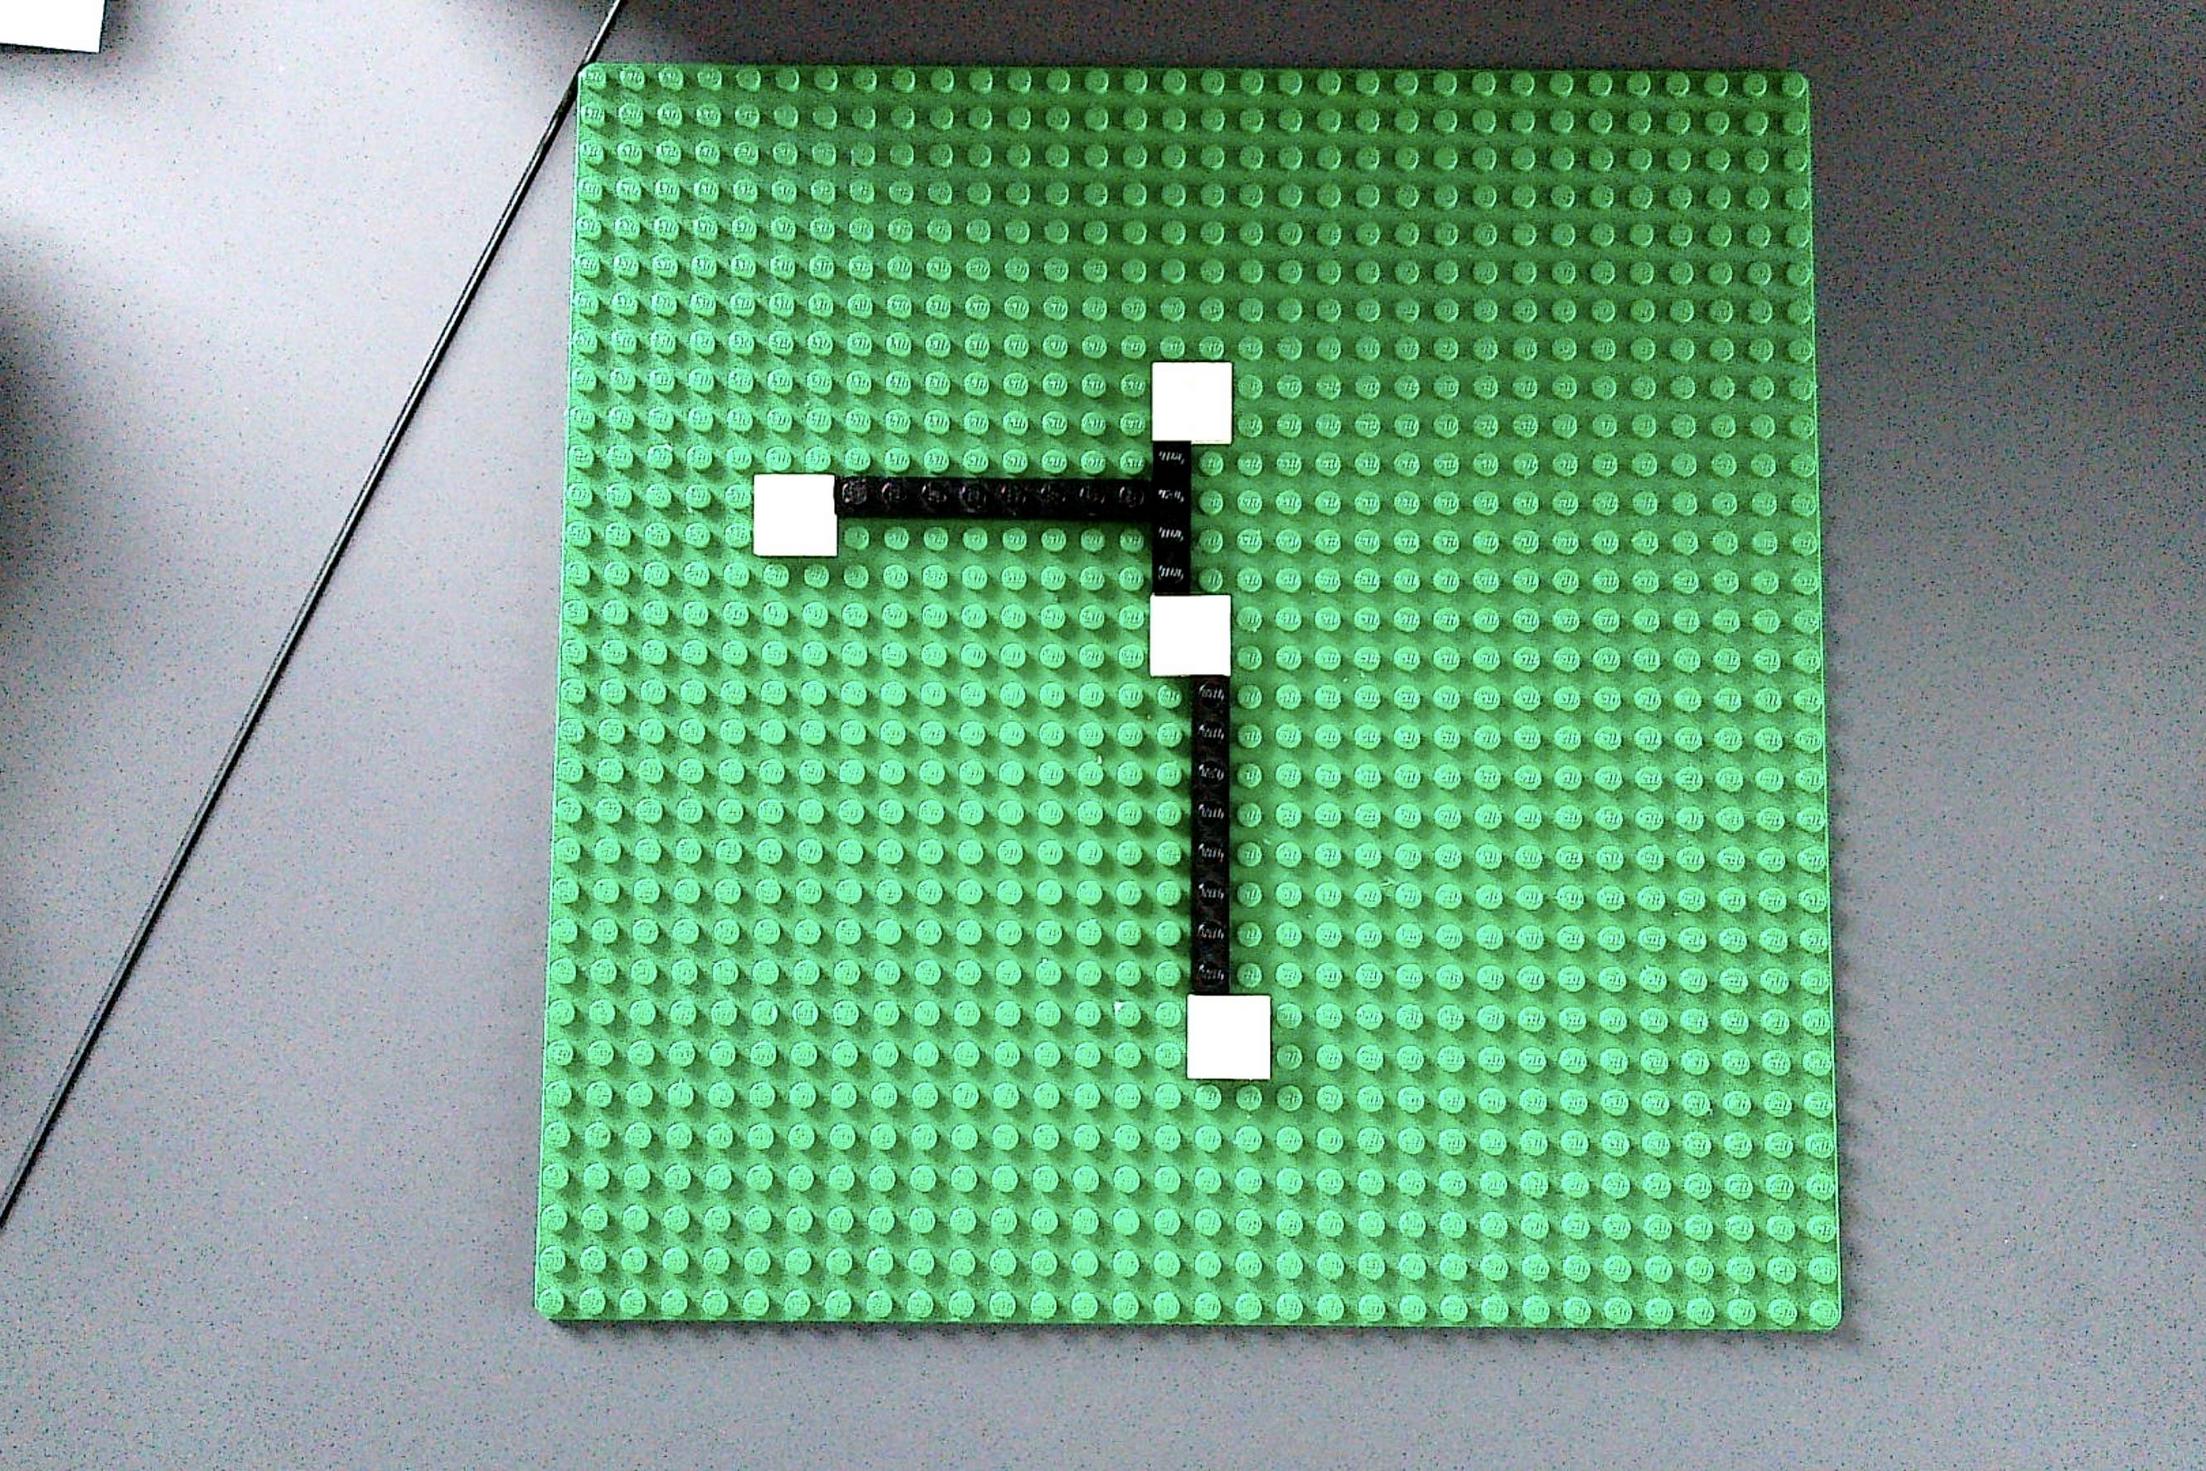
现在,我正在尝试检测与OpenCV的厚黑色线(连接白色方块)。我已经在HoughLinesP上做了很多实验,以前把图像转换成灰色或b/w,应用模糊.非物质导致了有用的结果。
# Read image
img = cv2.imread('image.jpg', cv2.IMREAD_GRAYSCALE)

# Resize Image
img =  cv2.resize(img, (0,0), fx=0.25, fy=0.25)

# Initialize output
out = cv2.cvtColor(img, cv2.COLOR_GRAY2BGR)

# Median blurring to get rid of the noise; invert image
img = cv2.medianBlur(img, 5)

# Adaptive Treshold
bw = cv2.adaptiveThreshold(img,255,cv2.ADAPTIVE_THRESH_GAUSSIAN_C,\
            cv2.THRESH_BINARY,15,8)

# HoughLinesP
linesP = cv2.HoughLinesP(bw, 500, np.pi / 180, 50, None, 50, 10)

# Draw Lines
if linesP is not None:
    for i in range(0, len(linesP)):
        l = linesP[i][0]
        cv2.line(out, (l[0], l[1]), (l[2], l[3]), (0,0,255), 3, cv2.LINE_AA)
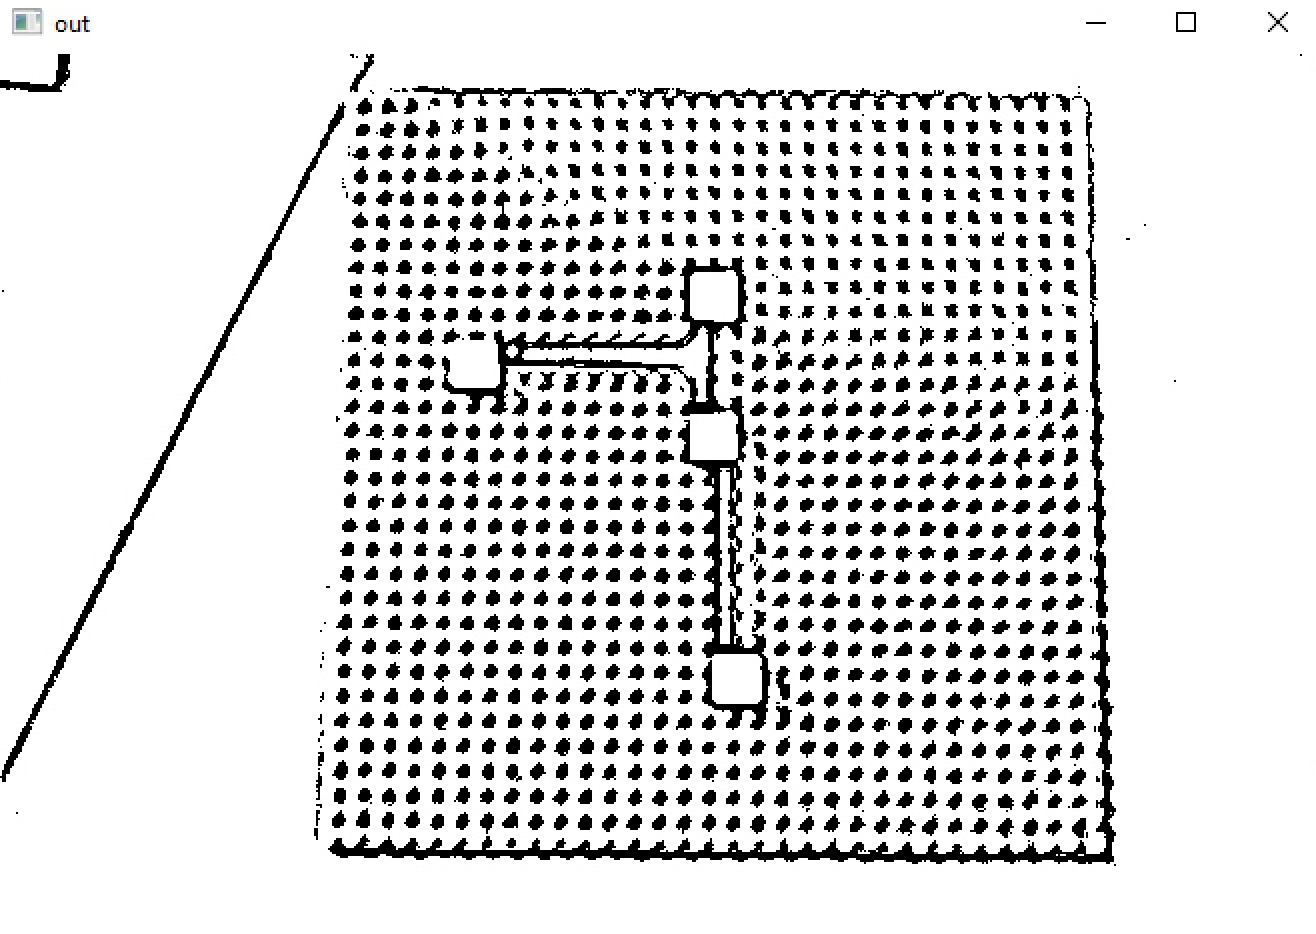
自适应调整使您能够很好地看到边缘,但是使用HoughLinesP,您将无法从中获得任何有用的信息。
我做错了什么?
谢谢,@fmw42 42和@jeru-路克为您解决这个问题提供了很好的解决方案!我喜欢隔离/掩蔽绿板,所以我把两者结合起来:
import cv2
import numpy as np

img = cv2.imread("image.jpg")

scale_percent = 50 # percent of original size
width = int(img.shape[1] * scale_percent / 100)
height = int(img.shape[0] * scale_percent / 100)
dim = (width, height)

# resize image
img = cv2.resize(img, dim, interpolation = cv2.INTER_AREA)
lab = cv2.cvtColor(img, cv2.COLOR_BGR2LAB)
a_component = lab[:,:,1]

# binary threshold the a-channel
th = cv2.threshold(a_component,127,255,cv2.THRESH_BINARY_INV+cv2.THRESH_OTSU)[1]

# numpy black
black = np.zeros((img.shape[0],img.shape[1]),np.uint8)

# function to obtain the largest contour in given image after filling it
def get_region(image):
    contours, hierarchy = cv2.findContours(image, cv2.RETR_EXTERNAL, cv2.CHAIN_APPROX_NONE)
    c = max(contours, key = cv2.contourArea)
    mask = cv2.drawContours(black,[c],0,255, -1)
    return mask

mask = get_region(th)

# turning the region outside the green block white
green_block = cv2.bitwise_and(img, img, mask = mask)
green_block[black==0]=(255,255,255)

# median blur
median = cv2.medianBlur(green_block, 5)

# threshold on black
lower = (0,0,0)
upper = (15,15,15)
thresh = cv2.inRange(median, lower, upper)

# apply morphology open and close
kernel = cv2.getStructuringElement(cv2.MORPH_RECT, (3,3))
morph = cv2.morphologyEx(thresh, cv2.MORPH_OPEN, kernel)
kernel = cv2.getStructuringElement(cv2.MORPH_RECT, (29,29))
morph = cv2.morphologyEx(morph, cv2.MORPH_CLOSE, kernel)

# filter contours on area
contours = cv2.findContours(morph, cv2.RETR_EXTERNAL, cv2.CHAIN_APPROX_SIMPLE)
contours = contours[0] if len(contours) == 2 else contours[1]
result = green_block.copy()
for c in contours:
    area = cv2.contourArea(c)
    if area > 1000:
            cv2.drawContours(result, [c], -1, (0, 0, 255), 2)


# view result
cv2.imshow("result", result)
cv2.waitKey(0)
cv2.destroyAllWindows()回答 2
Stack Overflow用户
发布于 2022-04-21 19:08:54
在这里,我提出了一个重复的分割方法使用颜色。这个答案是基于实验室颜色空间的用法。
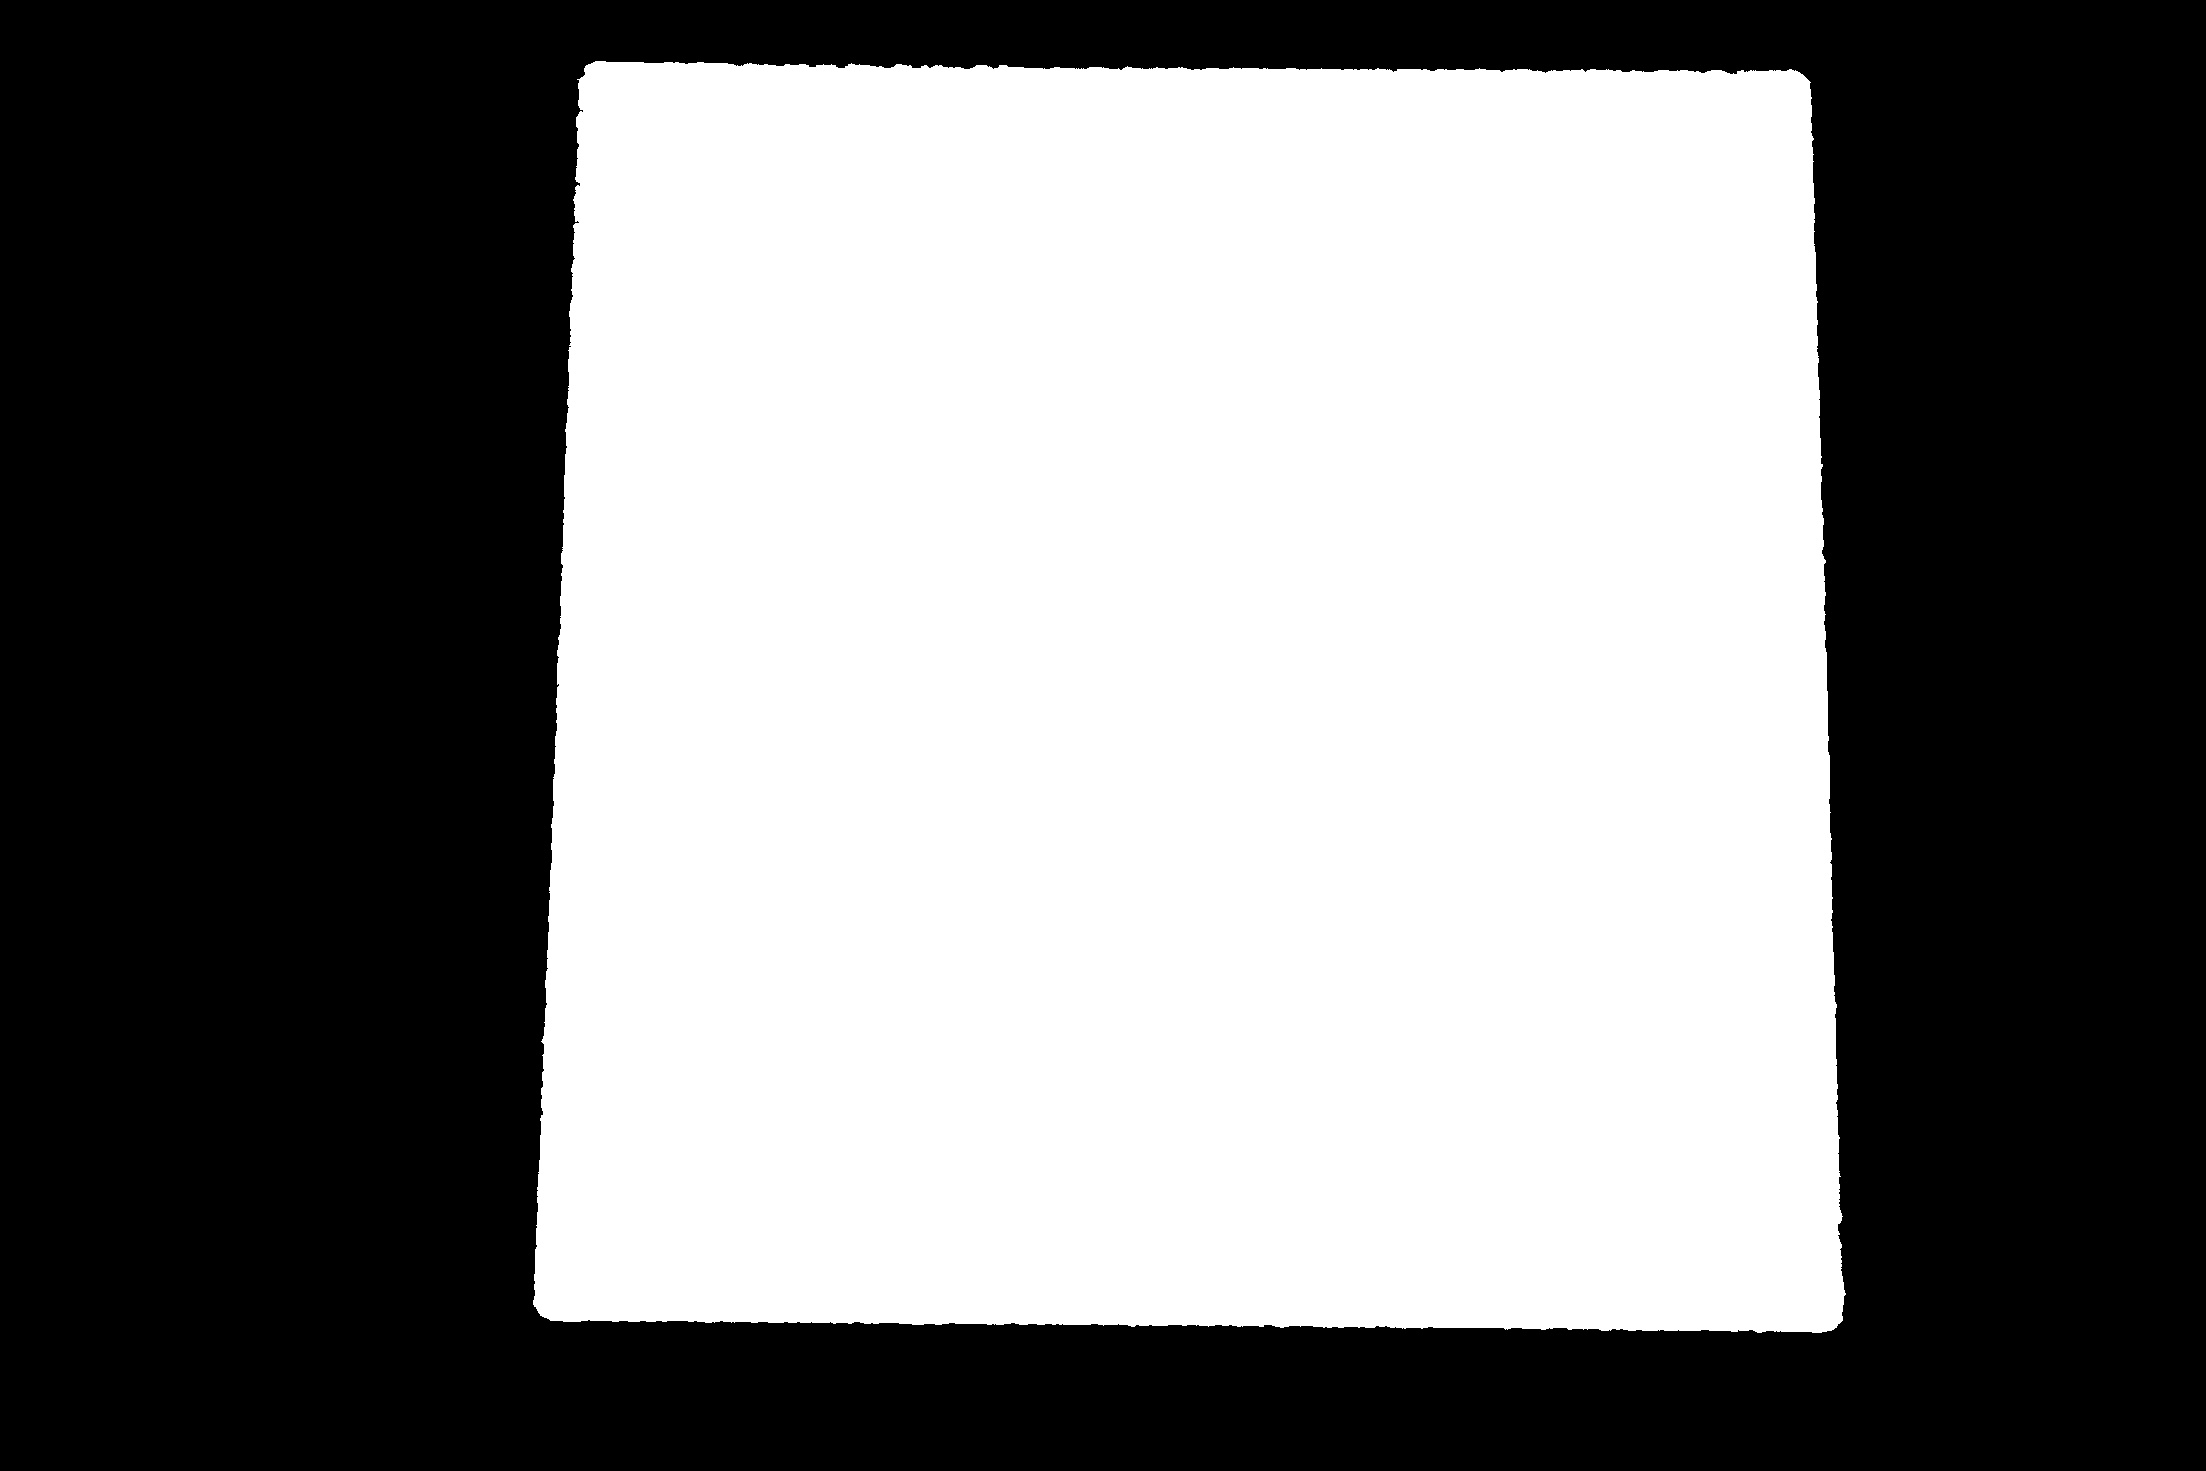
1.隔离绿色乐高积木
img = cv2.imread(image_path)
lab = cv2.cvtColor(img, cv2.COLOR_BGR2LAB)
a_component = lab[:,:,1]

# binary threshold the a-channel
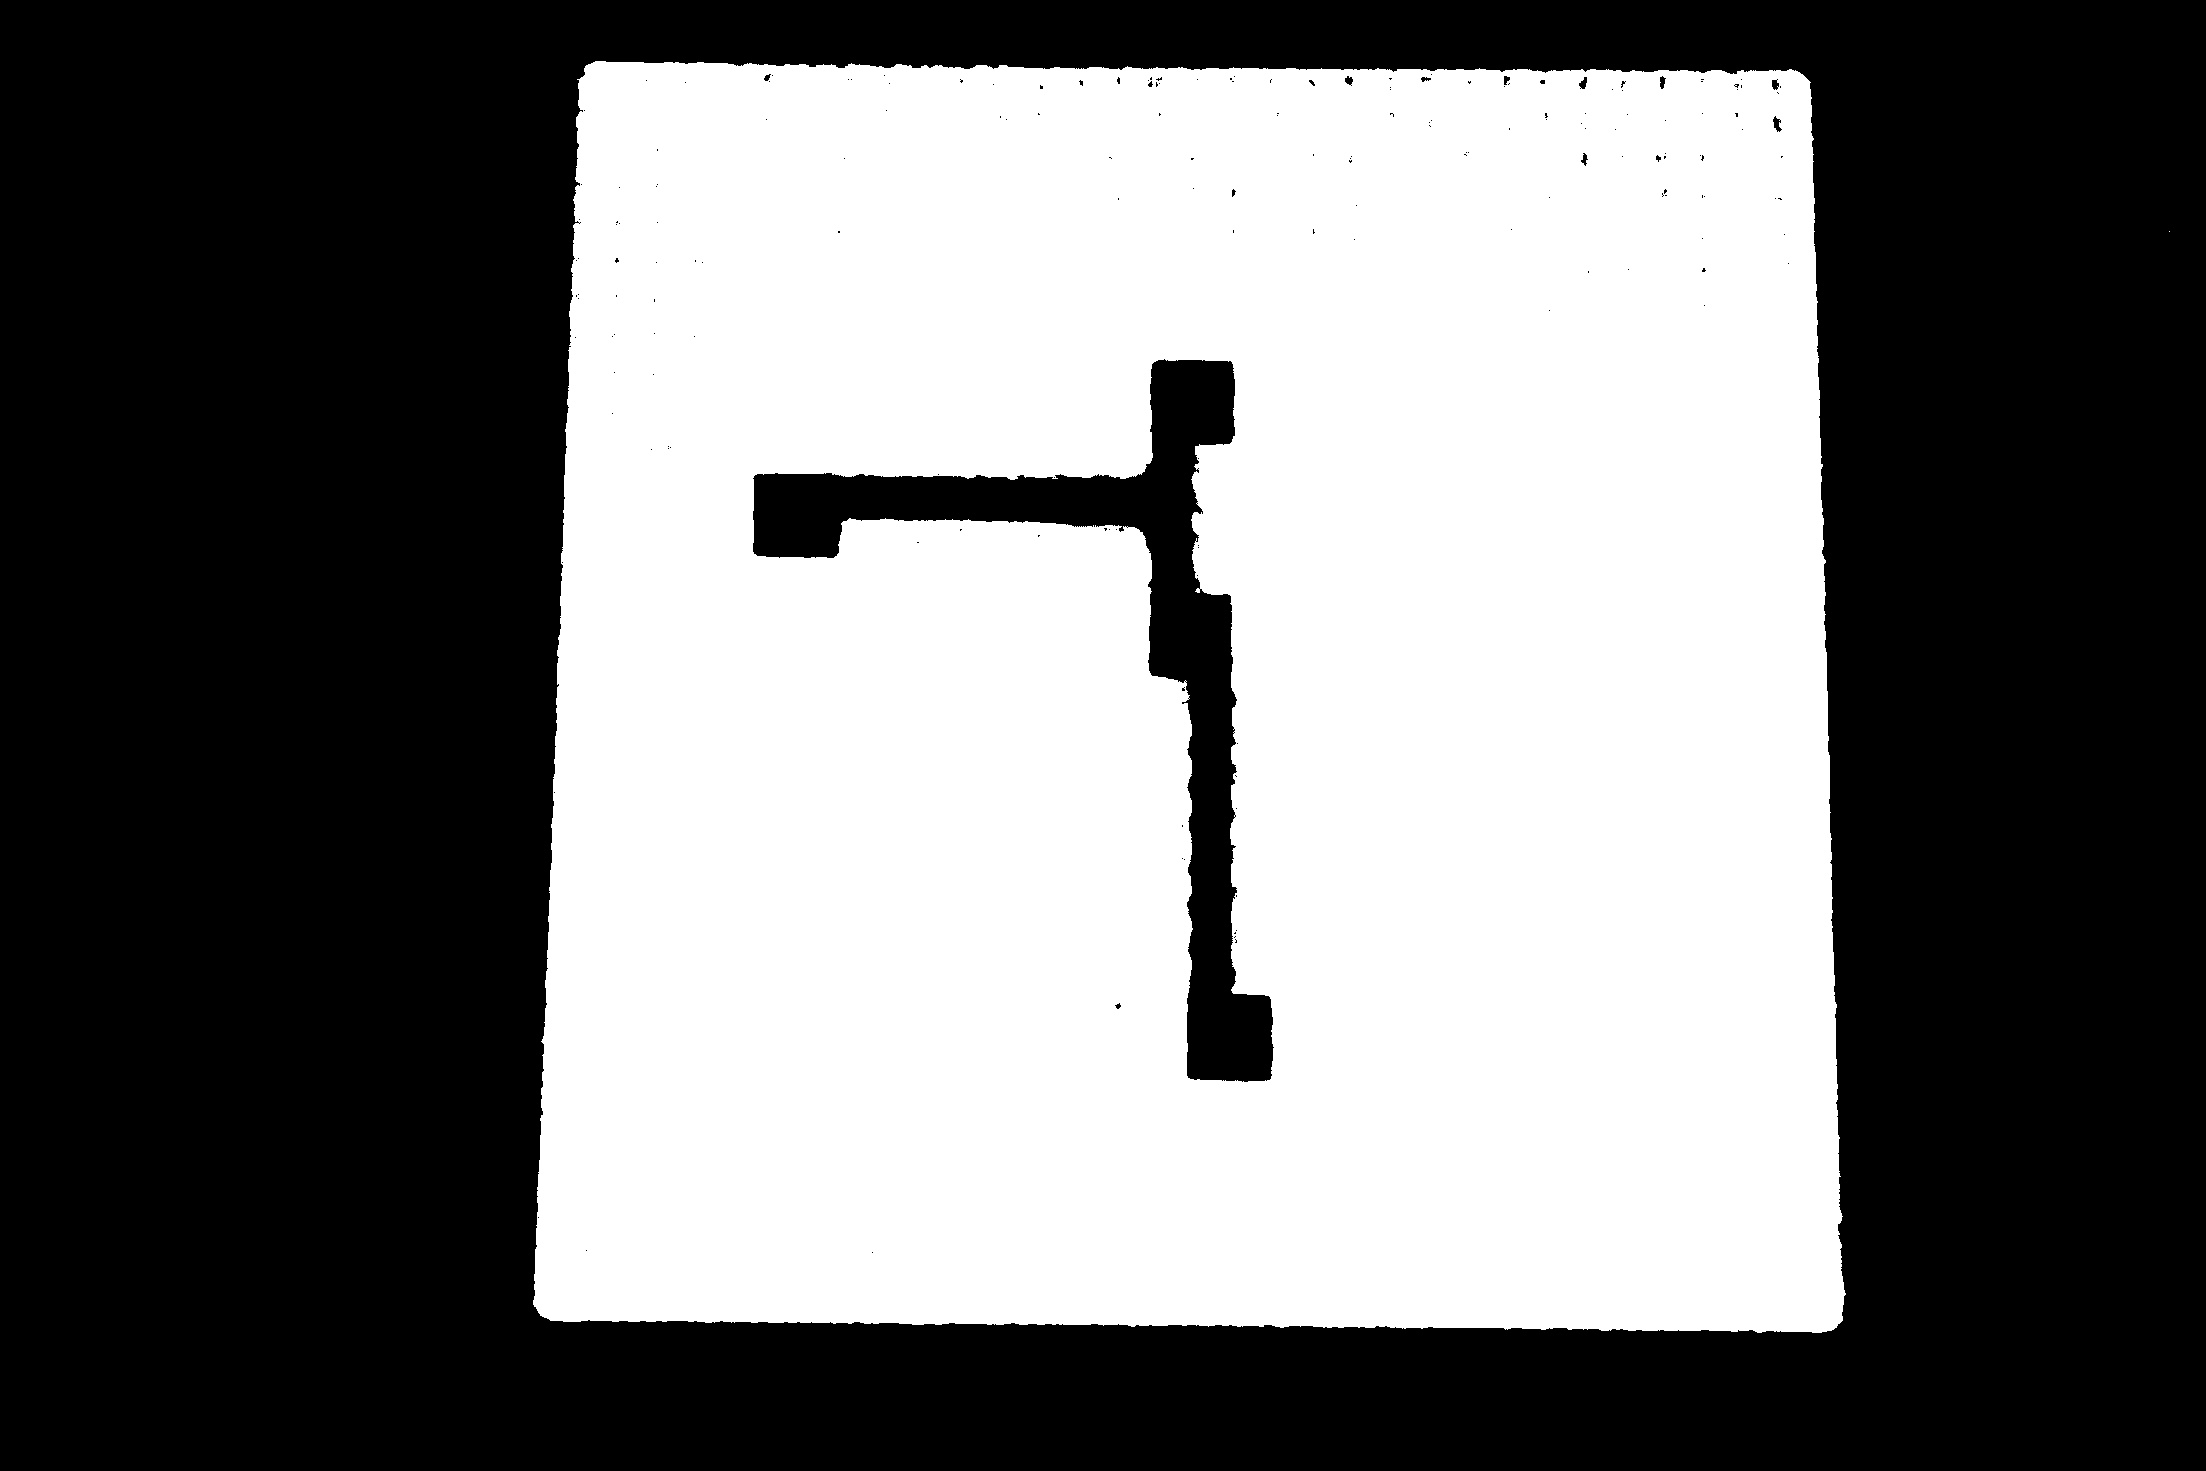
th = cv2.threshold(a_component,127,255,cv2.THRESH_BINARY_INV+cv2.THRESH_OTSU)[1]
th
# function to obtain the largest contour in given image after filling it
def get_region(image):
    contours, hierarchy = cv2.findContours(image, cv2.RETR_EXTERNAL, cv2.CHAIN_APPROX_NONE)
    c = max(contours, key = cv2.contourArea)
    black = np.zeros((image.shape[0], image.shape[1]), np.uint8)
    mask = cv2.drawContours(black,[c],0,255, -1)
    return mask

mask = get_region(th)
mask
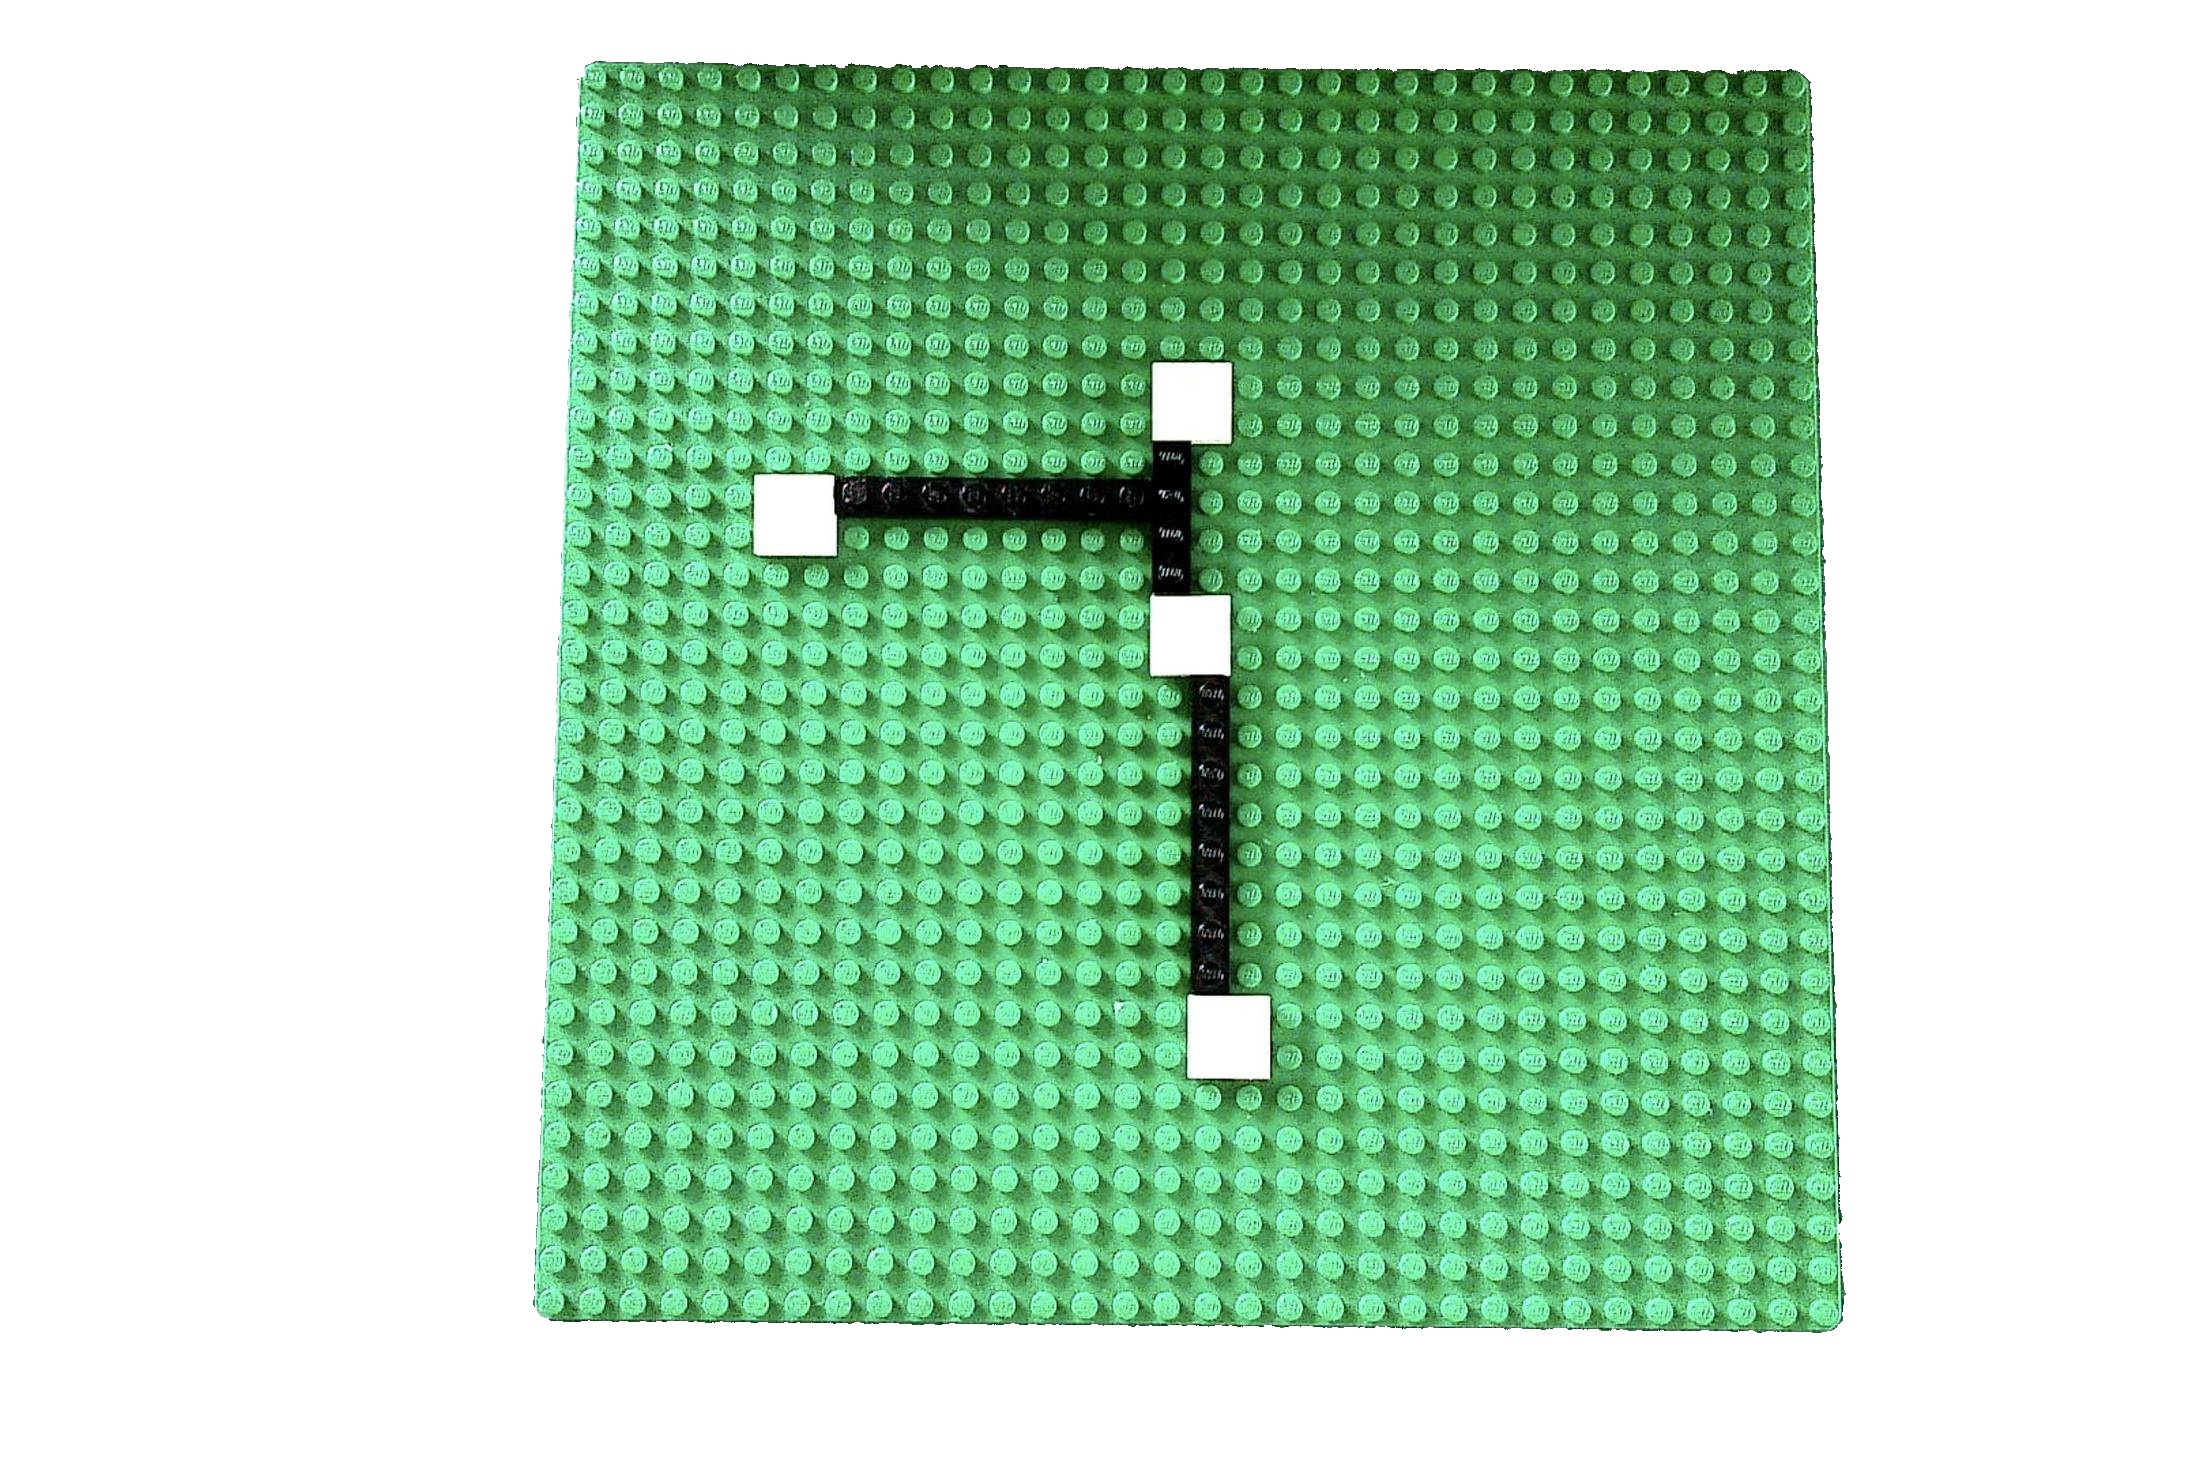
# turning the region outside the green block white
green_block = cv2.bitwise_and(img, img, mask = mask)
green_block[black==0]=(255,255,255)
green_block
2.道路分段
- 为了得到道路的大致区域,我减去了
mask和th。
cv2.subtract()执行算术减法,其中cv2将处理负值。
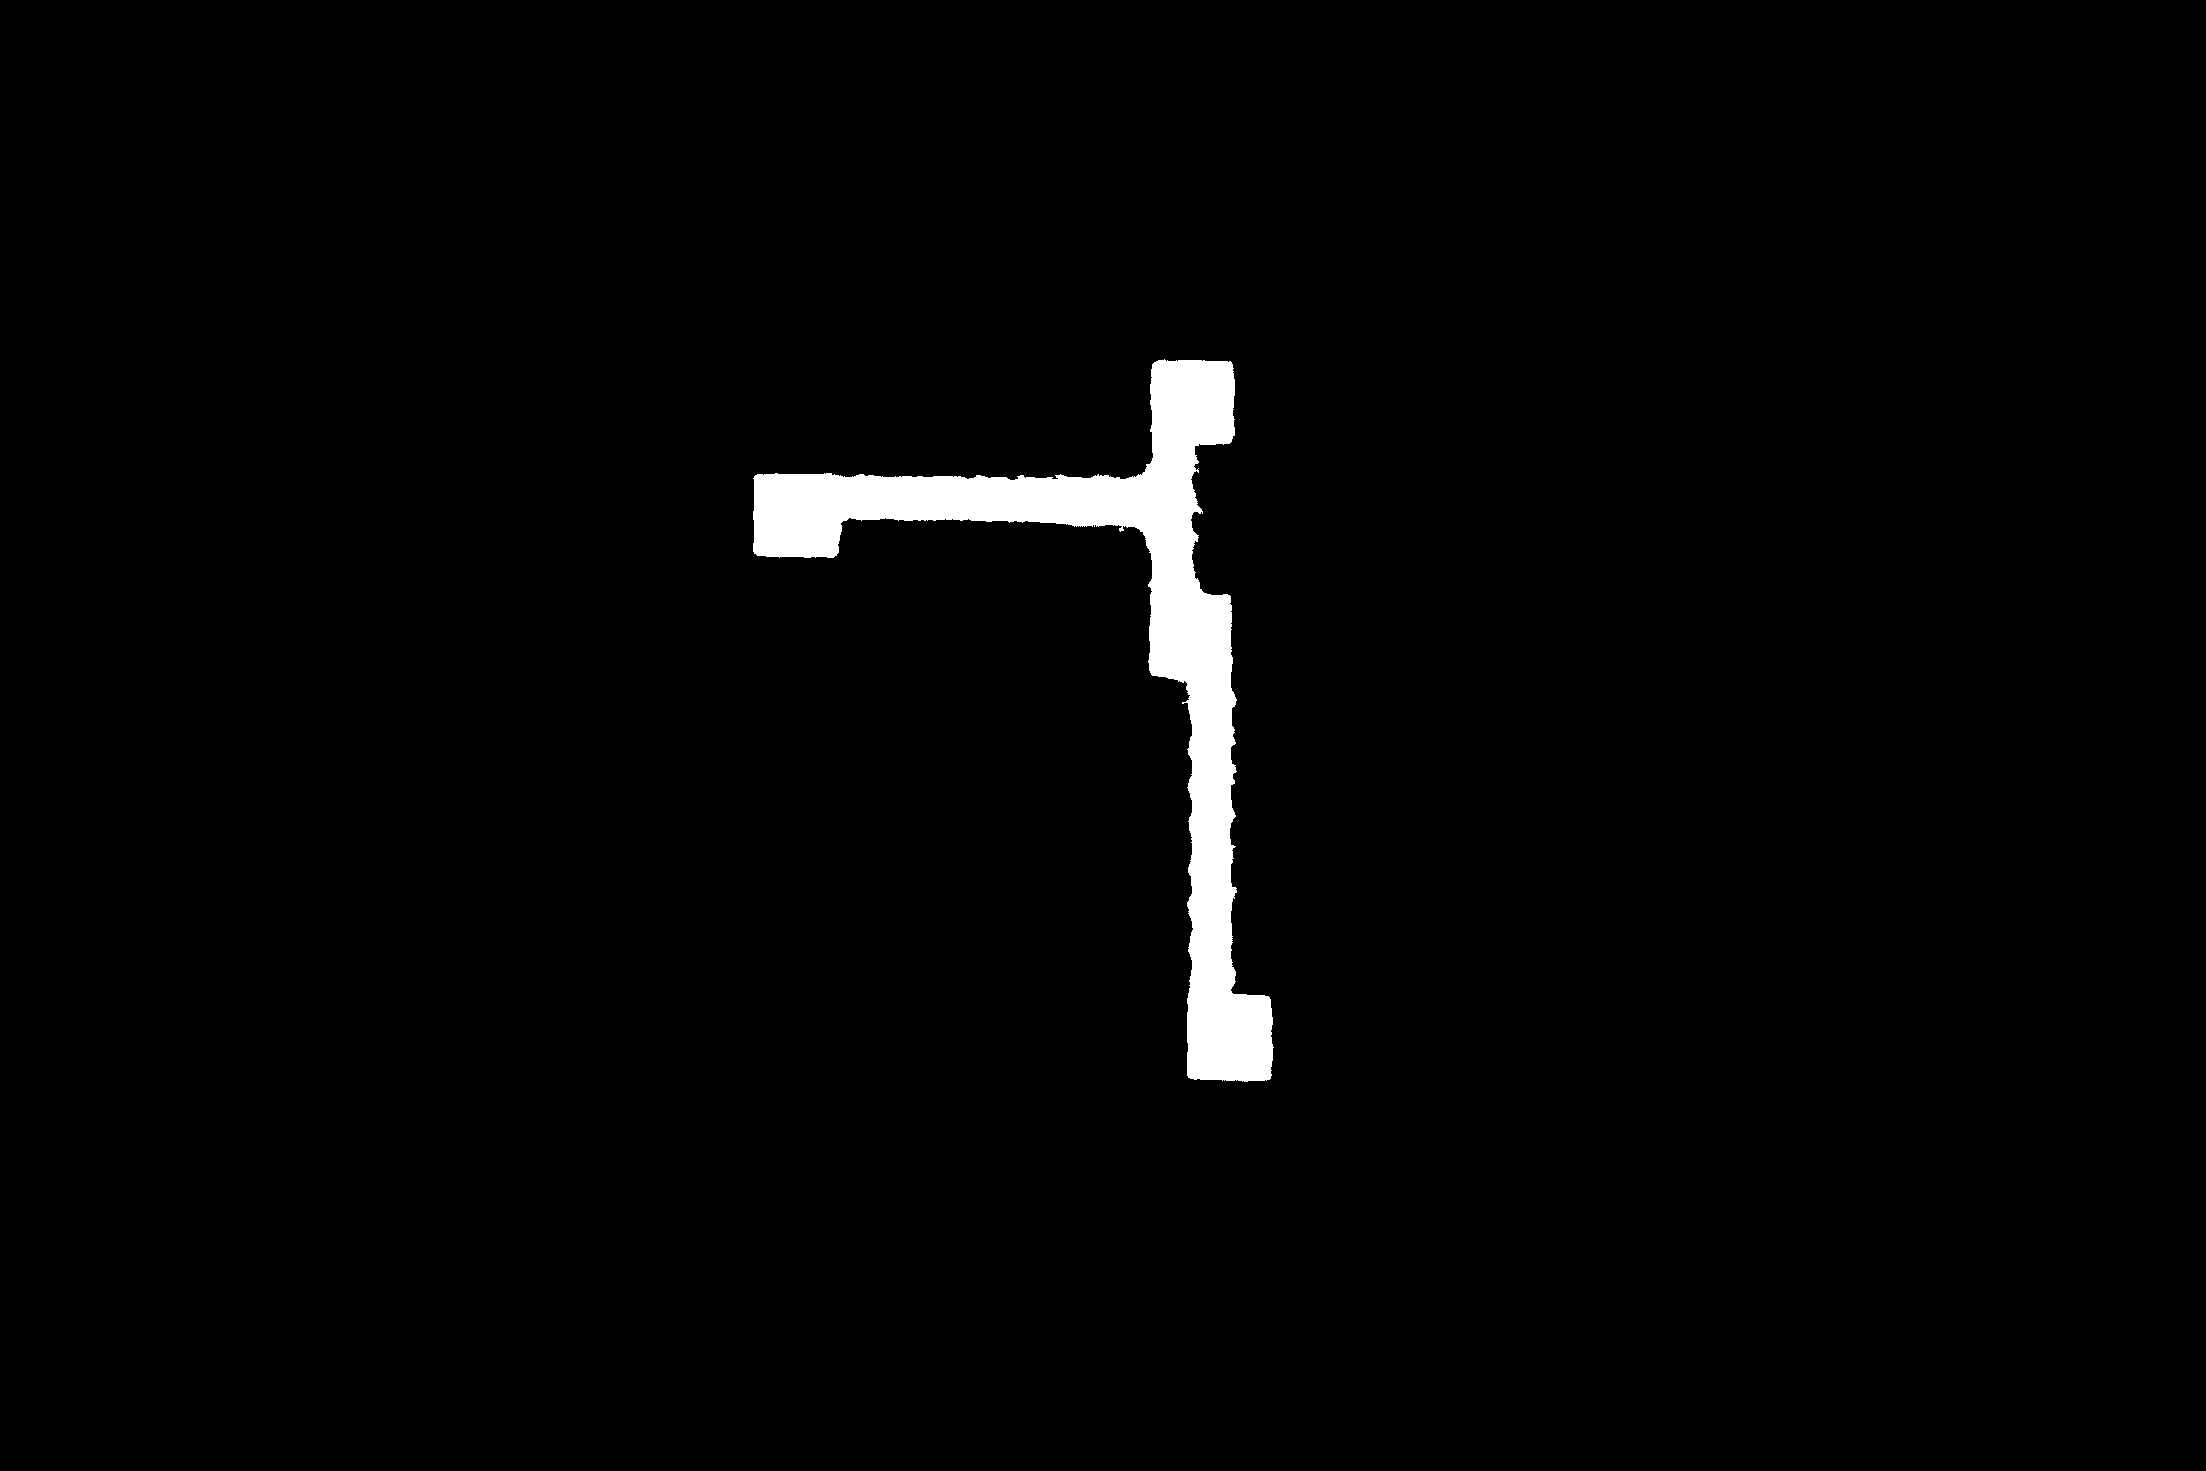
road = cv2.subtract(mask,th)
# `road` contains some unwanted spots/contours which are removed using the function "get_region"
only_road = get_region(road)
only_road
仅用原始图像掩蔽路段
road_colored = cv2.bitwise_and(img, img, mask = only_road)
road_colored[only_road==0]=(255,255,255)
road_colored
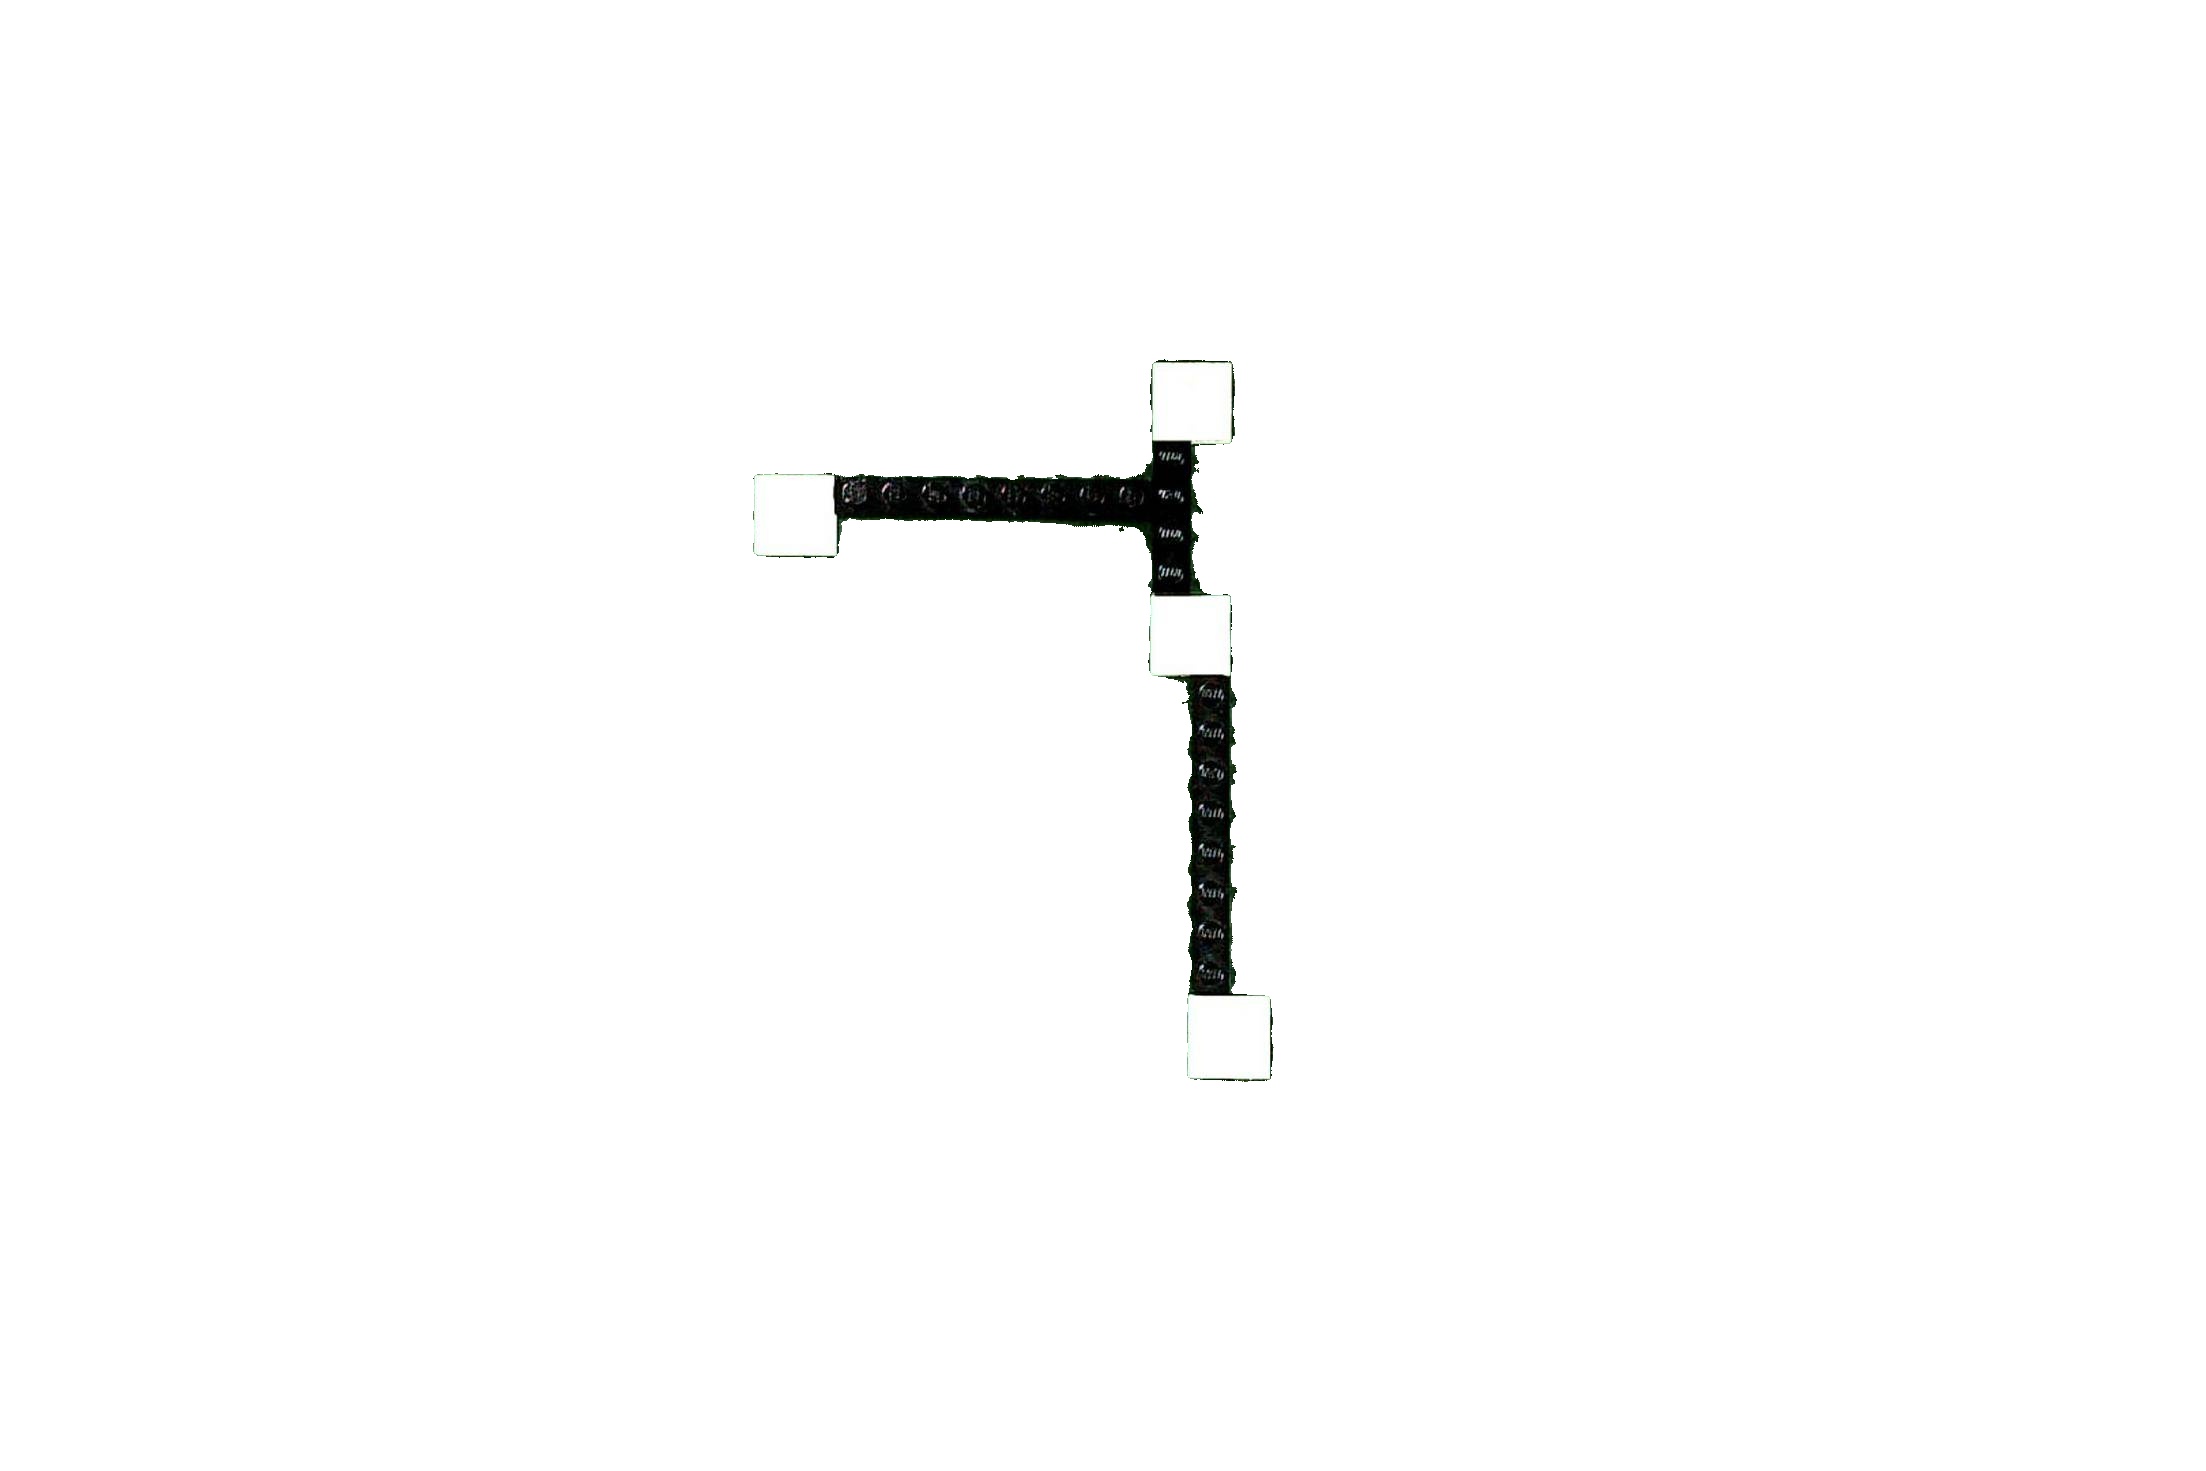
从上面的图像中只有黑色区域(道路)存在,这是很容易分割的:
# converting to grayscale and applying threshold
th2 = cv2.threshold(road_colored[:,:,1],127,255,cv2.THRESH_BINARY_INV+cv2.THRESH_OTSU)[1]

# using portion of the code from fmw42's answer, to get contours above certain area
contours = cv2.findContours(th2, cv2.RETR_EXTERNAL, cv2.CHAIN_APPROX_SIMPLE)
contours = contours[0] if len(contours) == 2 else contours[1]
result = img.copy()
for c in contours:
    area = cv2.contourArea(c)
    if area > 1000:
        cv2.drawContours(result, [c], -1, (0, 0, 255), 4)
result
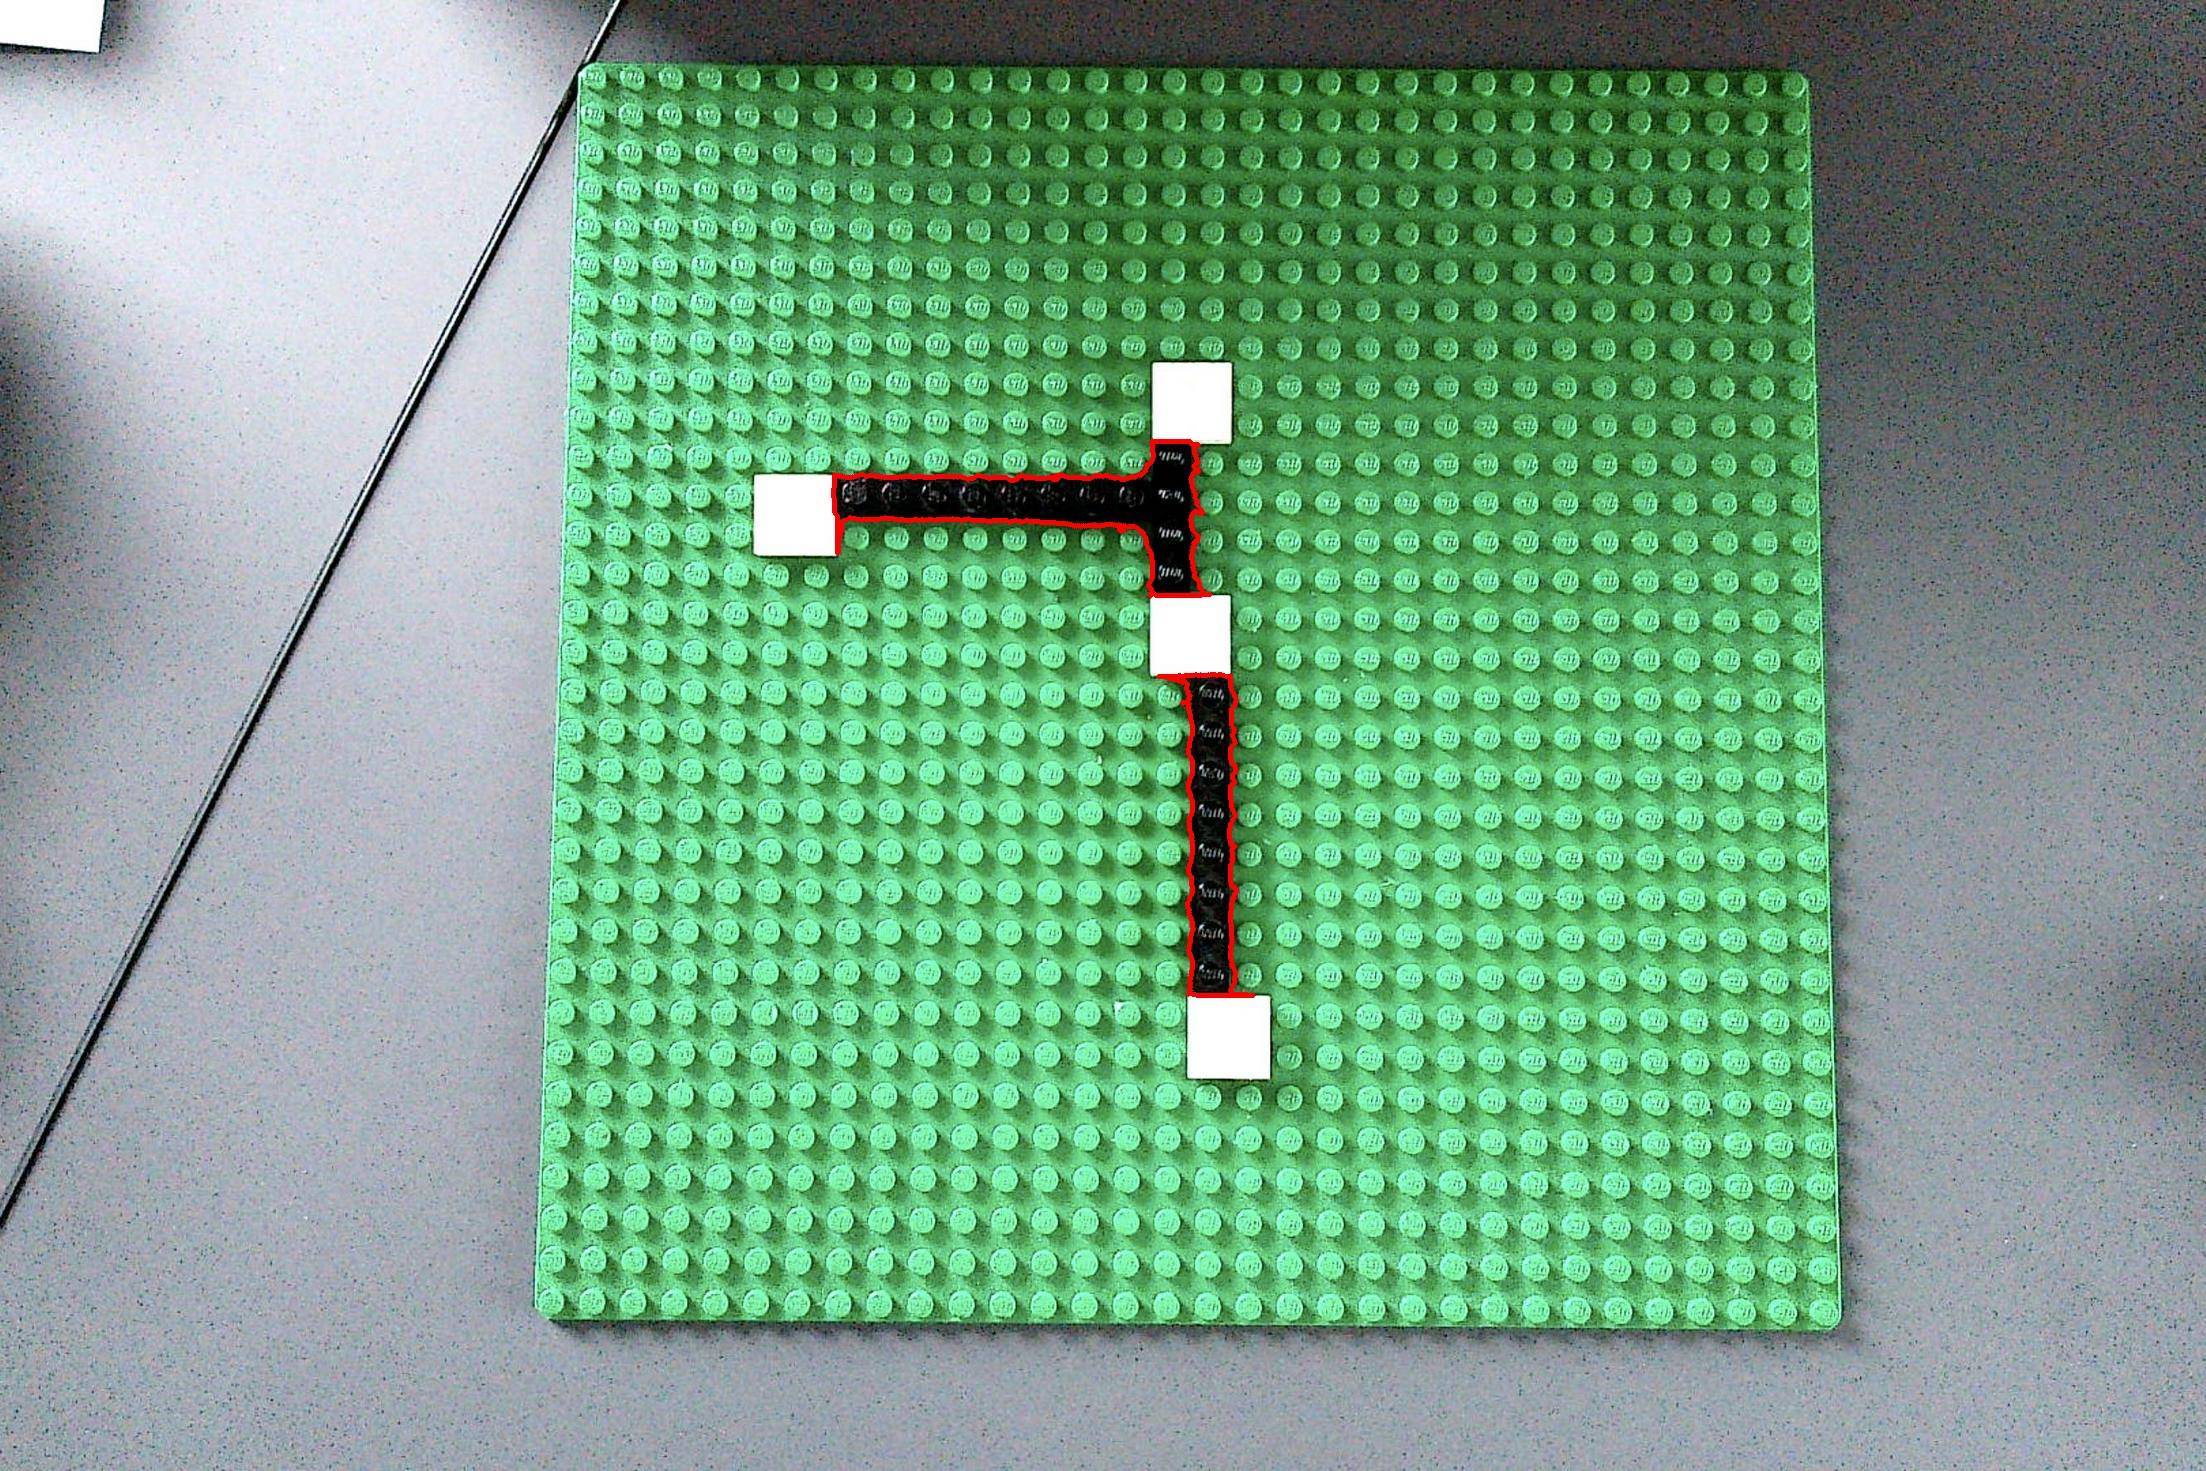
注意:为了清理最终结果,您可以在绘制轮廓之前在th2上应用形态学操作。
Stack Overflow用户
发布于 2022-04-21 16:00:16
这里有一种在Python/OpenCV中实现这一功能的方法。
- 读取图像
- 应用中间模糊
- 使用cv2.inRange()
- 应用形态学把它清理干净
- 获取等高线并对区域进行滤波
- 在输入上绘制等高线
- 保存结果
输入:
import cv2
import numpy as np

# read image
img = cv2.imread('black_lines.jpg')

# median blur
median = cv2.medianBlur(img, 5)

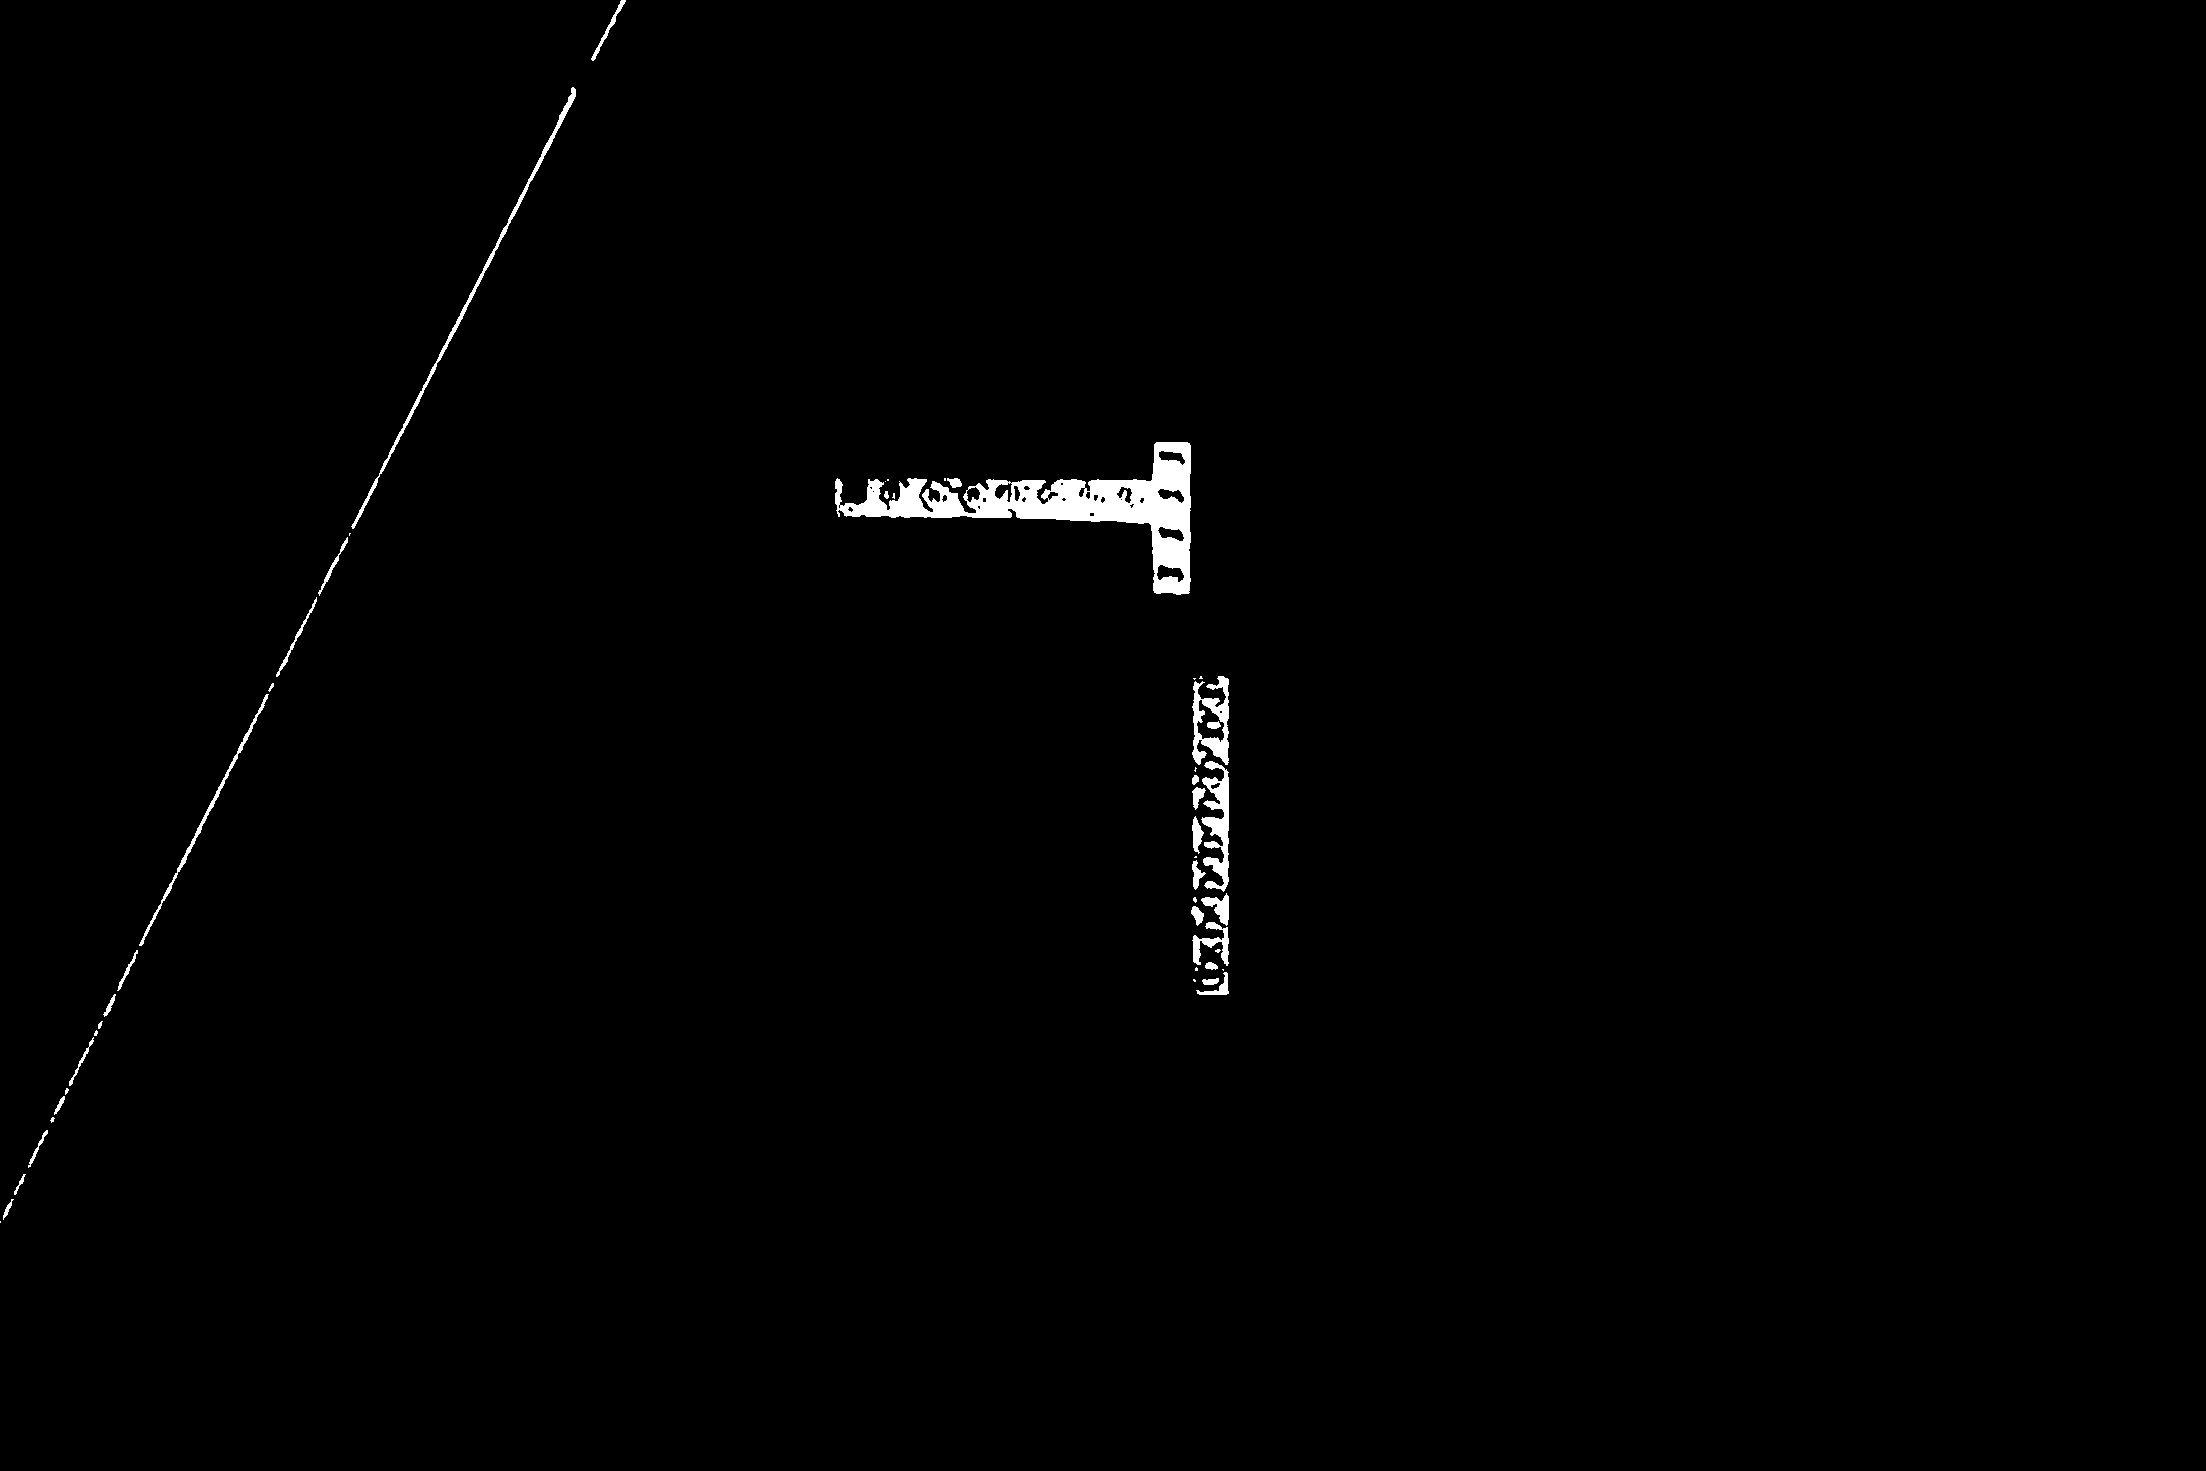
# threshold on black
lower = (0,0,0)
upper = (15,15,15)
thresh = cv2.inRange(median, lower, upper)

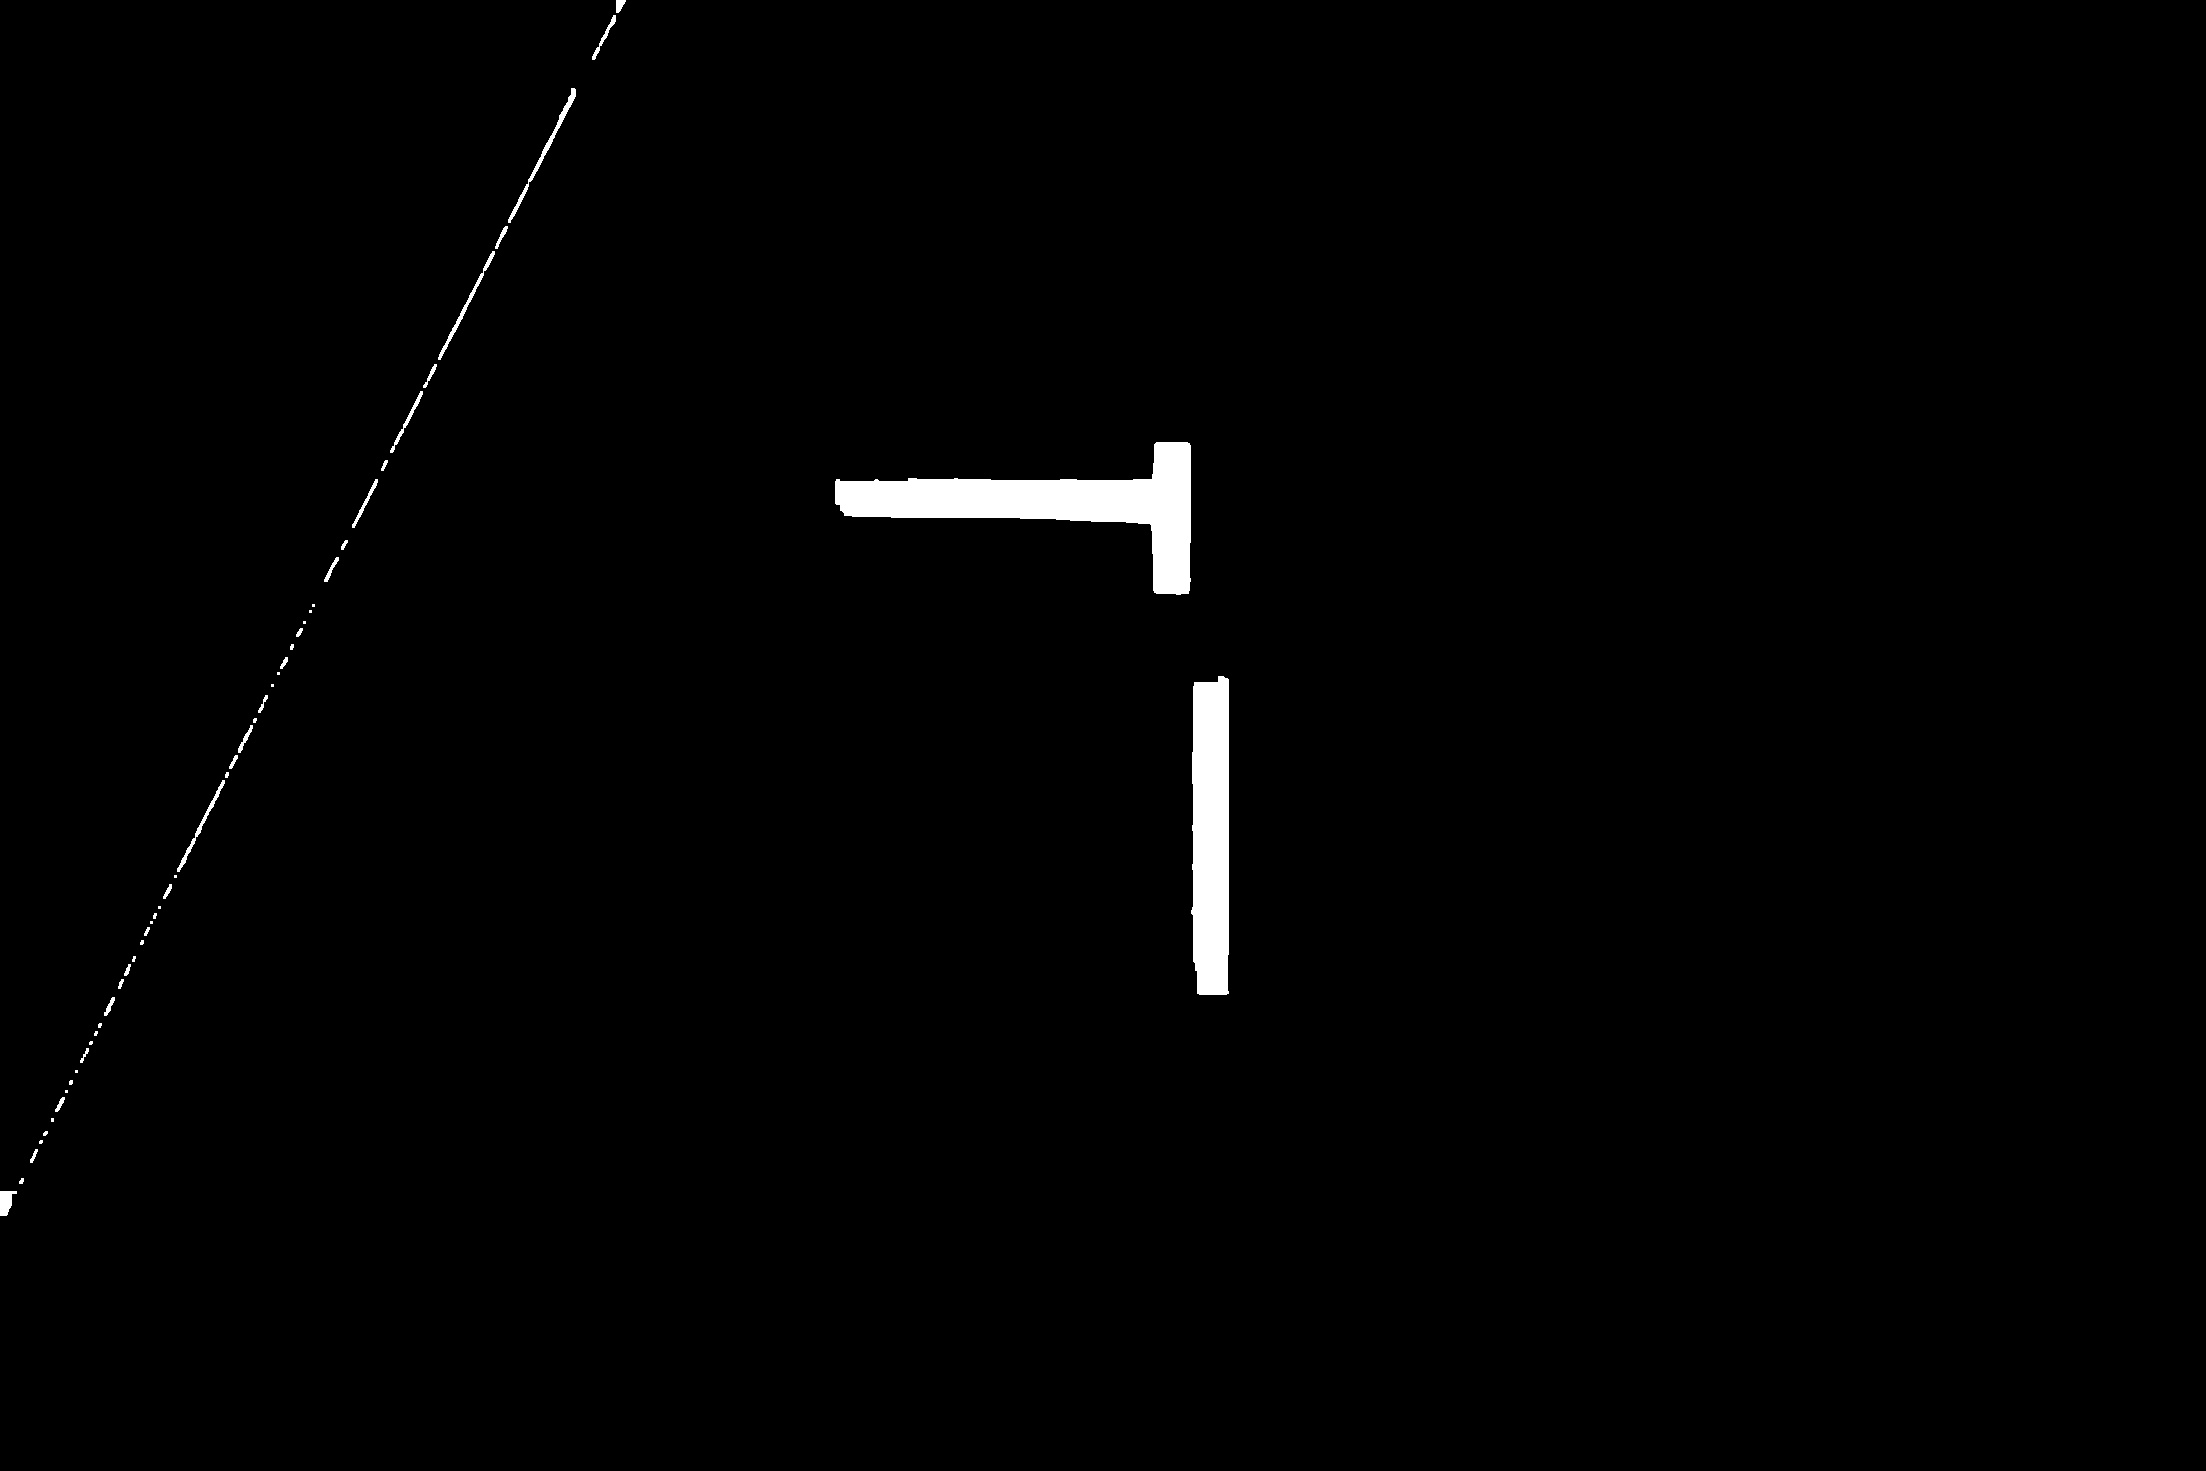
# apply morphology open and close
kernel = cv2.getStructuringElement(cv2.MORPH_RECT, (3,3))
morph = cv2.morphologyEx(thresh, cv2.MORPH_OPEN, kernel)
kernel = cv2.getStructuringElement(cv2.MORPH_RECT, (29,29))
morph = cv2.morphologyEx(morph, cv2.MORPH_CLOSE, kernel)

# filter contours on area
contours = cv2.findContours(morph, cv2.RETR_EXTERNAL, cv2.CHAIN_APPROX_SIMPLE)
contours = contours[0] if len(contours) == 2 else contours[1]
result = img.copy()
for c in contours:
    area = cv2.contourArea(c)
    if area > 1000:
            cv2.drawContours(result, [c], -1, (0, 0, 255), 2)

# save result
cv2.imwrite("black_lines_threshold.jpg", thresh)
cv2.imwrite("black_lines_morphology.jpg", morph)
cv2.imwrite("black_lines_result.jpg", result)

# view result
cv2.imshow("threshold", thresh)
cv2.imshow("morphology", morph)
cv2.imshow("result", result)
cv2.waitKey(0)
cv2.destroyAllWindows()
阈值图像:
形态学图像:
结果:
https://stackoverflow.com/questions/71956208
复制相似问题
腾讯云开发者

Copyright © 2013 - 2026 Tencent Cloud. All Rights Reserved. 腾讯云 版权所有
深圳市腾讯计算机系统有限公司 ICP备案/许可证号:粤B2-20090059  粤公网安备44030502008569号
腾讯云计算(北京)有限责任公司 京ICP证150476号 | 京ICP备11018762号