
如何去除bw图像中的点,并留下连通的像素?
如何去除bw图像中的点,并留下连通的像素?
提问于 2020-06-07 19:40:49
我有下面的图片(图像是完全黑色的,不要介意边框)
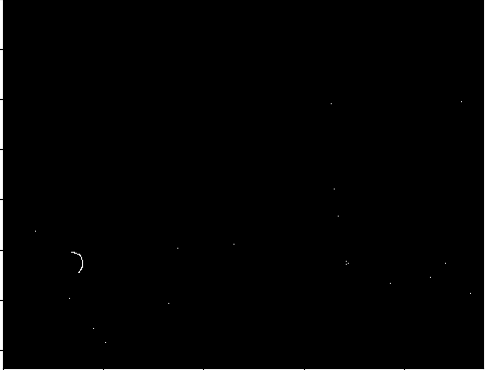
我只想留在(1像素宽)线,并摆脱所有的点(其中一些实际上是一对像素)。
我知道这很容易,但我现在没有主意了。
我试过的是:
打开(腐蚀+扩张)的形态学操作--让我一无所有,也没有相同的
blob检测--在扩展后执行这可能会工作,但是它会崩溃而不会出错(windows异常),而且我没有时间调试opencv。
会喜欢任何可行的想法。
回答 3
Stack Overflow用户
回答已采纳
发布于 2020-06-07 20:37:47
最后我做了下面的事情,只是为了完成它。我相信可以做一些更聪明的事情:
    thread_defect_mask_clean = thread_defect_mask_noisy.copy()
    ret, connected_components_labels = cv2.connectedComponents(thread_defect_mask_noisy.astype('uint8'), connectivity=8)
    for label in range(1, ret):
        label_count = np.count_nonzero(label == connected_components_labels)
        if label_count < self._min_thread_defect_size:
            thread_defect_mask_clean[label == connected_components_labels] = 0
这将计算每个连接组件的大小,并强制执行一个阈值(此处为5)。
Stack Overflow用户
发布于 2020-06-07 20:24:12
我将使用一个自定义的腐蚀函数来计算3x3窗口中的非黑色像素,如果有一个,则像素值不受影响,如果没有,则像素将变为黑色。
在C++中,它看起来像(编辑:我添加了一个基于模糊的方法,它的速度要快得多):
#include <opencv2/opencv.hpp>
#include <chrono>

int main(void)
{
  cv::Mat input = cv::imread("salt.png", cv::IMREAD_GRAYSCALE);
  imshow("input", input);

  cv::Mat thresh;
  // threshold the input just to be sure to get only white or black pixels.
  cv::threshold(input, thresh, 128, 255, cv::THRESH_BINARY);

  cv::Mat mask = cv::Mat::ones(3,3,CV_8UC1);
  mask.at<unsigned char>(1,1)=0;
  cv::imshow("mask", mask);
  cv::Mat output1 = thresh;
  cv::Mat output2 = thresh;

  { // first method : iterate over all pixels (very slow but didactic)
    auto start = std::chrono::high_resolution_clock::now();
    for(int r=1; r<thresh.rows-1; r++)
    {
      for(int c=1; c<thresh.cols-1; c++)
      {
        cv::Rect roi(c-1,r-1,3,3);
        cv::Mat window = thresh(roi);
        cv::Scalar val = cv::sum(window.mul(mask));
        if(val[0]==0)
          output1.at<unsigned char>(r,c) = 0;
      }
    }
    auto end = std::chrono::high_resolution_clock::now();
    auto duration = std::chrono::duration_cast<std::chrono::microseconds>(end-start);
    std::cout << "iterating method: " << duration.count() << std::endl; // 116965µs

    cv::imshow("output", output1);
  }

  { // optimized method : use blur and threshold
    cv::Mat blur, output2=thresh, thresh2;
    auto start = std::chrono::high_resolution_clock::now();

    cv::blur(thresh, blur, cv::Size(3,3));

    cv::threshold(blur, thresh2, 60, 255, cv::THRESH_BINARY);
    output2.mul(thresh2);
    auto end = std::chrono::high_resolution_clock::now();
    auto duration = std::chrono::duration_cast<std::chrono::microseconds>(end-start);
    std::cout << "blur method: " << duration.count() << std::endl; // 378µs

    cv::imshow("blur", output2);
  }

  auto diff = (output1 - output2) * 255;
  std::cout << "diff norm: " << cv::norm(diff) << std::endl; // 0

  while(1)
  {
    if(27 ==cv::waitKey(0))
      break;
  }
  return 0;
}
产出:
Stack Overflow用户
发布于 2020-06-07 21:19:23
UPDATE -没有注意到它需要1x1像素线
就像你说的-我忽略了边境
import cv2
import numpy as np
import matplotlib.pyplot as plt


img = cv2.imread("dumpster/eLIRj.png")
cv2.imwrite("dumpster/masking/1.png", img)

# convert to grayscale (single channel)
gray = cv2.cvtColor(img, cv2.COLOR_BGR2GRAY)
cv2.imwrite("dumpster/masking/2.png", gray)

# otsu thresholding
otsu = cv2.threshold(
    gray, 0, 255, cv2.THRESH_BINARY + cv2.THRESH_OTSU)[1]
cv2.imwrite("dumpster/masking/3.png", otsu)

# erode with horizontal and vertical lines (2x1 pixels)
kernel = np.ones((2,1), dtype=np.uint8)
erosion = cv2.erode(otsu, kernel, iterations = 1)
kernel = np.ones((1,2), dtype=np.uint8)
erosion = erosion + cv2.erode(otsu, kernel, iterations = 1)
cv2.imwrite("dumpster/masking/4.png", erosion)

# dilate whats left with 3x3 kernel
kernel = np.ones((3,3), dtype=np.uint8)
dilated = cv2.dilate(erosion, kernel, iterations=1)
cv2.imwrite("dumpster/masking/5.png", dilated)

# create binary mask and apply it on thresholded, grayscale image
mask = dilated / 255
final = otsu * mask
cv2.imwrite("dumpster/masking/6.png", final)
原始图像:

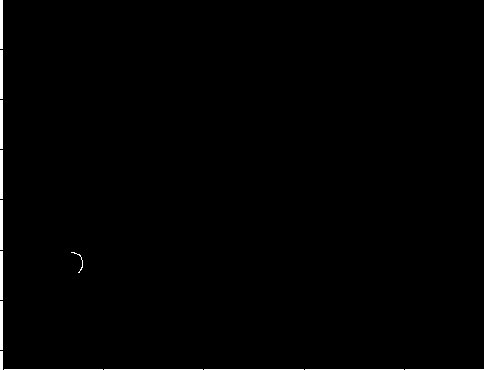
扩张:

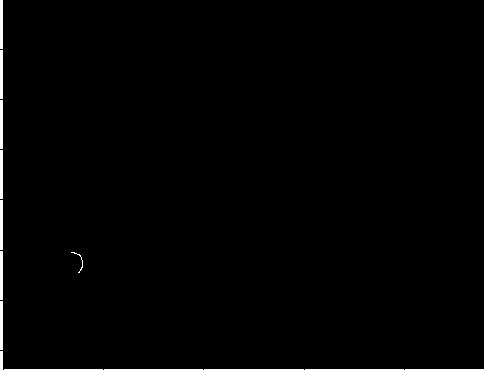
决赛:
页面原文内容由Stack Overflow提供。腾讯云小微IT领域专用引擎提供翻译支持
原文链接:
https://stackoverflow.com/questions/62250682
复制相关文章
相似问题
腾讯云开发者
