TUIKit 默认实现了文本、图片、语音、视频、文件等基本消息类型的发送和展示,如果这些消息类型满足不了您的需求,您可以新增自定义消息类型。
基本消息类型
消息类型 | 显示效果图 |
文本类消息 | 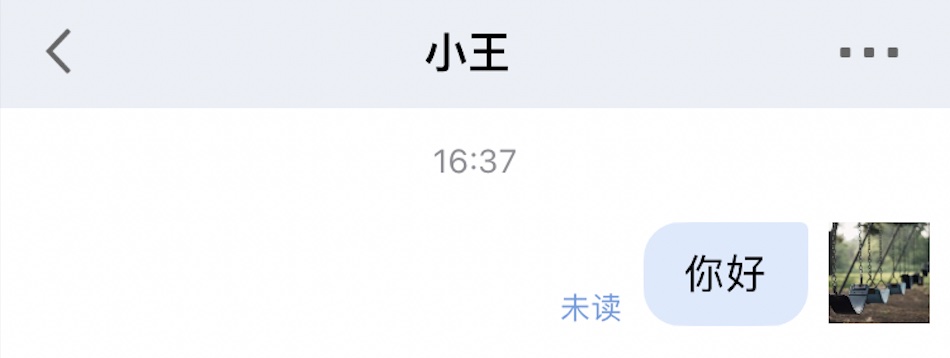 |
图片类消息 | 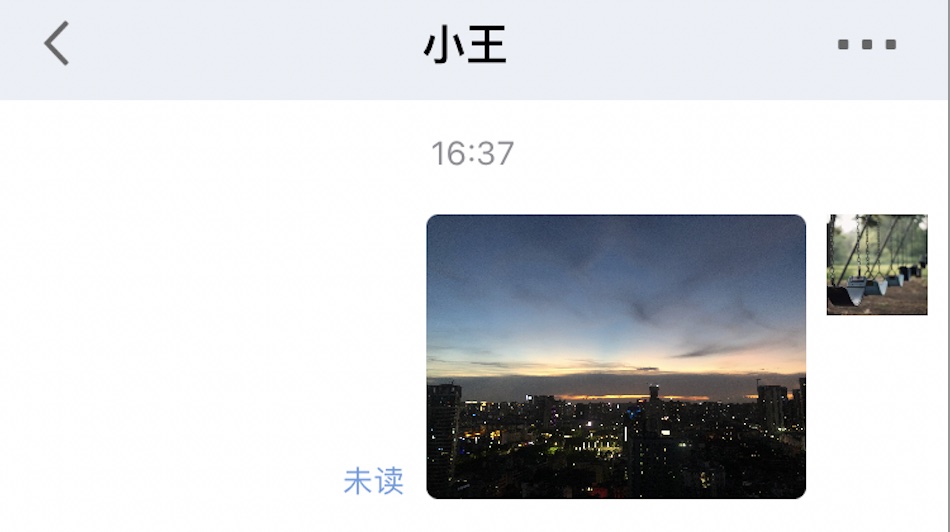 |
语音类消息 | 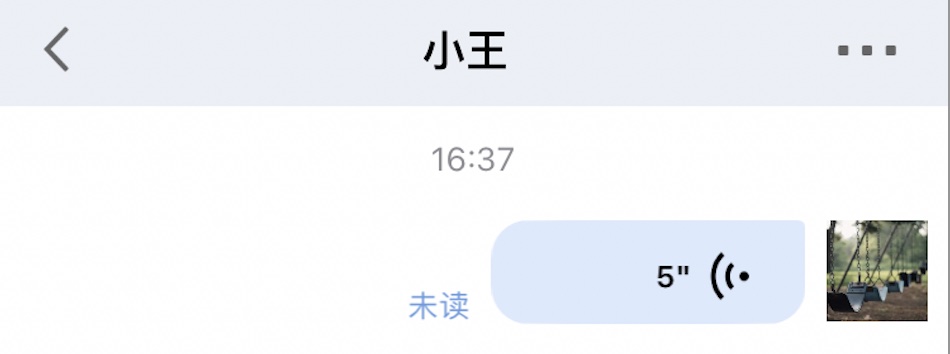 |
视频类消息 | 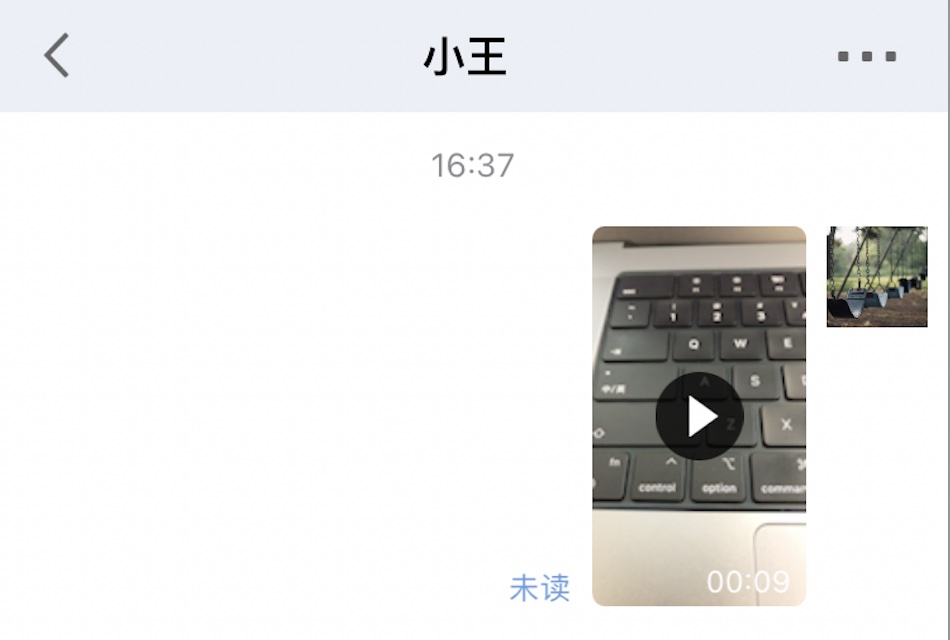 |
文件类消息 | 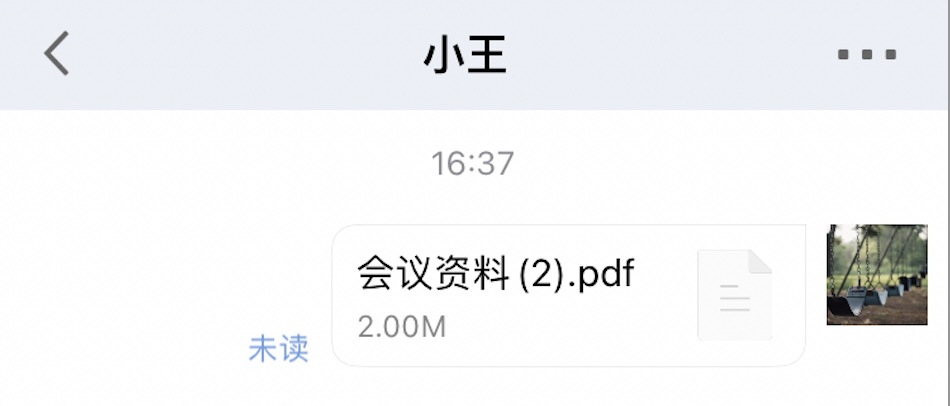 |
自定义消息
如果基本消息类型不能满足您的需求,您可以根据实际业务需求自定义消息。下文以发送一条可跳转至浏览器的超文本作为自定义消息为例,帮助您快速了解实现流程。
TUIKit 内置的自定义消息样式如下图所示:
说明
TUIKit 在 5.8.1668 版本重新设计了一套自定义消息方案,新方案较旧方案有很大的改动,实现起来更简单快捷。旧方案 API 继续保留,但不再维护。
我们强烈建议您升级到 5.8.1668 及以上版本,使用新方案实现自定义消息。
展示自定义消息
TUIKit 内置的自定义消息 cell 元素如下图所示:
您可以在 TUIMessageBaseDataProvider.m 的
onRecvNewMessage 函数内接收自定义消息。
收到的自定义消息最终会以 Cell 的形式展示在消息列表中,Cell 绘制所需的数据我们称之为 CellData 。下面我们分步骤讲解下如何展示自定义消息。
创建自定义 CellData
1. 在
TUIChat/UI_Classic/Cell/CellData/Custom 文件夹下新建 TUILinkCellData.h 和 TUILinkCellData.m 文件,继承自TUIMessageCellData ,用于存储显示的文字和跳转的链接。
示例代码如下:@interface TUILinkCellData : TUIMessageCellData@property NSString *text;@property NSString *link;@end
2. 重写父类的
getCellData: 方法。用于把 V2TIMMessage 转换成消息列表 Cell 的绘制数据 TUILinkCellData。
示例代码如下:@implementation TUILinkCellData+ (TUIMessageCellData *)getCellData:(V2TIMMessage *)message{NSDictionary *param = [NSJSONSerialization JSONObjectWithData:message.customElem.data options:NSJSONReadingAllowFragments error:nil];TUILinkCellData *cellData = [[TUILinkCellData alloc] initWithDirection:message.isSelf ? MsgDirectionOutgoing : MsgDirectionIncoming];cellData.innerMessage = message;cellData.msgID = message.msgID;cellData.text = param[@"text"];cellData.link = param[@"link"];cellData.avatarUrl = [NSURL URLWithString:message.faceURL];return cellData;}@end
3. 重写父类的
getDisplayString: 方法。用于把 V2TIMMessage 转换成会话列表 lastMsg 的展示文本信息。
会话列表 lastMsg 展示文本指的是当用户停留在会话列表,每个会话 cell 会显示当前会话最后一条消息。如下图所示: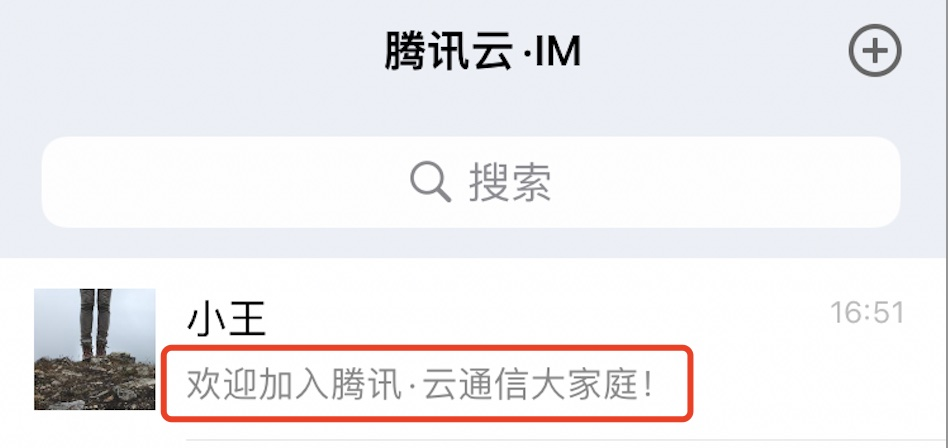

示例代码如下:
@implementation TUILinkCellData+ (NSString *)getDisplayString:(V2TIMMessage *)message {NSDictionary *param = [NSJSONSerialization JSONObjectWithData:message.customElem.data options:NSJSONReadingAllowFragments error:nil];return param[@"text"];}@end
4. 重写父类的
contentSize: 方法,用于计算 cellData 内容所占绘制区域的大小。
示例代码如下:- (CGSize)contentSize{CGRect rect = [self.text boundingRectWithSize:CGSizeMake(300, MAXFLOAT) options:NSStringDrawingUsesLineFragmentOrigin | NSStringDrawingUsesFontLeading attributes:@{ NSFontAttributeName : [UIFont systemFontOfSize:15] } context:nil];CGSize size = CGSizeMake(ceilf(rect.size.width)+1, ceilf(rect.size.height));// 加上气泡边距size.height += 60;size.width += 20;return size;}
创建自定义 Cell
1. 在
TUIChat/UI_Classic/Cell/CellUI/Custom 文件夹下新建 TUILinkCell.h 和 TUILinkCell.m 文件,继承自 TUIMessageCell ,用于绘制 TUILinkCellData 数据。
示例代码如下:@interface TUILinkCell : TUIMessageCell@property UILabel *myTextLabel; // 展示文本@property UILabel *myLinkLabel; // 链接跳转文本- (void)fillWithData:(TUILinkCellData *)data; // 绘制 UI@end
2. 重写父类
initWithStyle:reuseIdentifier: 方法,创建 myTextLabel 和 myLinkLabel 文本展示对象,并添加至 container 容器。
示例代码如下:@implementation TUILinkCell// 初始化控件- (instancetype)initWithStyle:(UITableViewCellStyle)style reuseIdentifier:(NSString *)reuseIdentifier{self = [super initWithStyle:style reuseIdentifier:reuseIdentifier];if (self) {self.myTextLabel = [[UILabel alloc] init];[self.container addSubview:self.myTextLabel];self.myLinkLabel = [[UILabel alloc] init];self.myLinkLabel.text = @"查看详情>>";[self.container addSubview:_myLinkLabel];}return self;}@end
3. 重写父类
fillWithData: 方法,在 TUILinkCell 中自定义展示 TUILinkCellData 数据。
示例代码如下:@implementation TUILinkCell// 根据 cellData 绘制 cell- (void)fillWithData:(TUILinkCellData *)data;{[super fillWithData:data];self.myTextLabel.text = data.text;}@end
4. 重写父类
layoutSubviews 方法,自定义控件的布局。
示例代码如下:// 设置控件坐标- (void)layoutSubviews{[super layoutSubviews];self.myTextLabel.mm_top(10).mm_left(10).mm_flexToRight(10).mm_flexToBottom(50);self.myLinkLabel.mm_sizeToFit().mm_left(10).mm_bottom(10);}@end
注册自定义 Cell 和 CellData
当
cell 和 cellData 创建完成后,需要您在 TUIMessageDataProvider.m 的 load 函数里主动注册 cell 和 cellData 信息。
注册完成后,消息列表在收到消息时会根据 businessID 自动找到对应的 cellData 处理消息数据,消息列表在刷新 UI 的时候,也会根据 businessID 自动创建对应 Cell 绘制 cellData 数据。示例代码如下:
@implementation TUIMessageDataProvider+ (void)load {// 以下代码需要您自己实现customMessageInfo = @[@{@"businessID" : @"custom_message_link", // 自定义消息唯一标识(注意不要重复)@"cell_name" : @"TUILinkCell" // cell 的类名@"cell_data_name" : @"TUILinkCellData" // cellData 的类名},// 如果您需要多种类型的自定义消息,可以在下面继续添加自定义消息信息@{@"businessID" : @"custom_message_link2",@"cell_name" : @"TUILinkCell2"@"cell_data_name" : @"TUILinkCellData2"}];}@end
发送自定义消息
如下图所示,自定义消息发送按钮主要由文本
title 和图片 image 组成。您可以通过在 TUIChatDataProvider 的 customInputMoreMenus 属性中新增 TUIInputMoreCellData 对象来添加自定义按钮。您可以通过设置
TUIInputMoreCellData 的 title 和 image 属性来自定义您想展示的文字和图片信息;如果您想调整按钮的展示顺序,可以设置 priority 属性,其中 priority 值越大按钮越靠前;您也可以设置 onClicked 来监听该按钮的点击事件,实现自己的业务逻辑。
示例代码如下:
@implementation TUIChatDataProvider- (NSArray<TUIInputMoreCellData *> *)customInputMoreMenus {if (_customInputMoreMenus == nil) {NSMutableArray *arrayM = [NSMutableArray array];// Add custom button[arrayM addObject:({__weak typeof(self) weakSelf = self;TUIInputMoreCellData *linkData = [[TUIInputMoreCellData alloc] init];linkData.priority = 0; // 优先级,值越大越靠前linkData.title = @"自定义消息";linkData.image = [UIImage imageNamed:@"chat_more_link_img"];linkData.onClicked = ^(NSDictionary *actionParam) {NSString *text = @"欢迎加入腾讯·云通信大家庭!";NSString *link = @"https://cloud.tencent.com/document/product/269/3794";NSError *error = nil;NSDictionary *param = @{BussinessID : BussinessID_TextLink, @"text" : text, @"link" : link};NSData *data = [NSJSONSerialization dataWithJSONObject:param options:0 error:&error];if (error) {NSLog(@"[%@] Post Json Error", [weakSelf class]);return;}V2TIMMessage *message = [[V2TIMManager sharedInstance] createCustomMessage:data];if ([weakSelf.delegate respondsToSelector:@selector(dataProvider:sendMessage:)]) {[weakSelf.delegate dataProvider:weakSelf sendMessage:message];}};linkData;})];// Add your other button into arrayM here// ..._customInputMoreMenus = arrayM;}return _customInputMoreMenus;}@end