TSF 支持以容器的形式托管应用到 TSF 容器集群,您无需理解容器服务底层细节,便可以低门槛拥抱容器技术,最大化地利用资源将应用部署到 TSF,轻松享受 TSF 的服务注册发现、服务治理、可观测性等一系列能力。
本文介绍容器托管应用方式的相关应用场景,支持的应用类型和部署流程。
应用场景
应用托管方式:容器部署方式通过镜像将应用部署在 Docker 容器中,Docker 应用部署时,将在云服务器上创建多个 Docker 容器实例。
应用场景:适用于对容器运行环境需要定制和希望提升资源利用率的场景。
部署方式:支持 JAR 包、WAR 包以及镜像部署,不同的部署方式需选择的应用运行环境也会有所不同。
应用举例:Spring Boot、Dubbo、MySQL、WordPress。
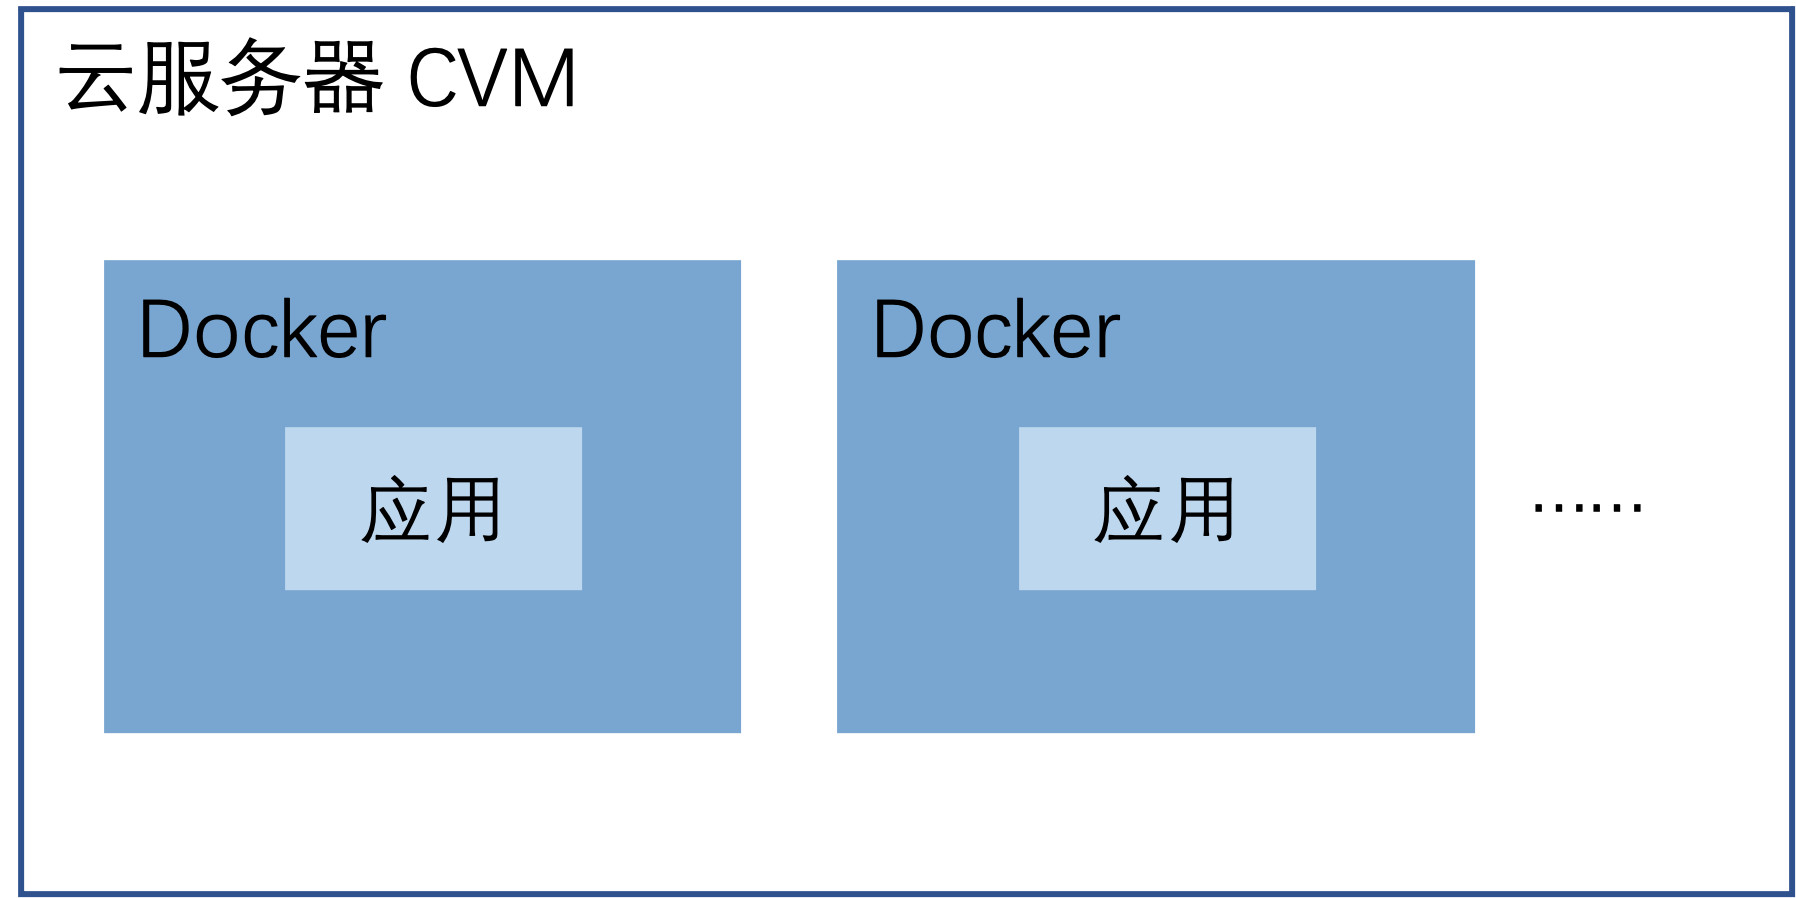
云服务器 CVM、Docker 容器和应用的关系如下。
支持的应用类型
TSF 支持以容器的形式托管 Java 应用、Go应用以及其他多语言(例如 PHP,C++ 等)应用,支持 JAR 包、WAR 包以及镜像部署,不同的部署方式需选择的应用运行环境也会有所不同。
Java :支持 SpringCloud、Dubbo 和其他框架接入。
Go:支持 Go-GRPC 和其他框架接入。
多语言:支持 PHP,C++ 等应用类型。
部署流程
1. 前往资源管理-容器集群
2. 将云主机导入集群
3. 创建应用
4. 上传程序包或镜像
5. 部署应用


