注意:
前提条件
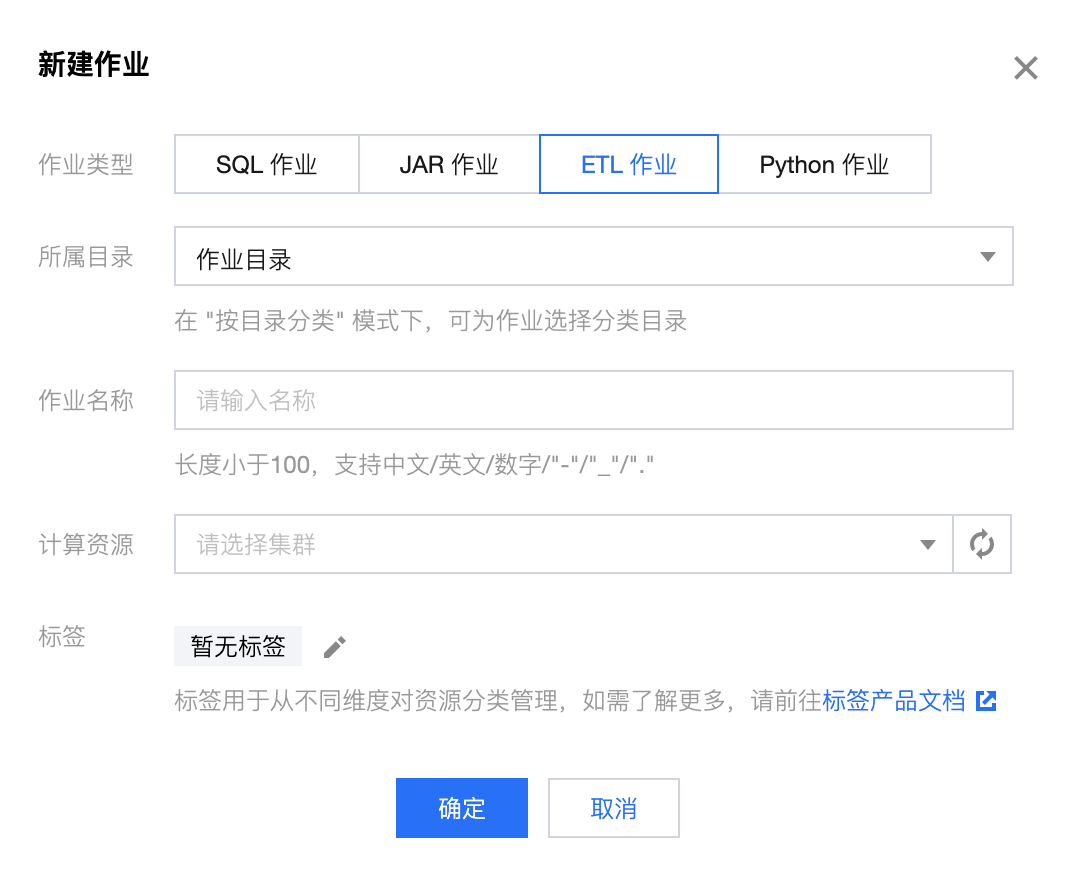
步骤1:创建 ETL 作业
登录 流计算 Oceanus 控制台,进入某一工作空间后,单击左侧导航作业管理,进入作业管理页面,单击新建 > 新建作业,作业类型选中 ETL 作业,输入作业名称,并选择一个运行中的集群,新建的 ETL 作业将运行于此集群,单击确定后即成功创建作业。
注意
步骤2:流计算服务委托授权

步骤3:配置数据源表
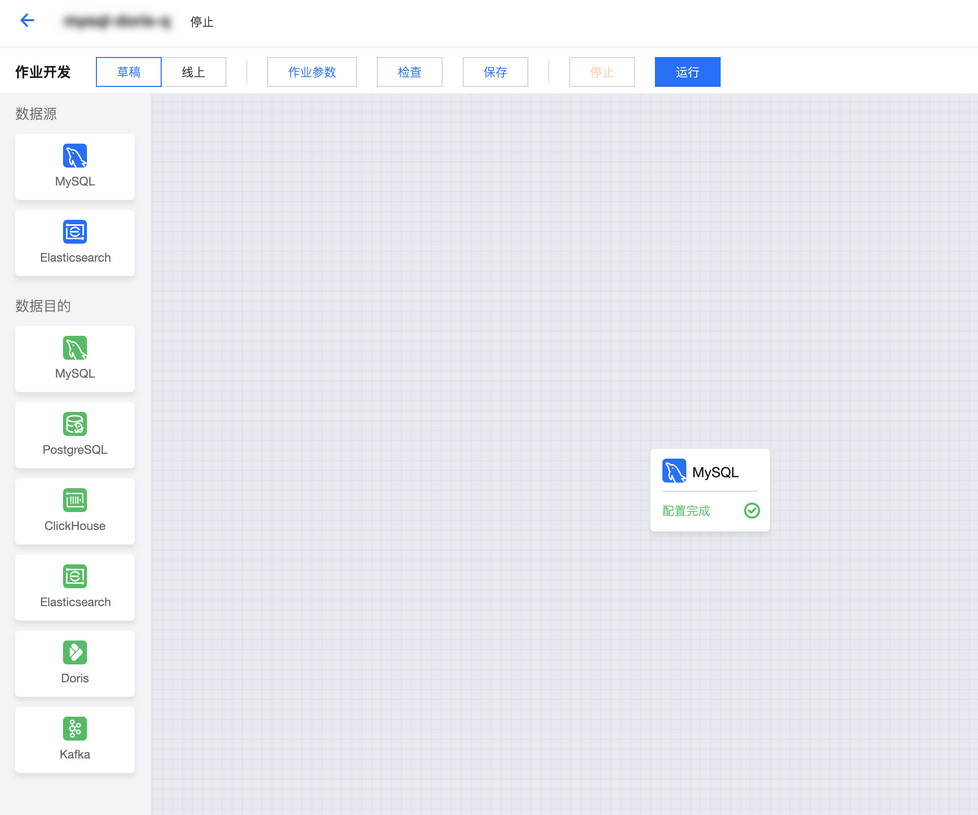
授权完成后,单击作业进入作业开发 > 草稿,从左侧列表拖入 MySQL 数据源。

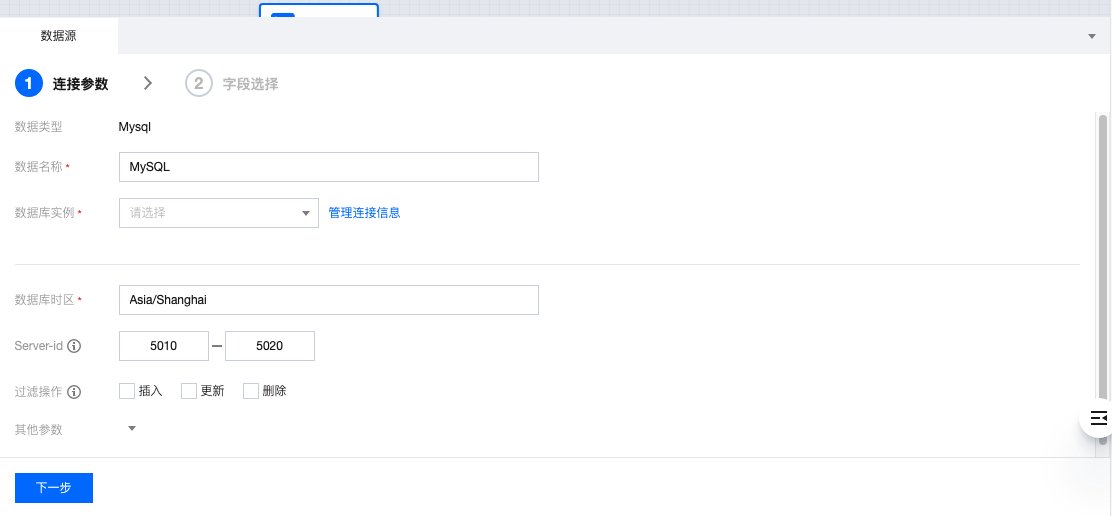
如果当前没有可用的数据库实例,可以单击管理连接信息,并单击新建连接信息增加新的数据源。
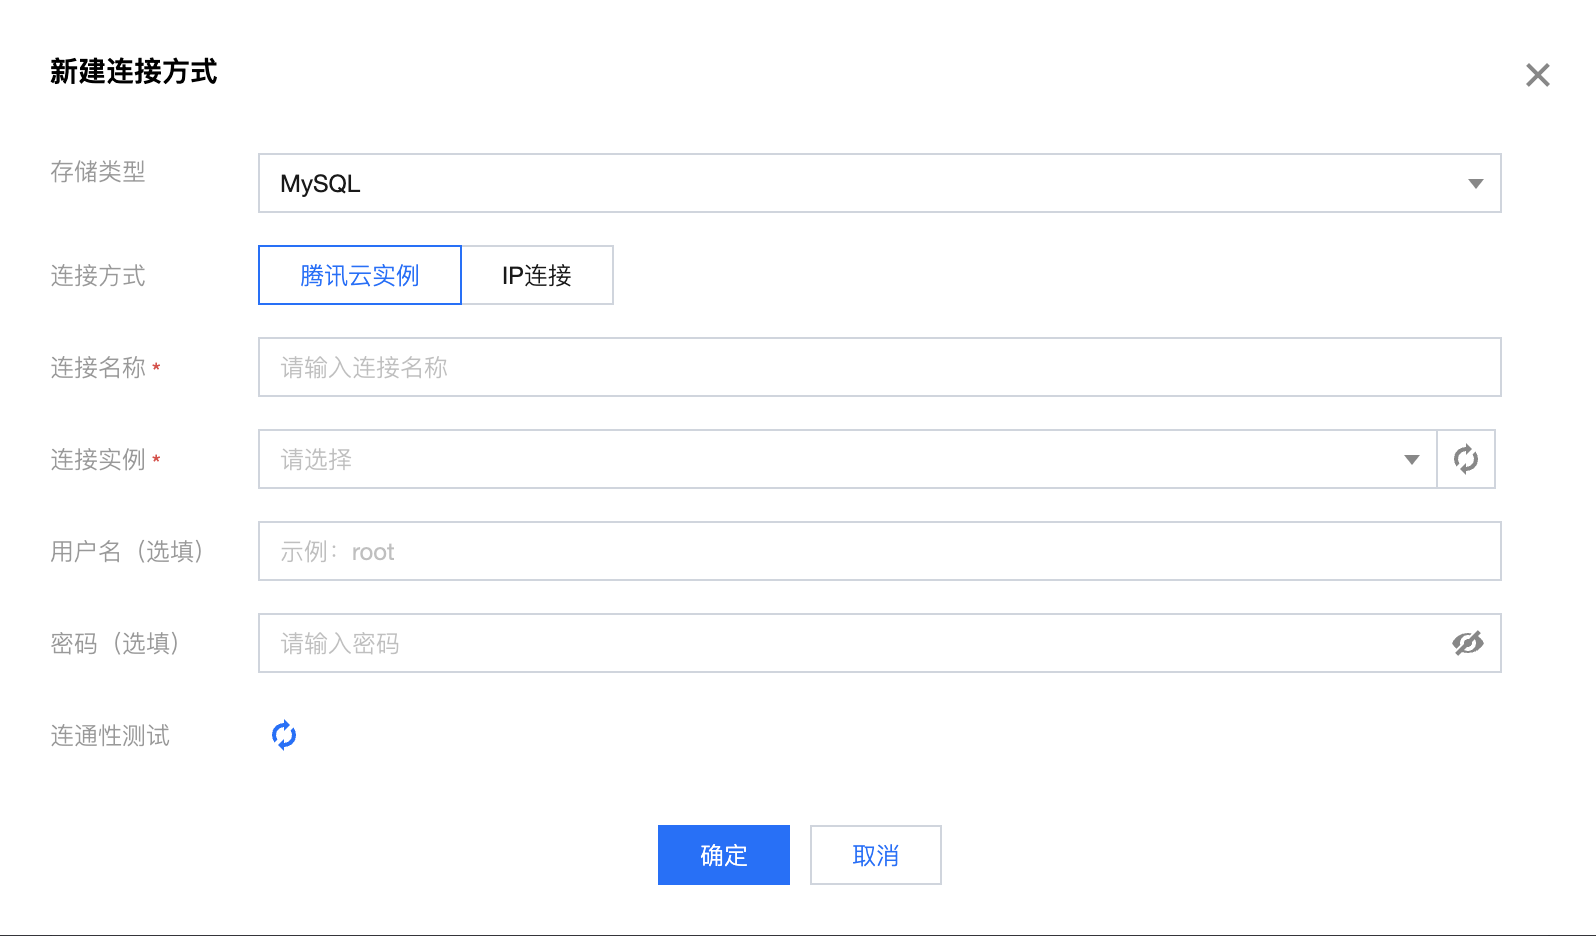
腾讯云实例可以使用当前账号下的腾讯云产品实例,但注意账号需要拥有对应产品的查询列表权限。
IP连接则直接用填入的 IP 进行连接,需要确保 IP 与 Oceanus 集群处于同一个 VPC 或是有进行过相关的网络打通操作。
选择好数据源之后,可以通过下拉框选择需要进行同步的数据库与表。
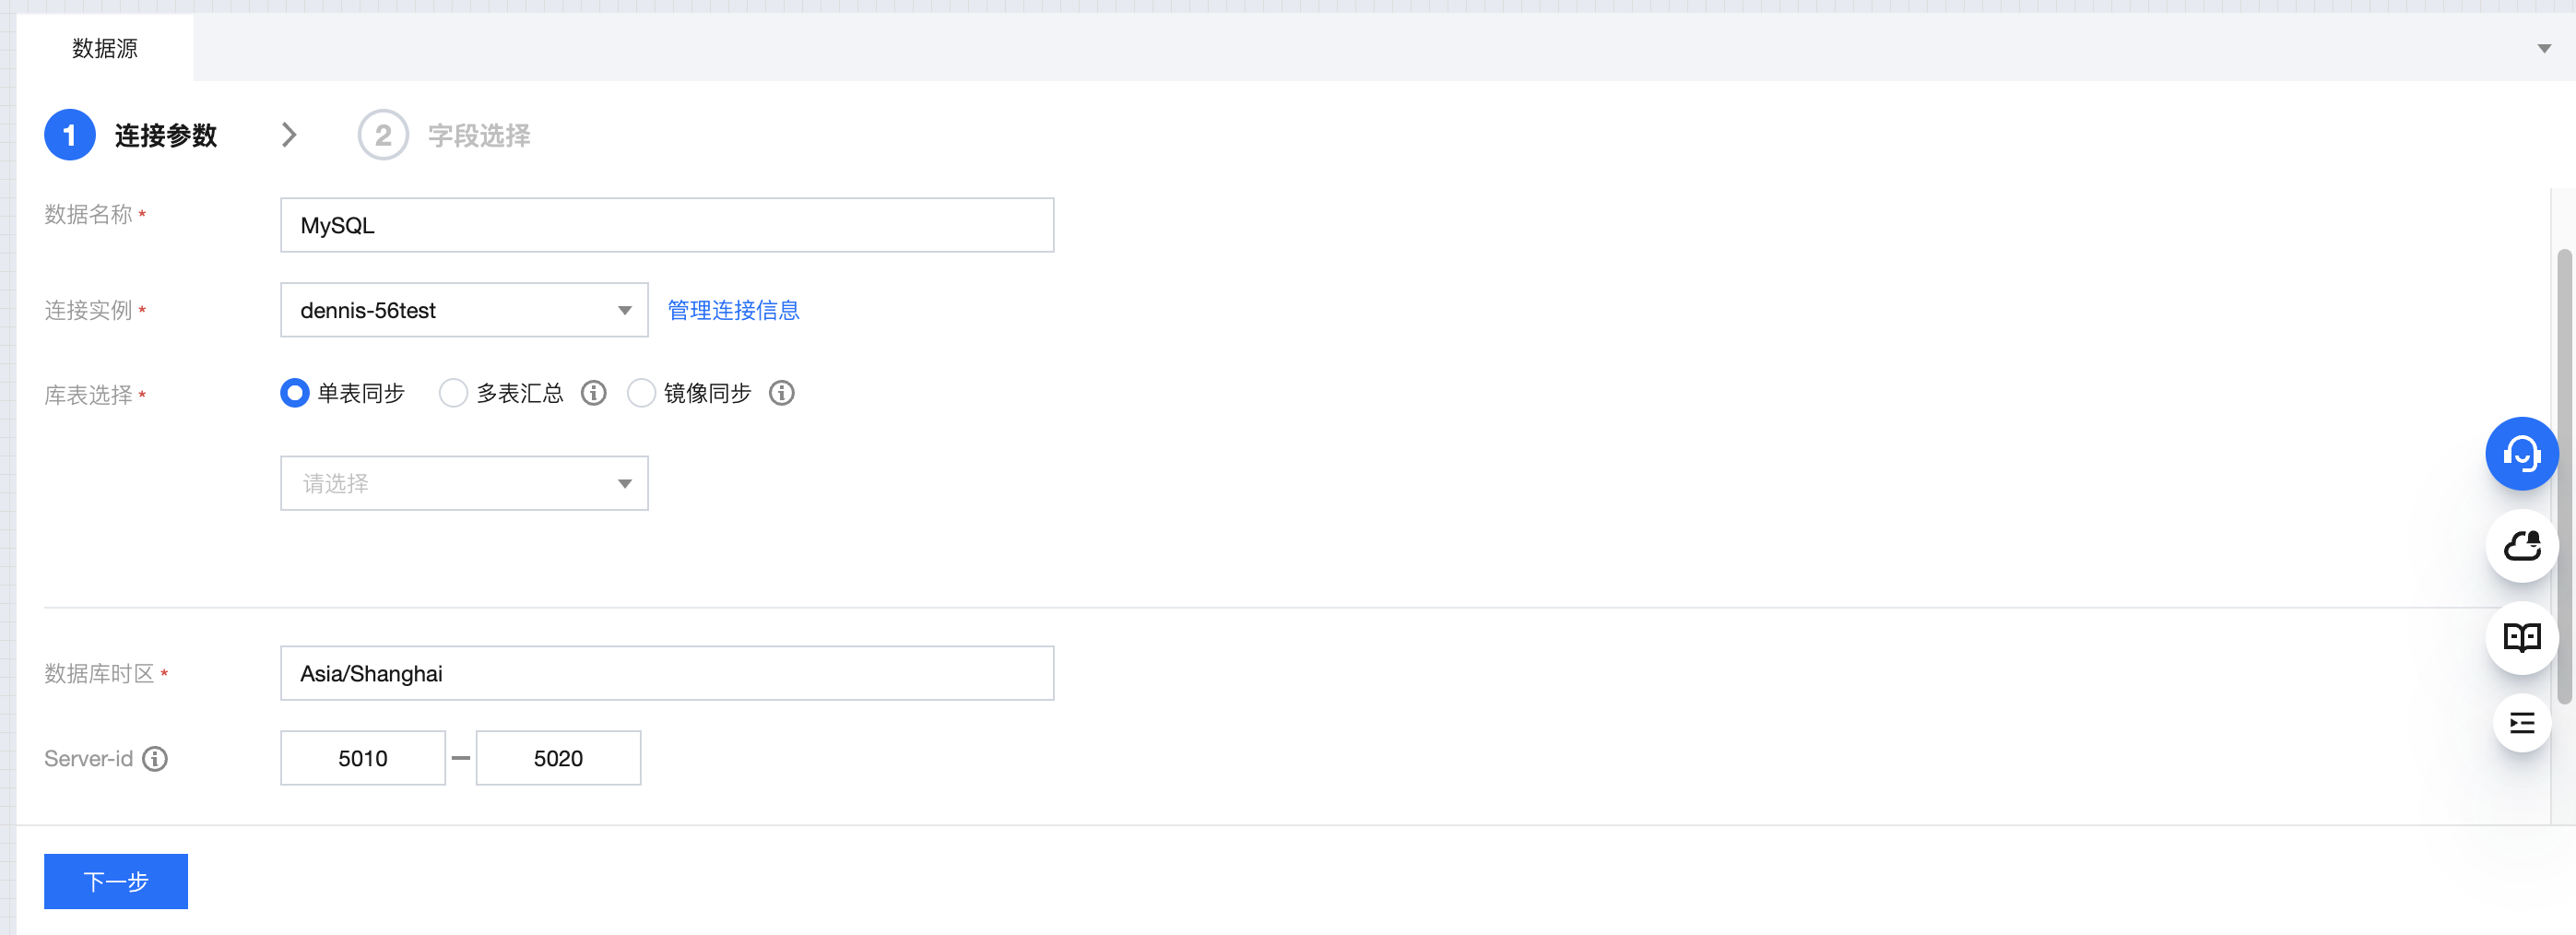
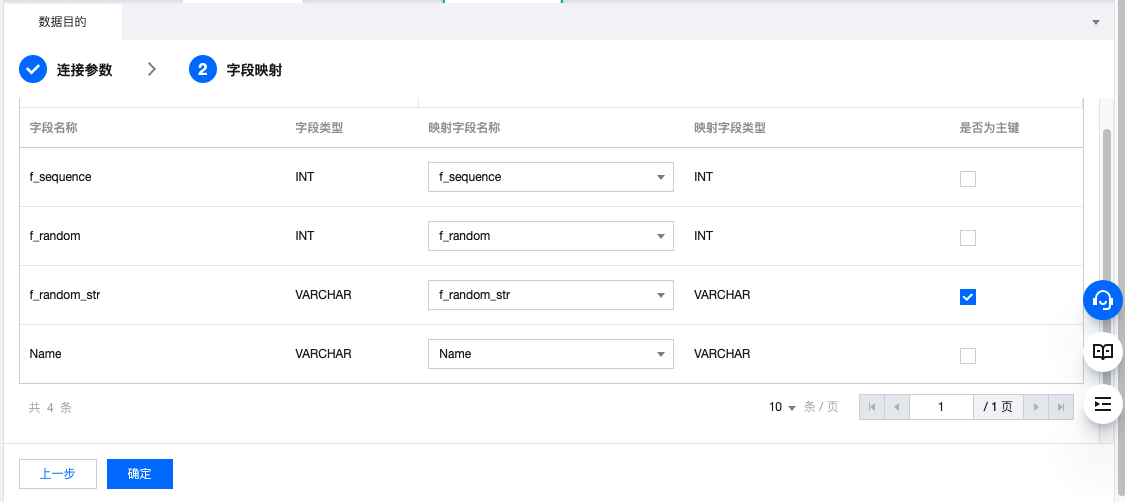
单击下一步,配置需要进行同步的字段,并单击确认完成配置。

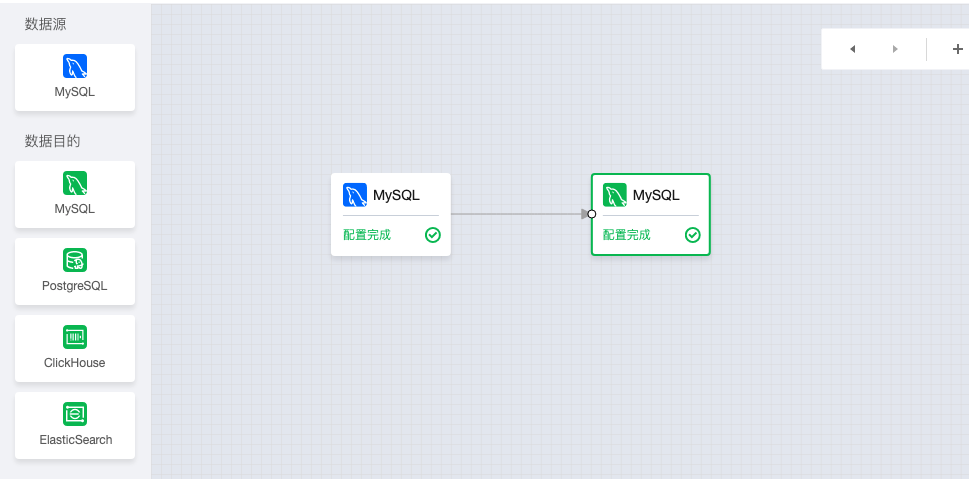
步骤4:配置数据目的
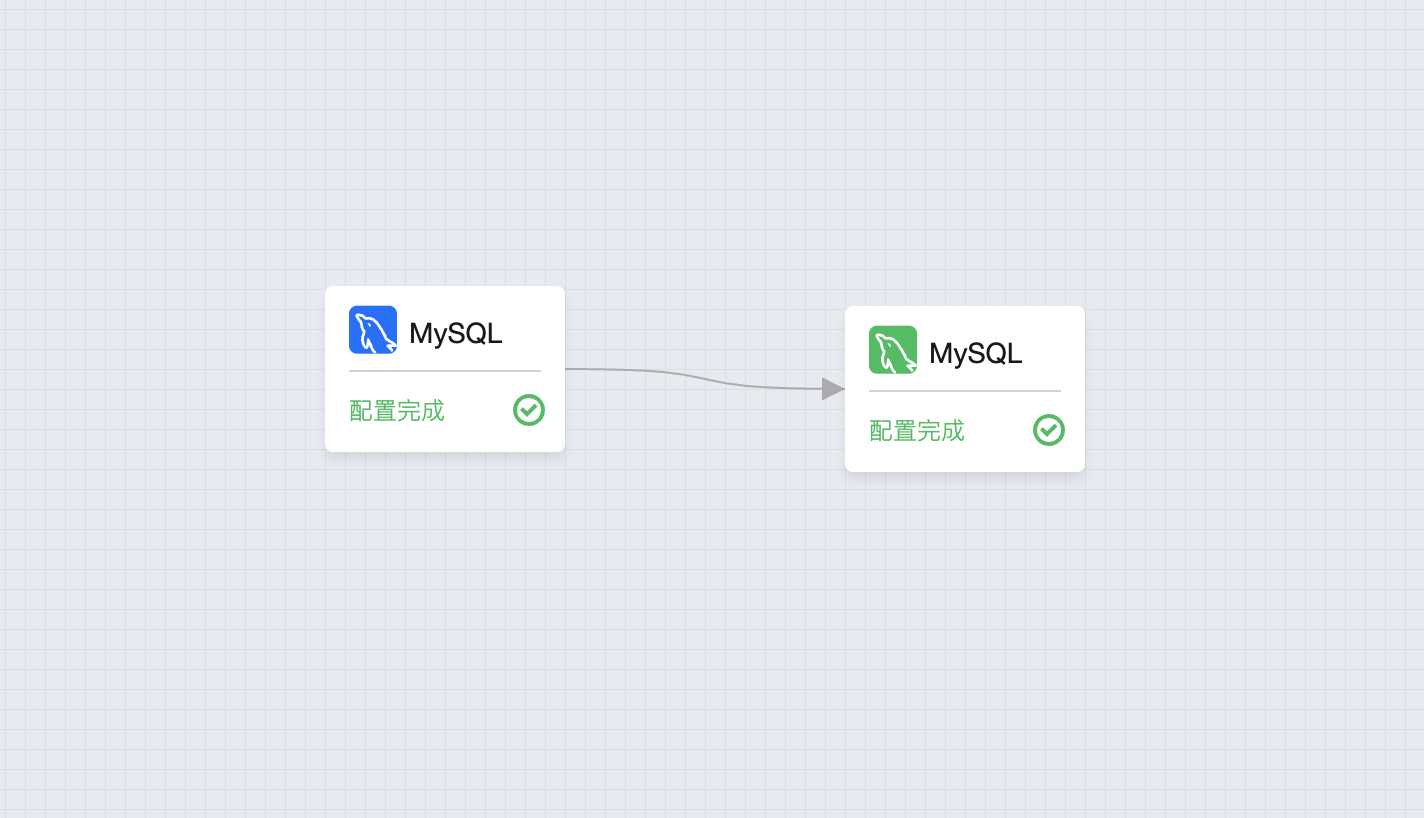
从左侧拖入数据目的,并与数据源相连。
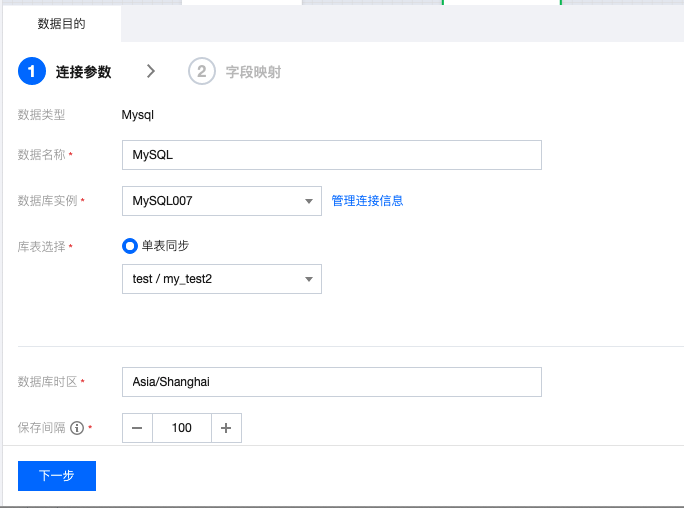
单击数据目的对象,配置好数据库实例与库表选择:
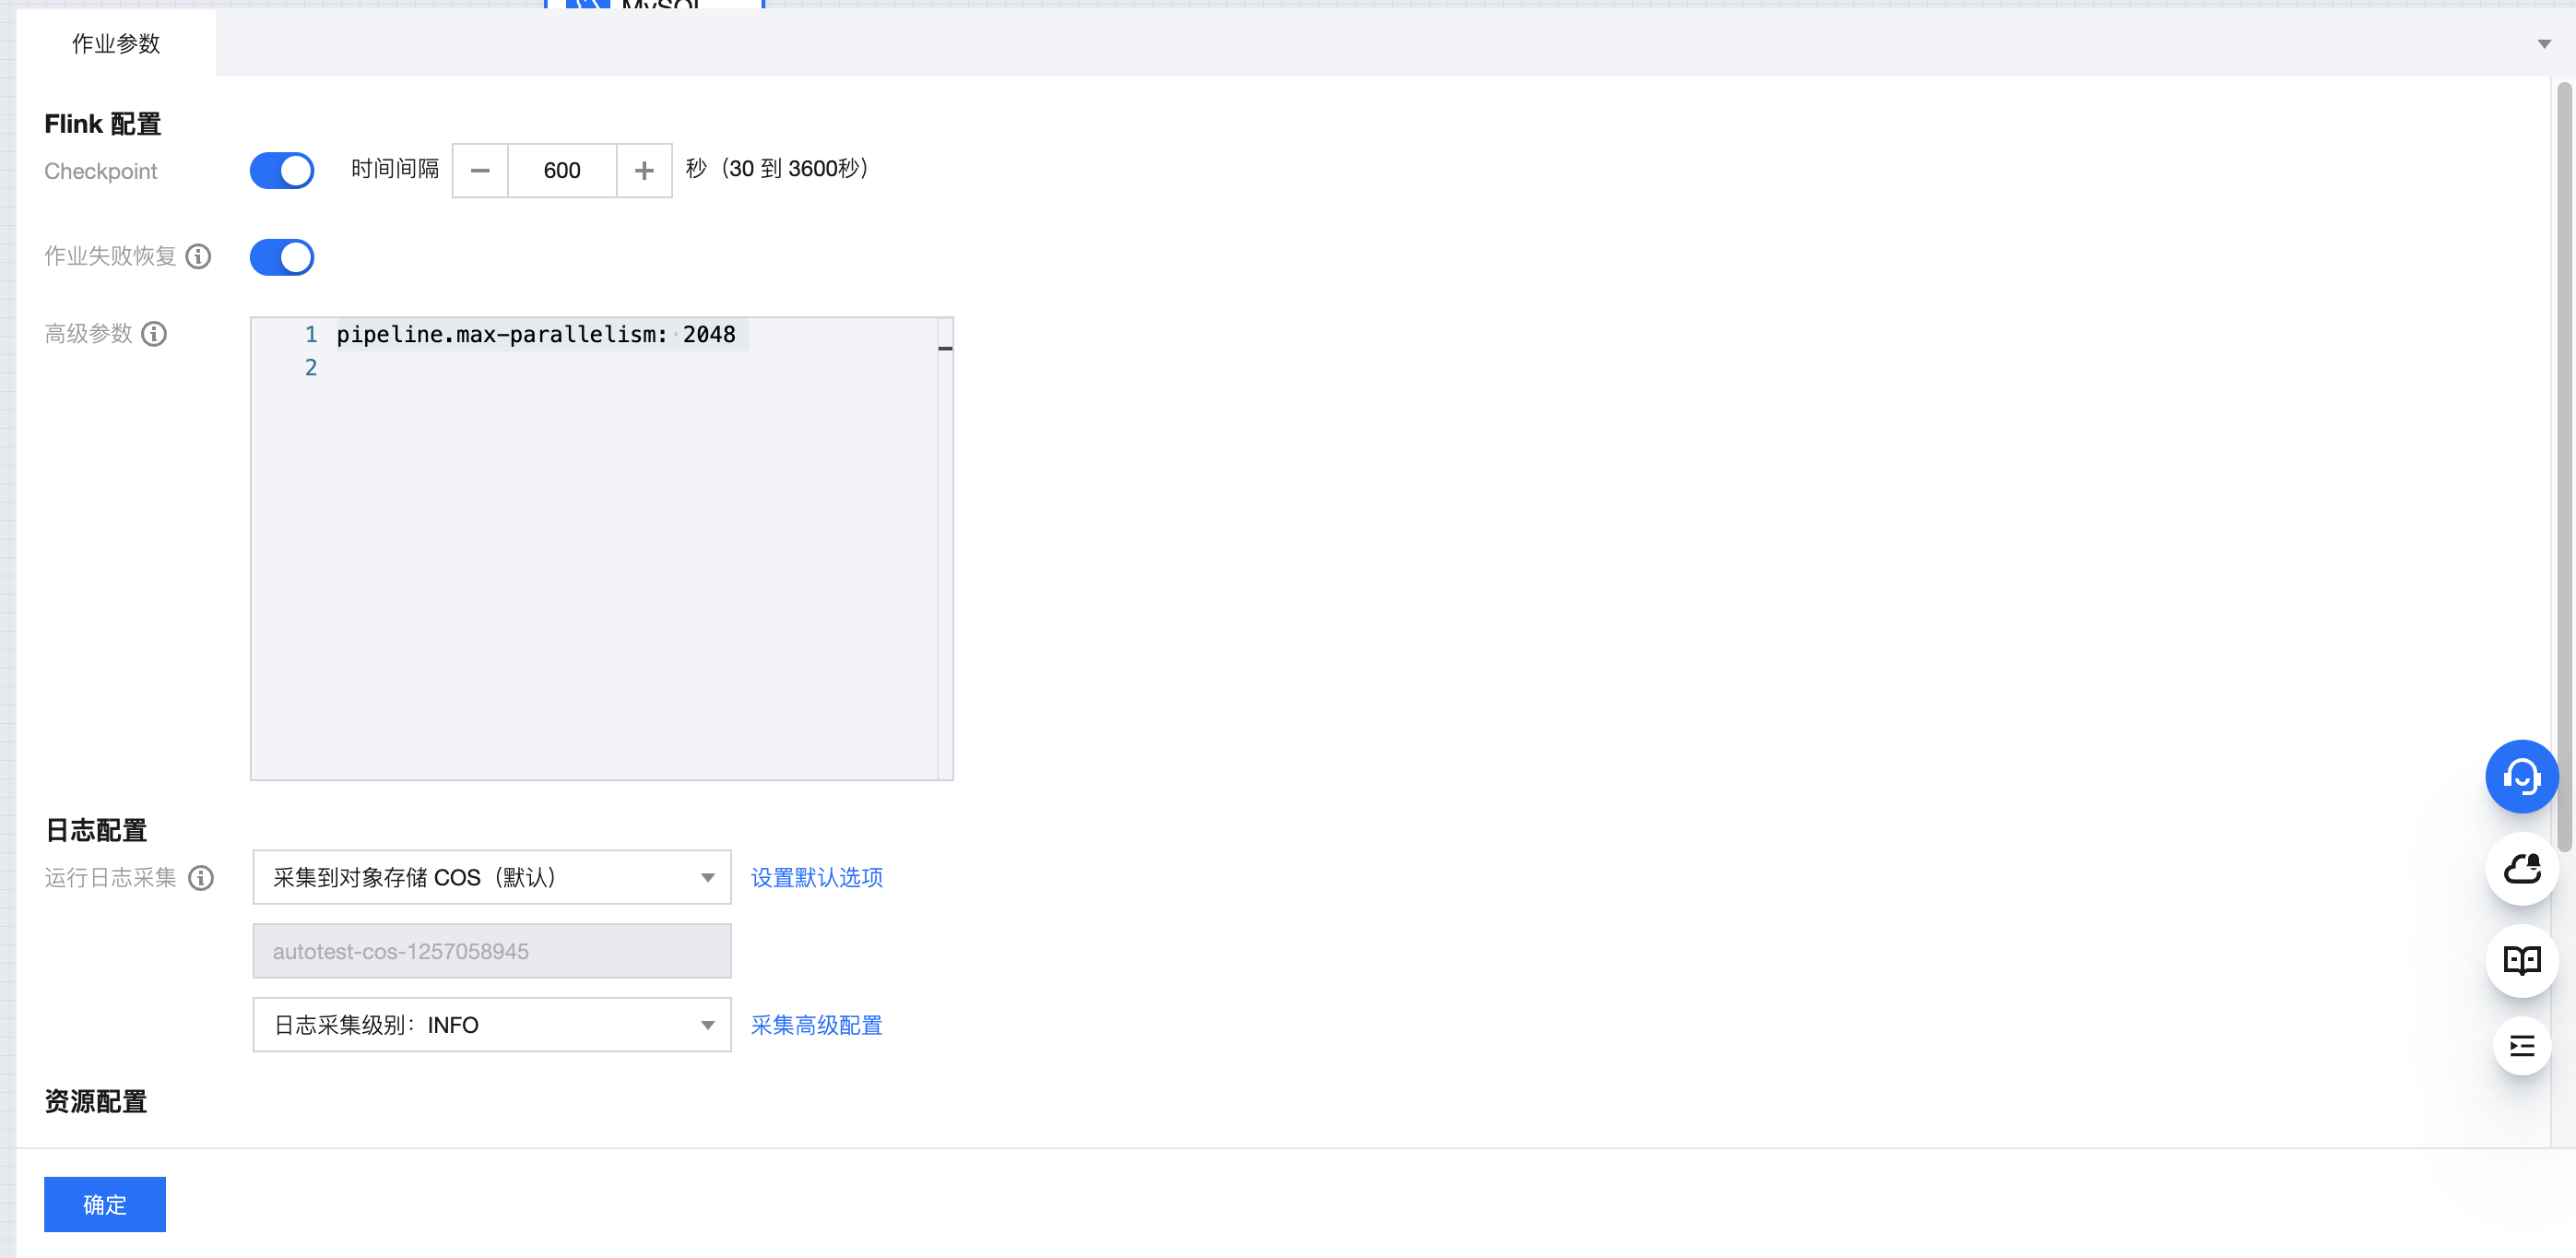
步骤5:设置作业参数
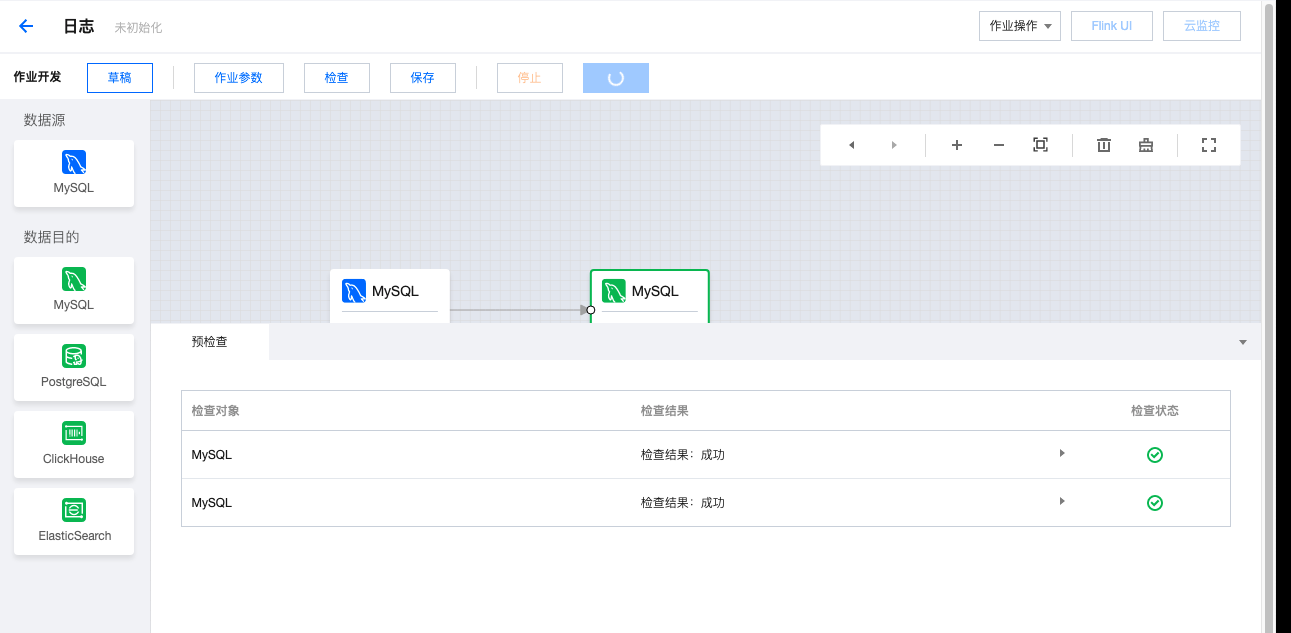
步骤6:发布运行 ETL 作业
单击运行,会进行作业预检查,并启动作业。
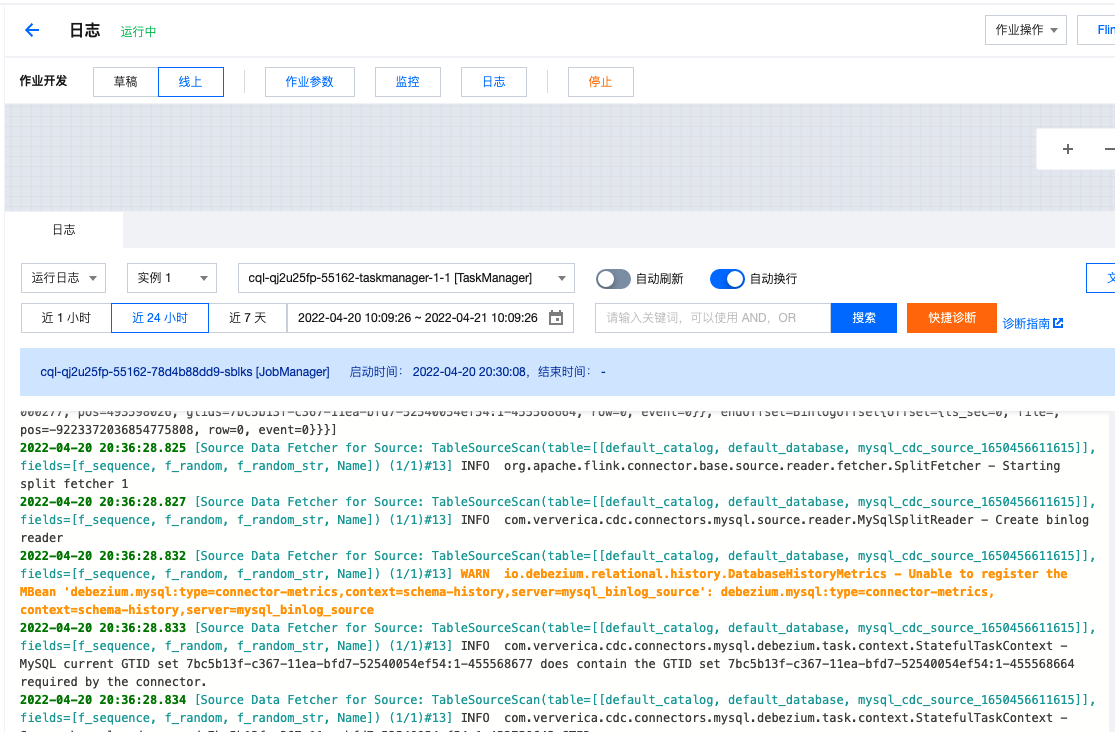
步骤7:查看作业日志
单击日志按钮可以查看作业日志。