Member management
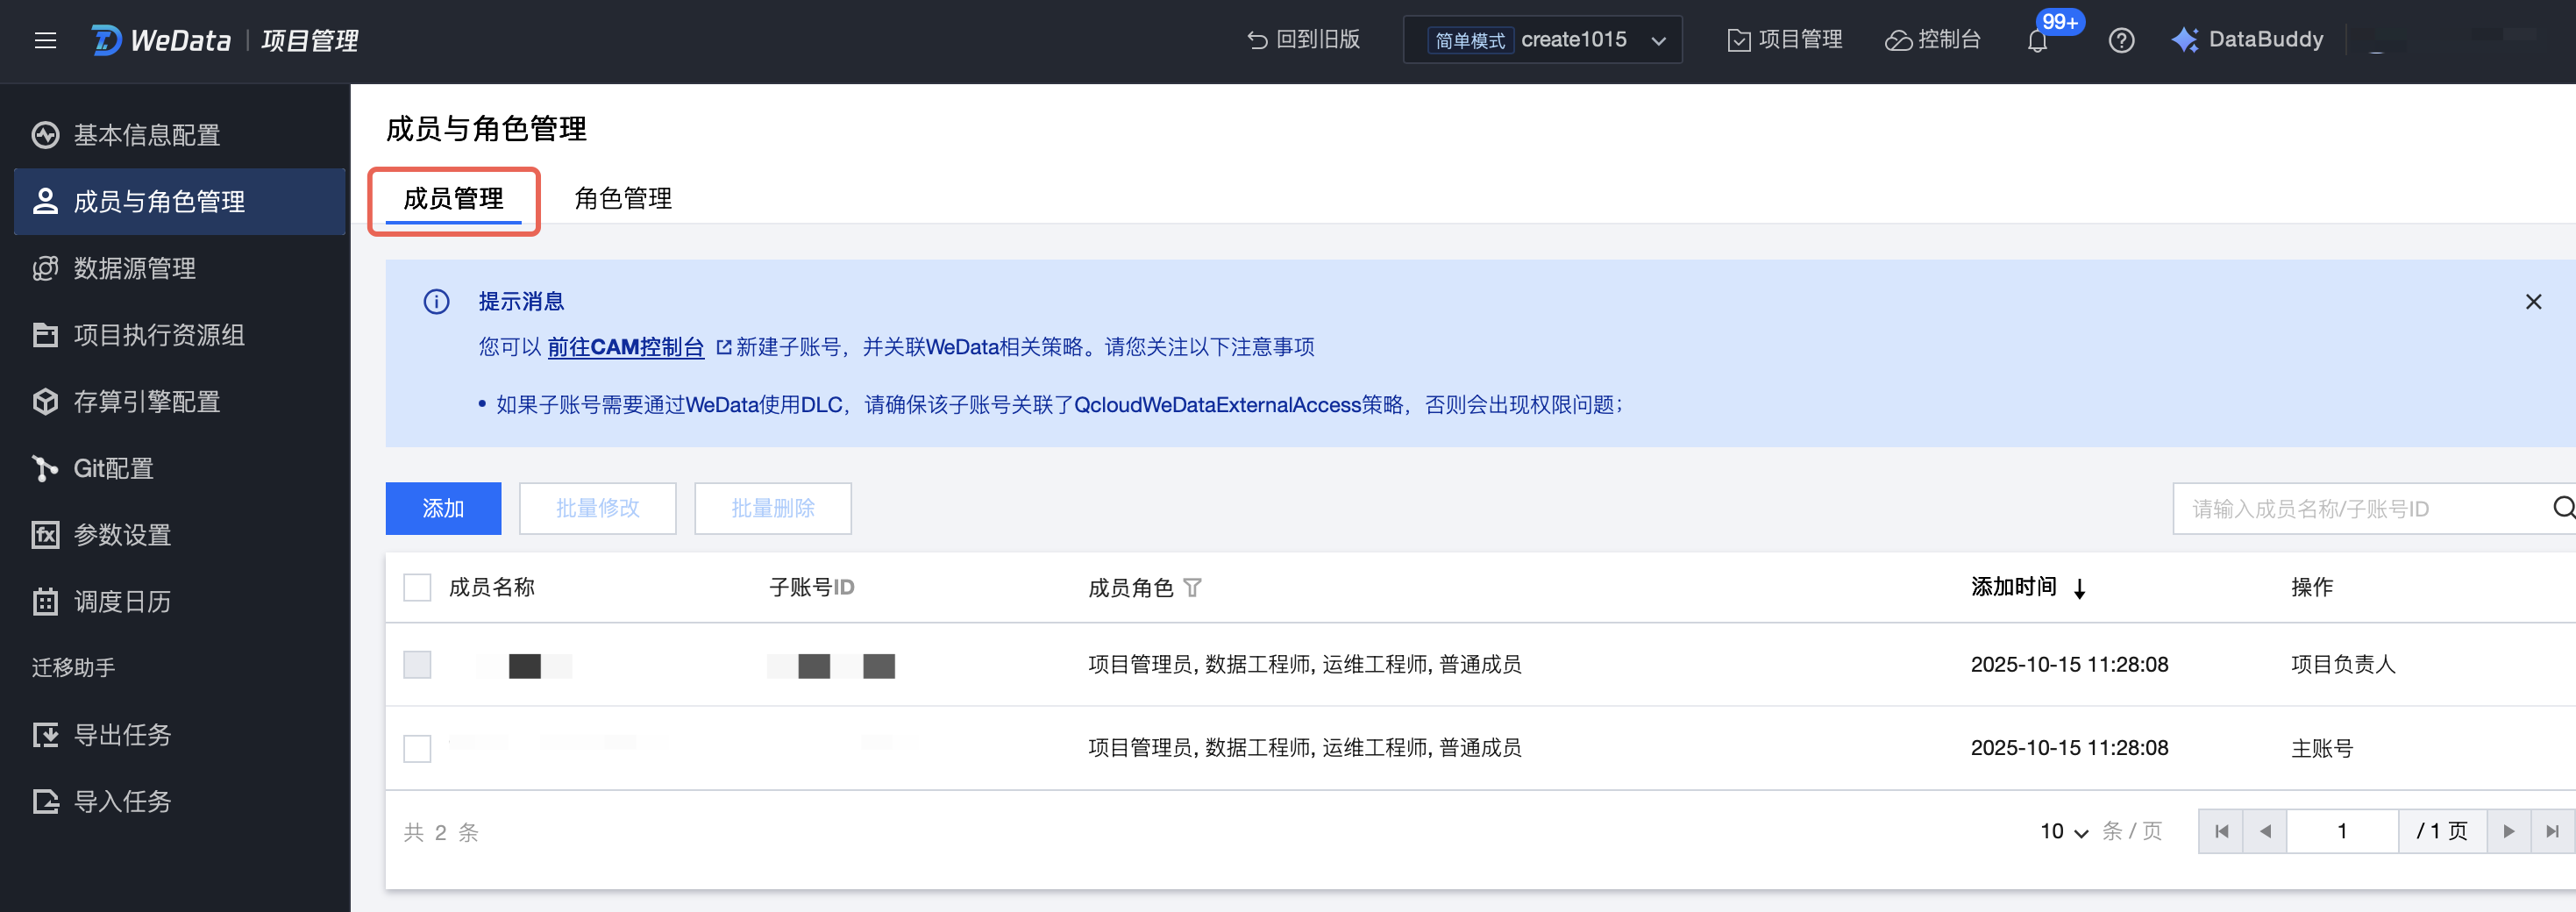
Add members to the project. Click Member and Role Management in the left directory, then view and manage member info under the Member Management tab.

Add User
1. If there are no members to be added under the account or the target member is not found, click the notification link to go to the CAM console for sub-user creation. For detailed operations, see CAM How to create a sub-user.
2. If users need to interact with other cloud products, they can create a policy in the CAM console to customize and authorize related users. For detailed operations, see CAM authorization management.

Project Member List
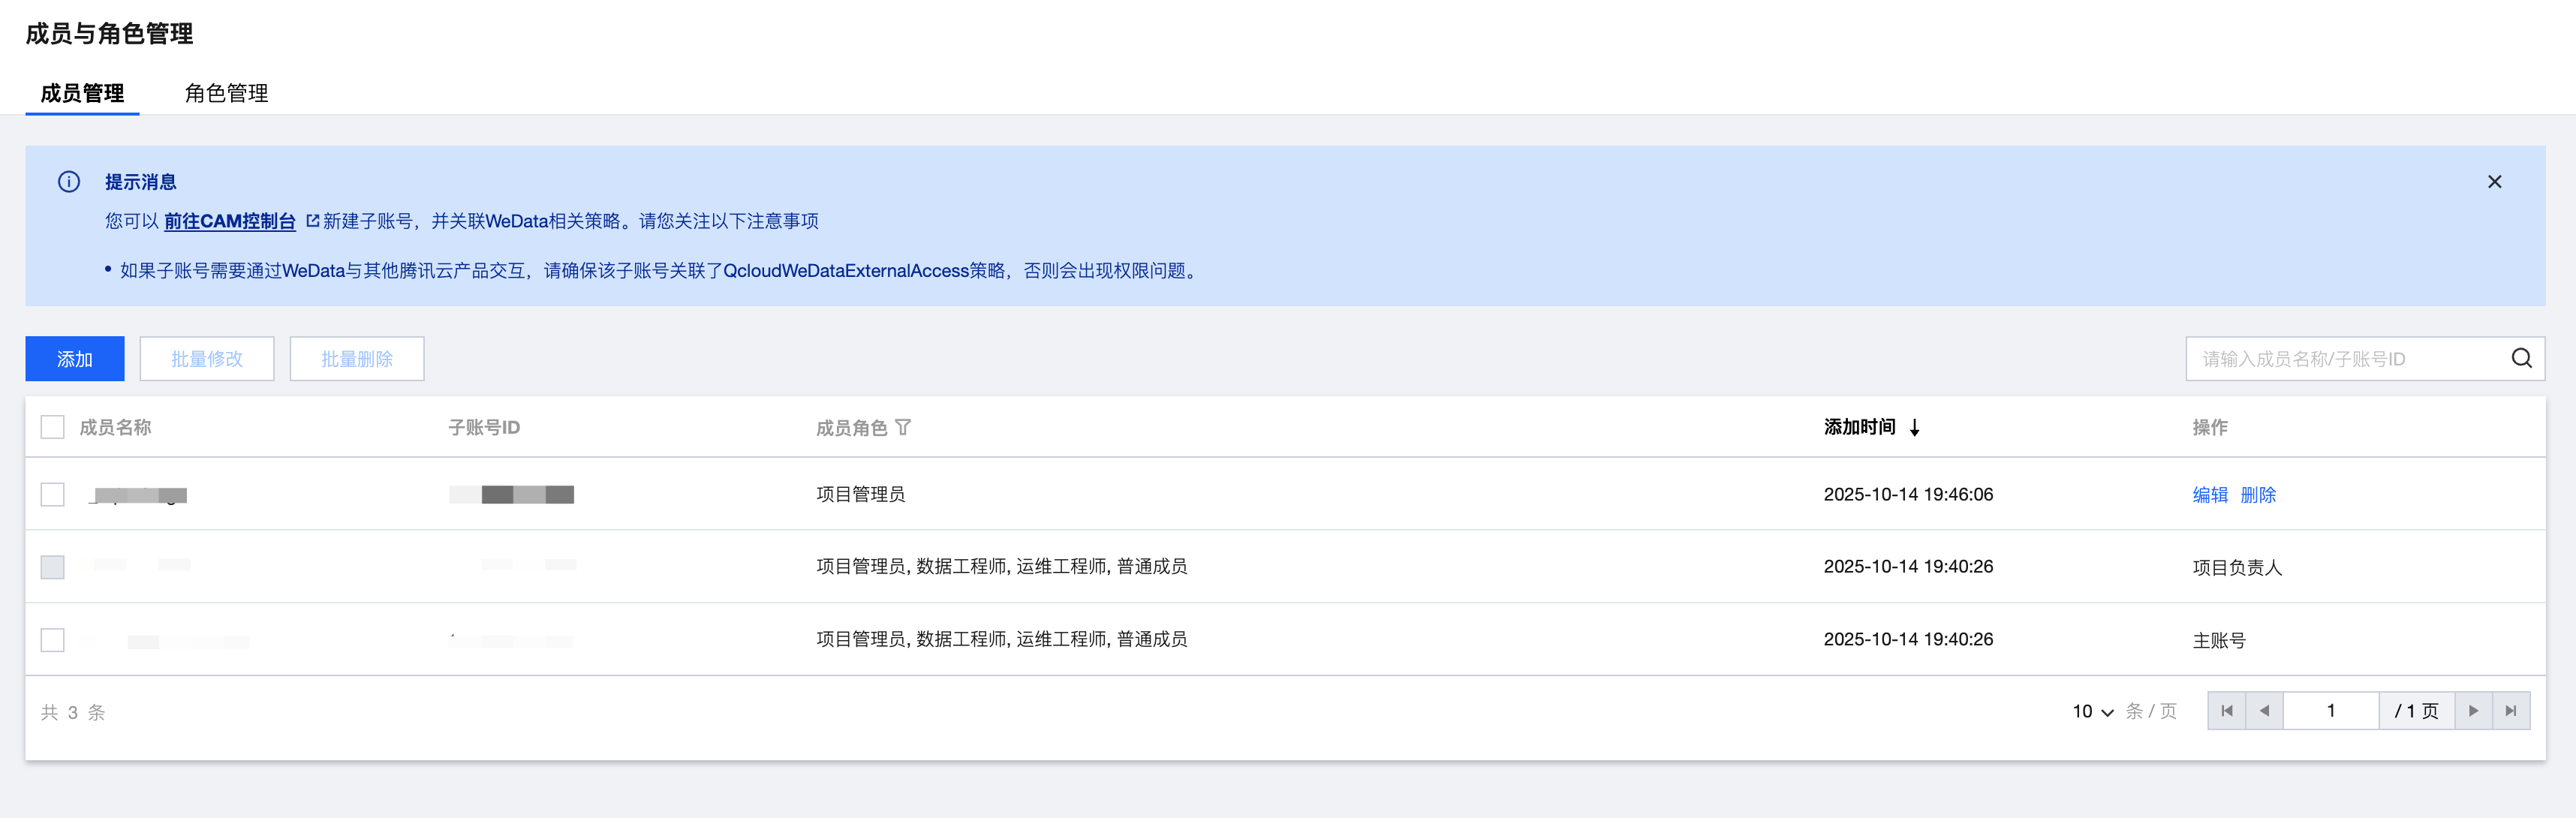
The project member list contains the names of all added project members, cloud account IDs, member roles, addition times, and operation information. For project members who are neither the owner nor the system administrator, you can edit or delete them in the operation column.

Add Member
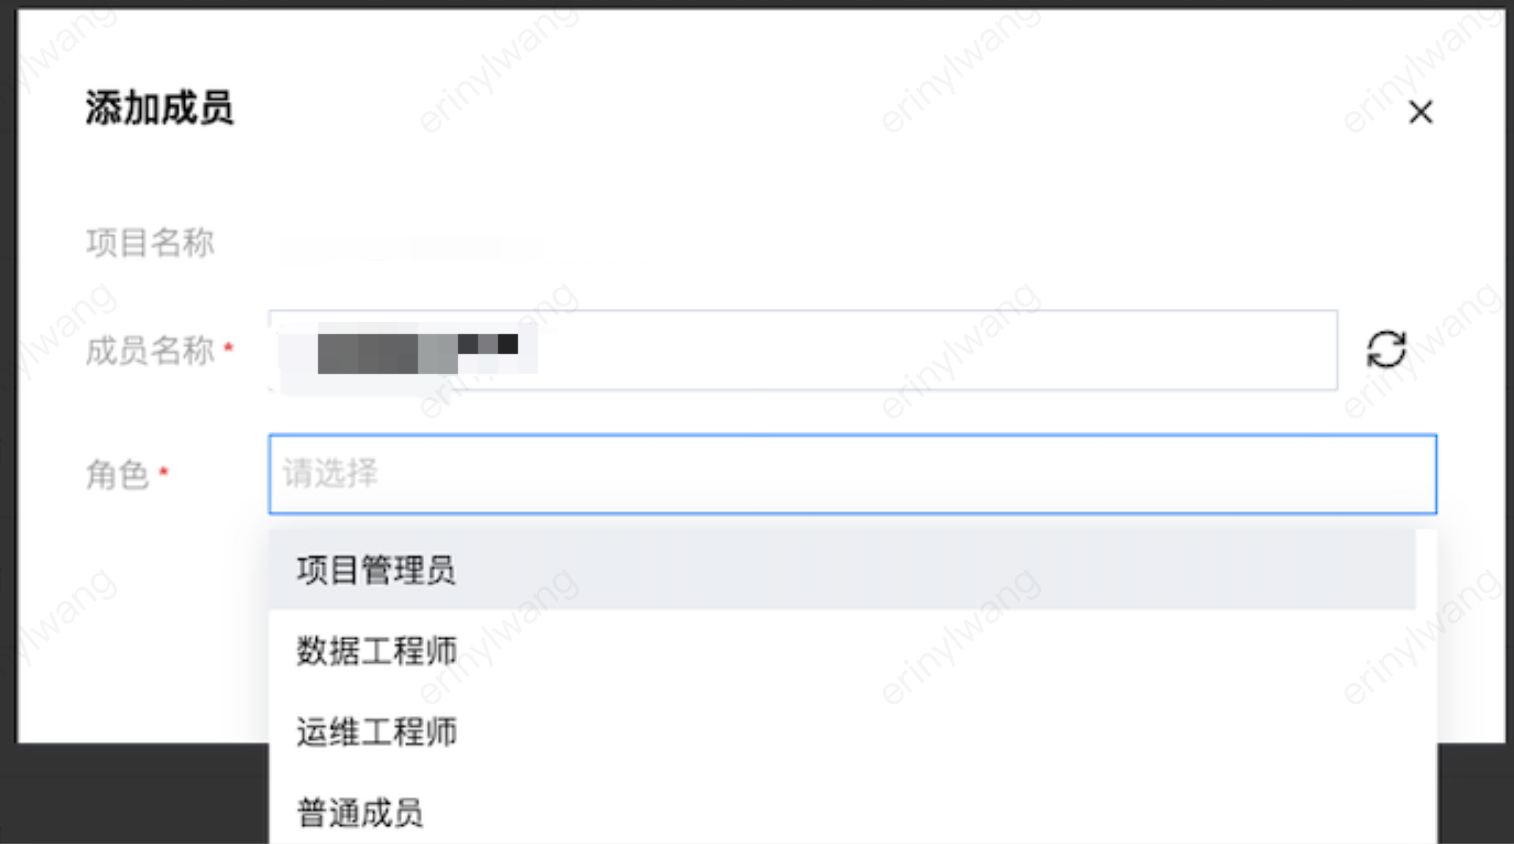
On the page, click Add to add a member to the current project. Select user and configure role permissions for user.

By default, the table owner and project administrator have data query and change privilege permissions for tables under the project. Other project members (such as data engineers, operation and maintenance engineers) need to have permissions granted in this module. View detailed role permission information in Role Management.
Edit
1. Select the member and click Edit/Batch Modify in the operation column.
2. In the pop-up window, you can re-edit the roles corresponding to the selected members and click OK.

Delete
Select the member and click Delete/Batch Delete in the operation column.

Confirm member information and click OK. After deleting the member, the member will be removed from the member list.
Note:
Delete member may cause task failure. You must perform task handover.
1. Modify the responsible person in the batch operation of the orchestration space.
2. Modify the responsible person with advanced filtering in task operations.
3. If a member is in the personal area of the development space, an export task is required.
Role management
Note
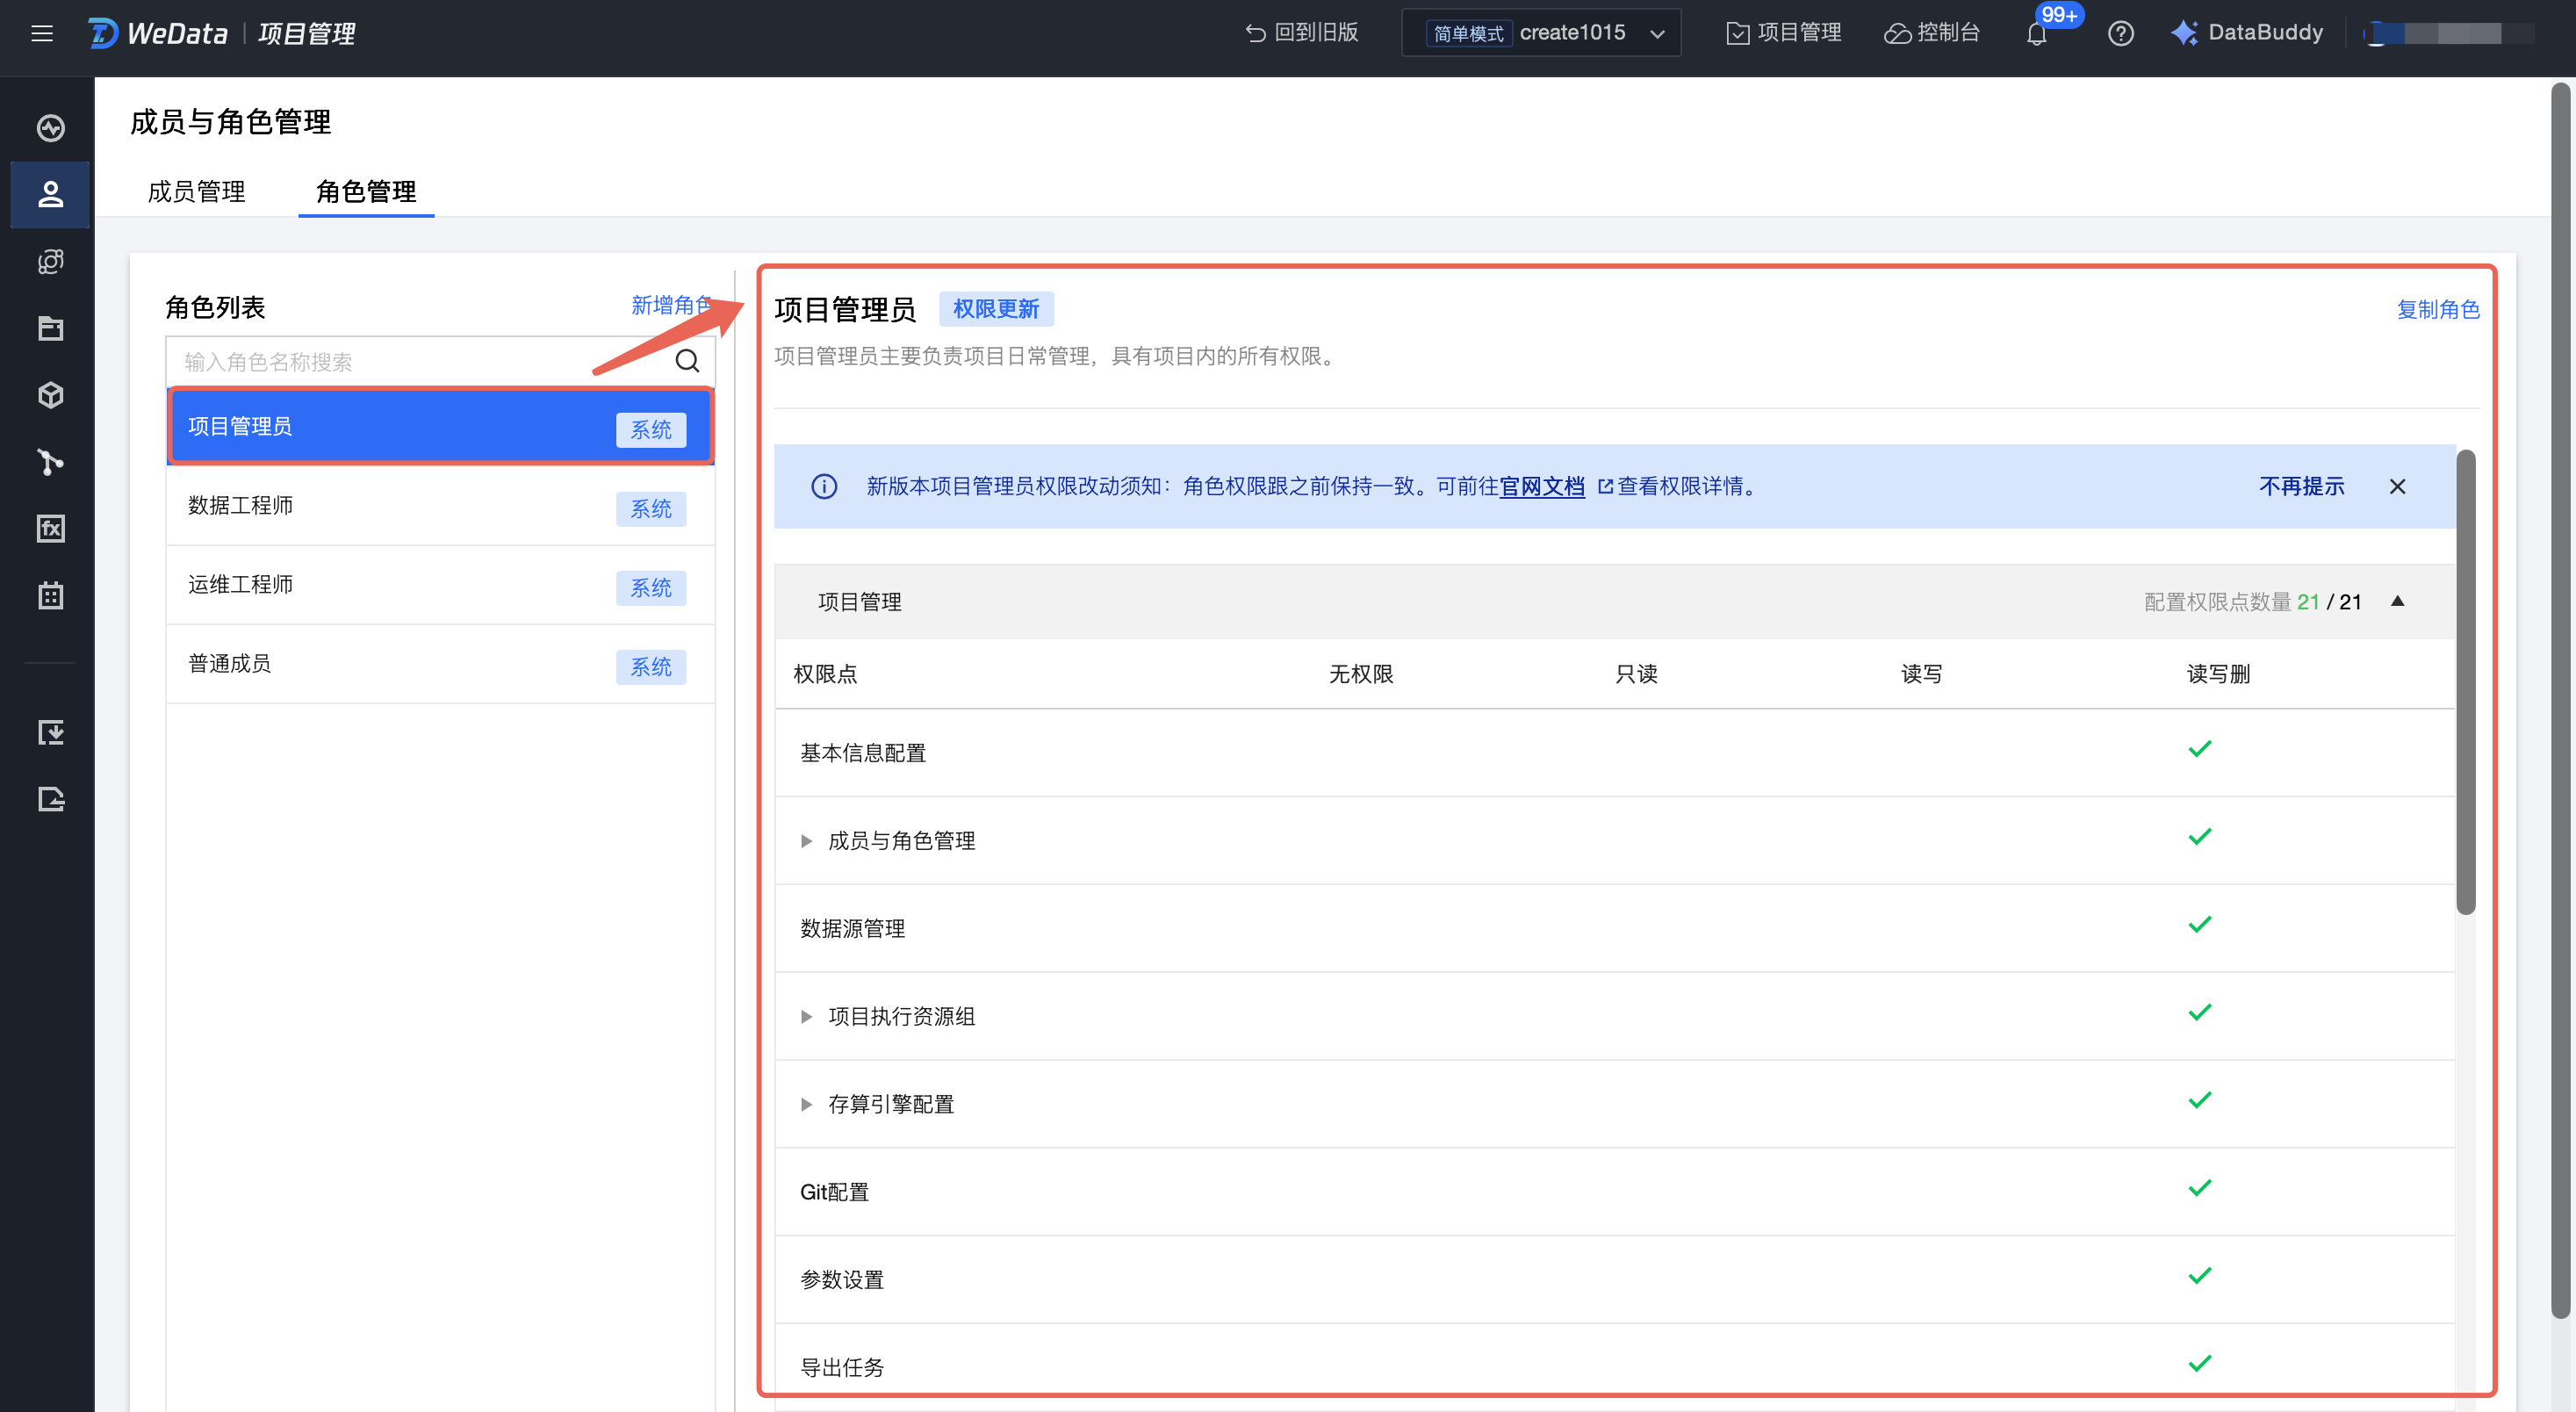
Different roles have different project function operation permissions. WeData provides preset role permissions for project administrator, data engineer, operation and maintenance engineer, and ordinary member. At the same time, it supports user customization of roles and custom role permissions.
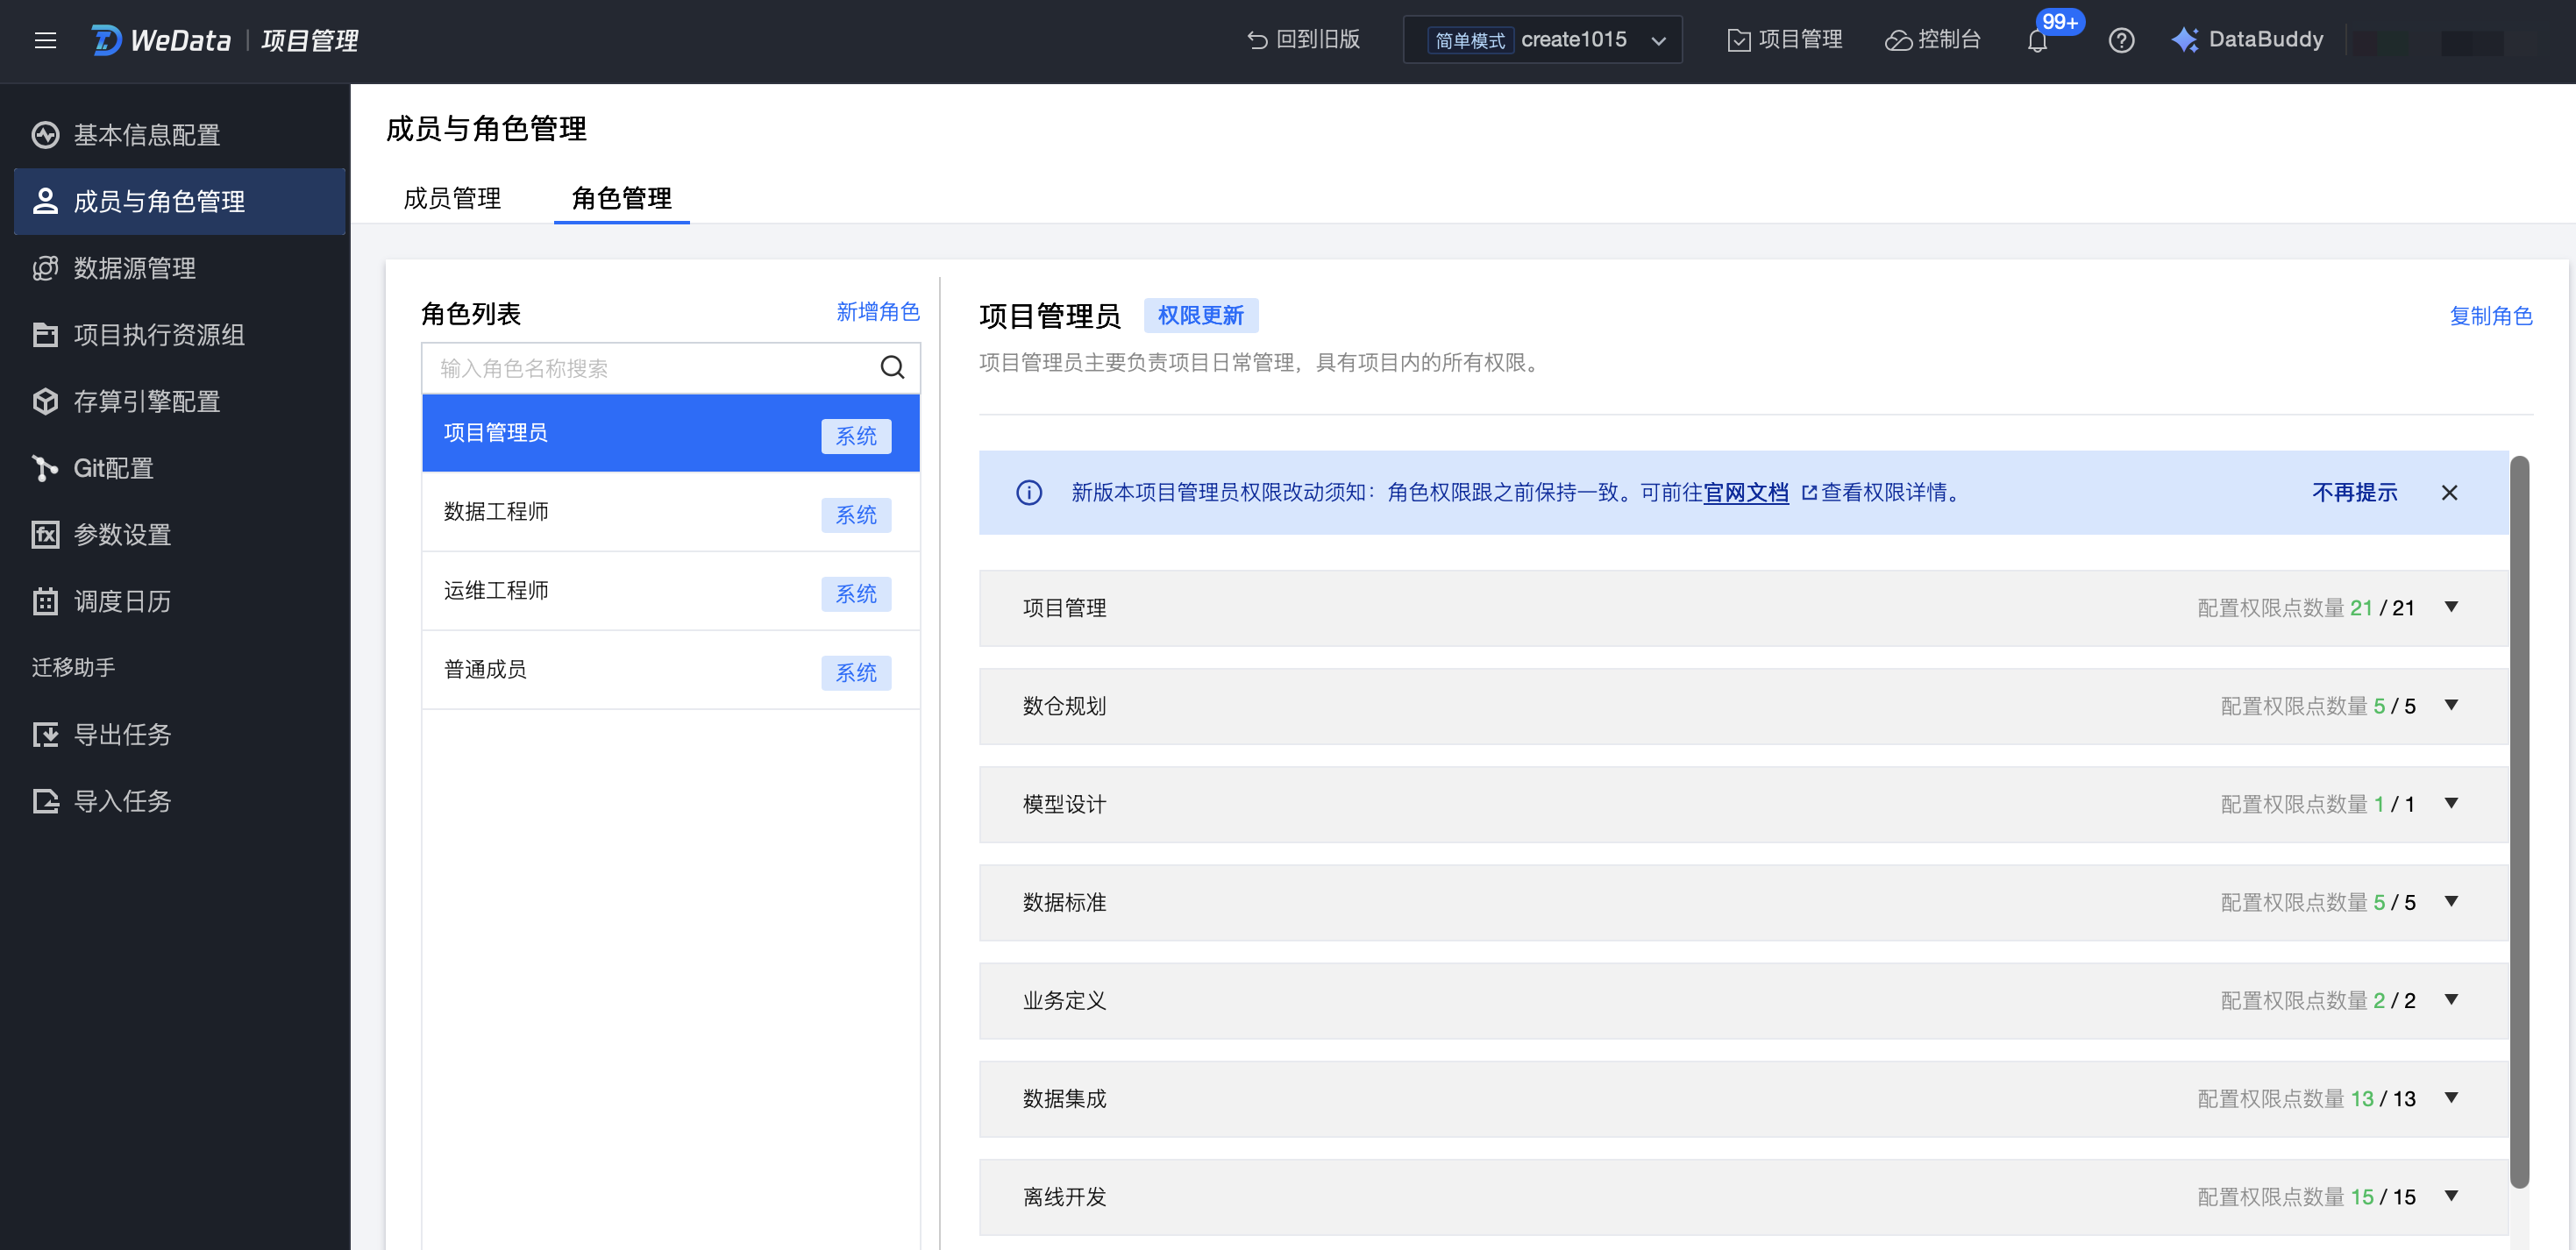
Click Member and Role Management in the left directory tree. In the Role Management tab, you can view and manage roles and role permissions for this project.

Role List
The role list displays the existing roles in the current project, including preset roles and custom roles.
Preset roles and their corresponding permissions cannot be edited or deleted.
Custom roles and their corresponding permissions can be edited and deleted.
Selecting different roles allows you to view the specific permission information for that role under various feature modules, including read, write, and delete.

Note
"✔️" means the default permission for this type of user.
Add Role
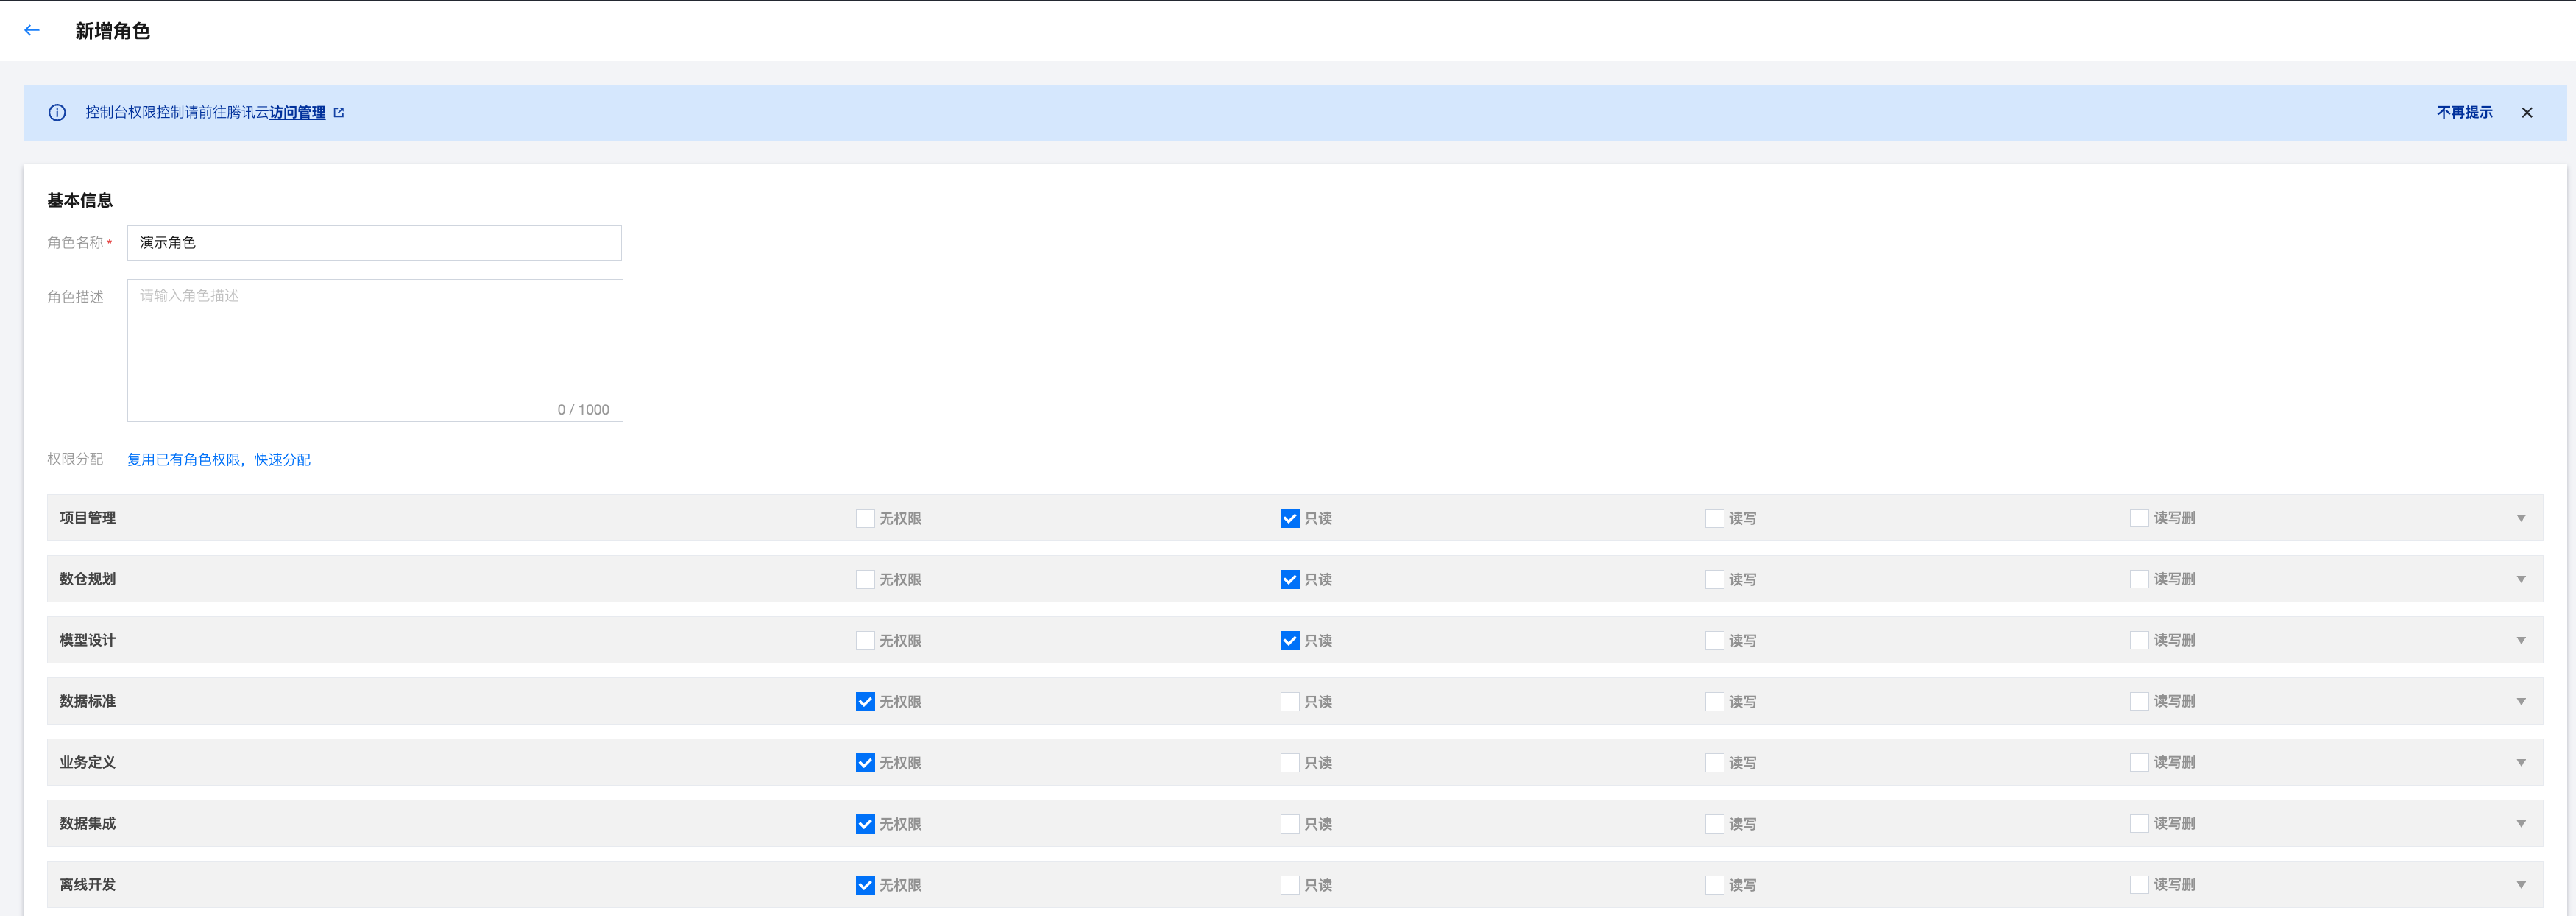
On the page, click Add Role, input role basic information on the configuration page and assign permissions. The permissions to assign include project management, data warehouse planning, model design, data standard, business definition, data integration, offline development, Ops center, SQL exploration, Notebook exploration, model development, data quality, and data service module capabilities.

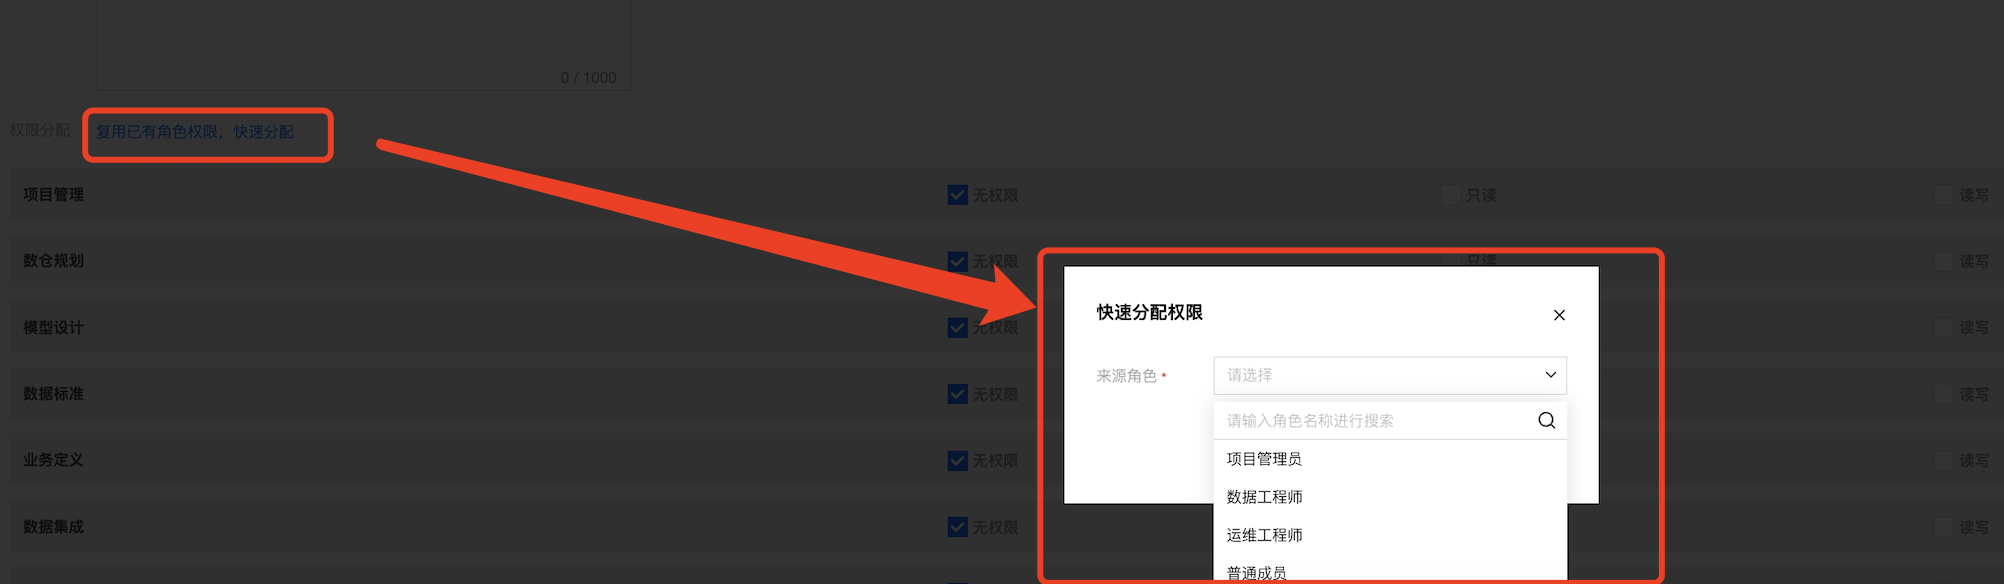
During the permission configuration process for the new role, you can quickly allocate permissions by reusing the permission configurations of existing roles. After reusing, only partial changes are needed to flexibly design role permissions that meet business needs.

Copy Role
In the role list, select any role, click the upper right corner Copy Role, enter the name and description of the new copied role in the pop-up box to quickly create a new custom-defined role. This new role will have the same permissions configuration as the original role. This feature is generally used for quickly generating custom-defined roles to facilitate permission configuration.

Edit
1. Select the custom-defined role member, click the upper right corner Modify Permissions and Information.

2. In the modification page, you can change the role name, description, and feature permissions. After making changes, click Save to complete the role editing.

Delete
1. Select the custom-defined role member, click the upper right corner Delete Role.

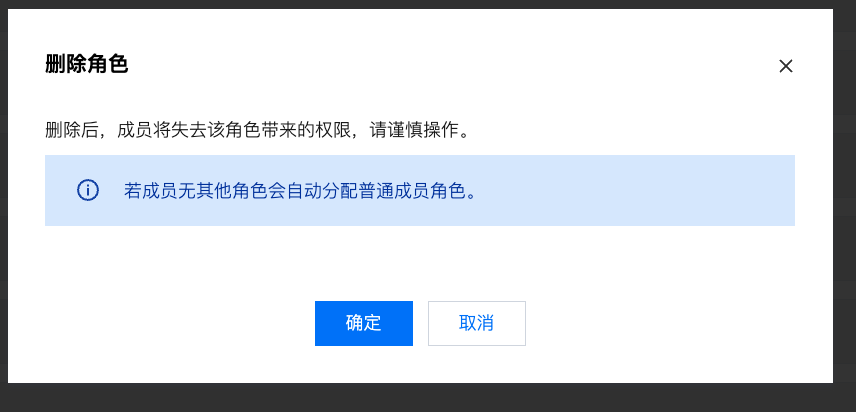
2. In the pop-up window, click Confirm to delete the corresponding custom role. If members originally belonging to the deleted role have no role, they will be assigned the ordinary member role by system.