使用数据湖计算 DLC,您仅需一分钟即可完成对象存储 COS 上的数据分析查询,目前支持 CSV、ORC、PARQUET、JSON、AVRO、文本文件等多个格式。
前置准备
在进行查询前,您需要开通 DLC 内部权限及配置查询结果路径。
步骤1:设置必要 DLC 内部权限
说明
如果用户已经有权限,或者为主账户管理员,可忽略此步骤。
1. 库表权限:可授予对应的 catalog、database、table,view 等读写操作权限。
2. 引擎权限:可授予计算引擎的使用、监控、修改等权限。
步骤2:配置查询结果路径
方式一:
首次使用 DLC,需要先配置查询结果路径,配置完毕后,查询结果会保存到该 COS 路径下。
1. 登录 数据湖计算 DLC 控制台,选择服务地域。
2. 左侧导航菜单进入数据探索。
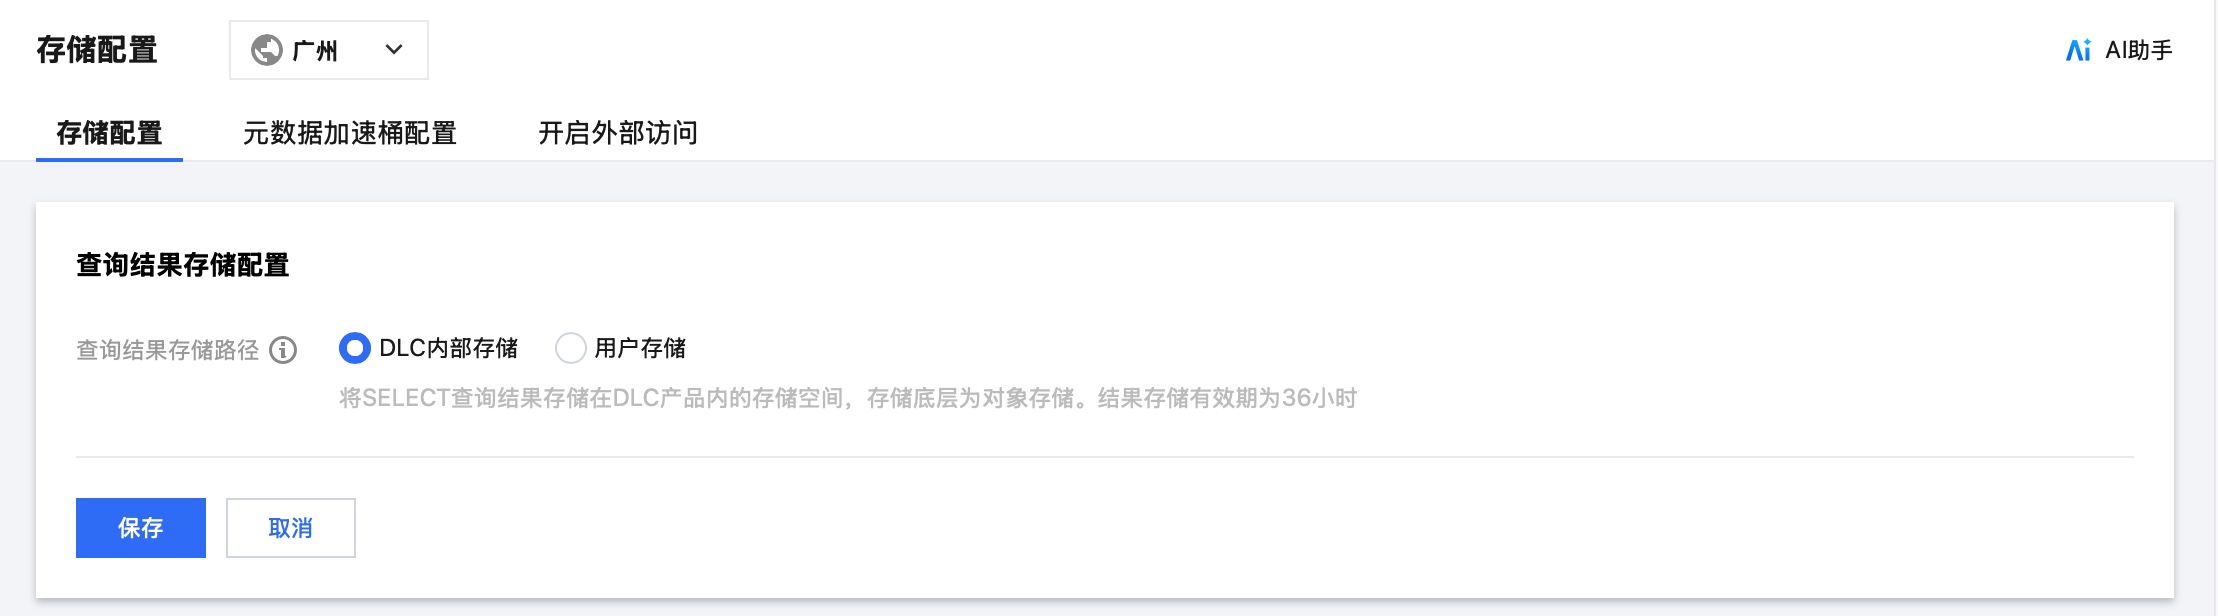
3. 在库表页面右上方进入存储配置,单击修改配置配置查询结果路径。
配置查询结果路径。如 DLC 内部存储,将 SELECT 查询结果存储在 DLC 产品内的存储空间,存储底层为对象存储。结果存储有效期为36小时。
方式二:
1. 登录 数据湖计算 DLC 控制台,选择服务地域。
2. 左侧导航菜单进入存储管理。
3. 在存储配置页面下,单击修改配置配置查询结果路径。
配置查询结果路径。如 DLC 内部存储,将 SELECT 查询结果存储在 DLC 产品内的存储空间,存储底层为对象存储。结果存储有效期为36小时。
分析步骤
步骤1:创建数据库
如果您对 SQL 语句熟悉,可直接在查询中编写 create database 语句,跳过创建向导。
1. 登录 数据湖计算 DLC 控制台,选择服务地域。
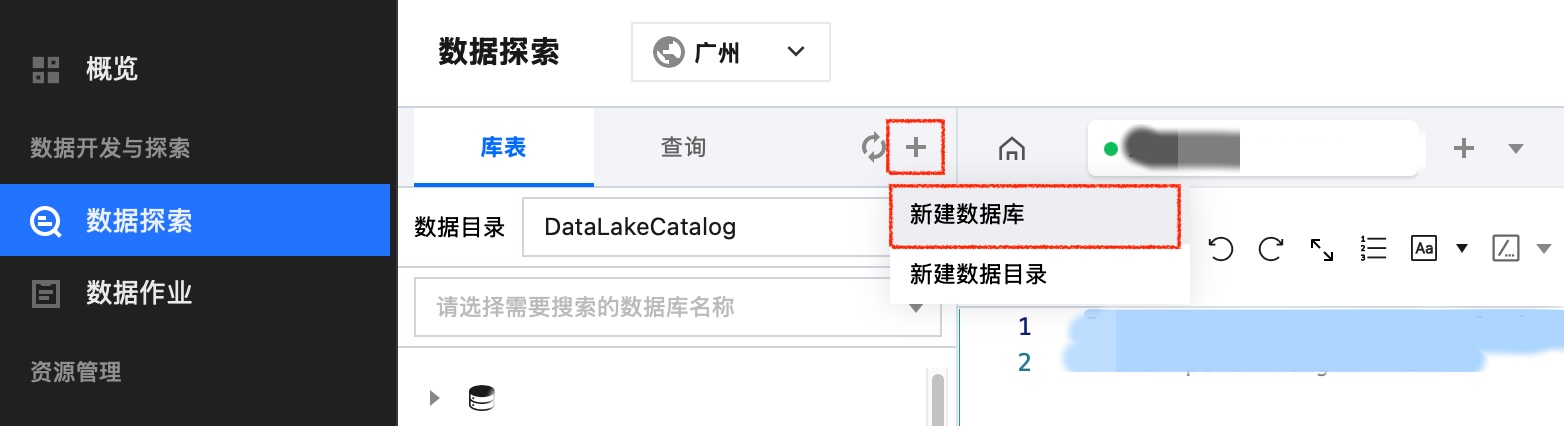
2. 左侧导航菜单进入数据探索。
3. 选择库表,单击+,选择新建数据库进行数据库新建并填写数据库名称和描述信息。
4. 右上角选择执行引擎后,执行生成的 create database 语句,完成建库。
步骤2:创建外表
如果您对 SQL 语句熟悉,可直接在查询中编写 create table 语句,跳过创建向导。
1. 登录数据湖计算 DLC 控制台,选择服务地域。
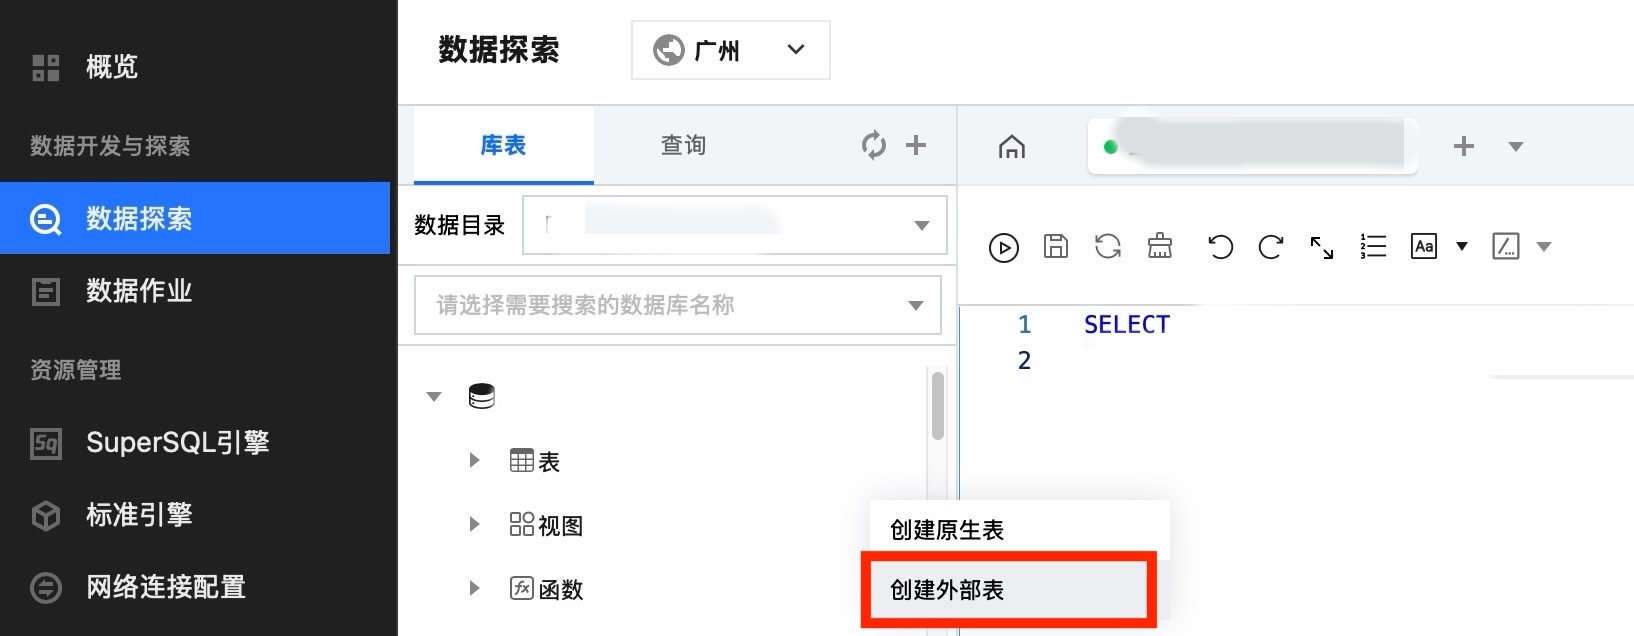
2. 左侧导航菜单进入数据探索。
3. 在库表页面下,单击所建数据库,鼠标右移到表右侧三个圆点处单击,选择创建外表。
说明
外表一般指数据文件放到您自己账号下的 COS 桶,DLC 可以直接建立外表进行分析,无需额外加载数据。基于外表的特性,例如在执行 drop table 等动作时,DLC 并不会删除您的原始数据,只会删除 table 的元信息。
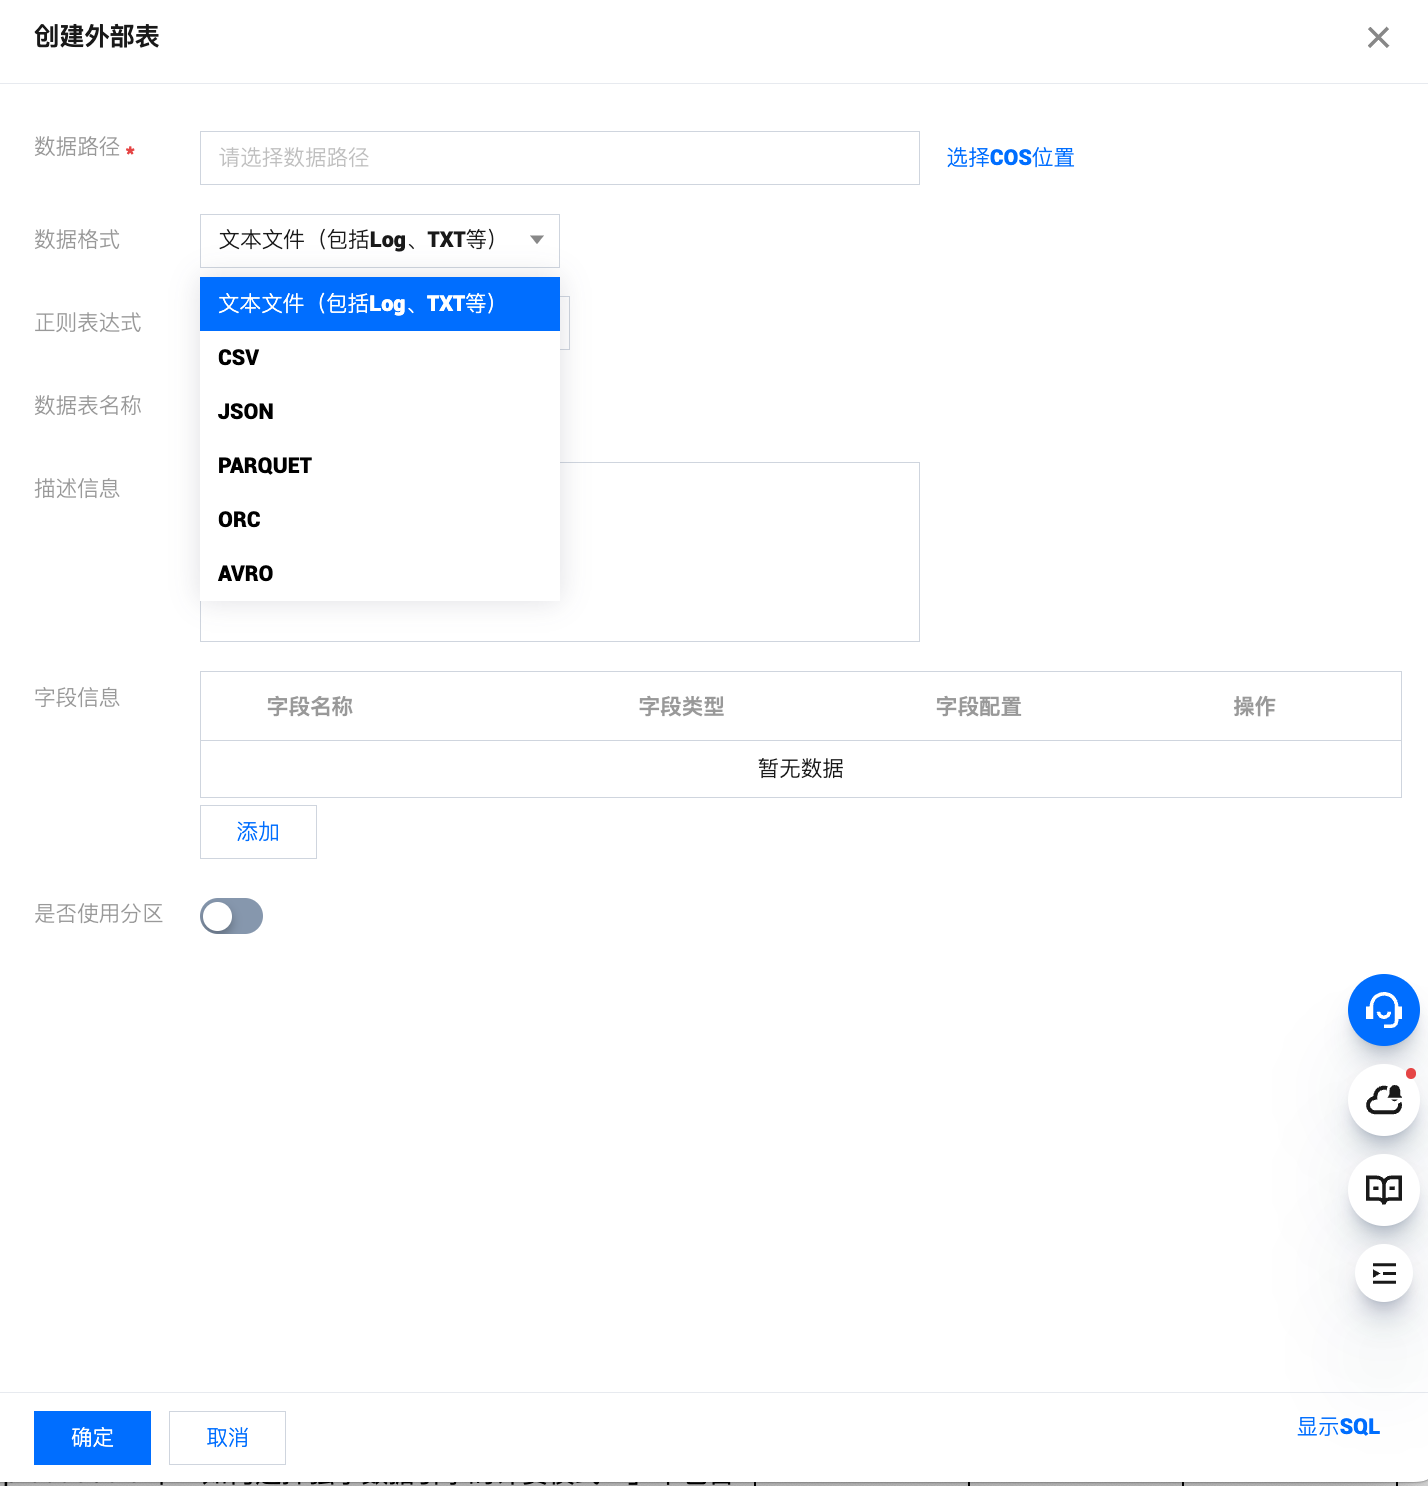
4. 按照向导生成创表语句,按照:数据路径 > 数据格式 > 数据格式配置项 > 编辑分区,完成各个步骤。
step1: 选择数据文件存放的 COS 路径(路径必须是 COS 桶下的目录,不能直接建立到 COS 桶),此处也提供快速上传文件到 COS 的快捷方式。操作需具备 COS 相关的权限。
目前DLC支持创建:文本文件、csv、json、parquet、orc、AVRO。
说明:
结构推断为建表辅助工具,不能保证100%正确,仍需您进行复查核对字段名、类型是否符合预期,根据实际情况编辑修改为正确的信息。
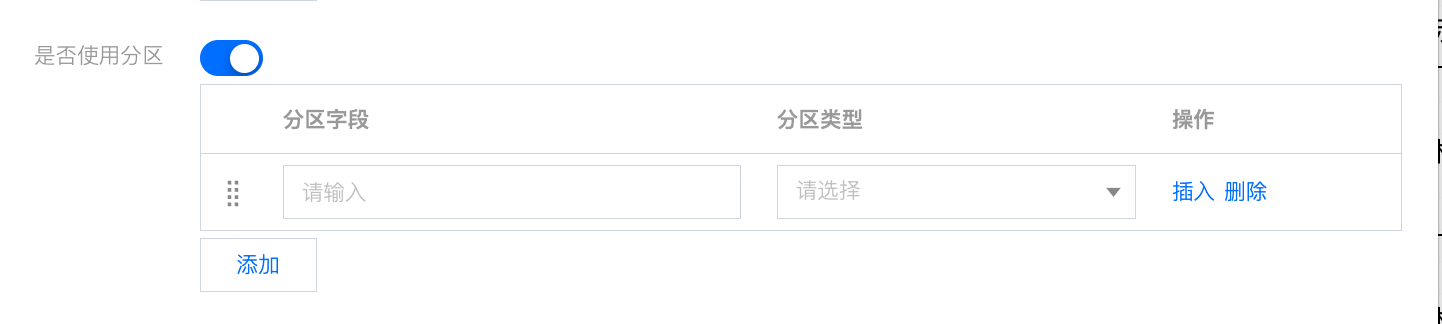
step2: 如果没有分区可以跳过此步骤,开启使用分区,可以合理地提升分析性能。详细分区信息可参见 查询分区表。
5. 单击完成,会生成 SQL 建表语句,选择数据引擎后执行生成的语句即可完成建表。

步骤3:执行 SQL 分析
数据准备完备后,您就可以开始书写 SQL 分析语句,选择合适的计算引擎,开始数据分析。
示例
示例说明:
1. 示例中的`demo2`为数据库名,`demo_audit_table`为表名称,您可根据实际业务场景替换该字段。
2. 示例中where条件仅为代码参考,您可根据实际业务场景按需进行 SQL 分析。
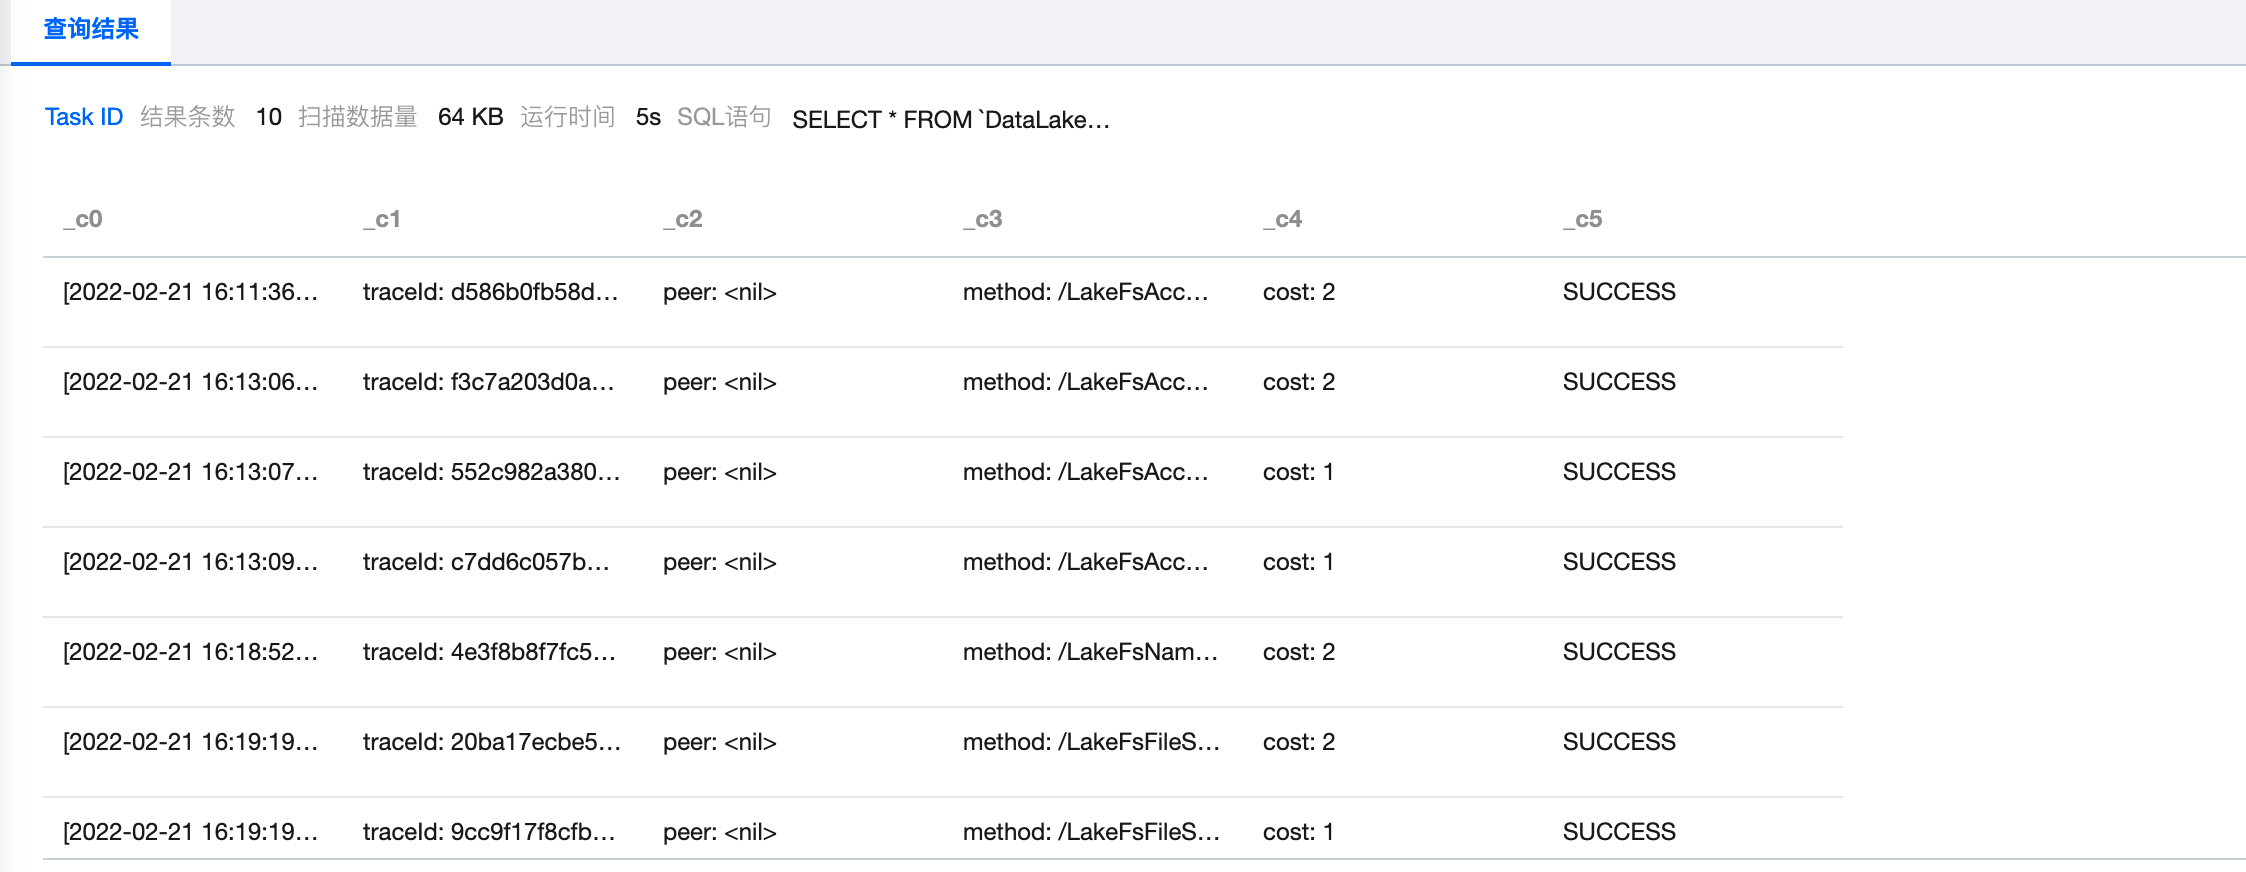
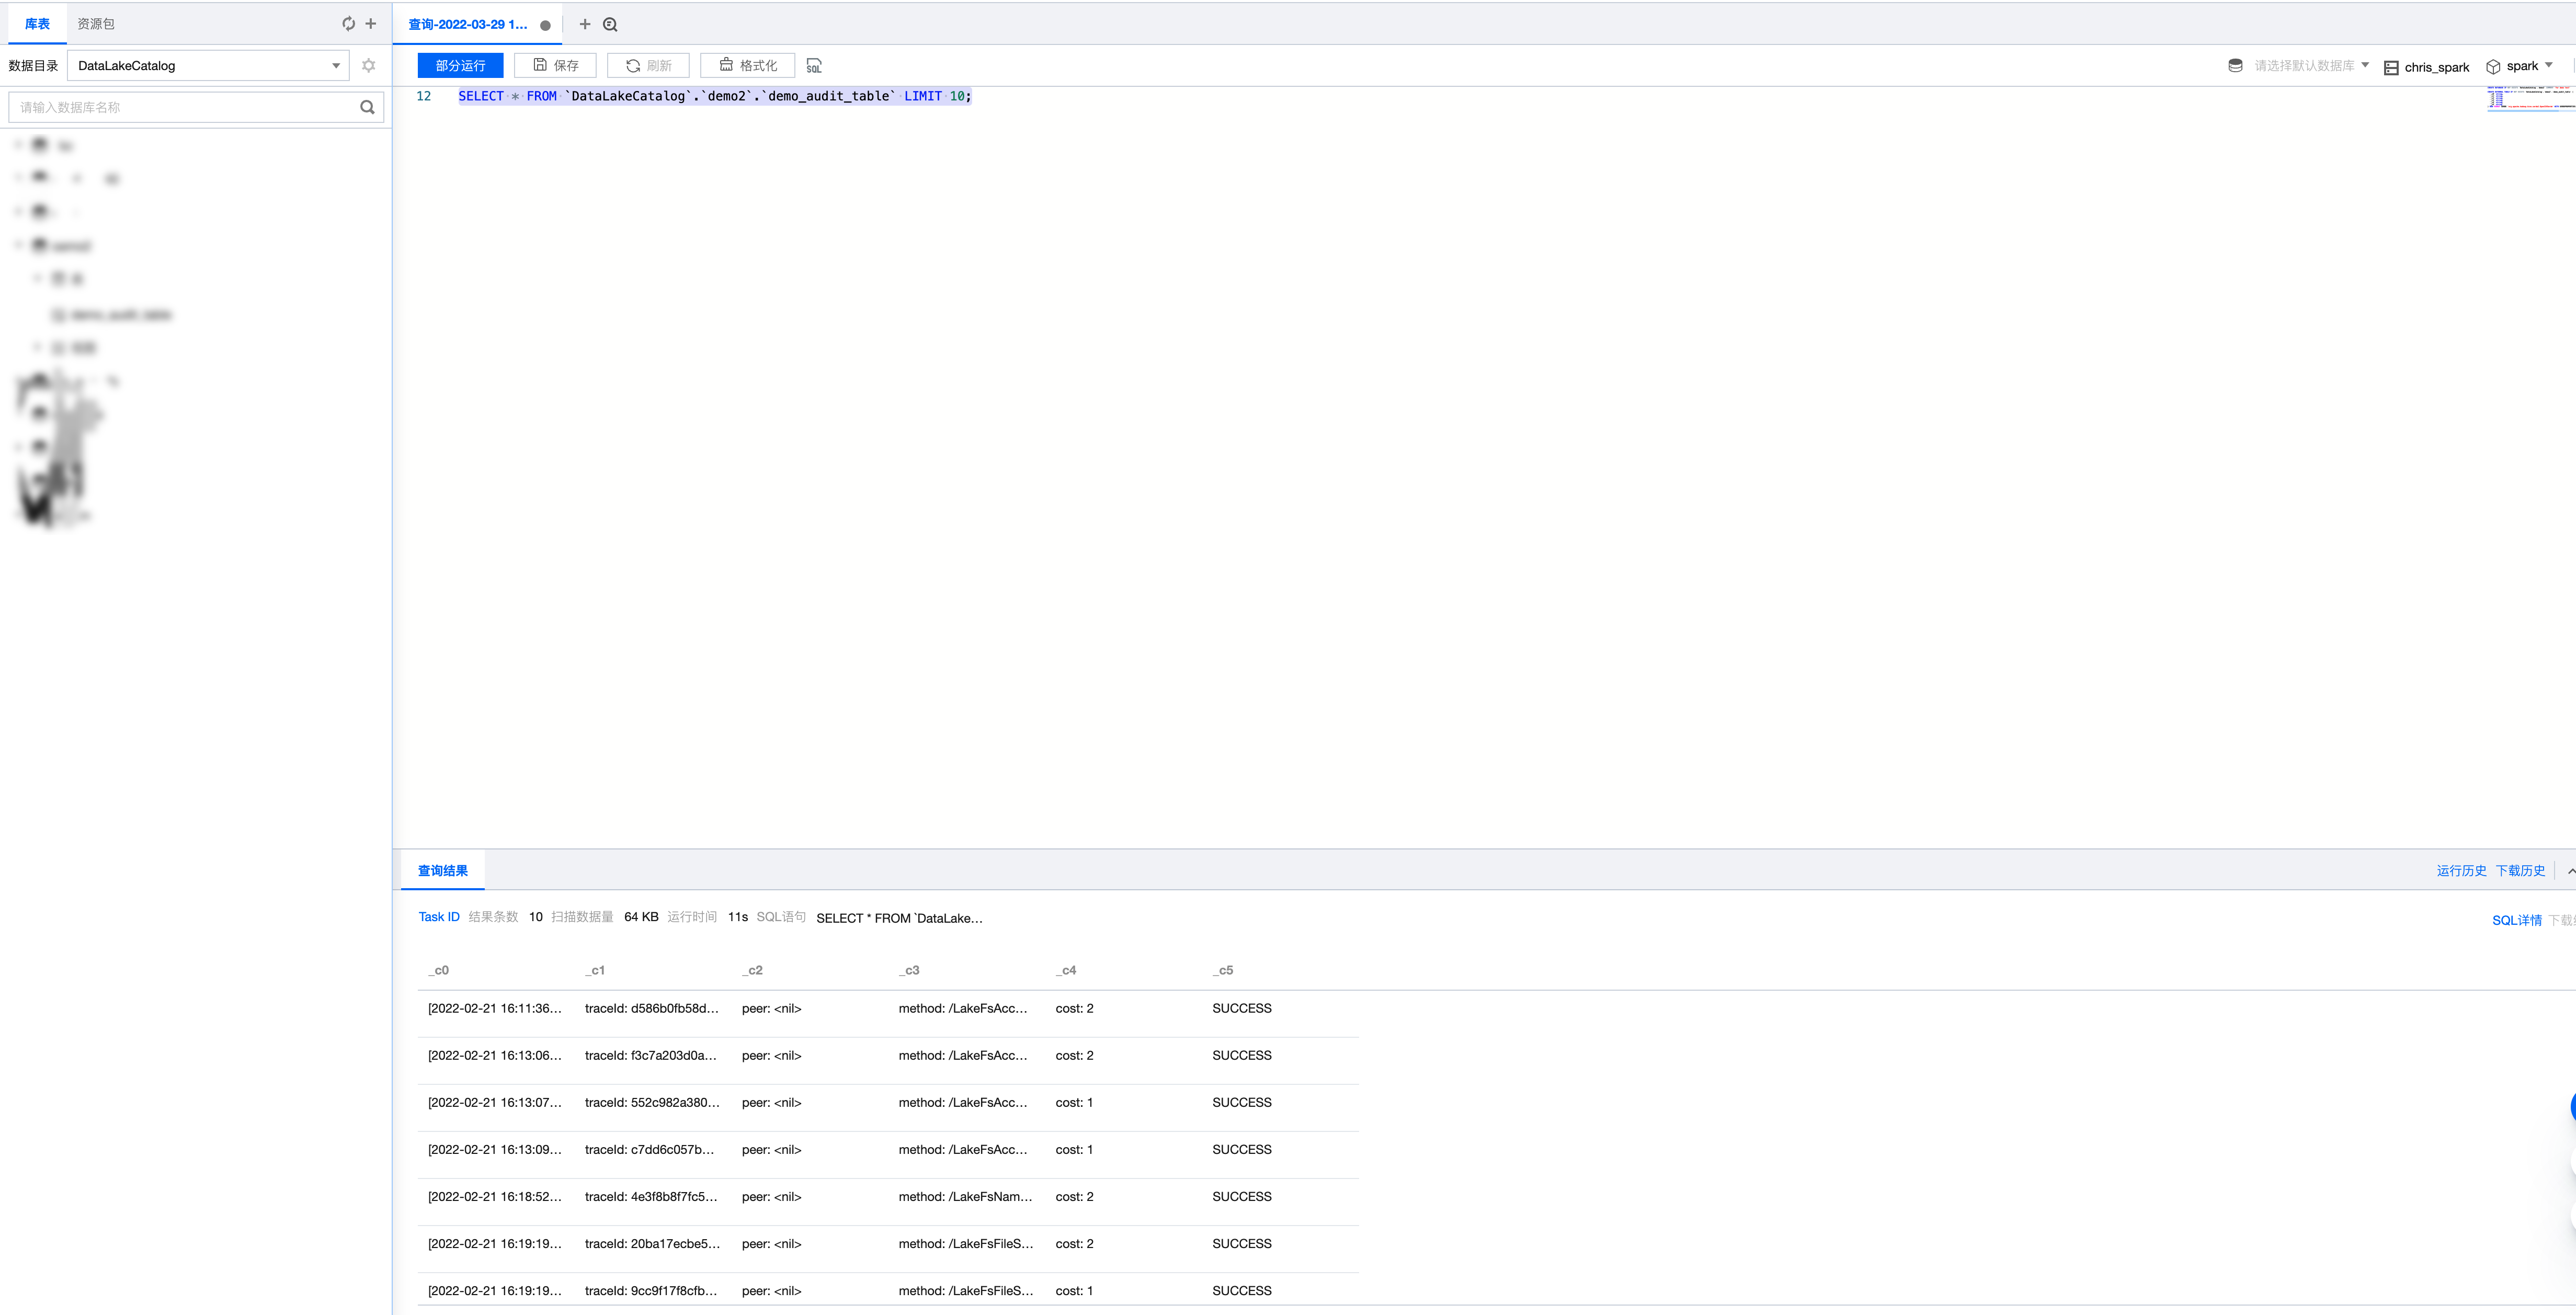
编写数据查询所有结果为 SUCCESS 记录的 SQL 语句,选择计算引擎后执行。
select * from `DataLakeCatalog`.`demo2`.`demo_audit_table` where _c5 = 'SUCCESS'
执行结果如下: