The content of this page has been automatically translated by AI. If you encounter any problems while reading, you can view the corresponding content in Chinese.

High-Risk Commands

Last updated: 2025-11-14 18:42:22

This document will introduce how to view and operate the high-risk command alarm list.

Background

Based on Tencent Cloud security technology and various multi-dimensional methods, Host Security can monitor commands in the system in real-time. If high-risk commands are detected, the system will provide you with real-time alarm notifications. Additionally, you can configure policies to mark the degree of danger of threat commands and execute corresponding actions.

Prerequisites

High-risk commands are only supported on Professional Version and flagship edition hosts. Basic version and unprotected hosts need to upgrade to Professional Version or flagship edition to use this feature.

Alarm List

1. Log in to the CWPP Console, select Intrusion Detection > High-risk Commands in the left sidebar to enter the High-risk Commands Alarm List tab.
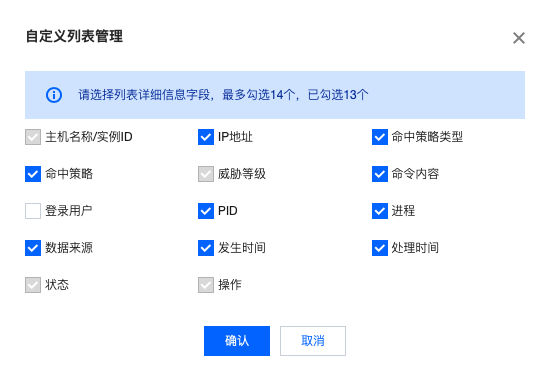
2. In the Alarm List tab of High-risk Commands, you can view the High-risk Commands Alarm List and perform related operations. The list interface displays 14 fields: hostname/instance ID, IP address, hit policy type, hit policy, threat level, command content, login user, PID, process, data source, occurrence time, processing time, status, and operations. The displayed fields can be customized.
Filter: The high-risk command event list supports selecting dates to view corresponding alarm information. It supports querying events by keyword and tag (multiple keywords separated by vertical bars "|" and multiple filter tags separated by the Enter key). It also supports filtering alarm information by hit policy type, threat level, data source, and status.

Custom List Fields: At the top of the high-risk command alarm list, click
img

to set the list display fields. After selecting, click Yes to complete the setup.

Export Alarm List: At the top of the high-risk command alarm list, click
img

to export the list information.
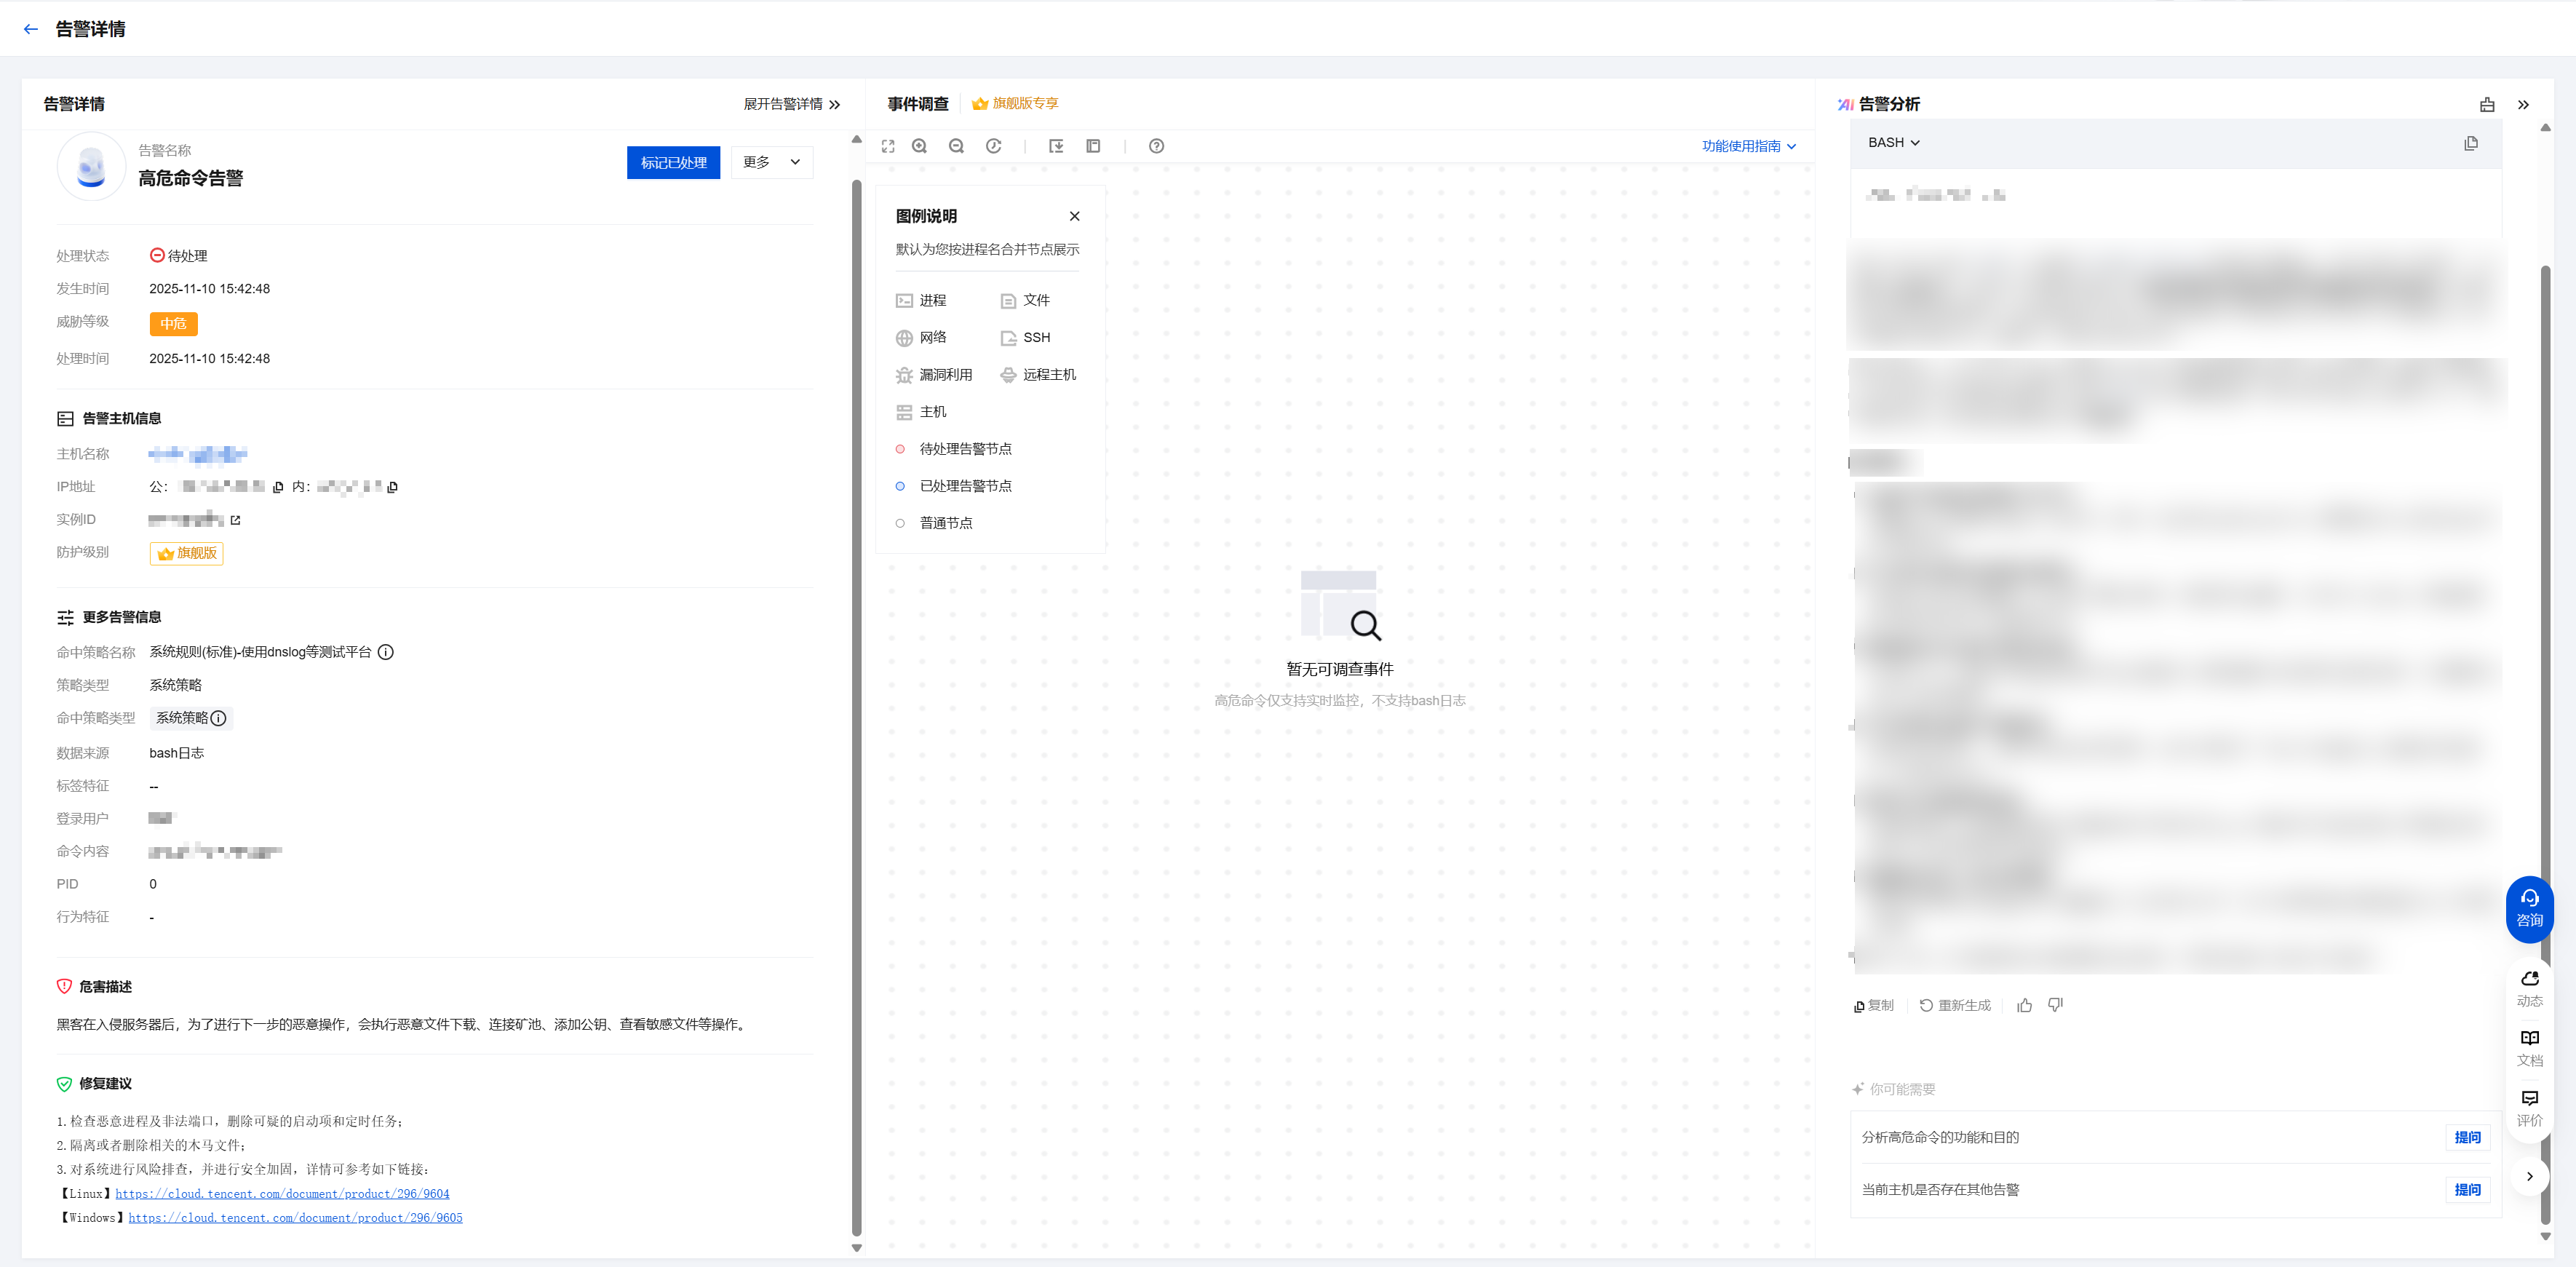
Details > Alarm Details: Click Details to view the high-risk command alarm details page.

Details > Process Tree: On the high-risk command alarm details page, select the Process Tree tab to view the details of three processes in reverse chronological order.

Details > Event Investigation: In the right operation column of the high-risk command alarm list, click Details and select the Event Investigation tab to enter the corresponding host list's Event Investigation.
Description
Windows machines do not support the event investigation feature currently.
Only the flagship edition supports the event investigation feature.
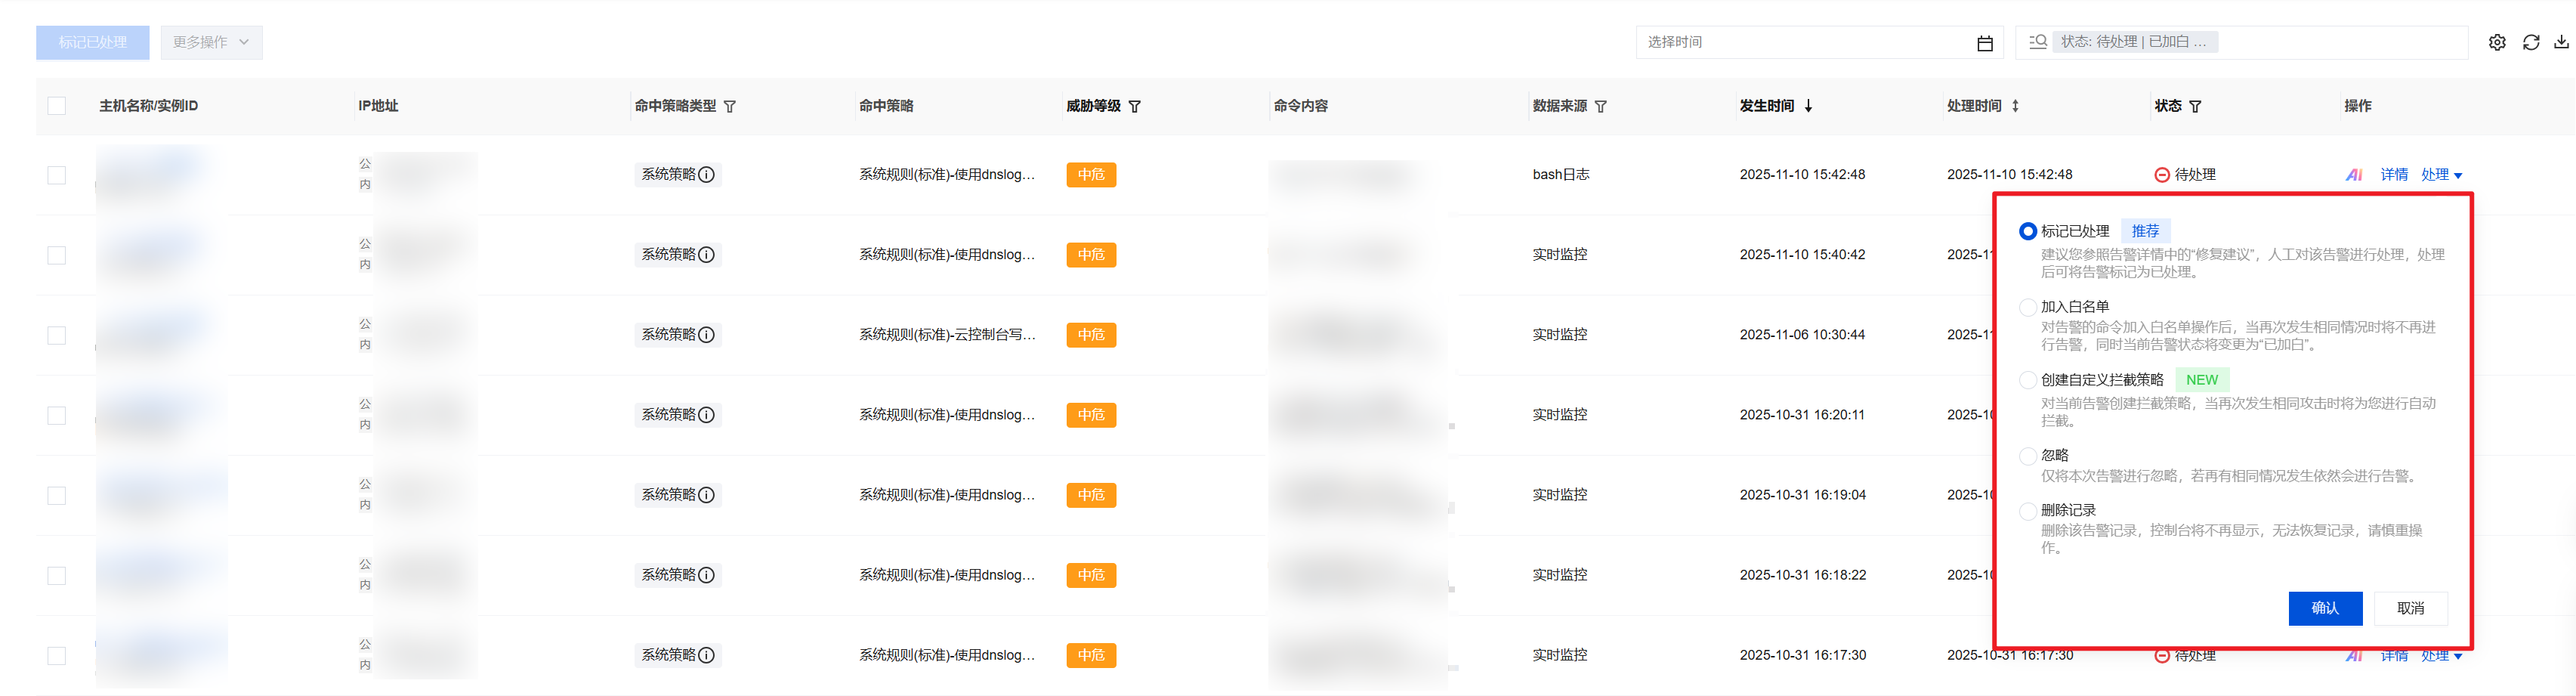
Mark as Processed: Click Process > Mark as Processed. If the user has manually handled this high-risk command alarm, the alarm can be marked as processed.

Adding to the Allowlist: Click Process > Adding to the Allowlist to add trusted commands to the allowlist. Subsequent executions of this command will no longer generate alarms or interceptions.

Create Interception Policy: Click Process > Create Interception Policy to automatically intercept threat commands and generate interception records.
Description
Interception policy is only supported on flagship edition hosts. Basic and professional edition hosts must first upgrade to flagship edition.

Ignore: Supports single choice or multi-option of high-risk command alarm information, only ignoring the selected alarms this time. If the same situation occurs again, it will still generate an alarm.
Deleting Records: Supports single or multiple selections of high-risk command alarm information to delete the selected alarm records.


Policy Configuration

Create a Custom Policy

The high-risk command feature supports creating custom policies to handle threat commands accordingly by setting policies.
1. Log in to the CWPP Console, select Intrusion Detection > High-risk Commands in the left sidebar to enter the High-risk Commands page.
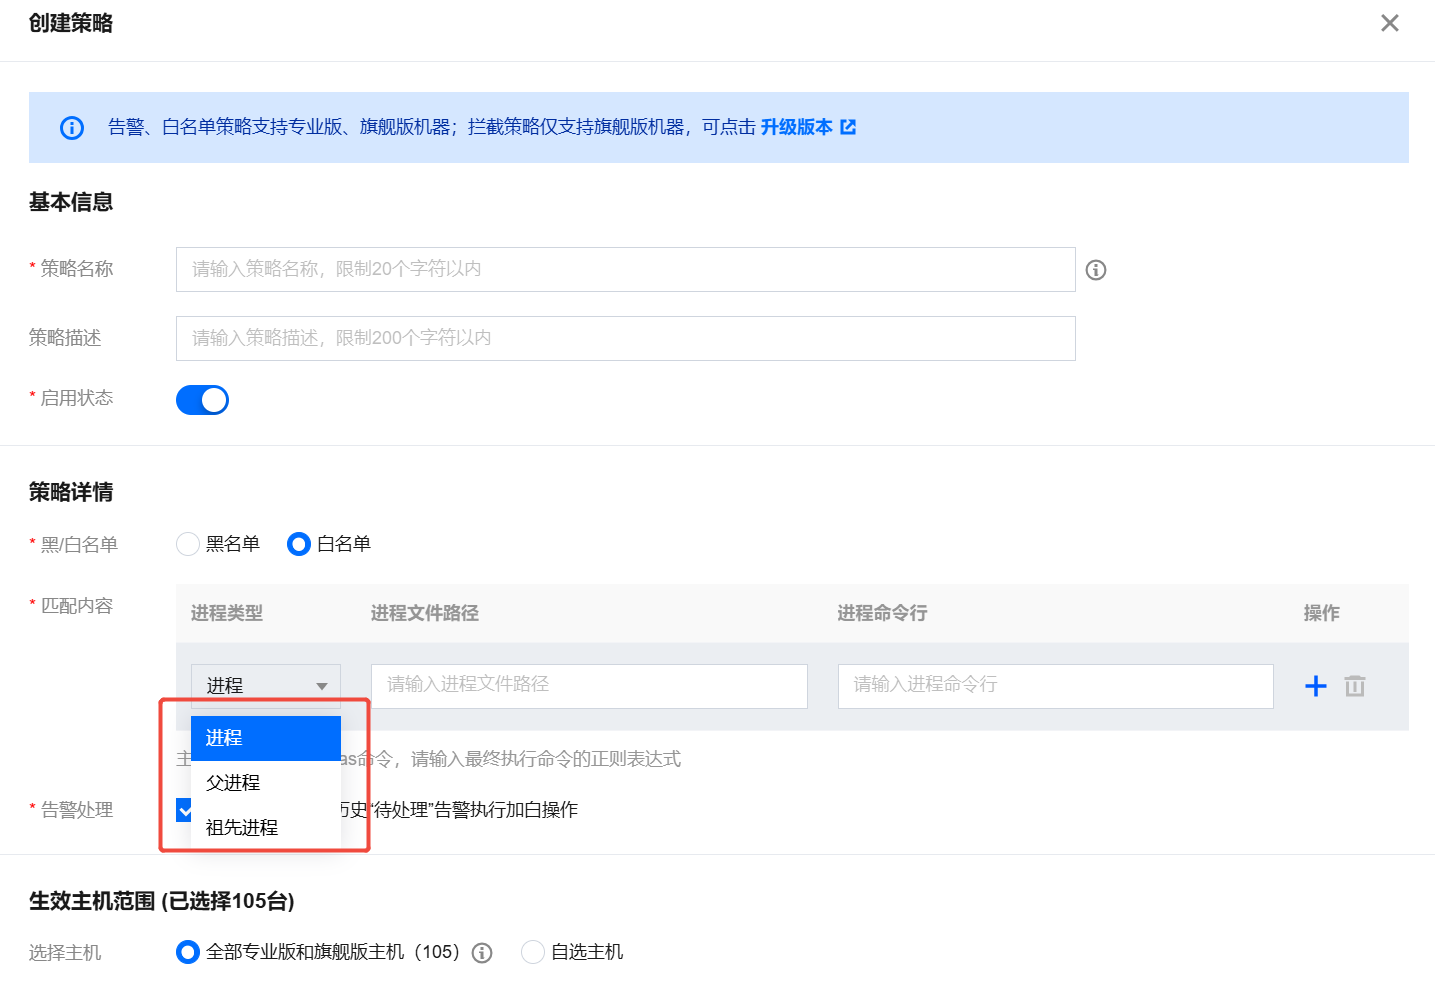
2. Select Policy Configuration > Create Policy to enter the Create Policy page.
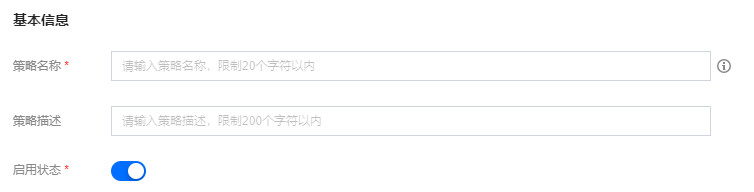
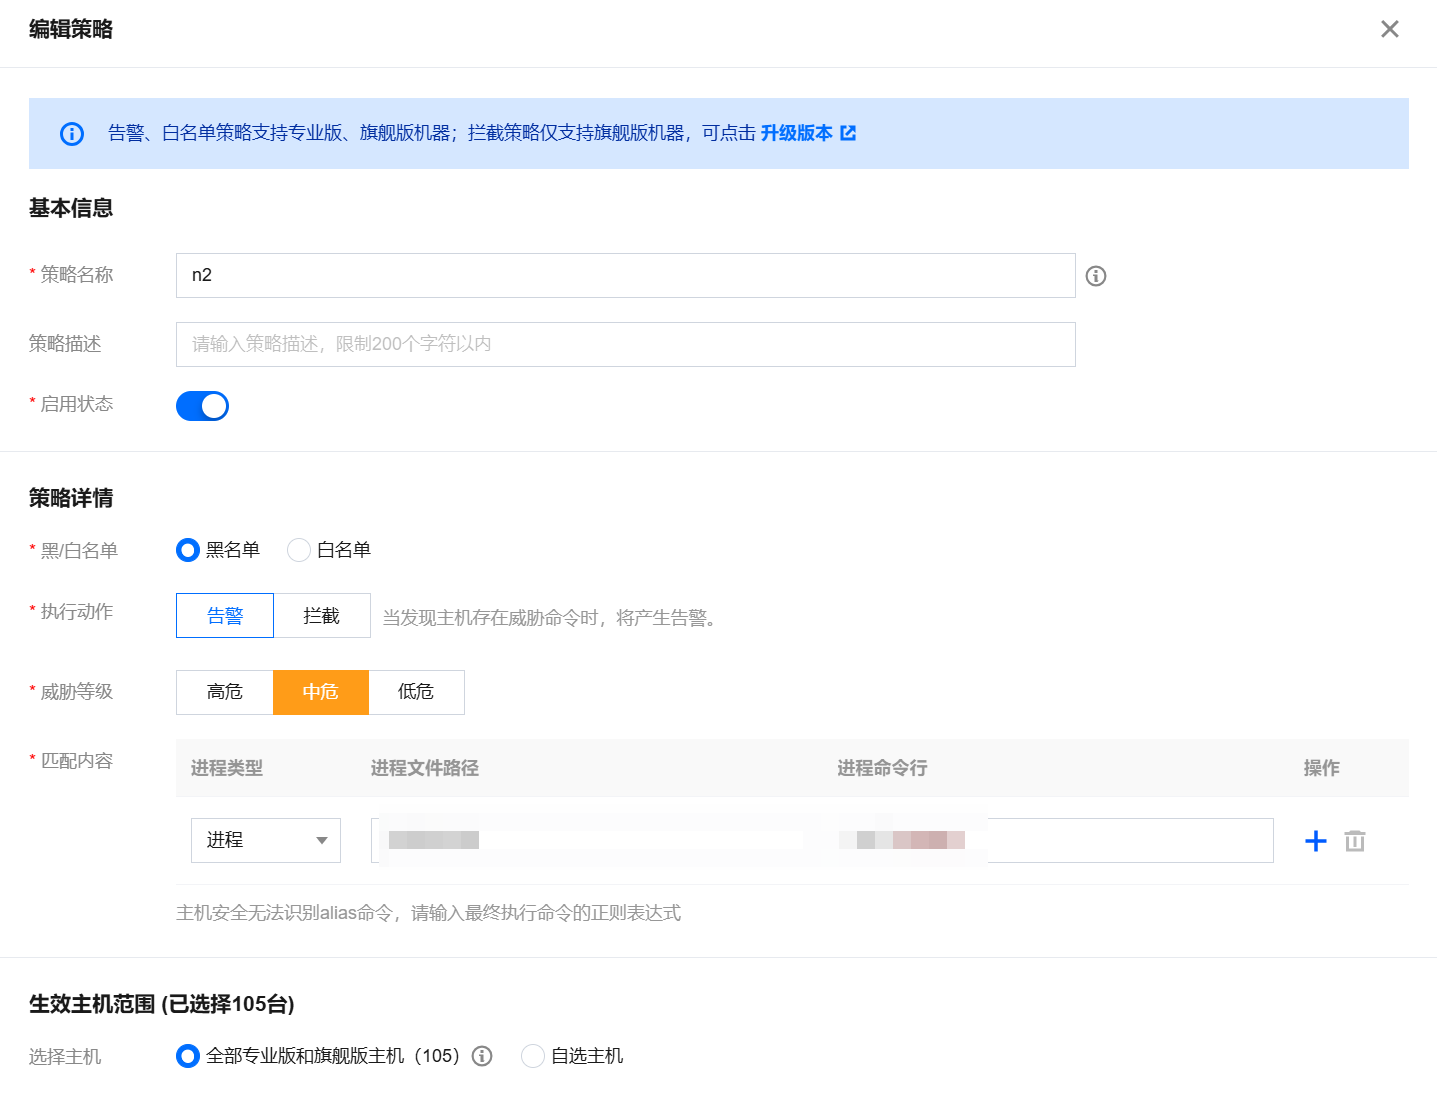
3. On the Create Policy page, fill in the basic information of the policy, including policy name, policy description, and enable status.

4. Fill in the policy details, including selecting blocklist/allowlist and their execution actions, filling in regular expressions, selecting threat level, and choosing effective host range.
Blocklist rules refer to generating alarm notifications when threat commands are detected on the host.
Description
The interception policy refers to automatically intercepting the execution of threat commands and sending an alarm notification when a threat command is detected on the host.
The interception policy only supports flagship edition machines. For basic version and professional version hosts, please upgrade to the flagship edition to use this feature.

Allowlist rules refer to allowing threat commands to pass without generating alarms or interceptions.
Description
If the effective host range is set to all professional and flagship edition hosts, newly added professional/flagship edition hosts will be automatically included in the policy's effective range.
You can select historical "pending" Alarms that meet the rules of this policy to execute the operations of this policy.

5. After setting up, you can view it in the policy list. Policies applied to the blocklist will be marked with the corresponding threat level.
6. In the policy list, you can filter, edit, and delete policies.

Field Descriptions:
Filter: Configured policies support filtering by keyword and tag (multiple keywords separated by vertical bar "|" and multiple filter tags separated by Enter key), by threat level (All/High/Medium/Low/None), by execution action (Alarm/Intercept/Allow), and by effective status (Effective/Not Effective).
Customizing List Fields: Above the policy list, click
img

to set the list display fields. After selection, click Yes to successfully set it.
Enable status: The list supports setting the policy's enable status. You can click the enable switch in the enable status column to decide whether to enable the policy.
Edit: In the operation column on the right side of the policy list, click Edit to edit the created policy.
Delete: The policy list supports deleting configured policies.

System Policies

The high-risk command feature adds a system automatic interception rule. Once enabled, it supports automatic interception of detected high-risk system commands. Some content still requires you to manually configure policies.
System high-risk commands: CWPP operation experts and algorithm experts have identified system high-risk commands. Commands in this list can be automatically intercepted.
Explanation of intercepting principle: High-risk command automatic interception uses the process of scanning hit rules. For example, if process A attempts to create a "/bin/bash -i" process (assuming "bash -i" is blocklisted), this attempt to create the "/bin/bash -i" process will be terminated (or creation will fail), while process A itself will not be affected.
Note:
If you find a false interception, you can create a custom policy for allowlist processing or contact us.
System automatic interception rules are only available to flagship edition users.
1. Log in to the CWPP Console, select Intrusion Detection > High-risk Commands in the left sidebar to enter the High-risk Commands page.
2. On the High-risk Commands page, the system supports two ways to enable automatic interception rules.
On the policy configuration page, click the activation status switch on the right side of the system automatic interception rule policy. In the execution action column, you can switch between standard mode interception and enhanced protection mode interception.
Standard mode: Integrates multiple engine detection results and automatically protects against high-confidence risks, making it more suitable for daily security operations.
Enhanced protection mode: Integrates multiple engine detection results and automatically protects against medium and high-confidence risks. There may be a risk of false interception, suitable for enhanced protection, please enable with caution.

On the Alarm list page, click to enable the High-Risk Command Automatic Interception Switch.