This document shows how to connect a local client to a TKE cluster by using kubectl, a Kubernetes command line tool.
Solution 1: Connecting to a Cluster via Cloud Shell
TKE integrates Tencent Cloud's Cloud Shell, enabling you to effortlessly connect to a cluster with a single click in the Tencent Cloud console and use kubectl for flexible cluster management.
Instructions
Step 1: Enable public network access for the cluster
1. Log in to the TKE console and click Cluster in the left sidebar.
2. On the Cluster Management page, select the region where the target cluster resides and click the ID of the cluster to go to the cluster details page.
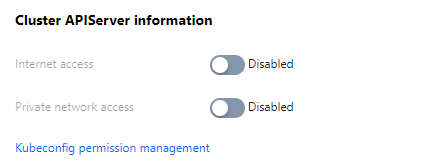
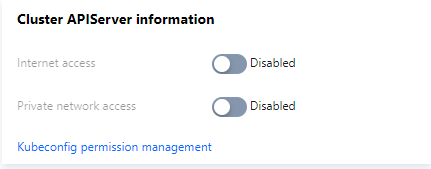
3. On the Cluster Basic Information page, check the cluster access status, as shown in the figure below:
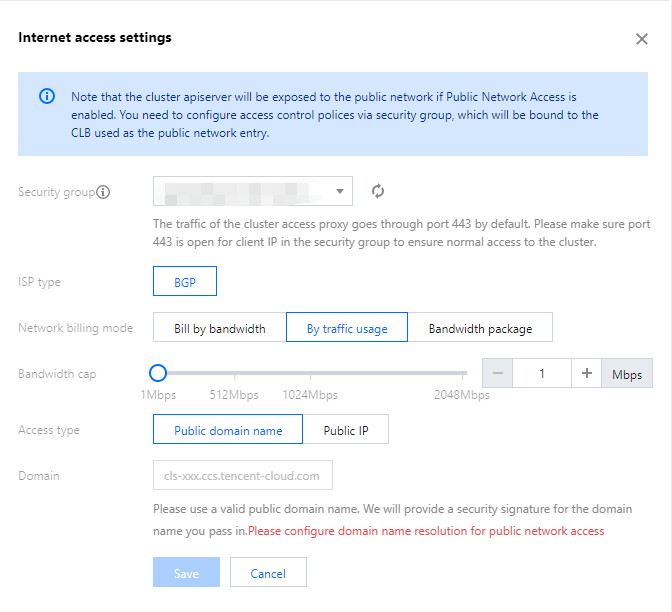
4. Click
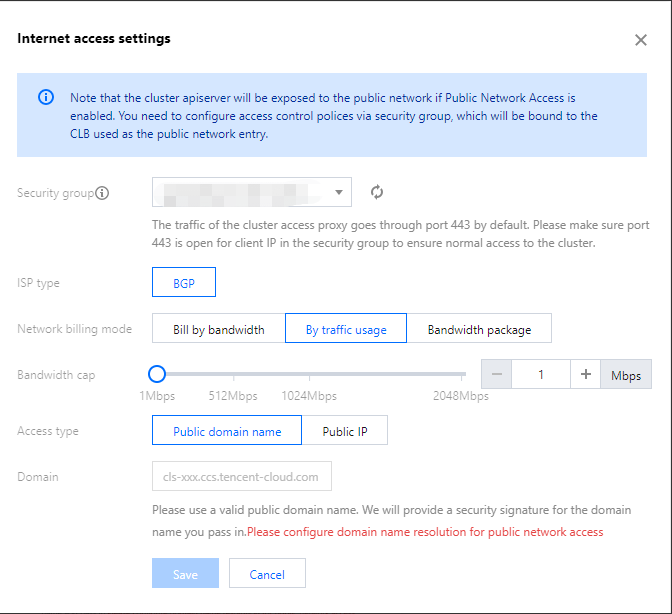
to enable public network access. When enabling public network access, you need to configure the relevant parameters, as shown in the following image:
Security group: A public CLB is automatically assigned after the public network access is enabled. You can configure access control policies via a security group. We will bind the security group to the public CLB to control access.
ISP Type, Network billing mode, Bandwidth cap: For CLB-related parameters, please refer to the CLB Creation Guide and set them according to your actual requirements.
Access type: After selecting a public domain name, you need to provide a custom domain name. We will generate a security signature for the domain name you provide, and you must configure the public network resolution yourself. If you choose the default CLB domain name, there is no need to manually configure the DNS record or any other operations.
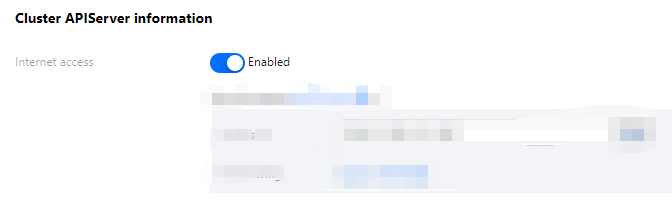
5. Ensure that public network access is enabled, as shown in the figure below:
Step 2: Use Cloud Shell to connect to the cluster
1. Log in to the TKE console and click Cluster in the left sidebar.
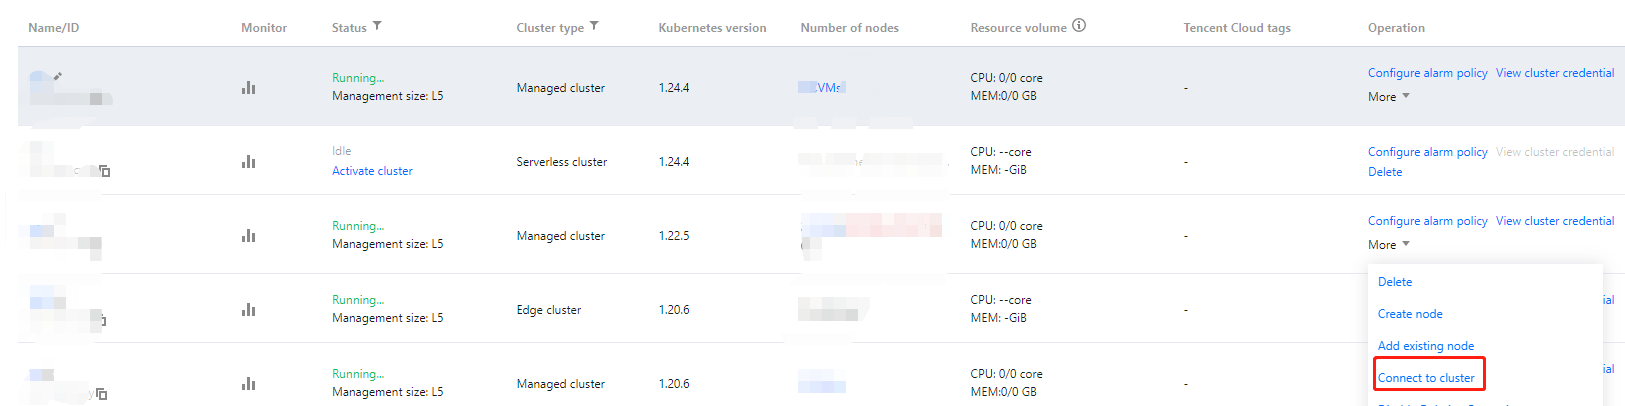
2. On the Cluster Management page, select the region where the target cluster resides, and click More > Connect to cluster on the right, as shown in the figure below:
3. At the bottom of the console, you will find the Cloud Shell entry. You can directly enter kubectl commands in the command box.
Solution 2: Connecting to a Cluster via a Local Computer
1. Install kubectl as instructed in Installing and Setting up kubectl. You can select an appropriate way to obtain kubectl based on the OS type:
Note
If you have already installed kubectl, skip this step.
Please replace "v1.18.4" in the command line with the kubectl version required for your business needs. The client's kubectl and server's Kubernetes versions should be consistent. You can view the Kubernetes version in the "Cluster Information" section under Basic Information.
1. Log in to the TKE console and click Cluster in the left sidebar.
2. In the Cluster Management page, select the region where the cluster is located, and click on the target Cluster ID/Name to enter the cluster details page.
3. On the Cluster Basic Information page, check the cluster access status as shown in the figure below:
Enabling public network access
Enabling private network access
You need to configure relevant parameters to enable the public network access.
Security group: A public CLB is automatically assigned after the public network access is enabled. You can configure access control policies via a security group. We will bind the security group to the public CLB to control access.
ISP Type, Network billing mode, Bandwidth cap: For CLB-related parameters, please refer to the CLB Creation Guide and set them according to your actual requirements.
Access type: After selecting a public domain name, you need to provide a custom domain name. We will generate a security signature for the domain name you provide, and you must configure the public network resolution yourself. If you choose the default CLB domain name, there is no need to manually configure the DNS record or any other operations.
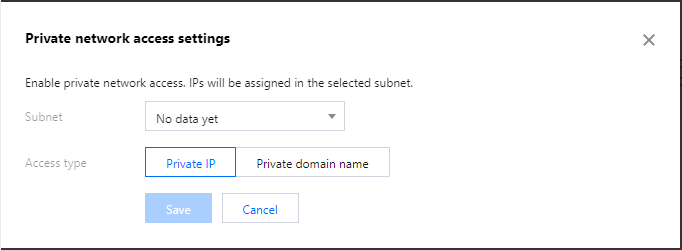
You need to configure relevant parameters to enable private network access, as shown in the following image:
Subnet: It is disabled by default. To enable the private network access, you need to configure a subnet. IP addresses are assigned from the configured subnet after the private network access is successfully enabled.
Access type: If “private domain name” is selected, you need to pass in a custom domain name, for which we will provide a security signature. You must configure private network resolution on your own. If “private IP” is selected, we will assign a private IP and provide a security signature for it.
Step 3: Obtain kubeconfig
TKE provides two types of KubeConfig for use in public network access and private network access, respectively. After the cluster access is enabled, you can follow the steps below to obtain the corresponding Kubeconfig:
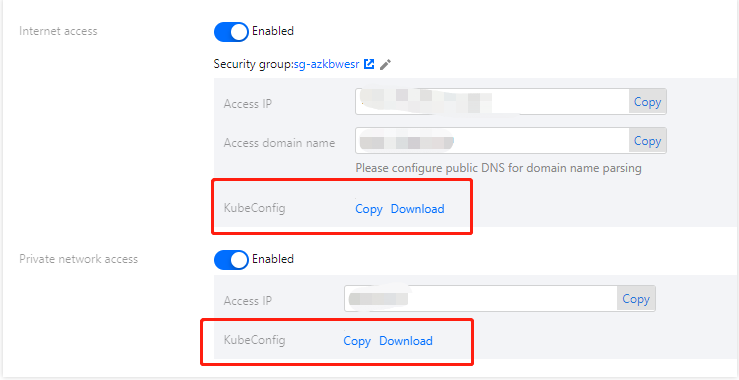
1. In Cluster Details > Basic Information, view the "Cluster APIServer Information."
2. Copy or download KubeConfig under the corresponding access type, or check the security group, access domain name (configured when the access is enabled) and access IP for the public network access. As shown in the image below:
Step 4: Configure kubeconfig and access the Kubernetes cluster
1. Configure the cluster credentials based on your specific requirements.
Before configuration, determine whether the current access client has already been configured with access credentials for any cluster:
If not, and the ~/.kube/config file is empty, you can directly copy the obtained Kubeconfig access credential content and paste it into ~/.kube/config. If the client does not have a ~/.kube/config file, you can create one directly.
If yes, you can download the obtained kubeconfig to a specified location and run the following commands in sequence to merge the config files of multiple clusters.
In this case, ~/Downloads/cls-3jju4zdc-config is the kubeconfig file path of the current cluster. Replace it with the actual local path of the file.
2. After completing the kubeconfig configuration, execute the following commands in sequence to view and switch contexts for accessing the current cluster.
3. Execute the following command to test if the cluster can be accessed normally.
kubectl get node
If you cannot connect, please check whether the public network access or private network access entry has been enabled, and ensure that the access client is within the specified network environment.
Solution 3: Connecting to a Cluster via an Internal Node
Instructions
Step 1: Obtain the service IP of Kubernetes
1. Log in to the TKE console and click Cluster in the left sidebar.
2. On the Cluster Management page, select the region where the target cluster resides and click the ID of the cluster to go to the cluster details page.
3. On the cluster details page, select Service and Route > Service in the left sidebar to obtain the Kubernetes service IP under the default namespace, as shown in the following image:
Note
Kubernetes service in ClusterIP mode is only suitable for access within the cluster.
Step 2: Configure kubeconfig and access the Kubernetes cluster
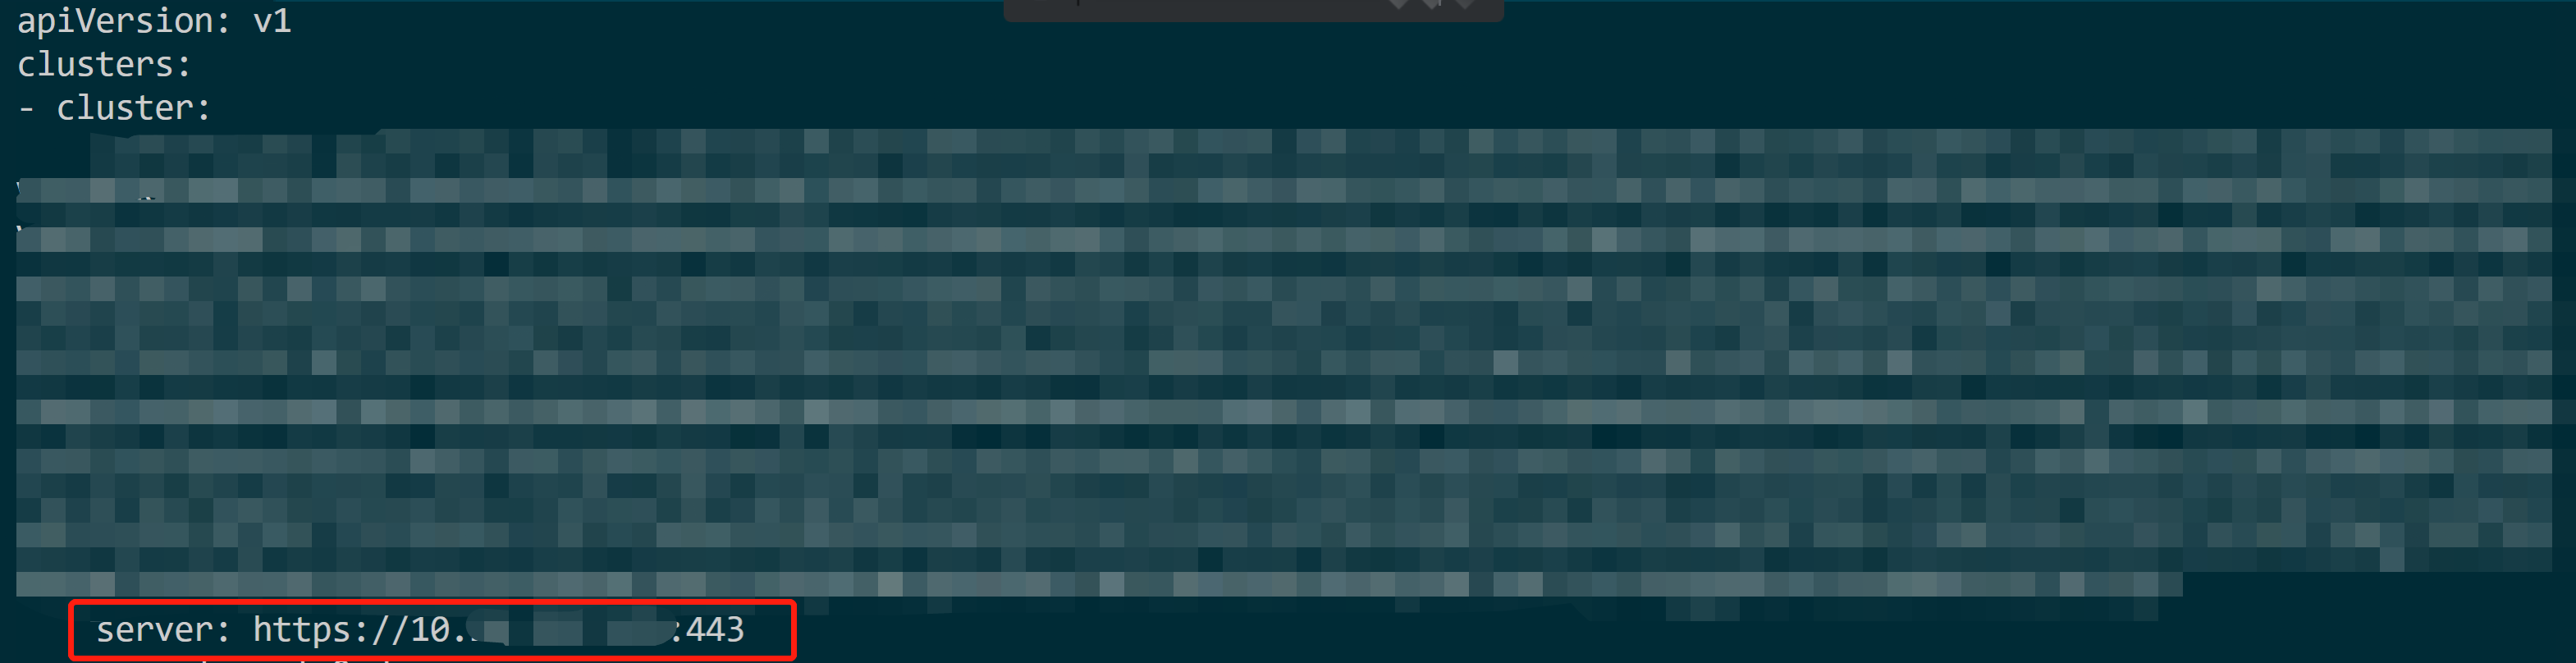
1. Log in to any node within the cluster and replace the clusters.cluster.server field in the ~/.kube/config file with https://<IP>:443 using the Kubernetes service IP obtained in step 1, as shown below:
2. Execute the following command to test if the cluster can be accessed normally.
kubectl get node
Note
Overview of kubectl CLI
Kubectl is a command-line tool for operating Kubernetes clusters. This article covers kubectl syntax, common command operations, and provides examples. For detailed information on each command, including all main and subcommands, refer to the kubectl reference documentation or use the kubectl help command to view detailed help.