截止至步骤4,我们已经将一条 VPN 通道配置成功,但仍需配置路由策略,将子网 A 中的流量路由至 VPN 网关上,子网 A 中的网段才能与 IDC 中的网段通信。
1. 登录 私有网络控制台。
2. 在左侧目录中单击子网,选择对应的地域和私有网络,如示例中的广州和
TomVPC,单击子网 A 所关联的路由表 ID,进入详情页。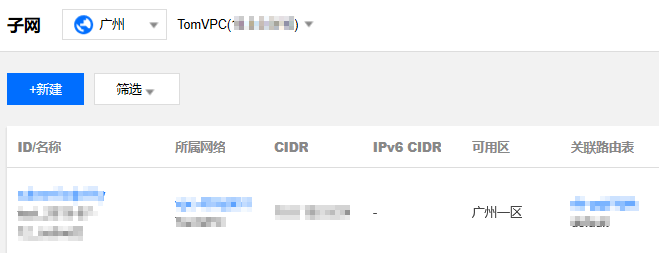
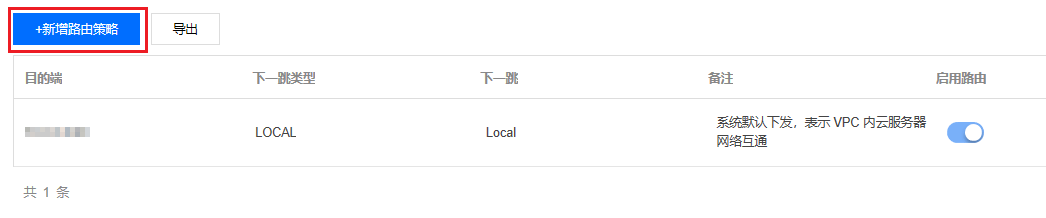
3. 单击+新增路由策略。
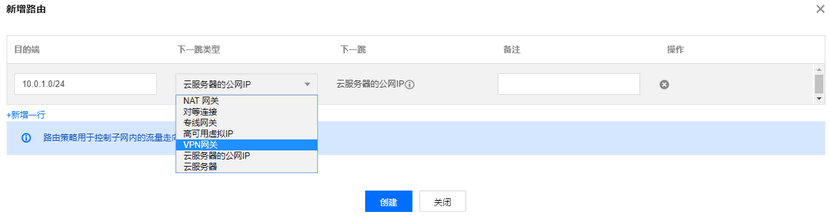
4. 在弹出框中,输入目的端网段(
10.0.1.0/24),下一跳类型选择 VPN 网关,下一跳选择刚创建的 VPN 网关 TomVPNGw,单击创建即可。