Starting a Migration Task

Last updated: 2023-08-29 10:28:19

Scenario

This document describes how to start a migration task.

Instructions

Step 1: Establish a Migration Task

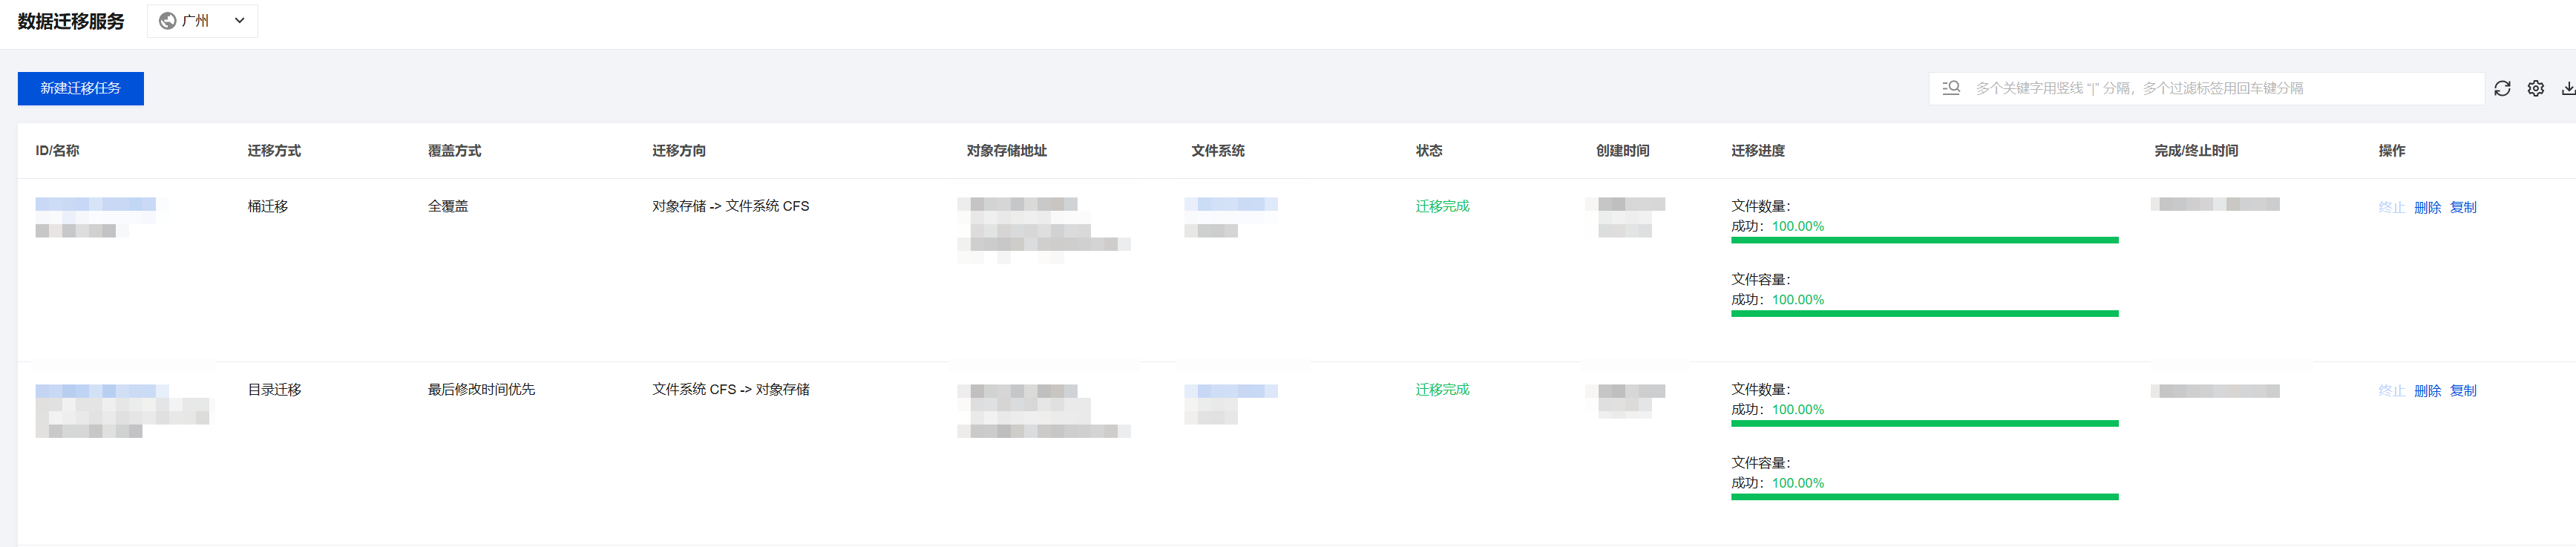
1. Log in to the CFS console and navigate to the Data Migration Service page.
2. Click on Create Migration job.


Note
This feature is currently available on a whitelist basis. If you wish to use it, please submit a ticket to contact us.

Step 2. Select the region for migration

Select the destination CFS region as the region for migration.

Step 3. Select the source service provider

Select ‍Tencent Cloud COS‍.


Step 4. Select the migration method

Currently, bucket migration and inventory migration are supported:


Bucket migration: It is suitable for migrating an object storage bucket or all objects in a certain directory.
Inventory migration: It is suitable for migrating objects within a specified time period. Currently, you can export the objects modified after a time point or within a time period through the object storage inventory for filtered data migration.

Step 5. Select the overwriting method


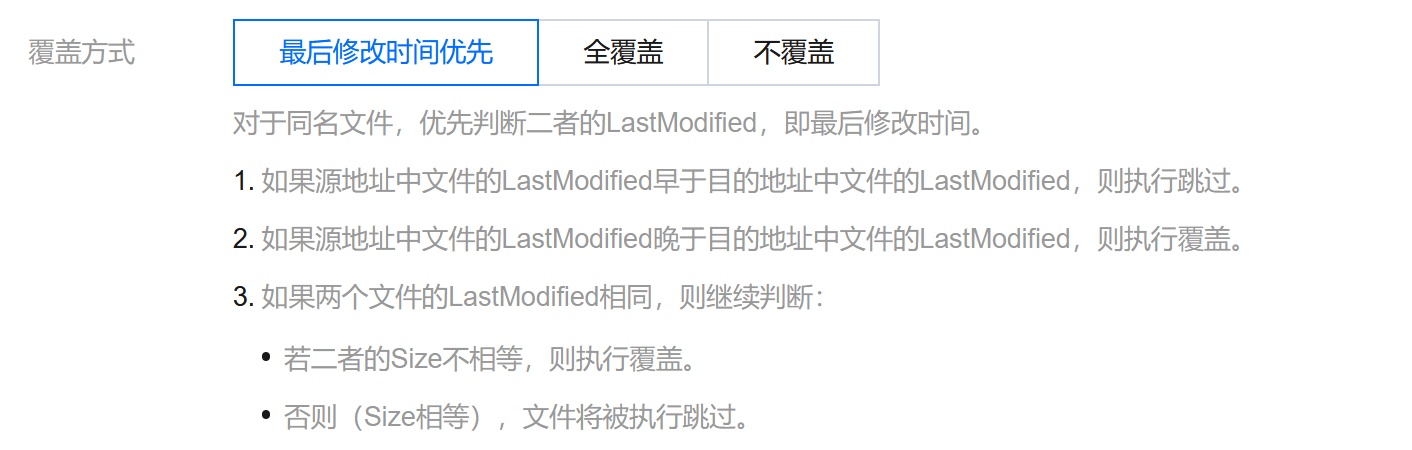
Currently, overwriting by last modified time, full overwriting, and no overwriting are supported.
Overwriting by last modified time: When files with the same name exist, their LastModified values are checked, i.e., last modified time.
If the LastModified of the file in the source address is earlier than that of the file in the destination address, no overwriting is performed.
If the LastModified of the file in the source address is later than that of the file in the destination address, overwriting is performed.
If the two files have the same LastModified value, further check:
If their Size values are different, overwriting is performed.
If their Size values are the same, no overwriting is performed.
Full overwriting: Files with the same name are overwritten without any check.
No Overwrite: Contrary to the Full Overwrite policy, files with the same name are skipped without any check.

Step 6. Enter the SecretId and SecretKey

Enter the SecretId and SecretKey required by access to object storage, which are encrypted on the platform. If you use a temporary key, make sure that the migration task can be completed during the validity period of the key; otherwise, part of the migration will fail.


Step 7. Enter the source information (required for bucket migration only)

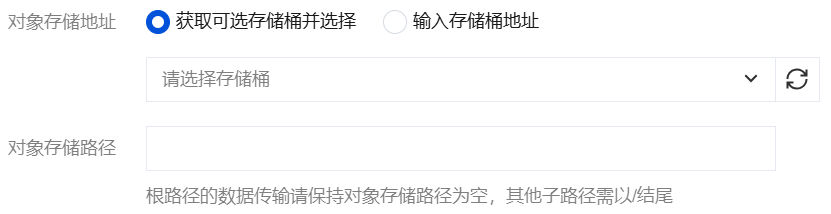
Currently, you can either select a bucket or enter the source bucket address (object storage endpoint) in the console. For data transfer from the root path, make sure that the source path is empty and other subpaths end with "/".


Step 8. Enter the inventory URL (required for inventory migration only)

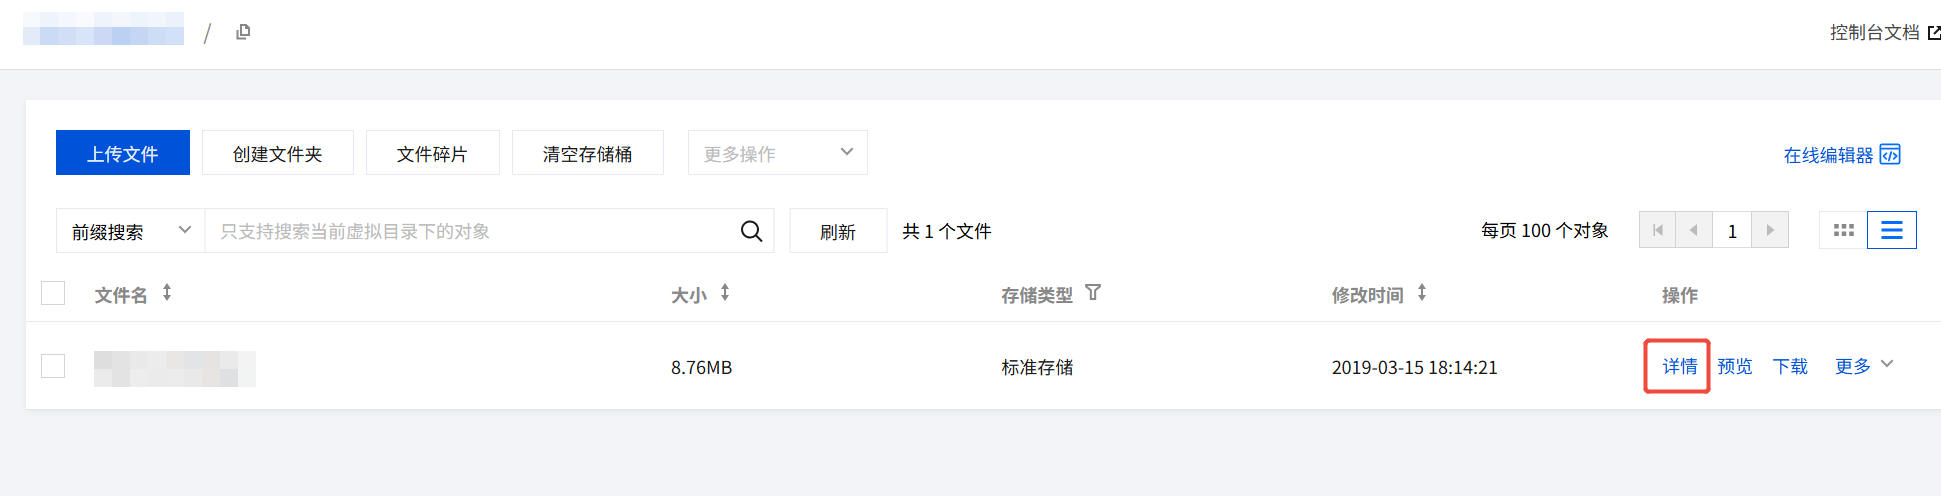
Enter the URL of the manifest.json file of the object storage inventory. Specifically, after an inventory is generated, find the URL of the manifest.json file and enter the inventory URL.


Step 9. Select the destination file system

Select the destination file system and path. For data migration from the root path, leave the destination path empty. If the migration is from the test directory, enter either /test or /test/.