The content of this page has been automatically translated by AI. If you encounter any problems while reading, you can view the corresponding content in Chinese.
The ES Serverless service already provides an offline migration tool in the console. This tool uses Elasticsearch's snapshot feature, allowing us to quickly migrate existing ES cluster data in full to the ES Serverless service.
2. ES Serverless service will charge for the storage of migrated data. The storage size is calculated based on the size of the primary shard of the migrated index. The calculation method for fees can be consulted in the documentation.
3. Every index in the ES Serverless service must specify a time field of the date type. Please ensure that the migrated data contains a field with the same name and type. If the name matches but the type is not date, you can convert the field type through the Reindex method.
Creating Snapshots
The migration tool offers offline snapshot migration capabilities. Therefore, before setting up in the console, it is necessary to perform snapshot backup operations on the existing ES cluster data. If the cluster to be migrated originates from a self-built ES cluster, the snapshot operation must be executed by yourself to back up the data under your account; if it comes from a Tencent Cloud ES cluster, you can use the automatic snapshot capabilities provided by Tencent Cloud ES (currently free of charge) to back up the data.
Search for the required CAM policy as needed, and click to complete policy association.
Backup self-built ES cluster data
Creating Repository
PUT _snapshot/web_log
{
"type": "cos",
"settings": {
"app_id": "xxxxxxx",
"access_key_id": "xxxxxx",
"access_key_secret": "xxxxxxx",
"bucket": "xxxxxx",
"region": "ap-guangzhou",
"compress": true,
"chunk_size": "500mb",
"max_snapshot_bytes_per_sec" : "50mb",
"base_path": "/"
}
}
app_id: APPID of your Tencent Cloud account.
access_key_id: SecretId of your Tencent Cloud API key.
access_key_secret: SecretKey of your Tencent Cloud API ley.
bucket: COS bucket name, which cannot contain the -{appId} prefix.
region: COS Bucket region, for example, ap-guangzhou. This region must be the same as the ES cluster. You can refer to the document for region codes by clicking here.
compress: The default is true, compressing the storage of index metadata.
base_path: The backup directory.
max_snapshot_bytes_per_sec: The snapshot rate for this repository. It is set at the repository level, and customers can adjust it based on the current cluster load.
Creating Snapshots
PUT _snapshot/web_log/snapshot_test
{
"ignore_unavailable": true,
"include_global_state": false,
"indices": "test3*,nginx_log,test2" // where test2 is an exact match for a regular index, test3* is a fuzzy match for a regular index, and nginx_log is a datastream
}
ignore_unavailable: Ignore unavailable or non-existent indices.
include_global_state: Whether to snapshot the cluster state, it is strongly recommended to set this to false.
indices: Specify the indices to be snapshot, supporting fuzzy matching with '*', multiple indices separated by commas without spaces. To snapshot all rolled-over indices under a datastream, write the datastream name directly.
Note:
Each index in the ES Serverless service needs to specify a Time Field, and the field type must be date. Ensure that the migrated data contains fields with consistent names and types as the Time Field. If names are consistent but the type is not date, you can use the Reindex method to convert the field type.
Viewing Snapshot
GET _snapshot/web_log/snapshot_test
This command returns information about the snapshot. When the state field in the information is SUCCESS, it indicates that the snapshot backup is complete.
Backing up Tencent Cloud ES Cluster data
Creating Snapshots
1. Enter the ES Cluster Management Interface, select the corresponding region and cluster, click on cluster name to enter the cluster details page.
2. Enter the Backup Management page, click on Automated Backup Settings.
Search for the required CAM policy as needed, and click to complete policy association.
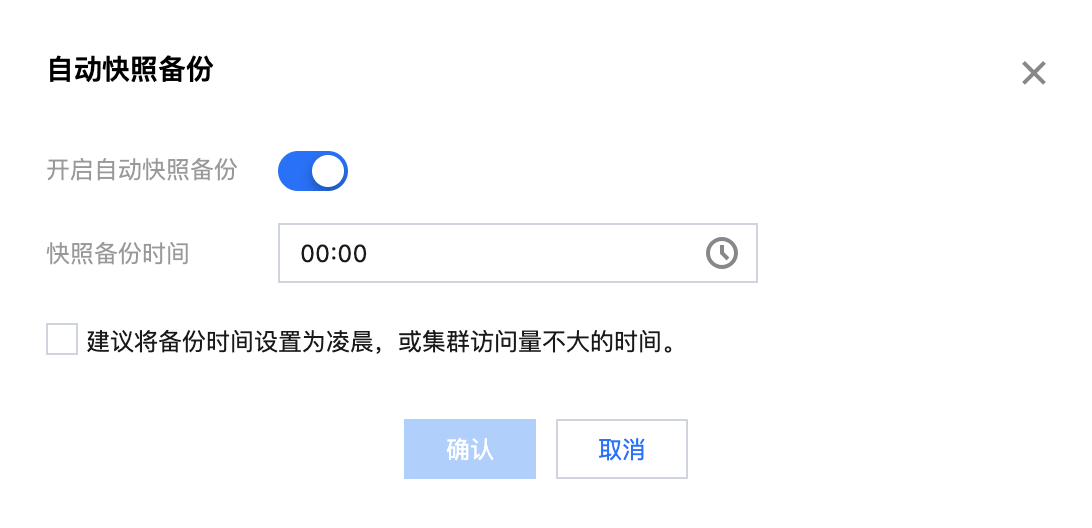
3. Enable automated snapshot backup and set the backup time.
Search for the required CAM policy as needed, and click to complete policy association.
Note:
Automated snapshot backup is currently free. Once set, the system will perform daily backups, with a retention period of 7 days.
Viewing Snapshot
Once the snapshot backup is completed, we can view the corresponding snapshot in the snapshot list.
Search for the required CAM policy as needed, and click to complete policy association.
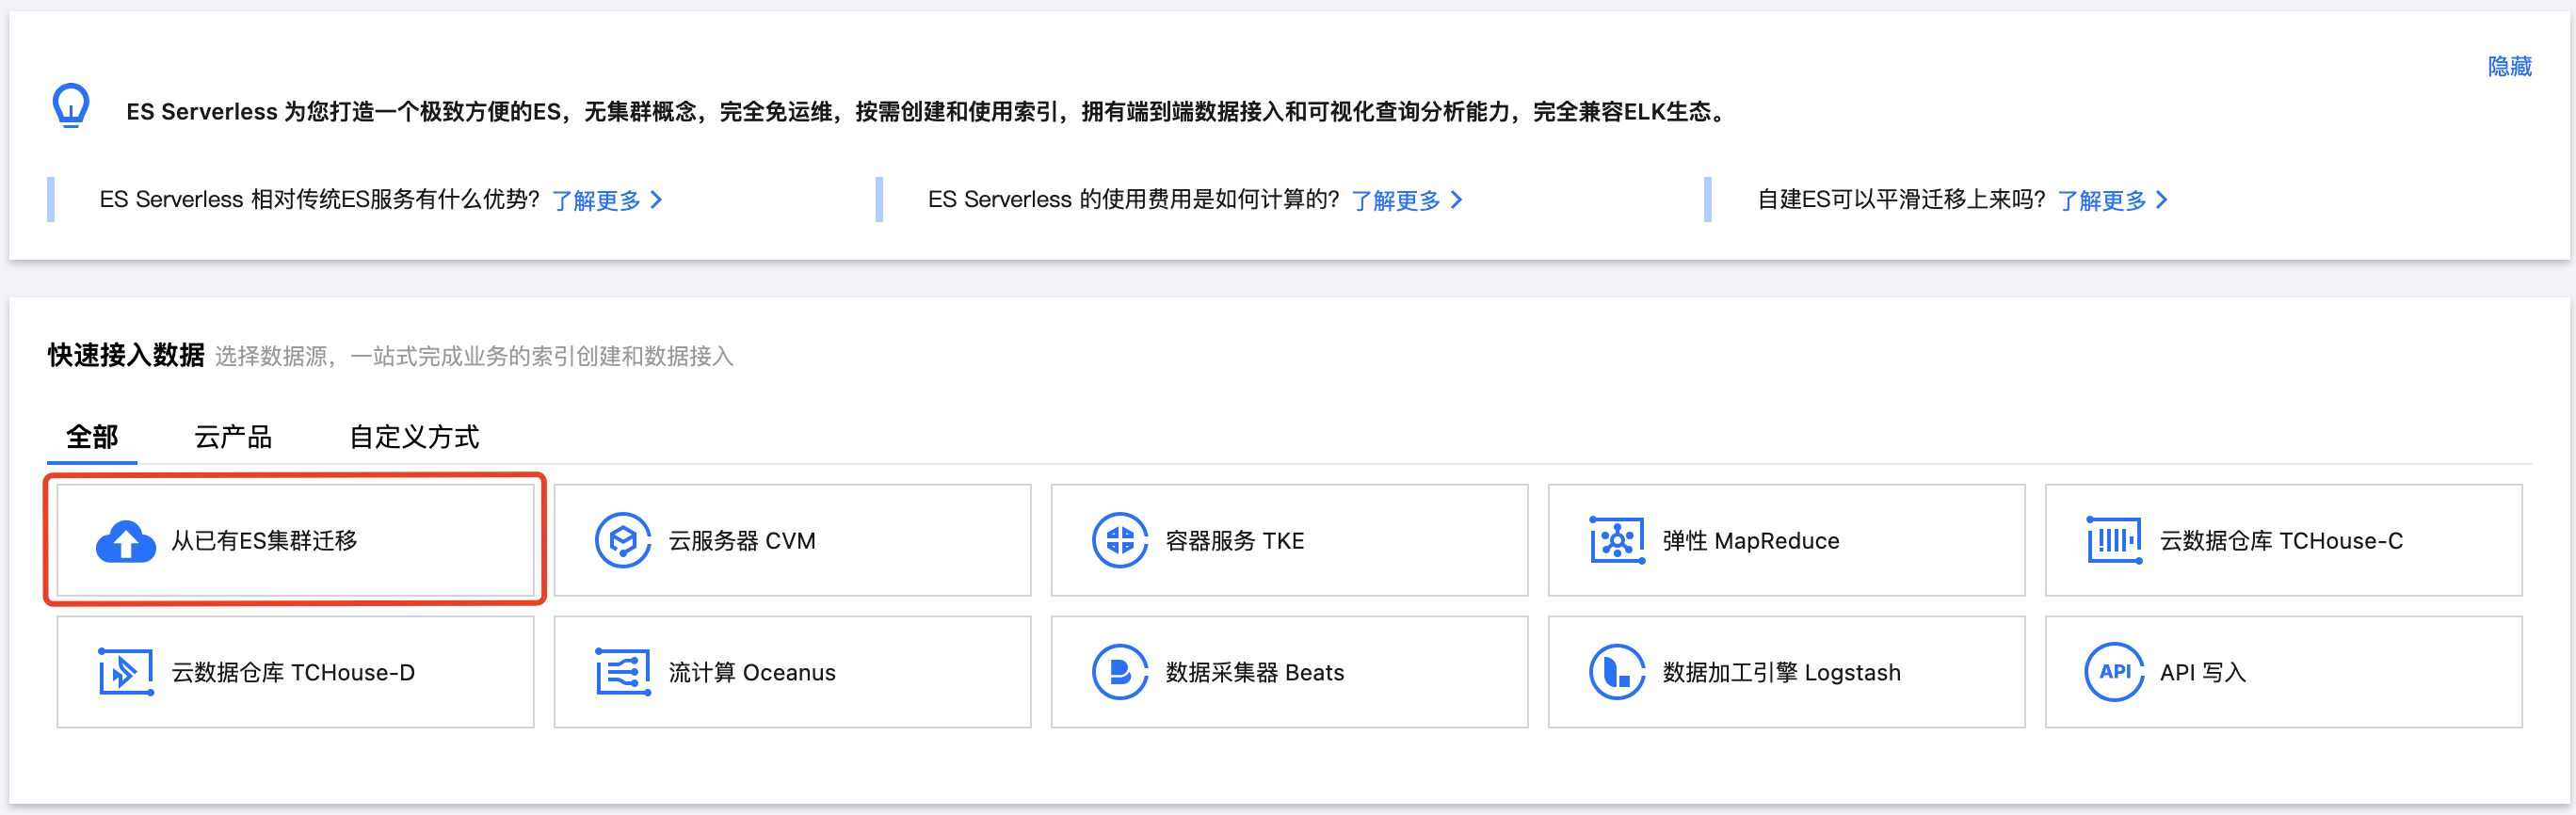
2. In the Rapid Data Integration module, click Migrate from an Existing ES Cluster.
Search for the required CAM policy as needed, and click to complete policy association.
3. Enter the settings interface and select the source of the cluster to be migrated.
4. Set Snapshot Source
4.1 The cluster to be migrated is from a self-built ES cluster
Region Location: Supported regions are consistent with the ES Serverless service, currently Beijing, Shanghai, Guangzhou, Nanjing, Hong Kong (China).
Bucket Name: Select the bucket where the snapshot is located.
Access Path: Select the directory where the snapshot file is located.
Note:
The access path currently supports only the root directory. Do not select files in other directories.
Snapshot Name: Choose the specific snapshot name.
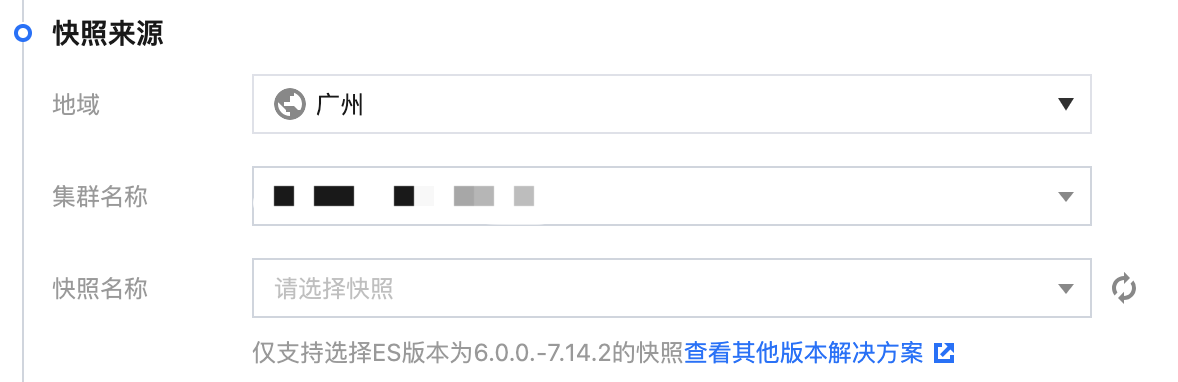
4.2 The cluster to be migrated is from a Tencent Cloud ES cluster
Region Location: Supported regions are consistent with the ES Serverless service, currently Beijing, Shanghai, Guangzhou, Nanjing, Hong Kong (China).
Cluster Name: Select the ES cluster that needs to be migrated to the ES Serverless service.
Snapshot Name: Select the specific snapshot name.
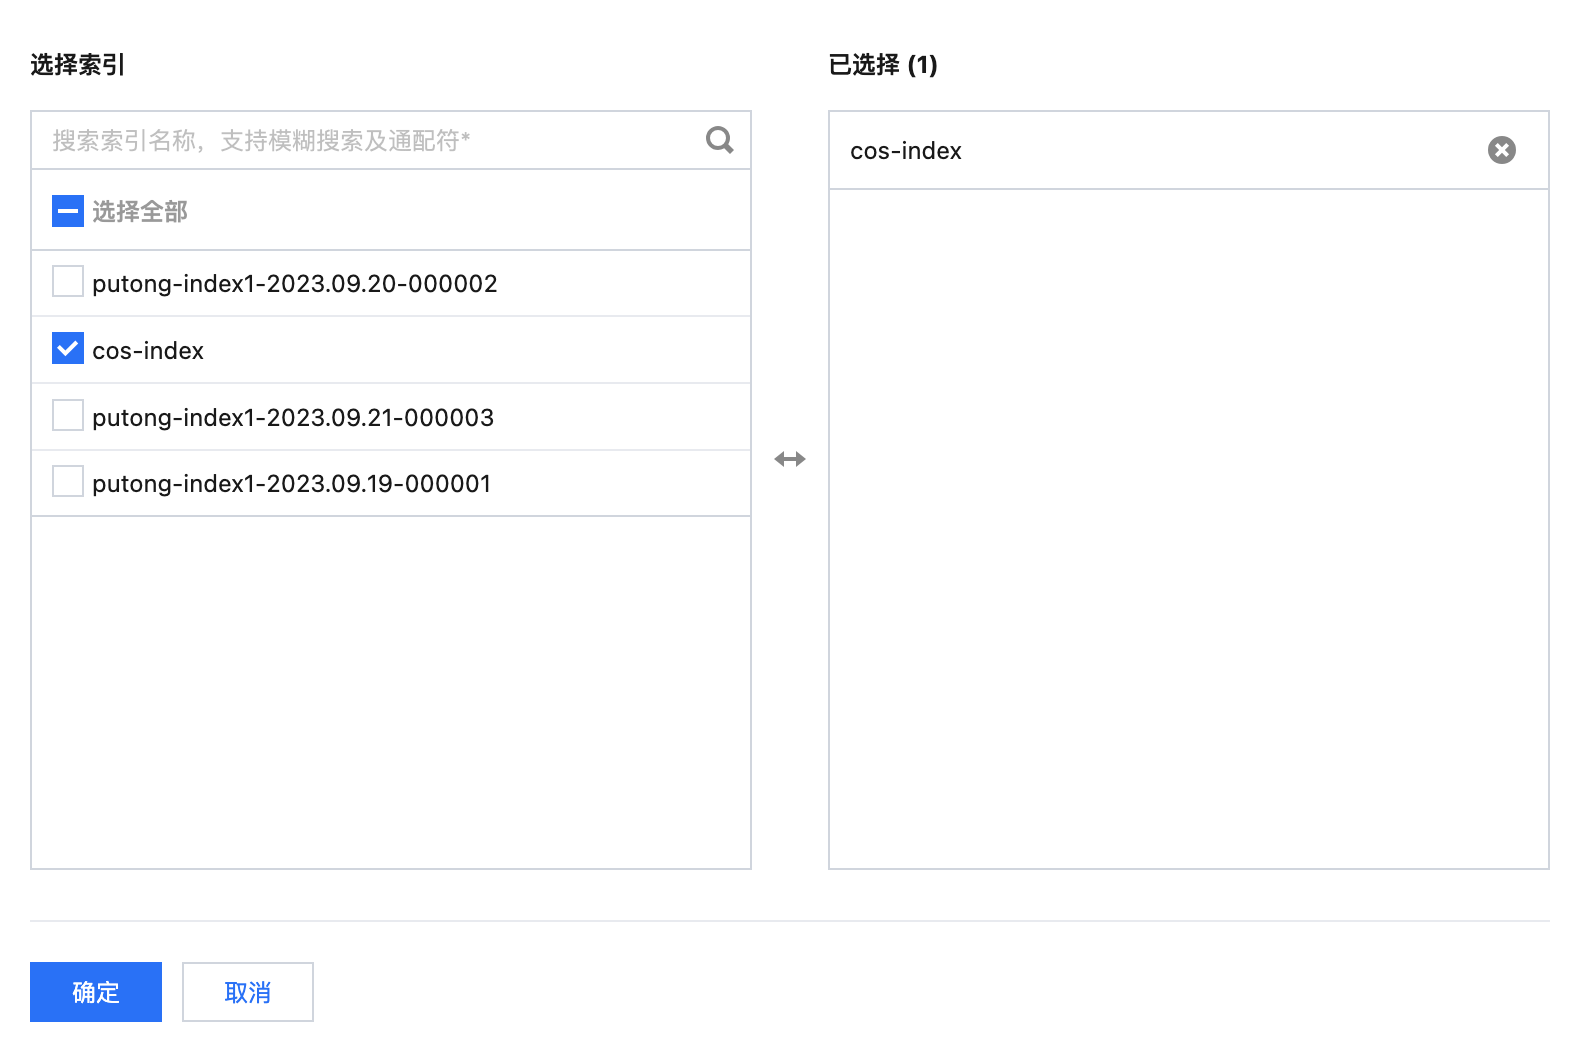
5. Set the indexes to be migrated.
After setting the snapshot source, you can choose the index to be migrated from the drop-down box of indexes to be migrated.
Search for the required CAM policy as needed, and click to complete policy association.
Note:
Please ensure that all fields in the above indices have the same field name and type as the target index. If the name matches but the type is not date, you can convert the field type through reindex.
Indexes containing failed backup shards cannot be migrated.
Indexes with write mode set to "partitioned by time" cannot be migrated.
6. Set Target Index
Select the project space and index of the ES Serverless service where the data needs to be migrated.
7. Migration Verification
To ensure successful data migration, the platform will verify the overall information filled in above. If the verification is successful, click OK to start the data migration.
Note:
The ES Serverless service will charge storage fees for the migrated data. The storage size is calculated based on the size of the primary shards of the migrated indexes. For the method of fee calculation, you may refer to the documentation.
8. View Migration Progress
After initiating the migration, we can view the data migration progress in the corresponding project space and index.
After the migration is completed, if you need to review the migration details later, you can check the change records of the target index.