新年快乐 - 点线吸附特效
新年快乐 - 点线吸附特效

theme: fancy
因为自己的工作内容跟图表打交道比较多,所以最近一直在看 Canvas 相关的内容。如果你也需要使用 Canvas,推荐 Franks laboratory 的频道。而且,新年即将到来,想着整合下学到的知识点,给大家拜个早年。
效果体验如下: jcode
So intersting, right? Bro.
我们实现的功能主要有:
- 文本点状绘制
- 点与点之间连线
- 鼠标移动,点线进行规避
在进行这三个主要功能讲解之前,我们得先了解 canvas 中的一个方法 getImageData(),这很重要,这是本效果最重要的 API 方法。
getImageData() 方法
getImageData() 返回一个代表二维画布像素数据的 ImageData 对象。这个对象包含属性有:
- ImageData.data:只读属性。返回一维数组,数组的数据从坐标
0开始,每相连不重复的四个数据为一小组,代表的是RGBA顺序的值。 - ImageData.heihgt:只读属性。使用像素描述
ImageData的实际高度。 - ImageData.width:只读属性。使用像素描述
ImageData的实际宽度。
let textCoordinates = null;
const textMaxWidth = 100;
let textMaxHeight = 34;

textCoordinates = context.getImageData(0, 0, textMaxWidth, textMaxHeight)
这里的
textCoordinates对象就是获取画布坐标(0, 0)(即画布左上角)开始,宽度是100px,宽度是34px区域转换成像素而得到。此时该对象的属性data长度为100 * 34 * 4 = 13600,属性width为100px,属性heihgt为34px。
如果我们只是单纯地绘制文本,得到的效果如下:

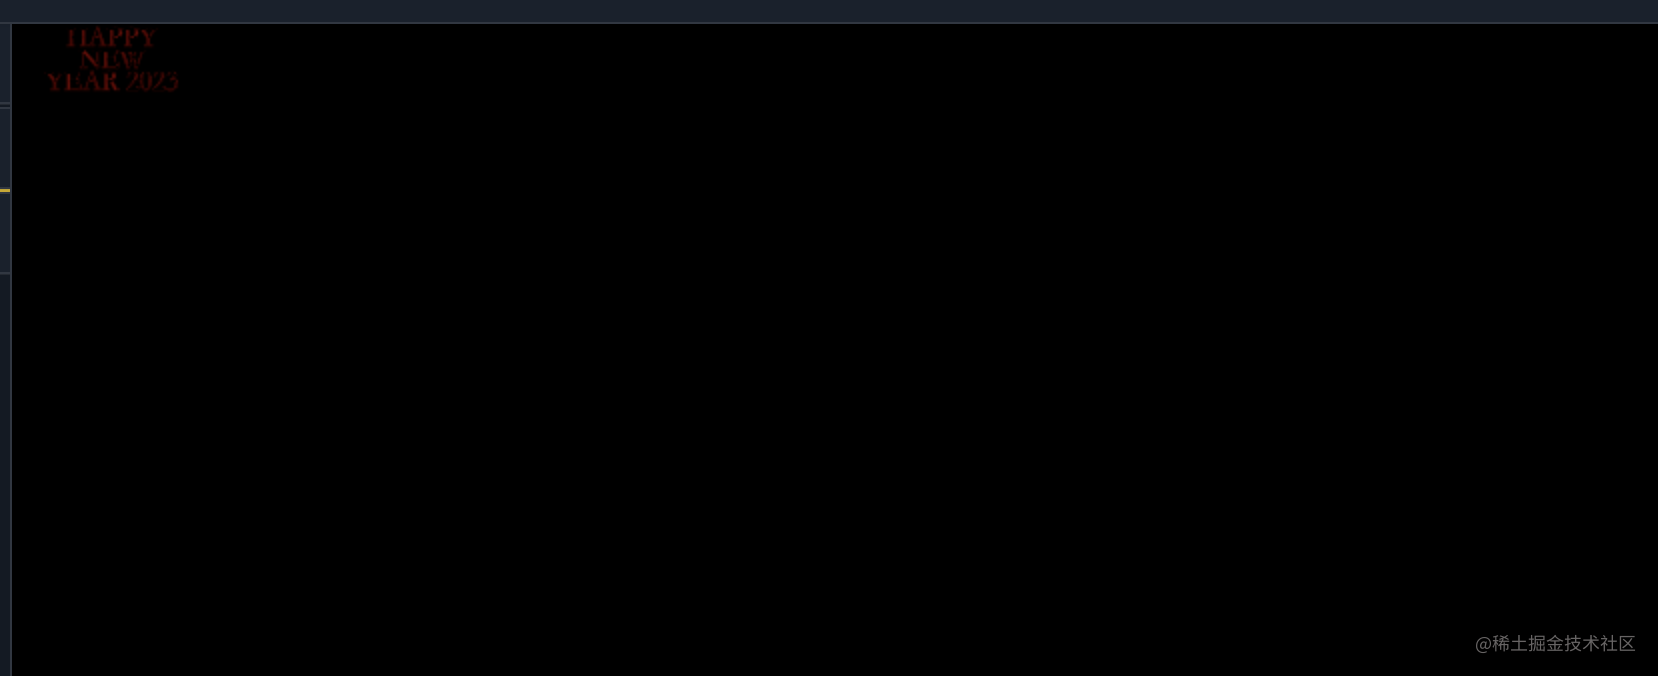
文本在左上角
那么,我们怎么将上面的文本改变成点状的类型,并适应整个画布呢?下面我们来看看:
描绘点状文本
我们当初设定文本的宽高是 100 * 34,此时需要将其等比例地映射到宽高 window.innerWidth * window*innerHeight 的区域就行了。
function init() {
  particleArray = [];
  for(let y = 0; y < textCoordinates.height; y += 1) {
    for(let x = 0; x < textCoordinates.width; x += 1) {
      if(textCoordinates.data[(y * 4 * textCoordinates.width) + (x * 4) + 3] > (256 / 2)) {
        let positionX = x;
        let positionY = y;
        particleArray.push(new Particle(positionX * (canvasDom.width / textMaxWidth), positionY * (canvasDom.height / textMaxHeight)));
      }
    }
  }
}
init 方法生成点的位置。其取透明度大于 66.7% 进行计算位置。当然,透明度数值你自己可进行调整,取大于 0% 的数值都可以,但是效果不是很友好,读者可自行尝试。
生成画布上的位置之后,就是画点:
draw() {
  context.beginPath();
  context.arc(this.x, this.y, this.size, 0, Math.PI * 2);
  context.fill();
  context.closePath();
}
this.x代表点相对画布左上角的水平距离;this.y代表点相对画布左上角的垂直距离。即(x, y)坐标
点之间连线
然后,我们将点和点之间连接起来。该效果的连接规则是:两点之间的距离小于给定的 connectDistance 值,那么两点画线,且两点间线条越长,透明度越低。
connect() {
  let opacityValue = 1; // 默认线条透明度
  for(let i = 0; i < particleArray.length; i += 1) {
    let dx = particleArray[i].x - this.x;
    let dy = particleArray[i].y - this.y;
    let distance = Math.sqrt(dx * dx + dy * dy); // 两点之间的距离
    let r = textCoordinates.data[i * 4];
    let g = textCoordinates.data[i * 4 + 1];
    let b = textCoordinates.data[i * 4 + 2];
    if(distance < connectDistance) {
      opacityValue = 1 - (distance / connectDistance); // 计算线条的透明度
      context.strokeStyle = `rgba(${ r  + 50}, ${ g + 50 }, ${ b + 50 }, ${ opacityValue })`; // 线条颜色
      context.lineWidth = 1;
      context.beginPath();
      context.moveTo(this.x, this.y);
      context.lineTo(particleArray[i].x, particleArray[i].y);
      context.stroke();
    }
  }
}
这里使用了 moveTo 和 lineTo 的接口进行坐标定位,相对应其绘制的起始点和结束点。
鼠标动效
这里的特效是:当鼠标在画布上移动的时候,画布上的点如果在鼠标的半径范围内,那么这些点就需要远离鼠标;当鼠标移走的时候,这些点需要复位。
const mouse = {
  x: undefined,
  y: undefined,
  radius: 150,
}
上面定义鼠标移动的坐标,和以该坐标为圆心的半径。半径这个属性根据实际效果进行更改。
然后我们在 update 方法中,对鼠标的移动进行处理:
update() {
  let dx = mouse.x - this.x;
  let dy = mouse.y - this.y;
  let distance = Math.sqrt(dx * dx + dy * dy); // 鼠标距离点的直线距离
  let forceDirectionX = dx / distance;
  let forceDirectionY = dy / distance;
  let maxDistance = mouse.radius;
  let force = (maxDistance - distance) / maxDistance; // 移动的强度百分比,这需要跟 density 相乘,density 值根据情况调整;这里模拟排斥力度
  let directionX = forceDirectionX * force * this.density;
  let directionY = forceDirectionY * force * this.density;
  if(distance < mouse.radius) {
    this.x -= directionX;
    this.y -= directionY;
  } else {
    // 恢复到点原位
    if(this.x !== this.baseX) {
      let dx = this.x - this.baseX;
      this.x -= dx / 5;
    }
    if(this.y !== this.baseY) {
      let dy = this.y - this.baseY;
      this.y -= dy / 5;
    }
  }
}需要注意的时候,baseX 和 baseY 分表代表的是该点原本的坐标位置的 x 点和 y 点,这个已经在类的构造函数中定义:
constructor(x, y) {
  this.x = x;
  this.y = y;
  this.baseX = this.x; // 点原先 x 轴坐标
  this.baseY = this.y; // 点原先 y 轴坐标
}
当然,我还添加了渐变 gradient = context.createLinearGradient(0, 0, canvasDom.width, canvasDom.height),增加提示信息等内容。
读者如果感兴趣,可以根据自己的灵感进行扩展创作,比如对图片进行像素化,绘制天空星座图,模拟玻璃破碎效果等等
