[iOS]swift中UITableView使用.grouped样式时设置cell两侧边距以及实现圆角
原创
[iOS]swift中UITableView使用.grouped样式时设置cell两侧边距以及实现圆角
原创
柯柯哥
发布于 2023-12-22 14:25:09
发布于 2023-12-22 14:25:09
在iOS13之后苹果为我们提供了新的样式选项.insetGrouped,如果使用这个样式的话,苹果会为我们自动实现每个section的圆角,而且cell两侧有相应的间距。这个我在这里不再说明,大家可以自行体验。
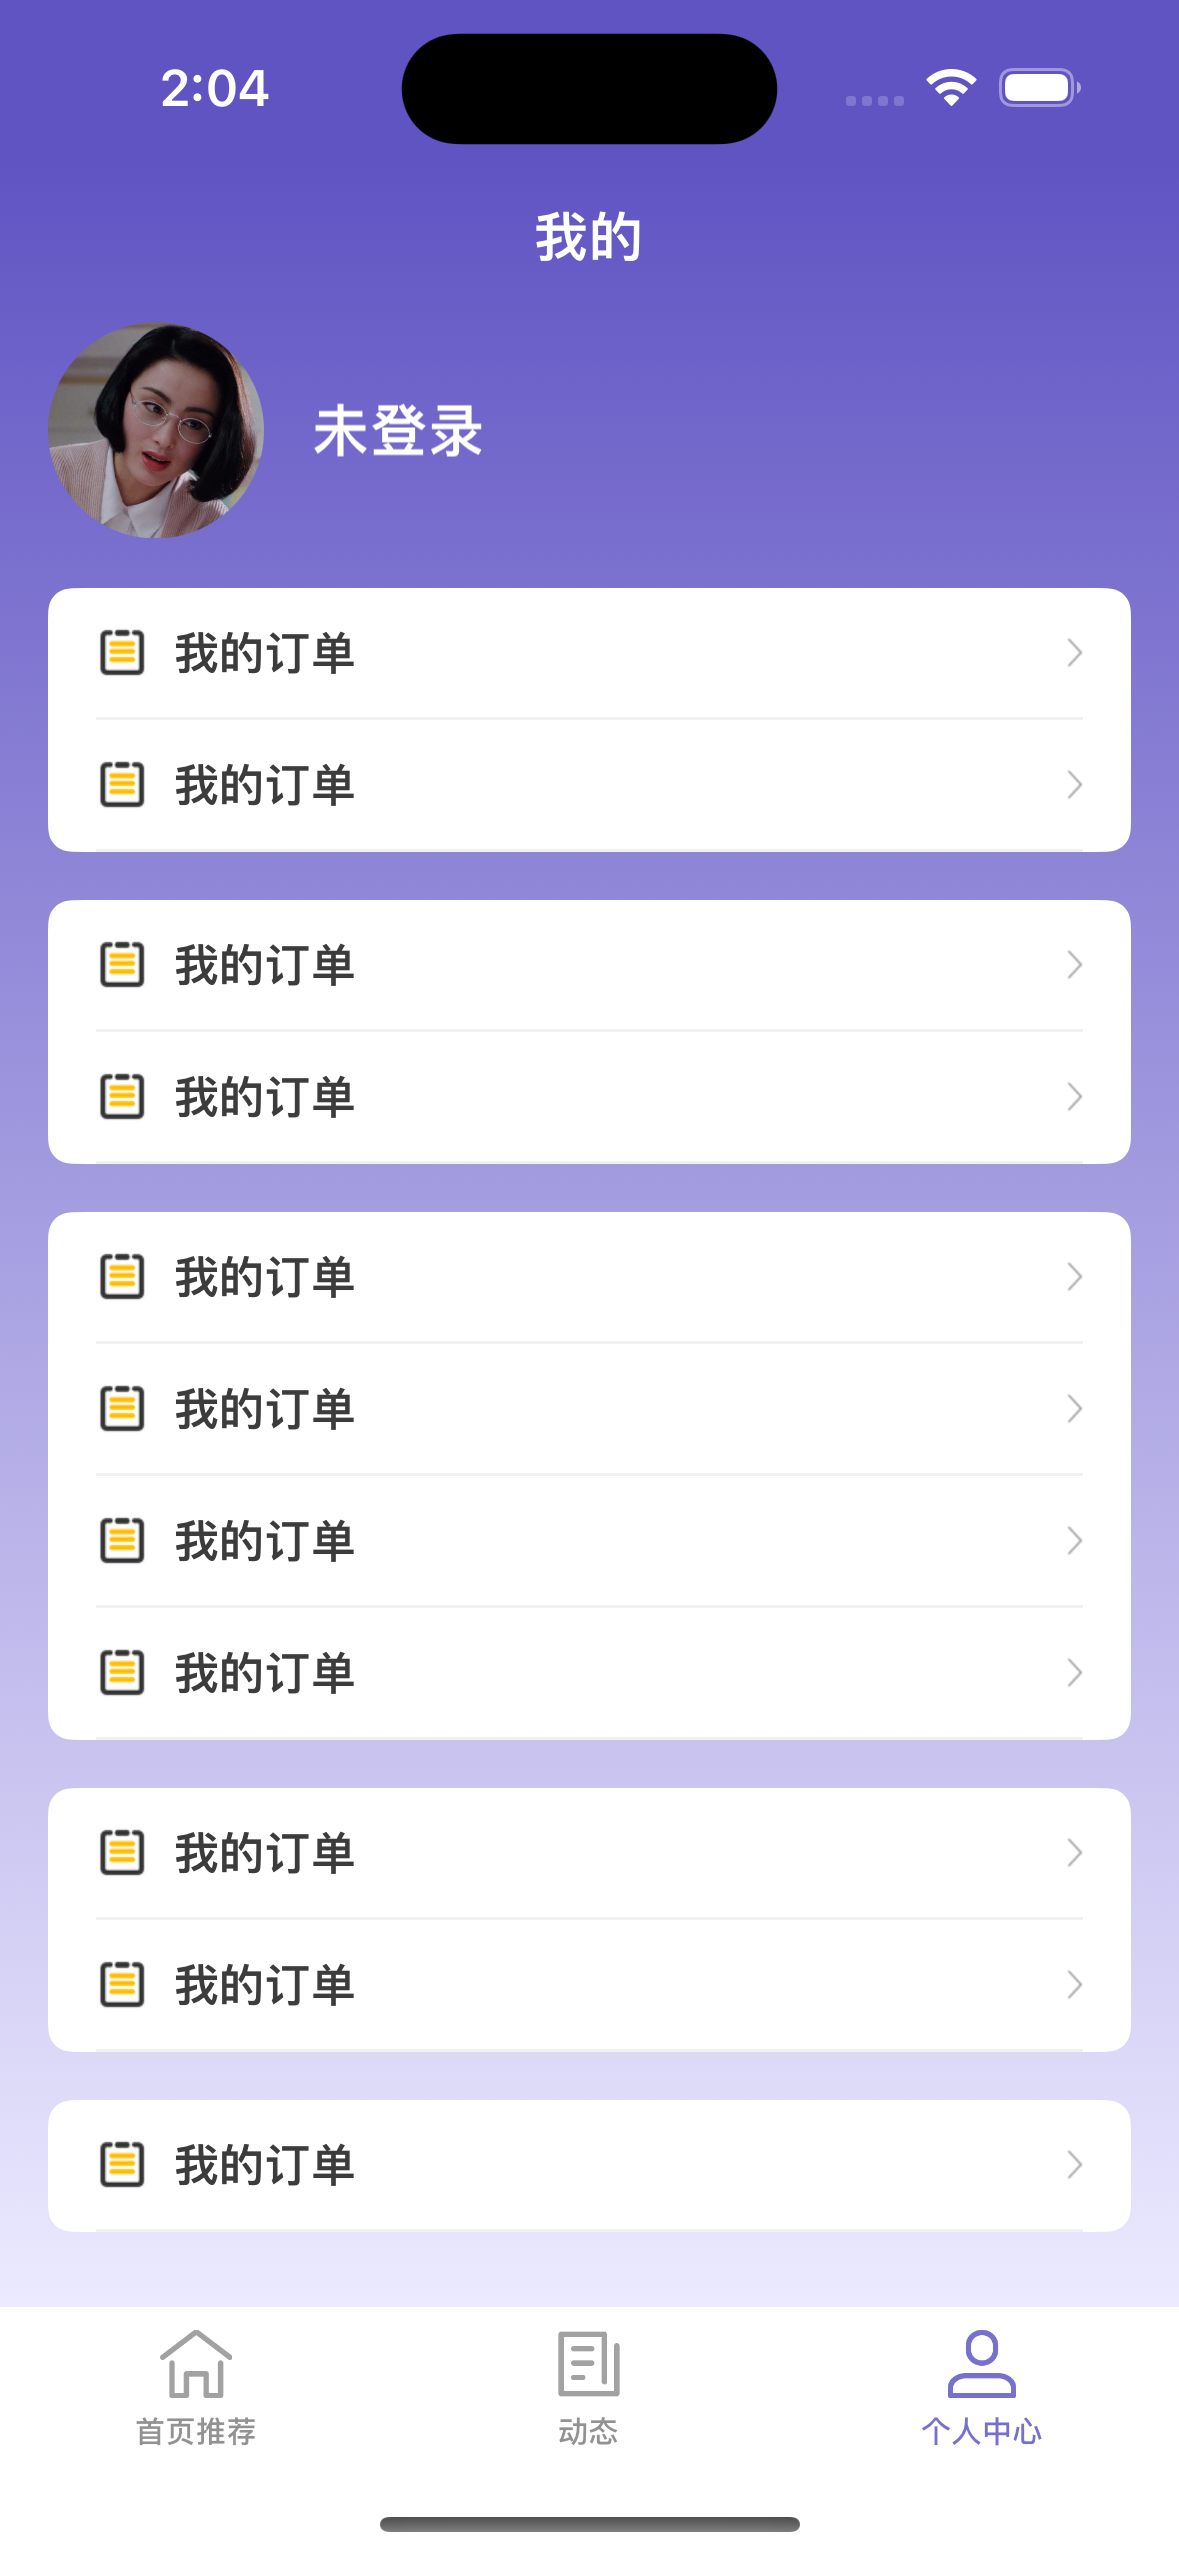
那么如果要适配iOS13以下的系统呢,我们该怎么实现圆角和边距呢?我这里使用.grouped样式的UITableView来演示下实现原理:
1、先说下实现边距,我们自定义一个cell类,在自定义cell中重写cell的frame属性,在设置frame的时候我们给它设置下想要的边距。
//MARK: - 设置cell左右边距
override var frame: CGRect {

        didSet{

            var newFrame =frame

            newFrame.origin.x += 16.0

            newFrame.size.width -= 32.0

            super.frame = newFrame

        }

    }
2、设置cell的圆角
cell设置圆角分三种情况
当某个section只有一个cell时,我们需要对cell的四个圆角都要设置;
当section的cell大于1时,我们需要对第一个和最后一个cell设置圆角
第一行cell圆角需要对左上角,右上角进行切圆角;
最后一行cell圆角需要对左下角,右下角进行切圆角;
所以我们需要在代码里进行判断区分设置。
定义一个方法
/// 设置cell圆角
/// - Parameters:

///  - cell: cell

///  - indexPath: indexPath

///  - tableView: tableView

private func setCornerRadiusForSectionCell(cell: UITableViewCell, indexPath: IndexPath, tableView: UITableView, cornerRadius: CGFloat) {

    let sectionCount = tableView.numberOfRows(inSection: indexPath.section)

    //当前分区有多行数据时

    if sectionCount >1 {

        switch indexPath.row {

            /** 如果是第一行,左上、右上角为圆角**/

        case 0:

            cell.createCorner(CGSize(width: 8.0, height: 8.0), UIRectCorner(rawValue: (UIRectCorner.topLeft.rawValue)|(UIRectCorner.topRight.rawValue)))
            /** 如果是最后行,左下、右下角为圆角**/

        case sectionCount -1:

            cell.createCorner(CGSize(width: cornerRadius,height: cornerRadius),UIRectCorner(rawValue: (UIRectCorner.bottomLeft.rawValue)|(UIRectCorner.bottomRight.rawValue)))

        default:

            break

        }

    }

    //当前分区只有一行行数据时

    else {

        cell.createCorner(CGSize(width: cornerRadius, height: cornerRadius), UIRectCorner(rawValue: (UIRectCorner.bottomLeft.rawValue)|(UIRectCorner.bottomRight.rawValue)|(UIRectCorner.topLeft.rawValue)|(UIRectCorner.topRight.rawValue)))

    }

}
上述方法中的createCorner这个方法是我在项目里为UIView添加的扩展方法,具体实现如下:
//   - cornerRadii: 圆角幅度

//   - roundingCorners: UIRectCorner(rawValue: (UIRectCorner.topRight.rawValue) | (UIRectCorner.bottomRight.rawValue))

public func createCorner(_cornerRadii:CGSize,_roundingCorners:UIRectCorner) {

    let fieldPath = UIBezierPath.init(roundedRect:bounds,byRoundingCorners: roundingCorners,cornerRadii:cornerRadii );

    let fieldLayer = CAShapeLayer();

    fieldLayer.frame = bounds;

    fieldLayer.path = fieldPath.cgPath;

    self.layer.mask = fieldLayer;

}
定义好方法,我们就可以在tableView的代理方法中调用了。
func tableView(_ tableView:UITableView,willDisplay cell:UITableViewCell,forRowAt indexPath:IndexPath) {
    setCornerRadiusForSectionCell(cell: cell, indexPath: indexPath, tableView: tableView, cornerRadius: 8.0)
    }
3、如果想要改变每个section的间距,需要实现UITableView的四个代理方法。(当tableView使用的样式是.grouped)
func tableView(_ tableView: UITableView, heightForHeaderInSection section: Int) -> CGFloat {
        return 16.0
    }
    func tableView(_ tableView: UITableView, heightForFooterInSection section: Int) -> CGFloat {
        return 0.0
    }
    func tableView(_ tableView: UITableView, viewForHeaderInSection section: Int) -> UIView? {
        return UITableViewHeaderFooterView()
    }
    func tableView(_ tableView: UITableView, viewForFooterInSection section: Int) -> UIView? {
        return UITableViewHeaderFooterView()
    }
原创声明:本文系作者授权腾讯云开发者社区发表,未经许可,不得转载。
如有侵权,请联系 cloudcommunity@tencent.com 删除。
原创声明:本文系作者授权腾讯云开发者社区发表,未经许可,不得转载。
如有侵权,请联系 cloudcommunity@tencent.com 删除。
评论
登录后参与评论
推荐阅读
腾讯云开发者

Copyright © 2013 - 2026 Tencent Cloud. All Rights Reserved. 腾讯云 版权所有
深圳市腾讯计算机系统有限公司 ICP备案/许可证号:粤B2-20090059 ![]() 粤公网安备44030502008569号
粤公网安备44030502008569号
腾讯云计算(北京)有限责任公司 京ICP证150476号 | 京ICP备11018762号