Linux系统之部署Blog-Index导航页
原创Linux系统之部署Blog-Index导航页
原创
一、Blog-Index介绍
1.1 Blog-Index简介
这是一个基于 Vue 的通用网站导航页面,你可以将其放在个人网站的首页作为您博客的引导页面或者是您其他项目的引导页。使用自适应布局兼容多端显示,方便游客浏览您的个人网站,背景图来自于 Bing 每日图片。
1.2 Blog-Index特点
- 基于 Vue:使用 Vue.js 框架开发,具有良好的组件化和可维护性。
- 通用导航页面:作为个人网站的首页,可以将博客、项目等导航到一个页面,方便游客浏览和访问。
- 自适应布局:使用响应式设计,能够适配不同尺寸的设备,包括桌面、平板和手机。
- 多端兼容:在不同浏览器和操作系统上都能正常显示和使用,例如 Chrome、Firefox等。
- Bing 每日图片:背景图来自于 Bing 搜索引擎的每日图片,提供美丽且具有多样性的背景。
- 可配置性:可以自定义导航链接、背景图等内容,根据个人需求进行定制。
- 简洁美观:界面简洁大方,颜色搭配和排版合理,提供良好的用户体验。
1.3 Blog-Index使用场景
- 个人网站首页:作为您博客的引导页面,方便游客浏览您的博客分类和最新文章。
- 个人项目引导页:作为您其他项目的引导页,展示项目的功能和特点,方便用户了解和使用您的项目。
- 网站导航页面:将您常访问的网站链接整理成一个导航页面,方便自己和其他人快速访问这些网站。
- 链接集合页面:将您收集的各种链接整理成一个页面,方便自己和其他人浏览和点击这些链接。
二、本地环境介绍
2.1 本地环境规划
本次实践为个人测试环境,操作系统版本为centos7.6。
hostname | 本地P地址 | 操作系统版本 | 内核版本 | node版本 |
|---|---|---|---|---|
jeven | 192.168.3.246 | Ubuntu 22.04.1 LTS | 5.15.0-89-generic | v18.0.0 |
2.2 本次实践介绍
1.本次实践部署环境为个人测试环境,生产环境请谨慎;
2.在centos7.6环境下部署Blog-Index导航页。
2.3 Yarn介绍
- Yarn是一个JavaScript包管理工具,由Facebook开发,旨在提高包的下载速度和稳定性。它可以替代NPM进行包的安装、更新、卸载等操作。
三、检查本地环境
3.1 检查本地操作系统版本
检查本地操作系统版本,当前版本为Ubuntu 22.04.1 LTS。
root@jeven:~# cat /etc/os-release
PRETTY_NAME="Ubuntu 22.04.1 LTS"
NAME="Ubuntu"
VERSION_ID="22.04"
VERSION="22.04.1 LTS (Jammy Jellyfish)"
VERSION_CODENAME=jammy
ID=ubuntu
ID_LIKE=debian
HOME_URL="https://www.ubuntu.com/"
SUPPORT_URL="https://help.ubuntu.com/"
BUG_REPORT_URL="https://bugs.launchpad.net/ubuntu/"
PRIVACY_POLICY_URL="https://www.ubuntu.com/legal/terms-and-policies/privacy-policy"
UBUNTU_CODENAME=jammy
3.2 检查系统内核版本
检查系统内核版本,当前内核版本为5.15.0-89-generic。
root@jeven:~# uname -r
5.15.0-89-generic
3.3 检查系统是否安装yarn
检查系统是否安装yarn工具
root@jeven:~#  yarn -v
Command 'yarn' not found, but can be installed with:
apt install cmdtest
四、部署Node.js 环境
4.1 下载Node.js安装包
下载Node.js安装包,本次使用的Node.js版本为v20.10.0。
wget https://nodejs.org/dist/v20.10.0/node-v20.10.0-linux-x64.tar.xz4.2 解压Node.js安装包
执行以下命令,解压Node.js安装包。
tar -xvJf node-v20.10.0-linux-x64.tar.xz4.3 创建软链接
采用创建软链接的方法,使得在任意目录下都可以直接使用node和npm命令。
ln -s /root/node-v20.10.0-linux-x64/bin/node /usr/local/bin/node
ln -s /root/node-v20.10.0-linux-x64/bin/npm /usr/local/bin/npm
4.4 配置环境变量
- 在/etc/profile文件中,新增以下两行:
export NODE_HOME=/root/node-v20.10.0-linux-x64/bin/
export PATH=$PATH:$NODE_HOME:/usr/local/bin/- 使变量生效
source /etc/profile4.5 查看node版本
查看node版本,确保Node.js正常安装。
root@jeven:~# node -v
v20.10.0
root@jeven:~# npm -v
10.2.3
五、安装yarn工具
5.1 安装yarn
- 使用npm全局安装yarn
npm install -g yarn
5.2 检查yarn版本
检查yarn版本,当前安装版本为1.22.21。
root@jeven:~# yarn --version
1.22.21
5.3 设置国内镜像源
设置国内镜像源
yarn config set registry https://registry.npmmirror.com
六、部署Blog-Index
6.1 下载软件包
下载Blog-Index软件包
git clone https://github.com/EsunR/Blog-Index.git
6.2 查看源码目录
查看Blog-Index源码目录
root@jeven:~# tree -L 2 ./Blog-Index/
./Blog-Index/
├── CHANGELOG.md
├── commitlint.config.js
├── demo
│   └── show.png
├── index.html
├── package.json
├── postcss.config.js
├── public
│   └── favicon.ico
├── README.md
├── src
│   ├── App.vue
│   ├── assets
│   ├── components
│   ├── config.ts
│   ├── hooks
│   ├── main.ts
│   ├── types
│   └── utils
├── tsconfig.json
├── vite.config.ts
└── yarn.lock

8 directories, 14 files
6.3 安装相关依赖
- 进入Blog-Index源码目录
root@jeven:~# cd Blog-Index/
root@jeven:~/Blog-Index# ls
CHANGELOG.md          demo        package.json       public     src            vite.config.ts
commitlint.config.js index.html postcss.config.js README.md tsconfig.json yarn.lock- 安装相关依赖
root@jeven:~/Blog-Index# yarn install
yarn install v1.22.21
[1/5] Validating package.json...
[2/5] Resolving packages...
[3/5] Fetching packages...
info There appears to be trouble with your network connection. Retrying...
info There appears to be trouble with your network connection. Retrying...
info There appears to be trouble with your network connection. Retrying...
[4/5] Linking dependencies...
[5/5] Building fresh packages...
$ husky install
husky - Git hooks installed
Done in 66.21s.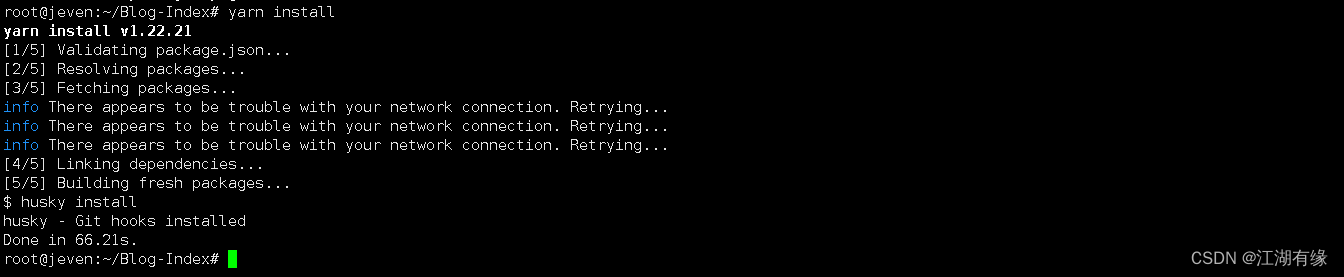
6.4 启动项目
在开发环境中,执行以下命令,启动Blog-Index项目。
yarn dev --host 192.168.3.246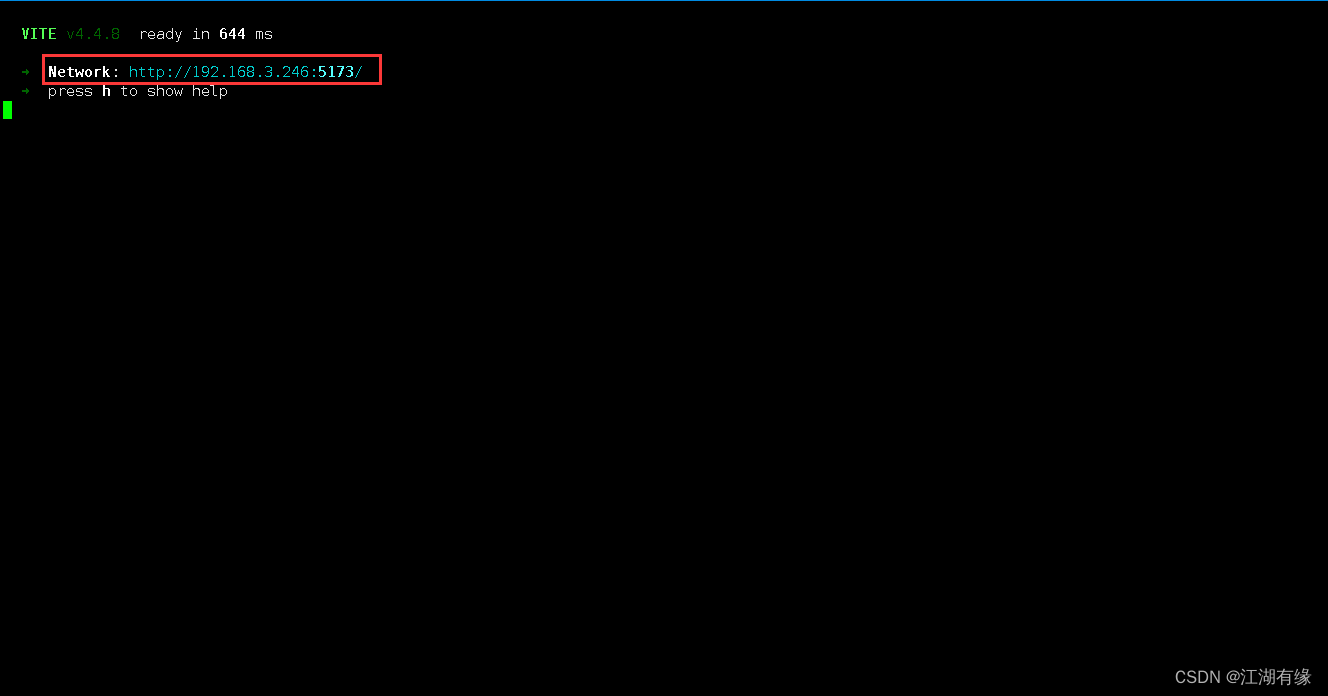
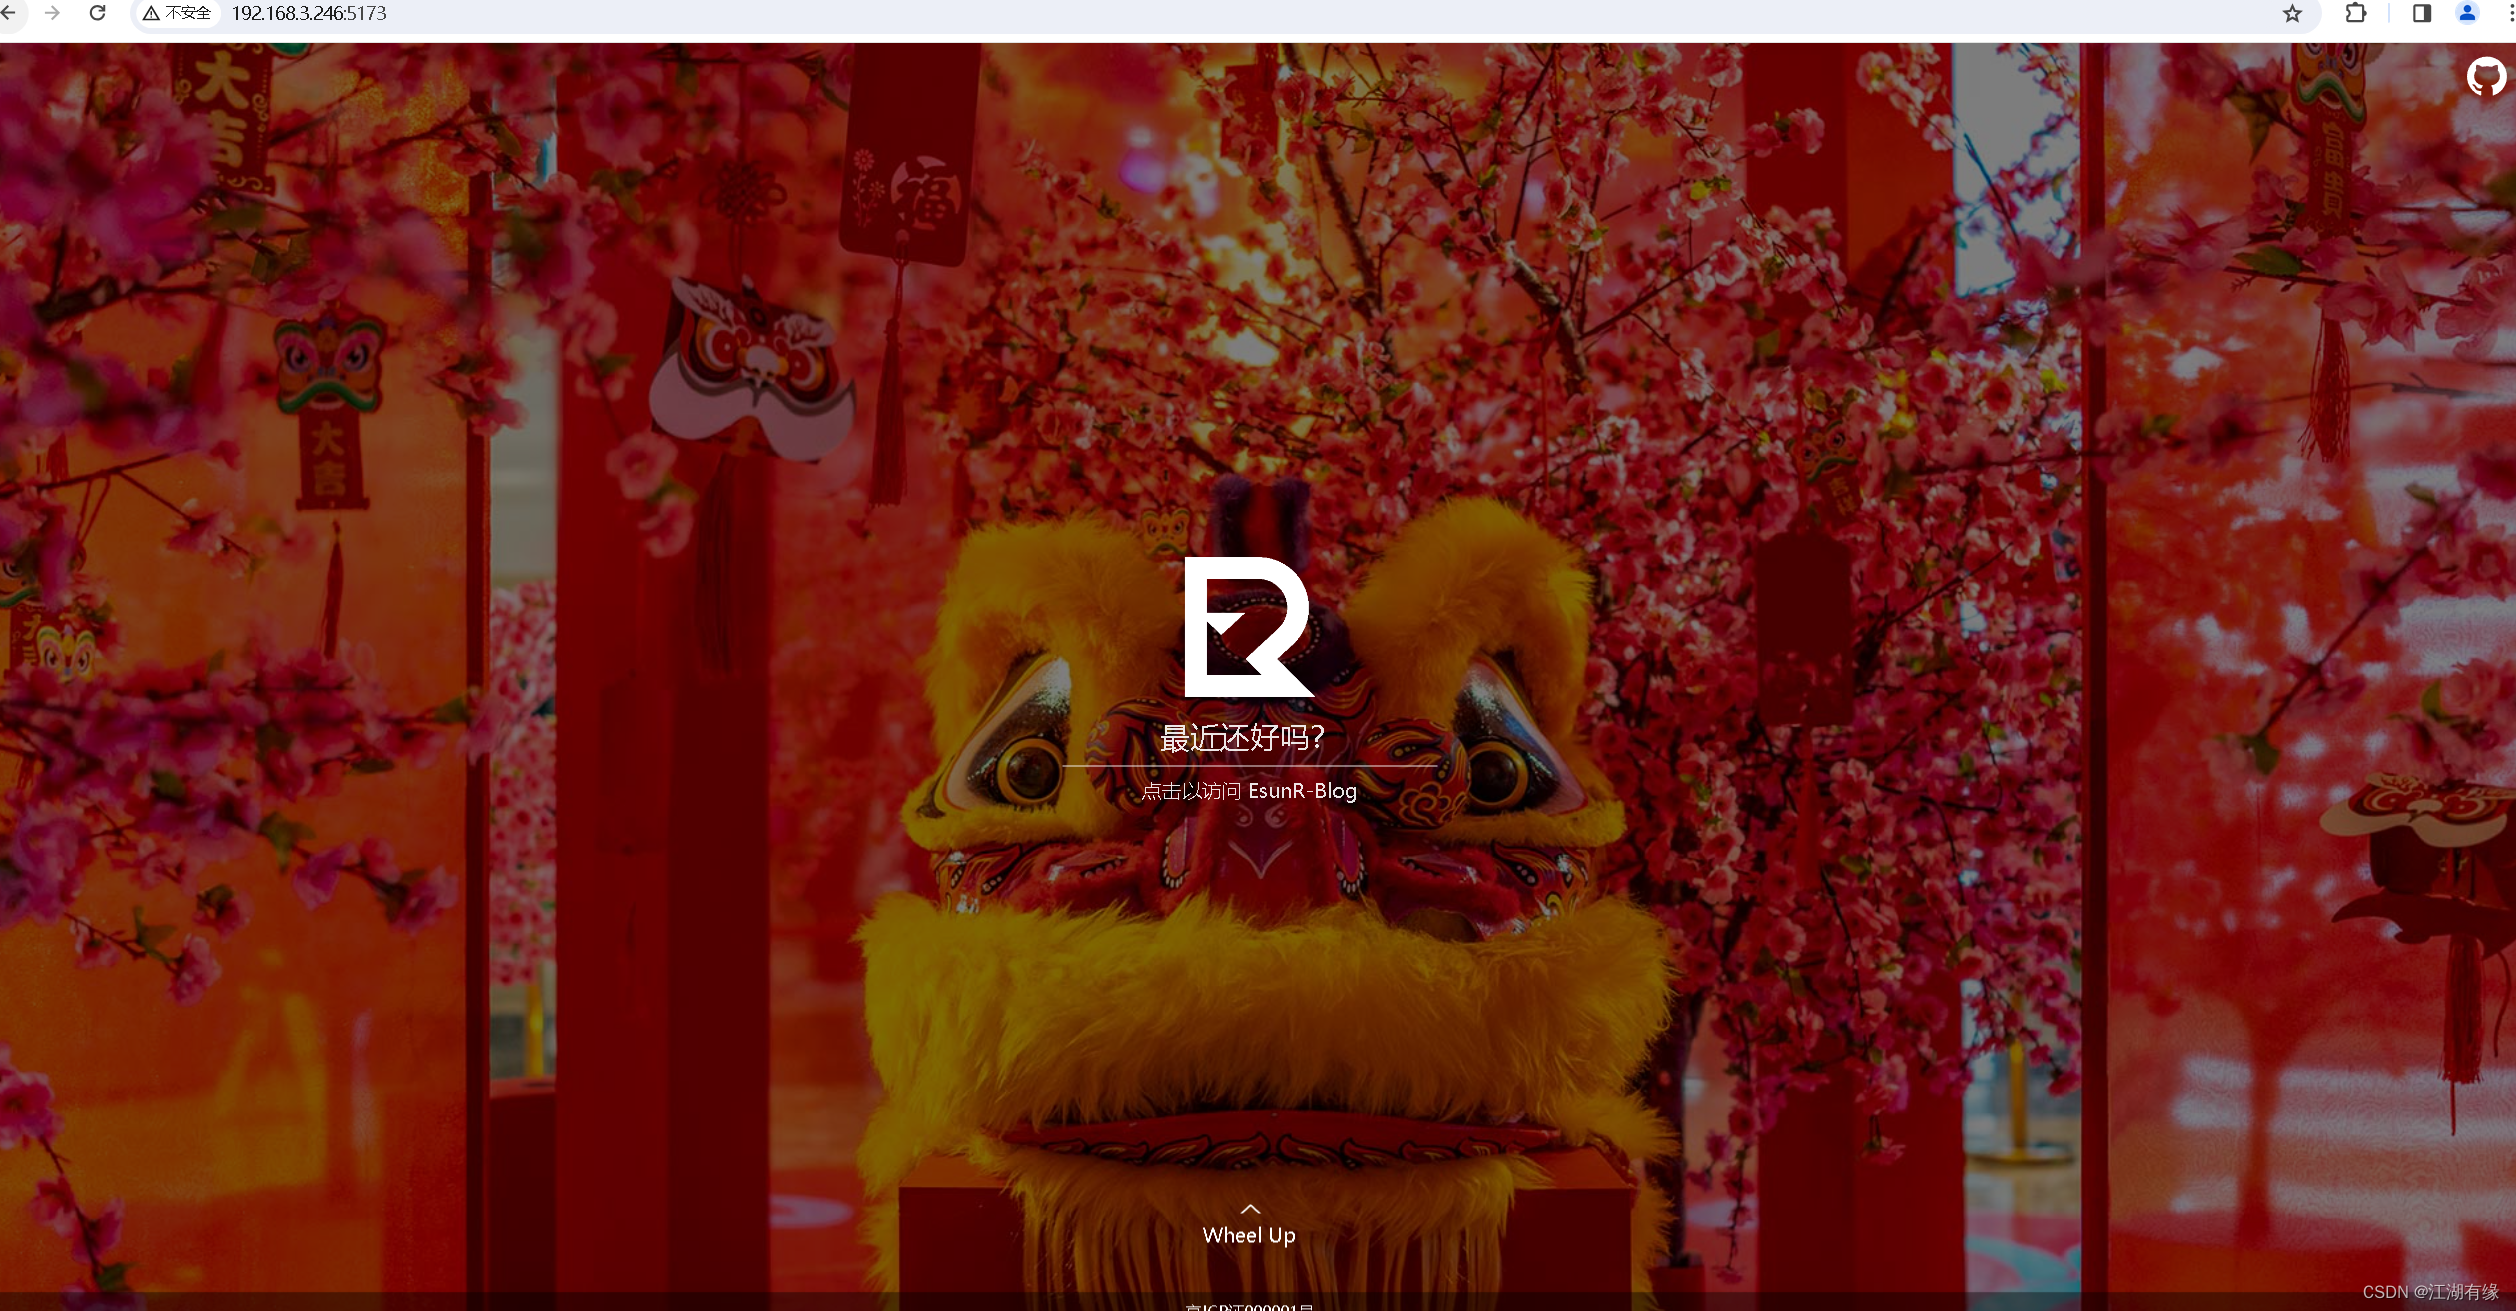
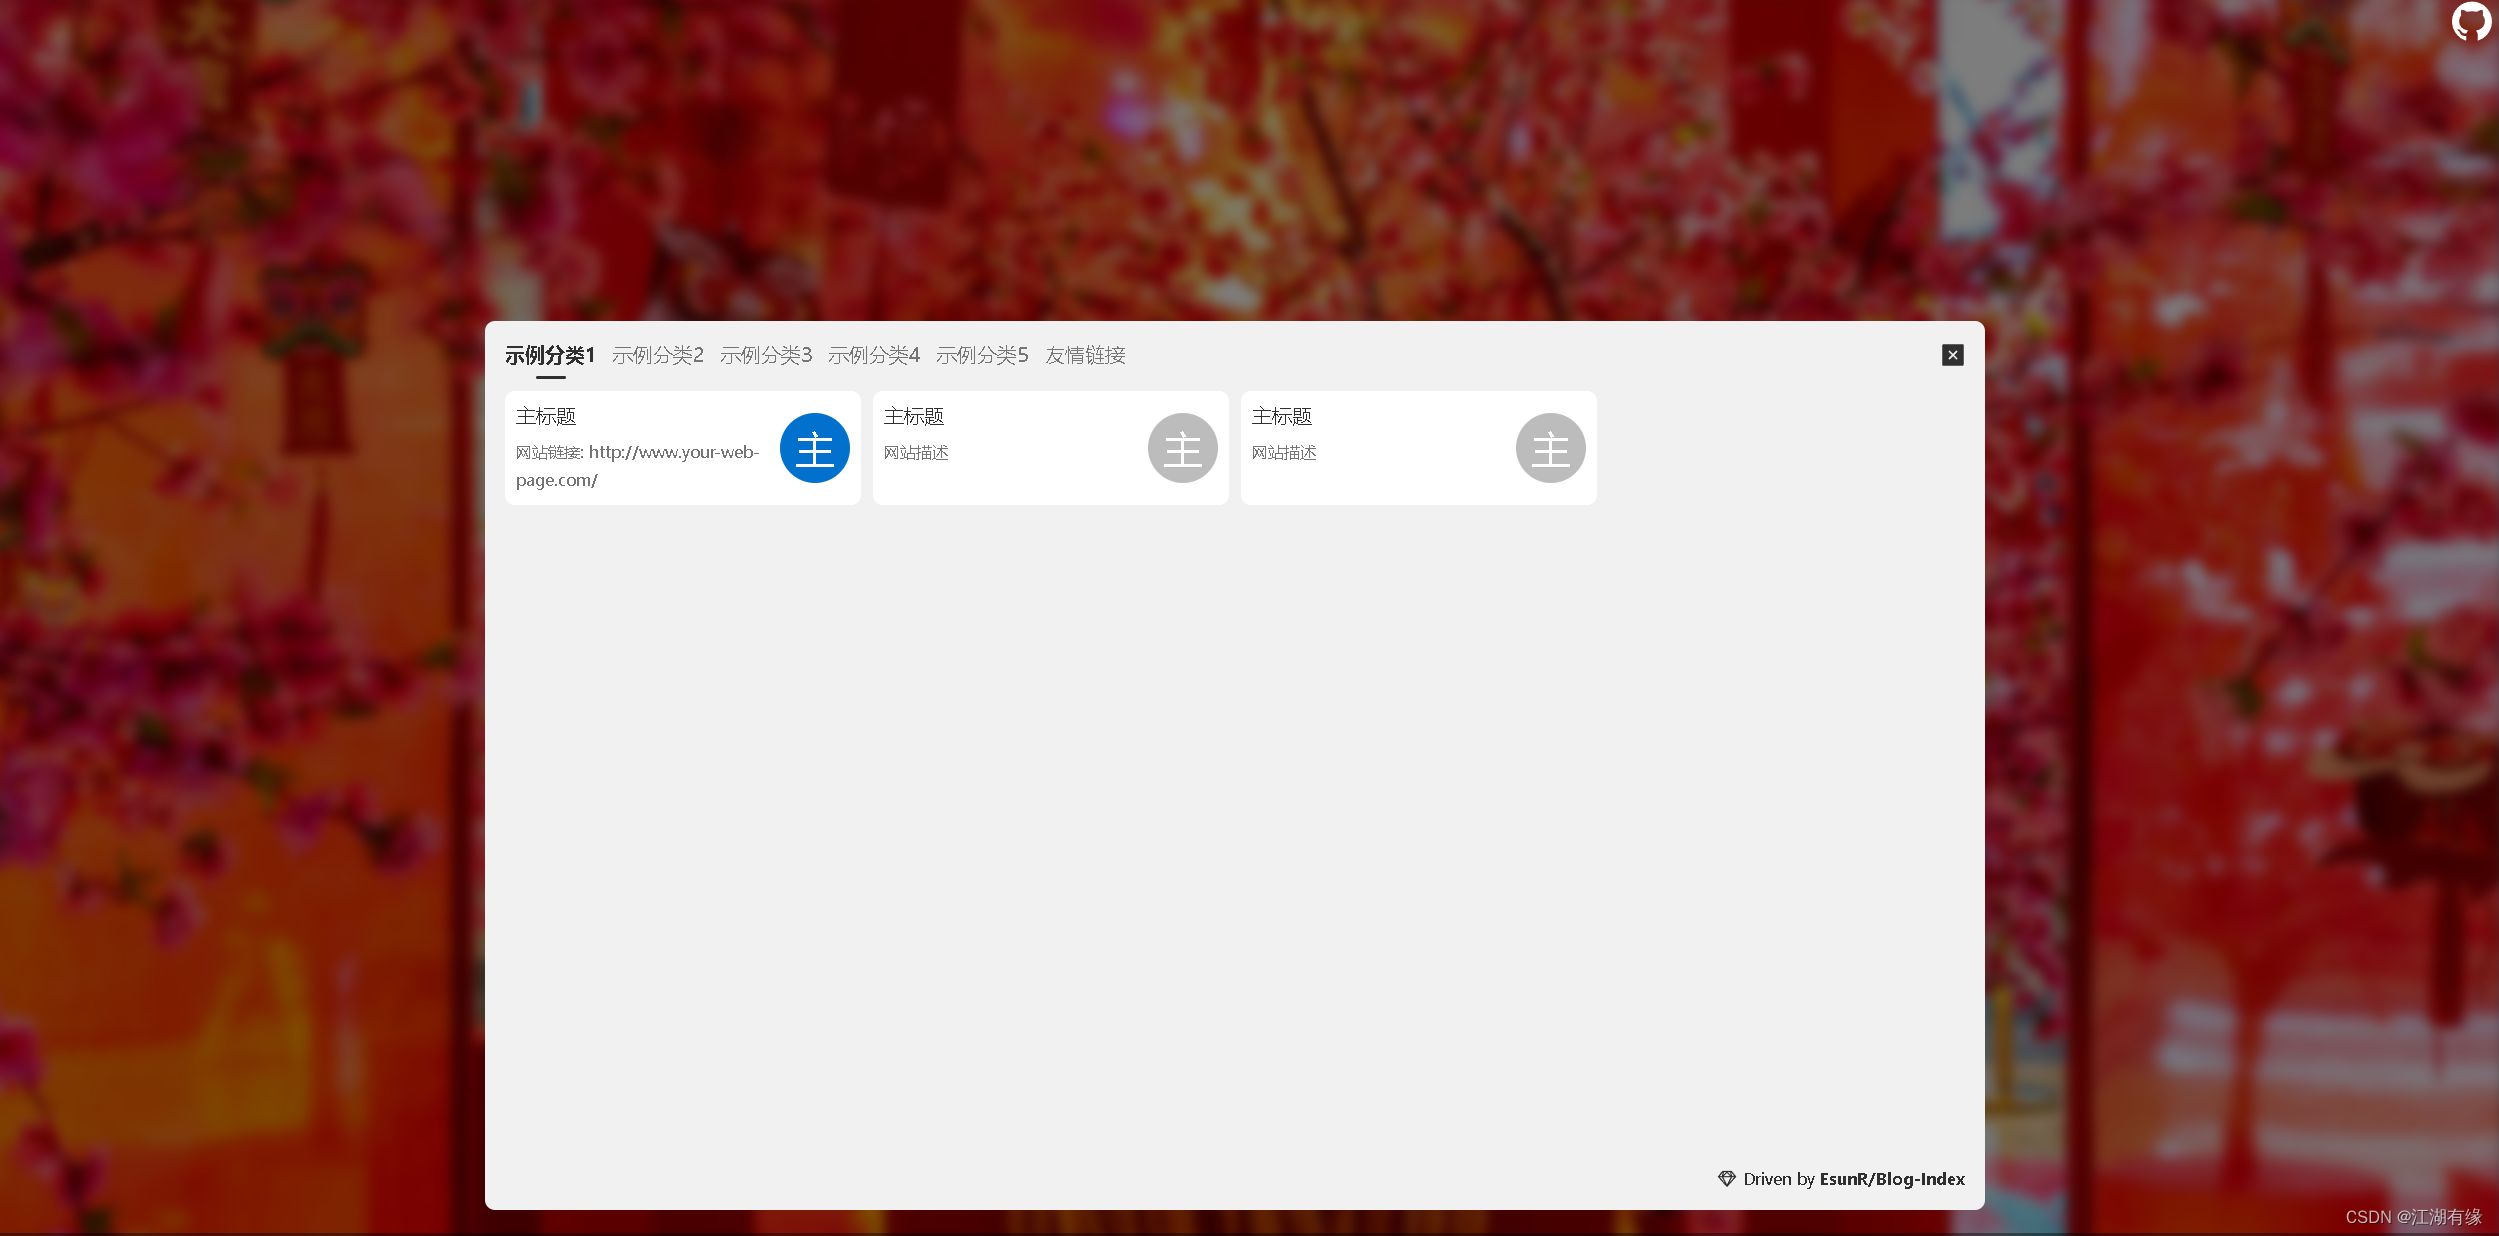
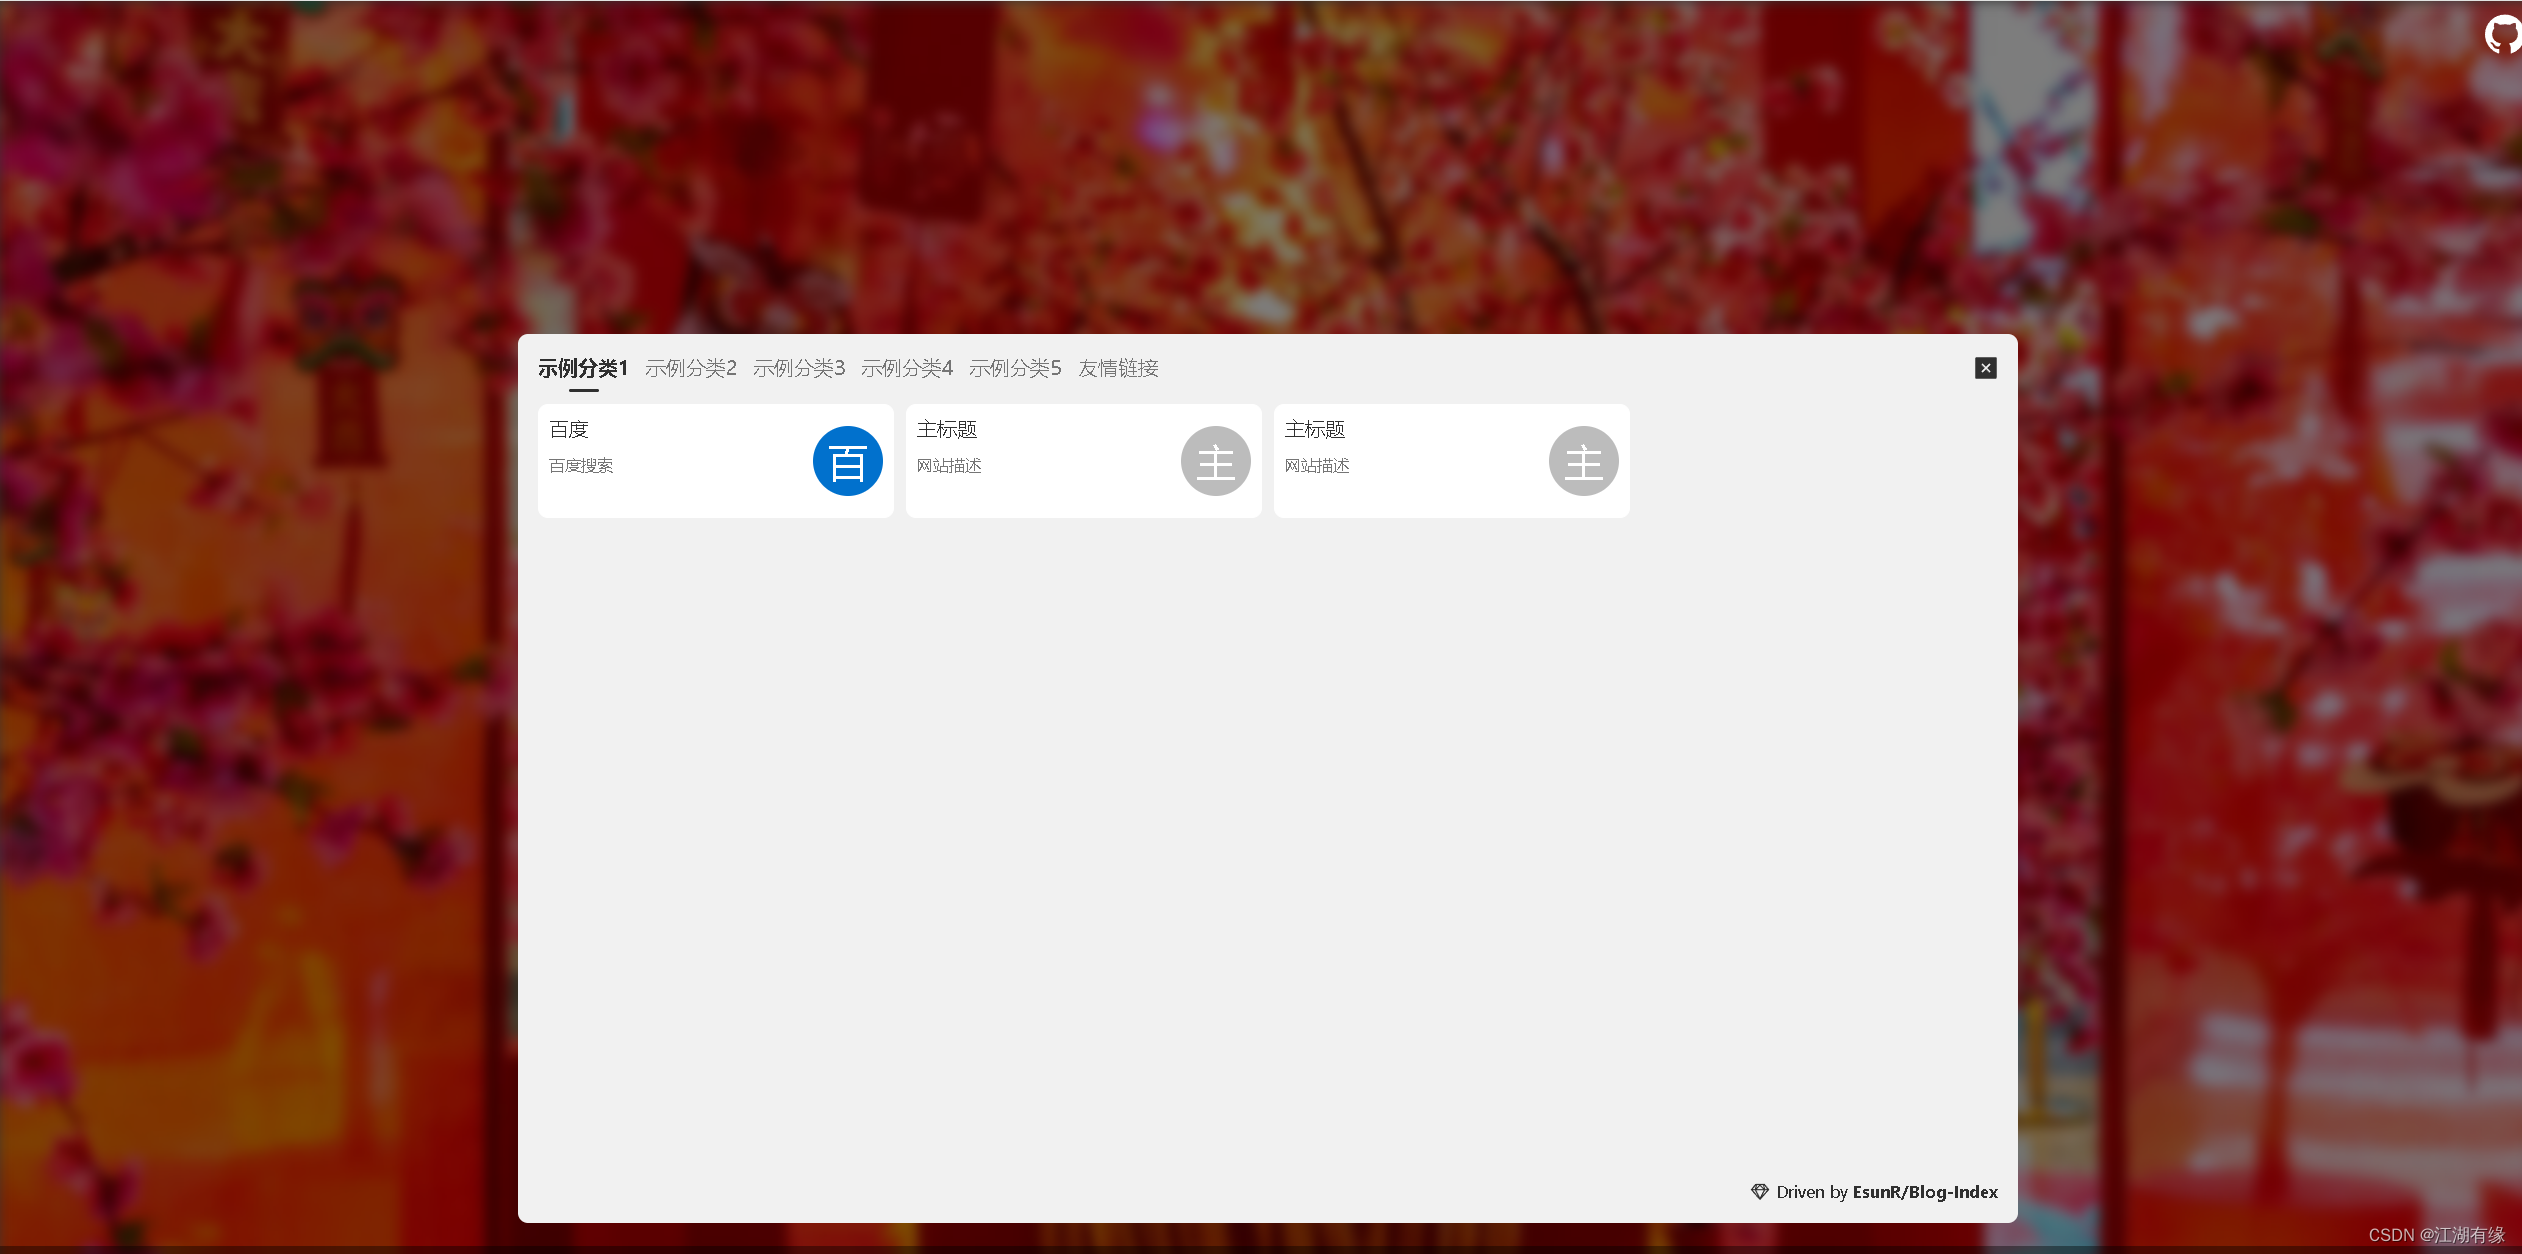
七、访问Blog-Index首页
访问地址:http://192.168.3.246:5173,将IP地址替换为自己服务器IP地址。如果无法访问,则查看服务器防火墙是否配置,如果是云服务器,则还需配置安全组端口。
八、配置web服务器访问Blog-Index
8.1 修改配置文件
修改配置文件src/config.ts
vim src/config.ts 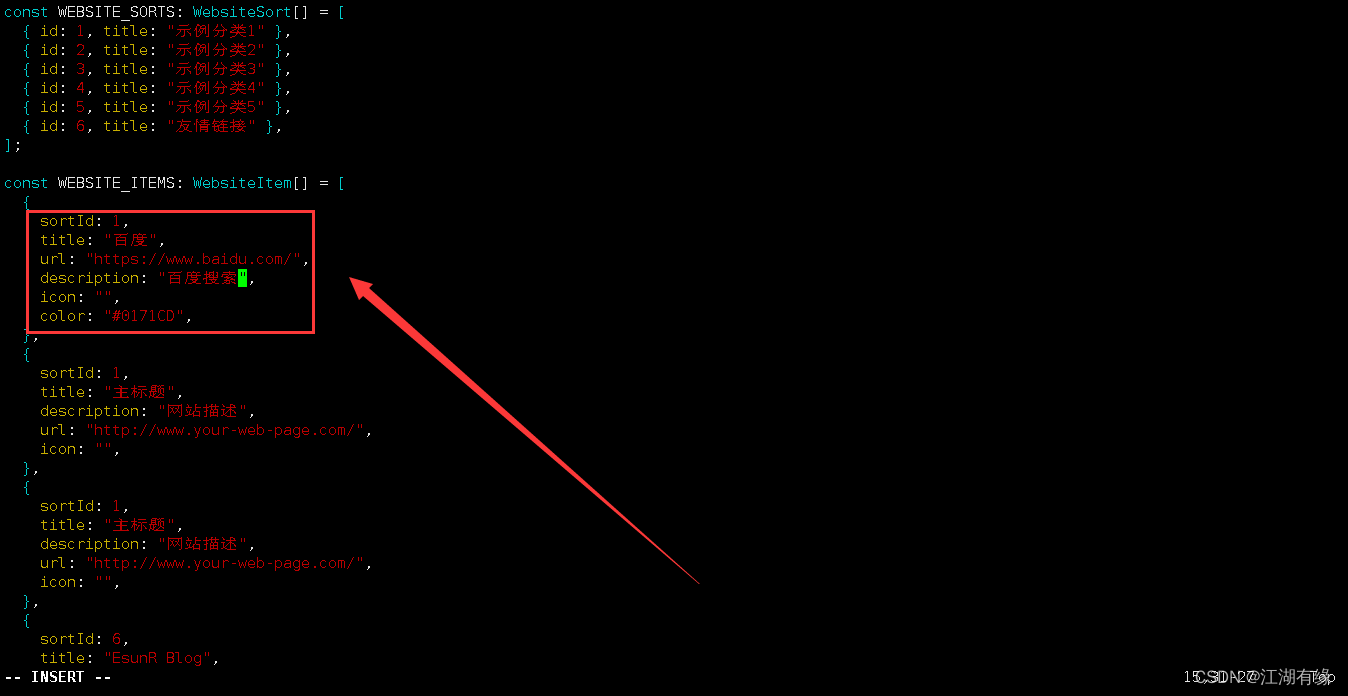
8.2 打包生产版本
使用以下命令来打包生产版本,打包输出在 dist/目录下。
yarn build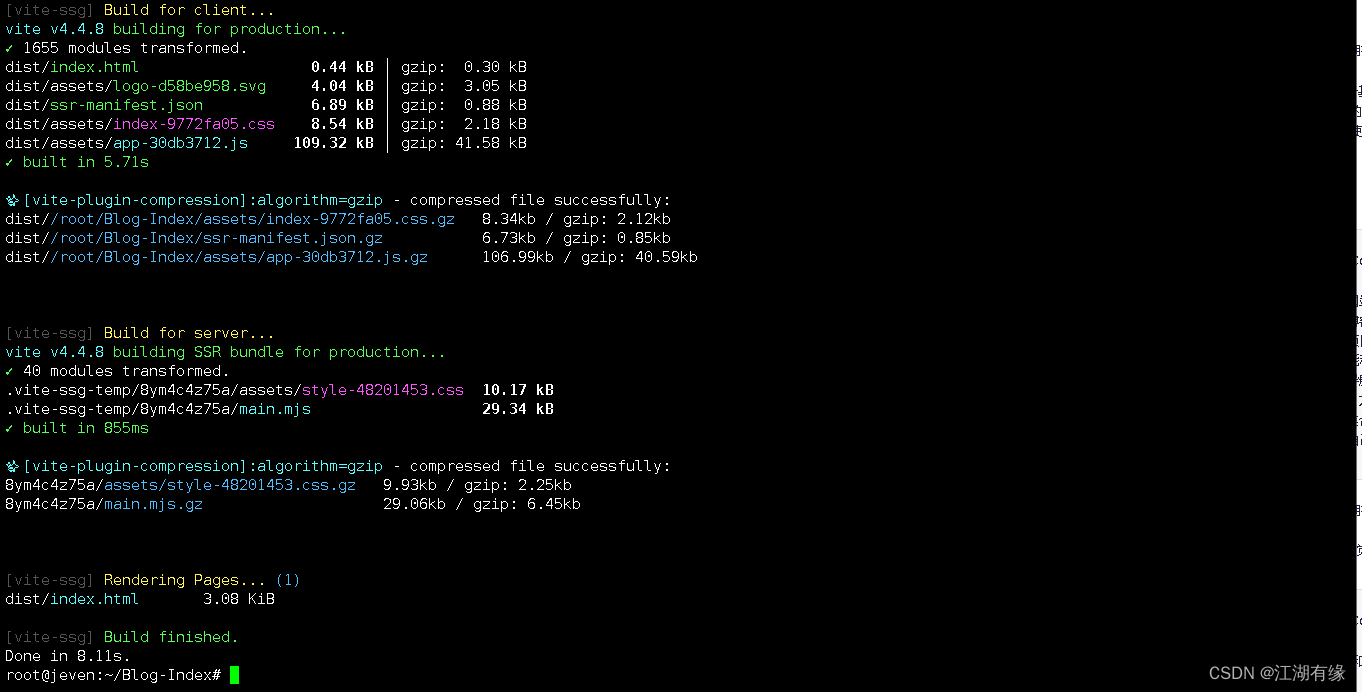
root@jeven:~/Blog-Index# ls dist/
assets  favicon.ico  index.html  ssr-manifest.json  ssr-manifest.json.gz
8.2 检查apache2 服务
安装apache2,Apache2是一个开源的Web服务器软件,是Apache软件基金会的一个成员项目。Apache2是Apache Web Server的下一代版本,是目前世界上使用最广泛的Web服务器软件之一。
apt install apache2 -y启动apache2服务
systemctl enable apache2 --now 检查apache2服务状态,确保apache2服务处于正常运行状态。
root@jeven:~/Blog-Index# systemctl status apache2
● apache2.service - The Apache HTTP Server
     Loaded: loaded (/lib/systemd/system/apache2.service; enabled; vendor preset: enabled)
     Active: active (running) since Mon 2024-01-29 07:17:21 UTC; 1 week 5 days ago
       Docs: https://httpd.apache.org/docs/2.4/
   Main PID: 1031 (apache2)
      Tasks: 55 (limit: 4558)
     Memory: 6.5M
        CPU: 33.061s
     CGroup: /system.slice/apache2.service
             ├─  1031 /usr/sbin/apache2 -k start
             ├─783063 /usr/sbin/apache2 -k start
             └─783064 /usr/sbin/apache2 -k start

Feb 07 00:00:03 jeven systemd[1]: Reloaded The Apache HTTP Server.
Feb 08 00:00:02 jeven systemd[1]: Reloading The Apache HTTP Server...
Feb 08 00:00:03 jeven apachectl[642921]: AH00558: apache2: Could not reliably determine the server's fully qualified domain name, using 127.0.1.1. S>
Feb 08 00:00:03 jeven systemd[1]: Reloaded The Apache HTTP Server.
Feb 09 00:00:03 jeven systemd[1]: Reloading The Apache HTTP Server...
Feb 09 00:00:03 jeven apachectl[706265]: AH00558: apache2: Could not reliably determine the server's fully qualified domain name, using 127.0.1.1. S>
Feb 09 00:00:03 jeven systemd[1]: Reloaded The Apache HTTP Server.
Feb 10 00:00:02 jeven systemd[1]: Reloading The Apache HTTP Server...
Feb 10 00:00:03 jeven apachectl[783062]: AH00558: apache2: Could not reliably determine the server's fully qualified domain name, using 127.0.1.1. S>
Feb 10 00:00:03 jeven systemd[1]: Reloaded The Apache HTTP Server.
lines 1-23/23 (END)
8.3 拷贝网站文件
将Blog-Index目录下的网站文件都拷贝网站根目录/var/www/html下
cp -a dist/* /var/www/html/重启apache2服务
systemctl restart apache28.4 访问Blog-Index
访问地址:http://192.168.3.246,将IP地址替换为自己服务器IP地址,进入到web-check首页。如果无法访问,则查看服务器防火墙是否配置,如果是云服务器,则还需配置安全组端口。
原创声明:本文系作者授权腾讯云开发者社区发表,未经许可,不得转载。
如有侵权,请联系 cloudcommunity@tencent.com 删除。
原创声明:本文系作者授权腾讯云开发者社区发表,未经许可,不得转载。
如有侵权,请联系 cloudcommunity@tencent.com 删除。