如何在c++中创建CMYK模式图像?
我最近在研究opencv。我需要创建图像垫并将其写入.tif图像文件。当.tif文件在photoshop中打开打印时,它应该是CMYK模式。
但是当我尝试imread UNCHANGED类型的CMYK图像文件,然后将mat转换为.tif文件时,它仍然是photoshop中的RGB模式。
图像是否仅被opencv保存为RGB(或BGR)模式?(我找到了一些答案,python有库,可以选择CMYK模式保存。但是我想知道在C++中有没有解决这个问题的方法?)
谢谢马克。当我试图在windows10中编译libtiff库时,遇到了一些麻烦。
我下载带有tiff-4.0.10.zip版本的利布蒂夫。并使用nmake /f makefile.vc在vs2017中编译。(nmake.opt没有任何变化)。
然后获取一些.dll .lib文件。将libtiff_i.lib链接到库文件夹和听力器文件,以将文件夹包含在项目中。
尝试@Mark代码进行测试。然后,我遇到了vs中的错误(LNK2019),这看起来像链接问题。
LNK2019 unresolved external symbol TIFFClose referenced in function "bool __cdecl tiffwrite(char const *,class cv::Mat)" (?tiffwrite@@YA_NPEBDVMat@cv@@@Z)
LNK2019 unresolved external symbol TIFFSetField referenced in function "bool __cdecl tiffwrite(char const *,class cv::Mat)" (?tiffwrite@@YA_NPEBDVMat@cv@@@Z)
LNK2019 unresolved external symbol TIFFWriteScanline referenced in function "bool __cdecl tiffwrite(char const *,class cv::Mat)" (?tiffwrite@@YA_NPEBDVMat@cv@@@Z)
LNK2019 unresolved external symbol TIFFOpen referenced in function "bool __cdecl tiffwrite(char const *,class cv::Mat)" (?tiffwrite@@YA_NPEBDVMat@cv@@@Z)
我不确定是链接问题还是编译文件(libtiff.dll,libtiff_i.lib)问题?
我通过使用cmake来编译libtiff来解决这个问题。
遵循这个参考文献,vs2017可以在windows上获得正确的库(64位)。
回答 1
Stack Overflow用户
发布于 2019-10-29 13:37:36
我认为正确的答案是使用libtiff对其进行编码。我不是libtiff方面的专家,但这似乎适用于我尝试过的案件:
#include <iostream>
#include <opencv2/opencv.hpp>

extern "C" {
#define uint64 uint64_hack_
#define int64 int64_hack_
#include "tiffio.h"
#undef uint64
#undef uint64
}

using namespace cv;

bool tiffwrite(const char* name, Mat image){

   TIFF* tif = TIFFOpen(name, "w");
   if(tif==NULL){
      std::cerr << "ERROR: Unable to open output file";
      return false;
   }

   int width  = image.cols;
   int height = image.rows;

   // We expect 4 channels
   int channels = image.channels();
   assert(channels==4);

   // We expect 8-bit data
   int bytespersample = image.elemSize1();
   assert(bytespersample == 1);

   TIFFSetField(tif, TIFFTAG_IMAGELENGTH, height);
   TIFFSetField(tif, TIFFTAG_IMAGEWIDTH, width);
   TIFFSetField(tif, TIFFTAG_PLANARCONFIG, PLANARCONFIG_CONTIG);
   TIFFSetField(tif, TIFFTAG_SAMPLESPERPIXEL, channels);
   TIFFSetField(tif, TIFFTAG_COMPRESSION, COMPRESSION_LZW);
   TIFFSetField(tif, TIFFTAG_BITSPERSAMPLE, 8*bytespersample);
   TIFFSetField(tif, TIFFTAG_ROWSPERSTRIP, 8);
   TIFFSetField(tif, TIFFTAG_PHOTOMETRIC, PHOTOMETRIC_SEPARATED);

   // Write to file, 1 scanline at a time
   for (int row = 0; row < height; row++) {
      // std::cerr << "DEBUG: Writing row " << row << std::endl;

      // Get pointer to row
      cv::Vec4b* ptr = image.ptr<cv::Vec4b>(row);

      int ret = TIFFWriteScanline(tif, (unsigned char*)ptr, row, 0);
      if (ret == -1) {
         TIFFClose(tif);
         return false;
      }
   }
   TIFFClose(tif);
   return true;
}

int
main(int argc,char*argv[])
{
    // Create a 4-channel CMYK yellow image
    Mat4b image(480, 640, Vec4b(0,0,255,0));

    // Write as CMYK TIFF
    tiffwrite("result.tif",image);
}
我还想出了几个你可能想尝试的方法。
第一次也是最简单的攻击,通常用OpenCV保存为JPEG、TIFF或PNG,然后使用system()函数将其打包到ImageMagick,然后从那里转换为CMYK。
cv2::imwrite("intermediate.jpg",image);

system("...");
你在里面放了相当于:
convert intermediate.jpg -colorspace CMYK result.tif或者如果使用v7 of ImageMagick
magick intermediate.jpg -colorspace CMYK result.tif第二次攻击,如果您不想安装并依赖于ImageMagick...有一个叫做raw2tiff的工具,它随libtiff一起发布。您可以将它传递给一个原始文件(没有头文件),它将为您将其转换为TIFF。因此,您基本上可以使用OpenCV将原始C字节,然后原始M字节,然后原始Y字节和原始K字节写入单个文件,并使用system()调用该实用程序。我使用了以下命令行:
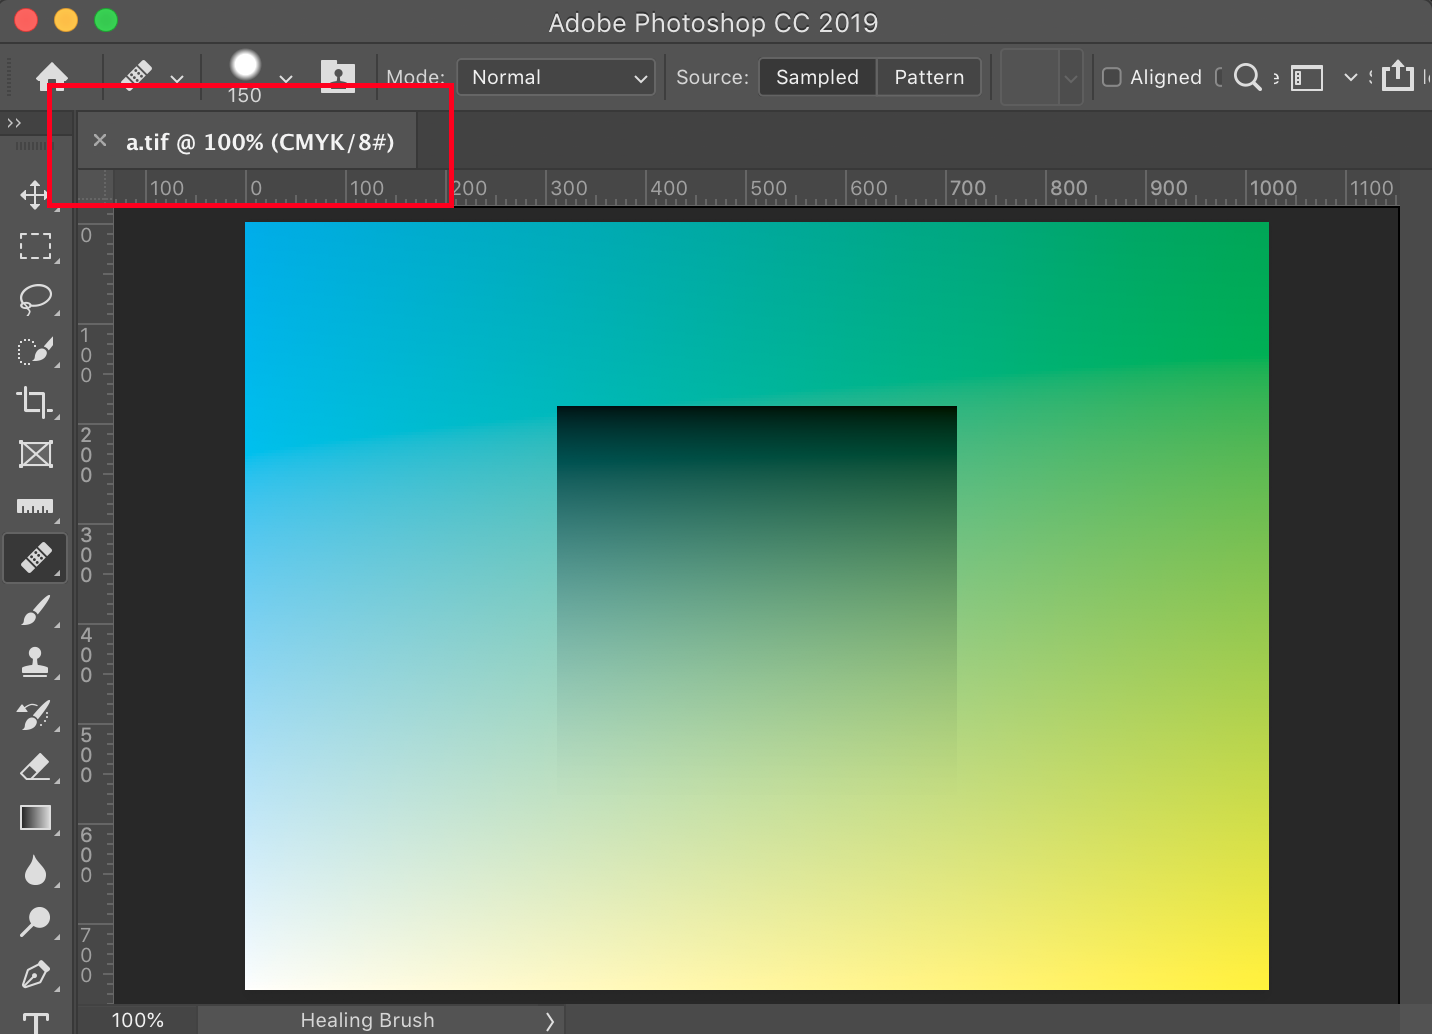
raw2tiff -w 1024 -l 768 -b 4 -i band -c lzw -p cmyk CMYK result.tif所以我的图像是1024像素宽,768像素高,由文件CMYK中的4个波段组成,我想要一个名为result.tif的LZW压缩TIFF。在Photoshop中是这样打开的:

我用ImageMagick制作了合成的C、M、Y和K频道,如下所示:
#!/bin/bash
# Make raw and viewable C channel
convert -size 1024x768 gradient: -depth 8 -write gray:C C.png
# Make raw and viewable M channel
convert -size 1024x768 xc:black  -depth 8 -write gray:M M.png
# Make raw and viewable Y channel
convert -size 768x1024 gradient: -rotate 90 -depth 8 -write gray:Y Y.png
# Make raw and viewable K channel
convert -colorspace RGB -size 400x400 gradient: -gravity center -background black -extent 1024x768 -depth 8 -write gray:K K.png

# Stack side-by-side, just for viewing
convert C.png M.png Y.png K.png  +append CMYK.png

# Concatenate them all together into single file "CMYK" as input file for "raw2tiff"
cat C M Y K > CMYK
这是4幅图片,左边是C,然后是M,最后是右边的K。

在这种情况下,您将获得指向您的ImageMagick.的data指针,只需将每个通道的高度*宽度字节写入二进制文件,而不是使用Mat。在我的答案顶部的libtiff示例中,您可以看到如何做到这一点。
关键词:TIFF,TIF,图像处理,libtiff,CMYK,分色,分色,Photoshop。
看着这个图像,我想我应该先否定(倒)这个图像,但这并不难。
https://stackoverflow.com/questions/58606658
复制相似问题

