
在Swift中设置tableView头的高度
我试图在表视图控制器的原型单元格之上设置视图的高度。我使用IB设置它的高度(大小检查器),并将其设置为61 (绿色视图是'header‘视图):

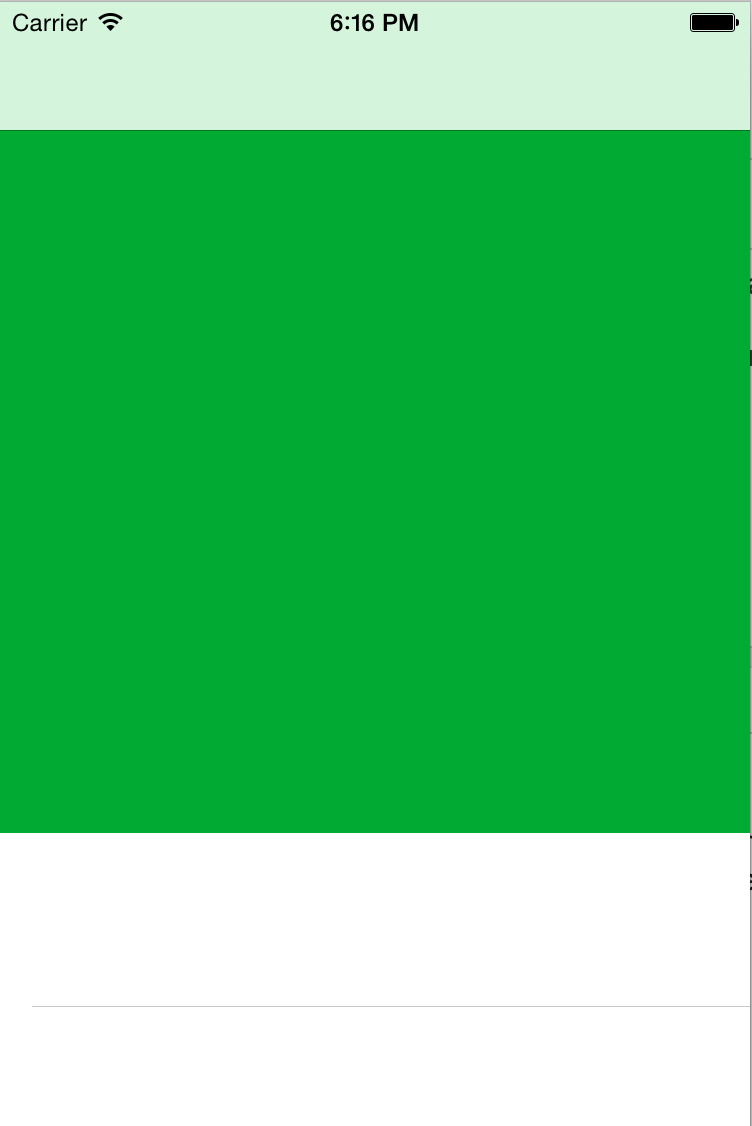
但是每当我运行这个应用程序时,它的高度最终都是568.0。对于表视图控制器中的视图,我有一个名为IBOutlet的testUIView,而我有:println("testUIView Height->\(testUIView.frame.height)"),并且实际上在运行时是568.0。
下面是一个屏幕截图,显示它在运行时的高度:
因此,我的问题是:如何设置视图的高度,使其在运行时为61,因此它确实看起来像我的第一个屏幕截图(大小)?
我试图在override func viewWillLayoutSubviews()中设置它的“高度”属性,但是它不允许我为高度testUIView.frame.height = CGFloat(61.0)赋值。
任何帮助都是非常感谢的!提前感谢!
干杯!
回答 6
Stack Overflow用户
发布于 2015-07-28 01:46:06
下面是一种解决方案,它使用节头视图而不是实际的表头视图:
如果您想为您的UITableView使用一个标头,那么您可以在Interface中设计另一个原型单元格,基于一个UITableViewCell创建一个自定义类,并将它分配给类检查器上的接口生成器中的prototype单元格。
然后在你的控制器里你要用
func tableView(tableView: UITableView, viewForHeaderInSection section: Int) -> UIView?在该函数中,您实际上将从表视图中创建一个可重用的单元格,但将其转换为为标头创建的自定义单元格。您可以像普通的UITableViewCell一样访问所有的属性,然后返回单元格的视图
return cell.contentView你将要使用的另一种方法是
func tableView(tableView: UITableView, heightForHeaderInSection section: Int) -> CGFloat {
    return 61.0
}
这句话很容易解释。
Swift 3.0.1
public override func tableView(_ tableView: UITableView, heightForHeaderInSection section: Int) -> CGFloat {
    return 61.0
}Stack Overflow用户
发布于 2017-08-04 22:40:44
Swift 3/Xcode 8:
将此添加到viewDidLoad()中
let HEADER_HEIGHT = 100
tableView.tableHeaderView?.frame.size = CGSize(width: tableView.frame.width, height: CGFloat(HEADER_HEIGHT))
享受吧!
Stack Overflow用户
发布于 2019-03-30 15:43:27
公认的答案实际上并不能回答这个问题。相反,它通过使用节头提供了另一种选择。其他人已经回答了这个问题,但我将在此重复几句说明。
加载视图
表视图与iPhones一样古老,因此有时您不得不强迫它做您想做的事情。
首先,我们需要加载标题并手动设置其高度。否则,视图的高度将超过所需的高度。我们在viewDidLayoutSubviews回调中这样做:
lazy var profileHeaderView: ProfileHeaderView = {
    let headerView = ProfileHeaderView()
    return headerView
}()

override func viewDidLayoutSubviews() {
    super.viewDidLayoutSubviews()
    sizeHeaderToFit()
}

private func sizeHeaderToFit() {
    profileHeaderView.setNeedsLayout()
    profileHeaderView.layoutIfNeeded()

    var frame = profileHeaderView.frame
    frame.size.height = profileHeaderView.calculateHeight()
    profileHeaderView.frame = frame

    tableView.tableHeaderView = profileHeaderView
}
正如你所看到的,我喜欢把我的观点放在懒惰的瓦尔斯里。这确保了它们总是被创建,但只在我开始使用它们的时候。
你也可以看到我在计算高度。在某些情况下,您的高度是固定的,因此您可以将帧高设置为硬编码值。
设置了一些优先级,
我们可能会在调试器中看到一些约束警告。这是因为表视图在使用前面指定的大小之前首先强制0x0大小,此时,您的约束和视图的高度是相互冲突的。
为了清除这些问题,我们只需设置约束优先级。首先,您应该将头视图组件包装到另一个视图中(我通常会对头视图这样做)。这将使您的头视图上的约束管理更加容易。
然后,我们需要将最底层的约束优先级设置为很高:
containerView.setContentCompressionResistancePriority(.defaultHigh, for: .vertical)
containerView.setContentHuggingPriority(.defaultHigh, for: .vertical)
这里有一个更完整的例子:
警告:如果您使用nib或故事板创建视图,则不要使用此代码作为视图布局的指南。
class ProfileHeaderView: UIView {
    lazy var containerView: UIView = {
        let view = UIView()
        return view
    }()

    override init(frame: CGRect) {
        super.init(frame: frame)
        setupLayout()
    }

    required init?(coder aDecoder: NSCoder) {
        // We do this because the view is not created using storyboards or nibs.
        fatalError("init(coder:) has not been implemented")
    }

    private func setupLayout() {
        self.addSubview(containerView)

        containerView.translatesAutoresizingMaskIntoConstraints = false
        containerView.topAnchor.constraint(equalTo: self.topAnchor).isActive = true
        containerView.leadingAnchor.constraint(equalTo: self.leadingAnchor).isActive = true
        containerView.trailingAnchor.constraint(equalTo: self.trailingAnchor).isActive = true
        containerView.bottomAnchor.constraint(equalTo: self.bottomAnchor).isActive = true
        containerView.setContentCompressionResistancePriority(.defaultHigh, for: .vertical)
        containerView.setContentHuggingPriority(.defaultHigh, for: .vertical)

        // Set the rest of your constraints against your containerView not self and add your subviews to your containerView not self
    }
}
下面是使用snap-kit设置约束的示例:
containerView.snp.makeConstraints() { make in
    make.top.equalTo(self.snp.top)
    make.leading.equalTo(self.snp.leading)
    make.trailing.equalTo(self.snp.trailing)
    make.bottom.equalTo(self.snp.bottom).priority(.high)
}确保将约束添加到containerView而不是self,并使用containerView添加子视图和其余约束。
https://stackoverflow.com/questions/31665927
复制相似问题
腾讯云开发者
