
将矩形图像调整为正方形,保持比率,并以黑色填充背景
将矩形图像调整为正方形,保持比率,并以黑色填充背景
提问于 2017-05-28 19:29:44
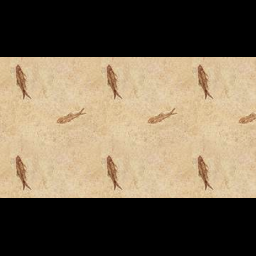
我试图调整一批灰度图像的大小,这些灰度图像是256×N像素(N是变化的,但总是≤256)。
我的意图是缩小图像的比例。
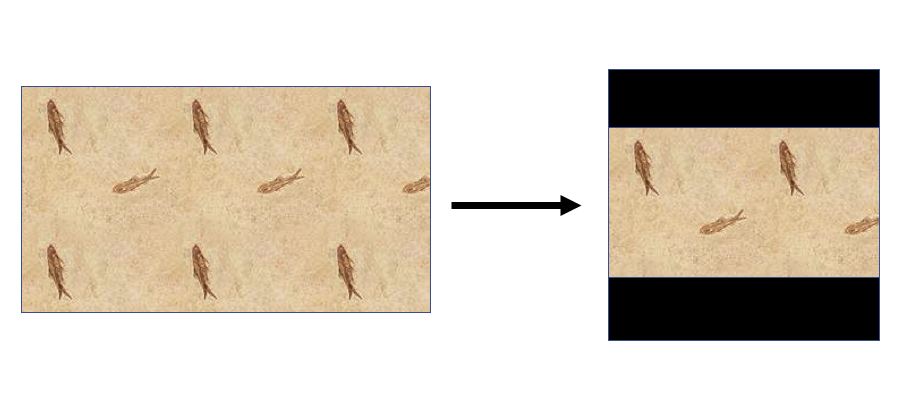
调整大小必须输出正方形(1:1)图像,其中包括:
- 垂直中心调整图像大小
- 保持高宽比
- 其余像素呈现黑色
从视觉上看,这将是所希望的结果:
我尝试创建一个具有目标大小(例如200 x 200)的numpy零矩阵,但是无法将调整大小的图像粘贴到它的垂直中心。
欢迎使用cv2、PIL或numpy的任何建议。
回答 6
Stack Overflow用户
回答已采纳
发布于 2017-05-28 20:34:07
您可以使用Pillow来完成这一任务:
代码:
from PIL import Image

def make_square(im, min_size=256, fill_color=(0, 0, 0, 0)):
    x, y = im.size
    size = max(min_size, x, y)
    new_im = Image.new('RGBA', (size, size), fill_color)
    new_im.paste(im, (int((size - x) / 2), int((size - y) / 2)))
    return new_im
测试代码:
test_image = Image.open('hLarp.png')
new_image = make_square(test_image)
new_image.show()
对于白色背景,您可以:
new_image = make_square(test_image, fill_color=(255, 255, 255, 0))结果:
Stack Overflow用户
发布于 2019-05-30 23:49:19
下面是用OPENCV模块解决您的问题的代码(也使用NUMPY模块)
#Importing modules opencv + numpy
import cv2
import numpy as np

#Reading an image (you can use PNG or JPG)
img = cv2.imread("image.png")

#Getting the bigger side of the image
s = max(img.shape[0:2])

#Creating a dark square with NUMPY
f = np.zeros((s,s,3),np.uint8)

#Getting the centering position
ax,ay = (s - img.shape[1])//2,(s - img.shape[0])//2

#Pasting the 'image' in a centering position
f[ay:img.shape[0]+ay,ax:ax+img.shape[1]] = img

#Showing results (just in case)
cv2.imshow("IMG",f)
#A pause, waiting for any press in keyboard
cv2.waitKey(0)

#Saving the image
cv2.imwrite("img2square.png",f)
cv2.destroyAllWindows()Stack Overflow用户
发布于 2017-05-28 20:28:10
PIL有缩略图法,它可以保持高宽比。从这里开始,你只需要把它贴在黑色的背景矩形上。
from PIL import Image

def black_background_thumbnail(path_to_image, thumbnail_size=(200,200)):
    background = Image.new('RGBA', thumbnail_size, "black")
    source_image = Image.open(path_to_image).convert("RGBA")
    source_image.thumbnail(thumbnail_size)
    (w, h) = source_image.size
    background.paste(source_image, ((thumbnail_size[0] - w) / 2, (thumbnail_size[1] - h) / 2 ))
    return background

if __name__ == '__main__':
    img = black_background_thumbnail('hLARP.png')
    img.save('tmp.jpg')
img.show()页面原文内容由Stack Overflow提供。腾讯云小微IT领域专用引擎提供翻译支持
原文链接:
https://stackoverflow.com/questions/44231209
复制相关文章
相似问题
腾讯云开发者
