本文档将介绍如何在腾讯云可观测平台(TCOP)配置告警,当 Web 应用防火墙(WAF)出现异常情况,可以及时提醒。
前提条件
已开通 Web 应用防火墙。
已配置完 域名列表。
操作步骤
步骤1:设置触发条件模板
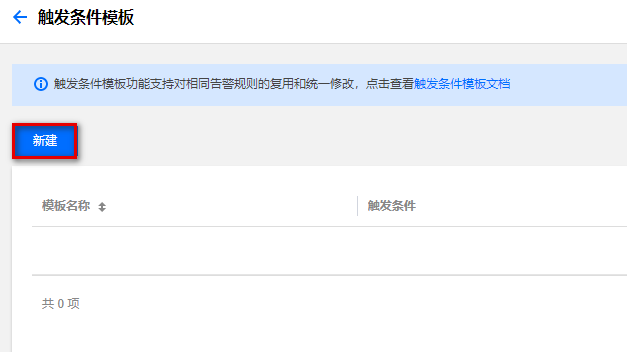
1. 登录 腾讯云可观测平台控制台,在左侧导航中,单击告警管理 > 触发条件模板。
2. 在触发条件模板页面,单击新建,弹出新建弹窗。
3. 在新建弹窗中,配置所需内容后,单击保存,即成功创建触发条件模板。
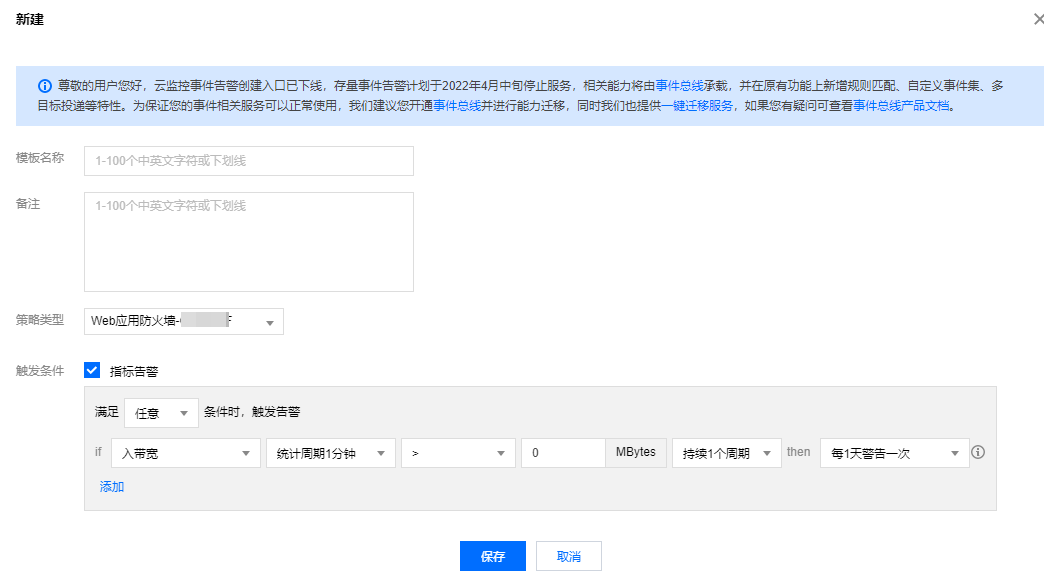
参数说明:
模板名称:输入模板名称。
备注:输入模板备注。
策略类型:选择 Web 应用防火墙。
使用预置触发条件:TCOP 内置对应监控项的触发条件,勾选规则开启。
触发条件:
分为指标告警和事件告警。在其下方单击添加,可以设置多个告警项。
WAF 可以监控的条件包括:访问次数、Web 攻击数、CC 攻击数、上下行带宽、QPS、BOT 攻击数、Web 攻击占比、BOT 攻击占比和 CC 攻击占比。
步骤2:设置通知模板
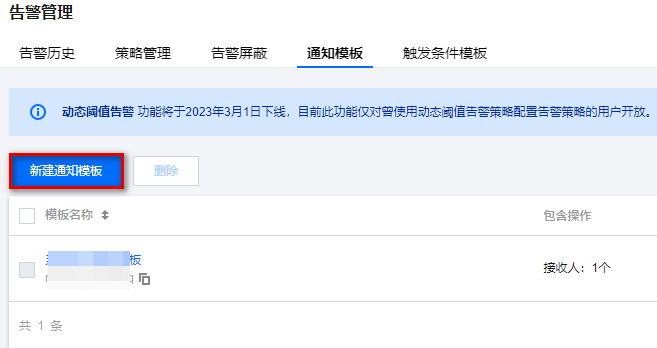
1. 登录 腾讯云可观测平台控制台,在左侧导航中,单击告警管理 > 通知模板。
2. 在通知模板页面,单击新建,进入新建通知模板页面。
3. 在新建通知模板页面,配置所需内容后,单击完成,即成功创建通知模板。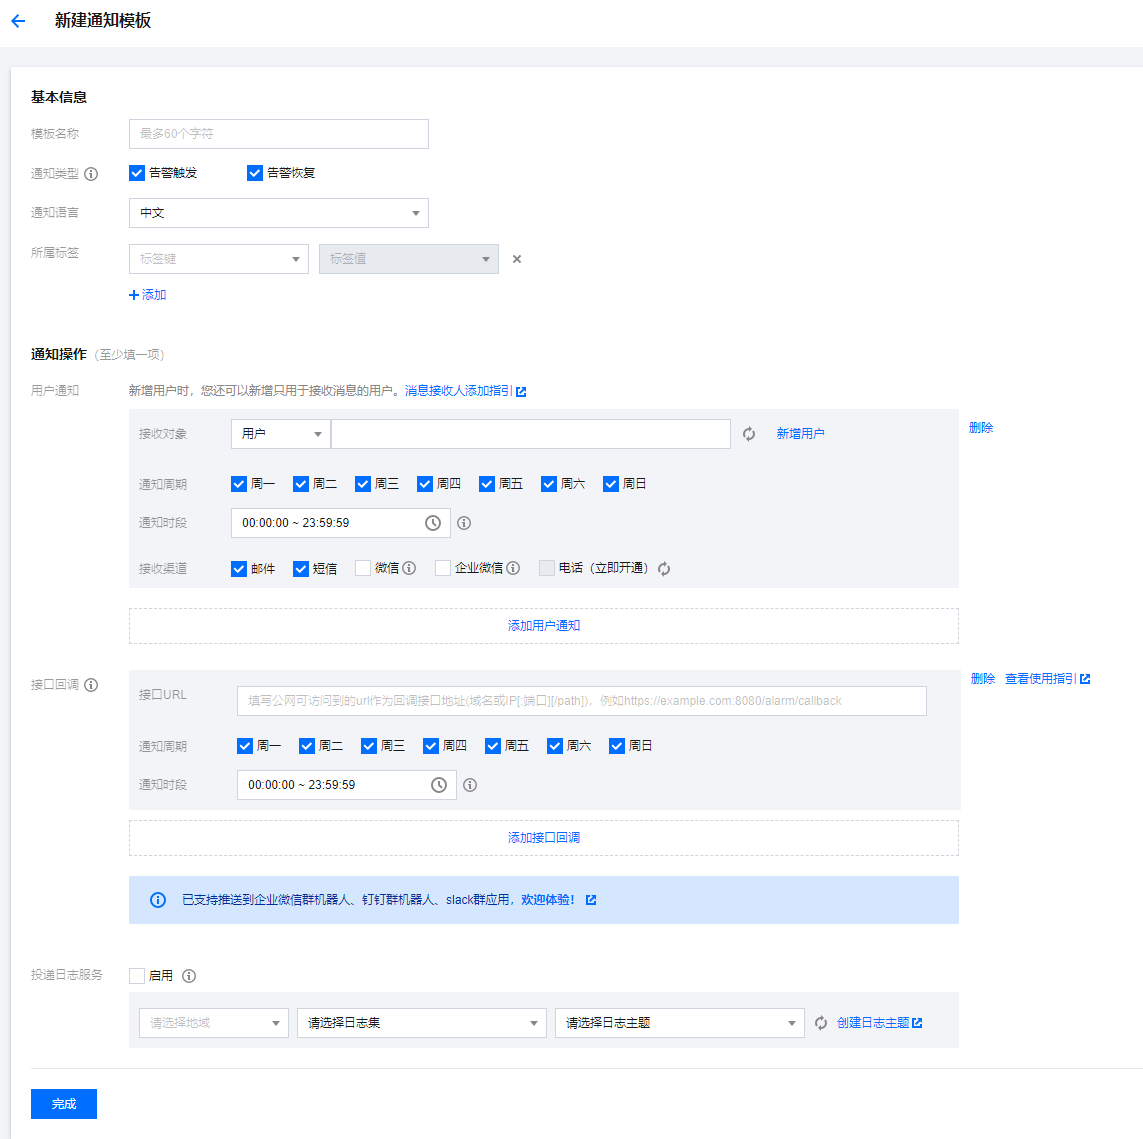
模板名称:自定义模板名称。
通知类型:
告警触发:告警触发时发送通知。
告警恢复:告警恢复时发送通知。
通知语言:可以选择中文或英文。
用户通知:
接收对象:可选接收组或接收人。
通知时段:定义接收告警时间段。
接收渠道:支持邮箱、短信、微信、电话四种告警渠道。
接口回调:填写公网可访问到的 URL 作为回调接口地址,最多可填写3个告警回调地址。TCOP 将及时把告警信息推送到该地址,当 HTTP 返回 200为验证成功。告警回调字段说明请参考 告警回调说明。
投递日志服务:启用后告警消息将实时投递到日志服务 CLS 的指定日志主题。
步骤3:配置告警策略
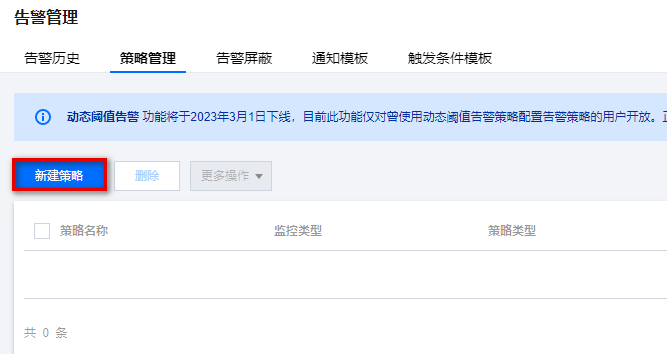
1. 登录 腾讯云可观测平台控制台,在左侧导航中,单击告警管理 > 告警策略。
2. 在告警策略页面,单击新建,进入新建告警策略页面。
3. 在新建告警策略页面,需完成以下步骤:
3.1 基本信息:配置名称和备注等信息,其中策略类型选择 Web 应用防火墙。

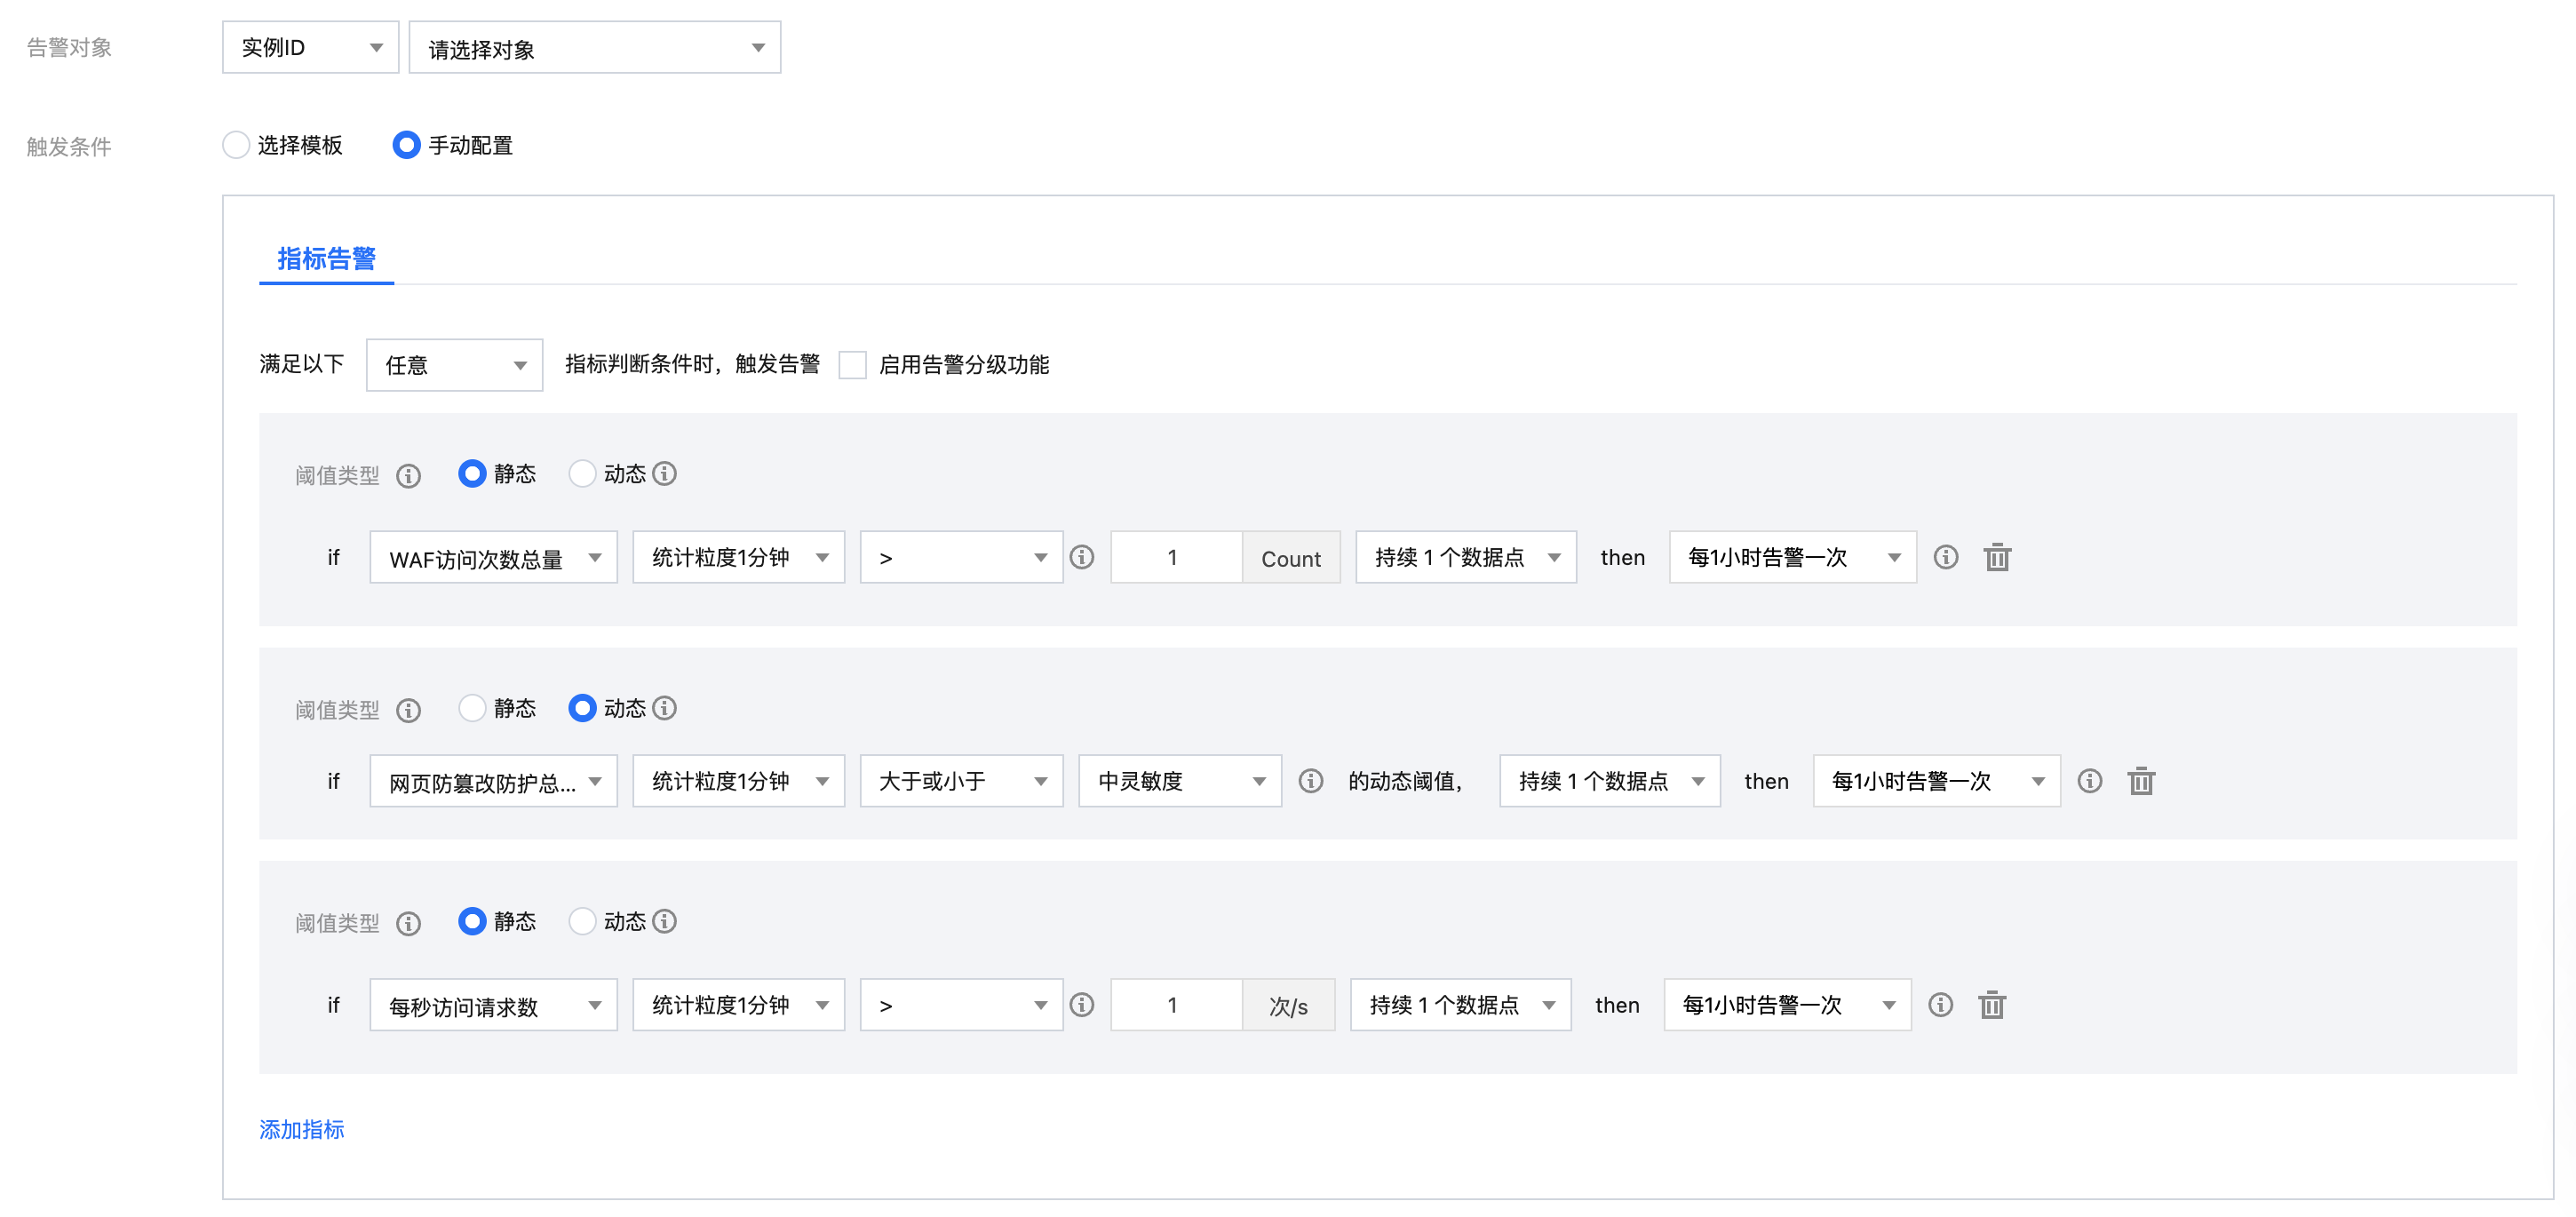
3.2 WAF 告警对象:选择 WAF 支持以实例为监控告警的最小粒度,同时支持实例分组对象,需要手动配置分组。
说明
实例 ID:该告警策略绑定用户选中的实例。
实例分组:该告警策略绑定用户选中的实例分组。
全部对象:该告警策略绑定当前账号拥有权限的全部实例。
3.3 触发条件:选择刚设置的 触发条件模板,或手动配置。
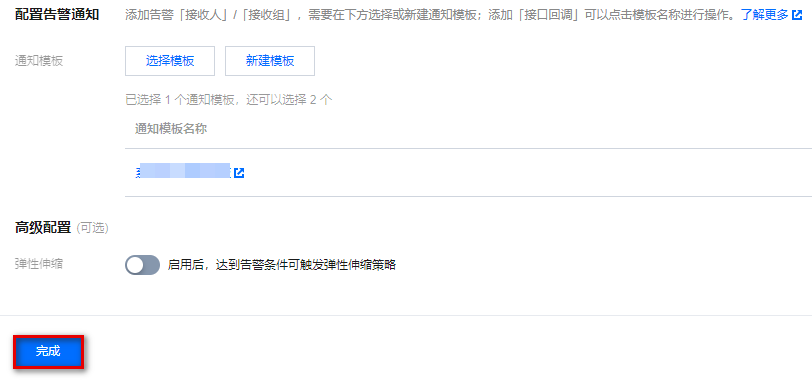
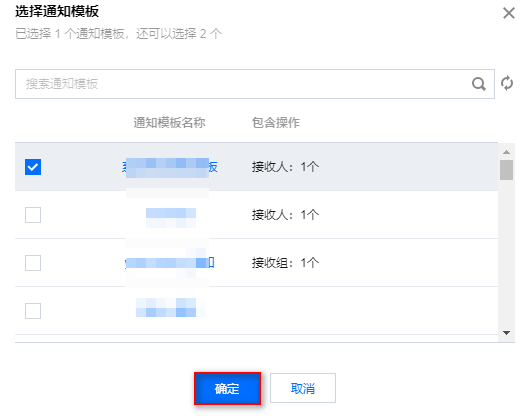
3.4 通知模板:选择刚设置的 通知模板 后,单击确定保存。
3.5 高级配置(可选):单击
4. 完成以上步骤后,单击完成,即成功创建告警策略。