数据湖计算 DLC 的外部数据及托管存储数据可通过数据管理页、执行标准 SQL 语句及 API 进行管理。通过控制台数据管理页可创建、编辑数据目录,新建、查询、删除数据库表。
新建数据目录
说明:
平台会默认帮您创建一个 DataLakeCatalog 用以湖上数据管理。
当您有外部数据源希望进行联邦分析时,可以参考以下流程创建外部数据源的数据目录。
1. 登录 数据湖计算 DLC 控制台,选择服务地域,登录的账户须有创建目录权限,子账号权限开启可以参考子账号权限管理。
2. 进入元数据管理,单击创建数据目录。

3. 进入数据源创建可视化界面。
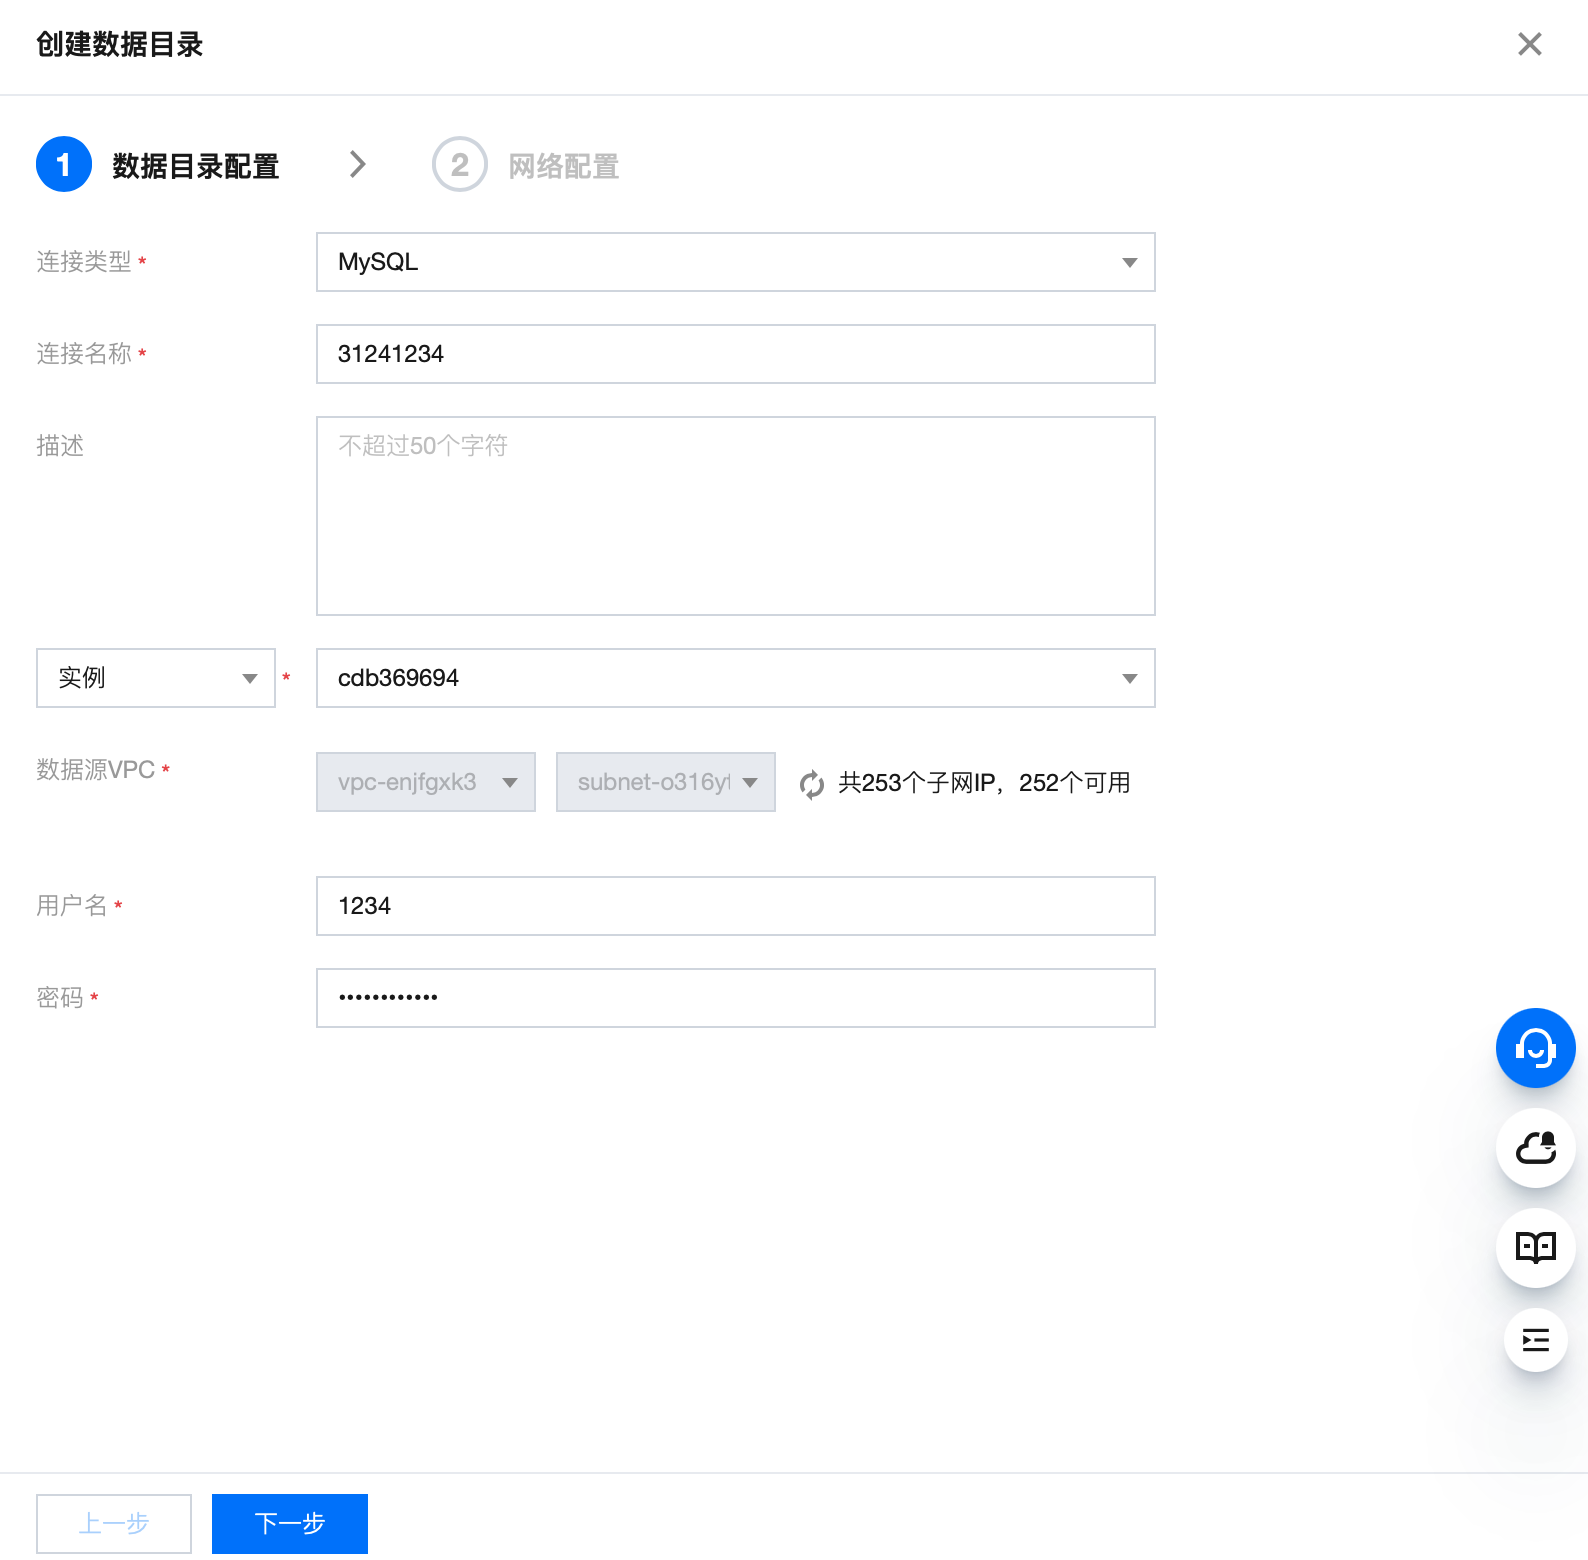
填写连接信息后,完成网络配置,打通引擎和外部数据源的网络。
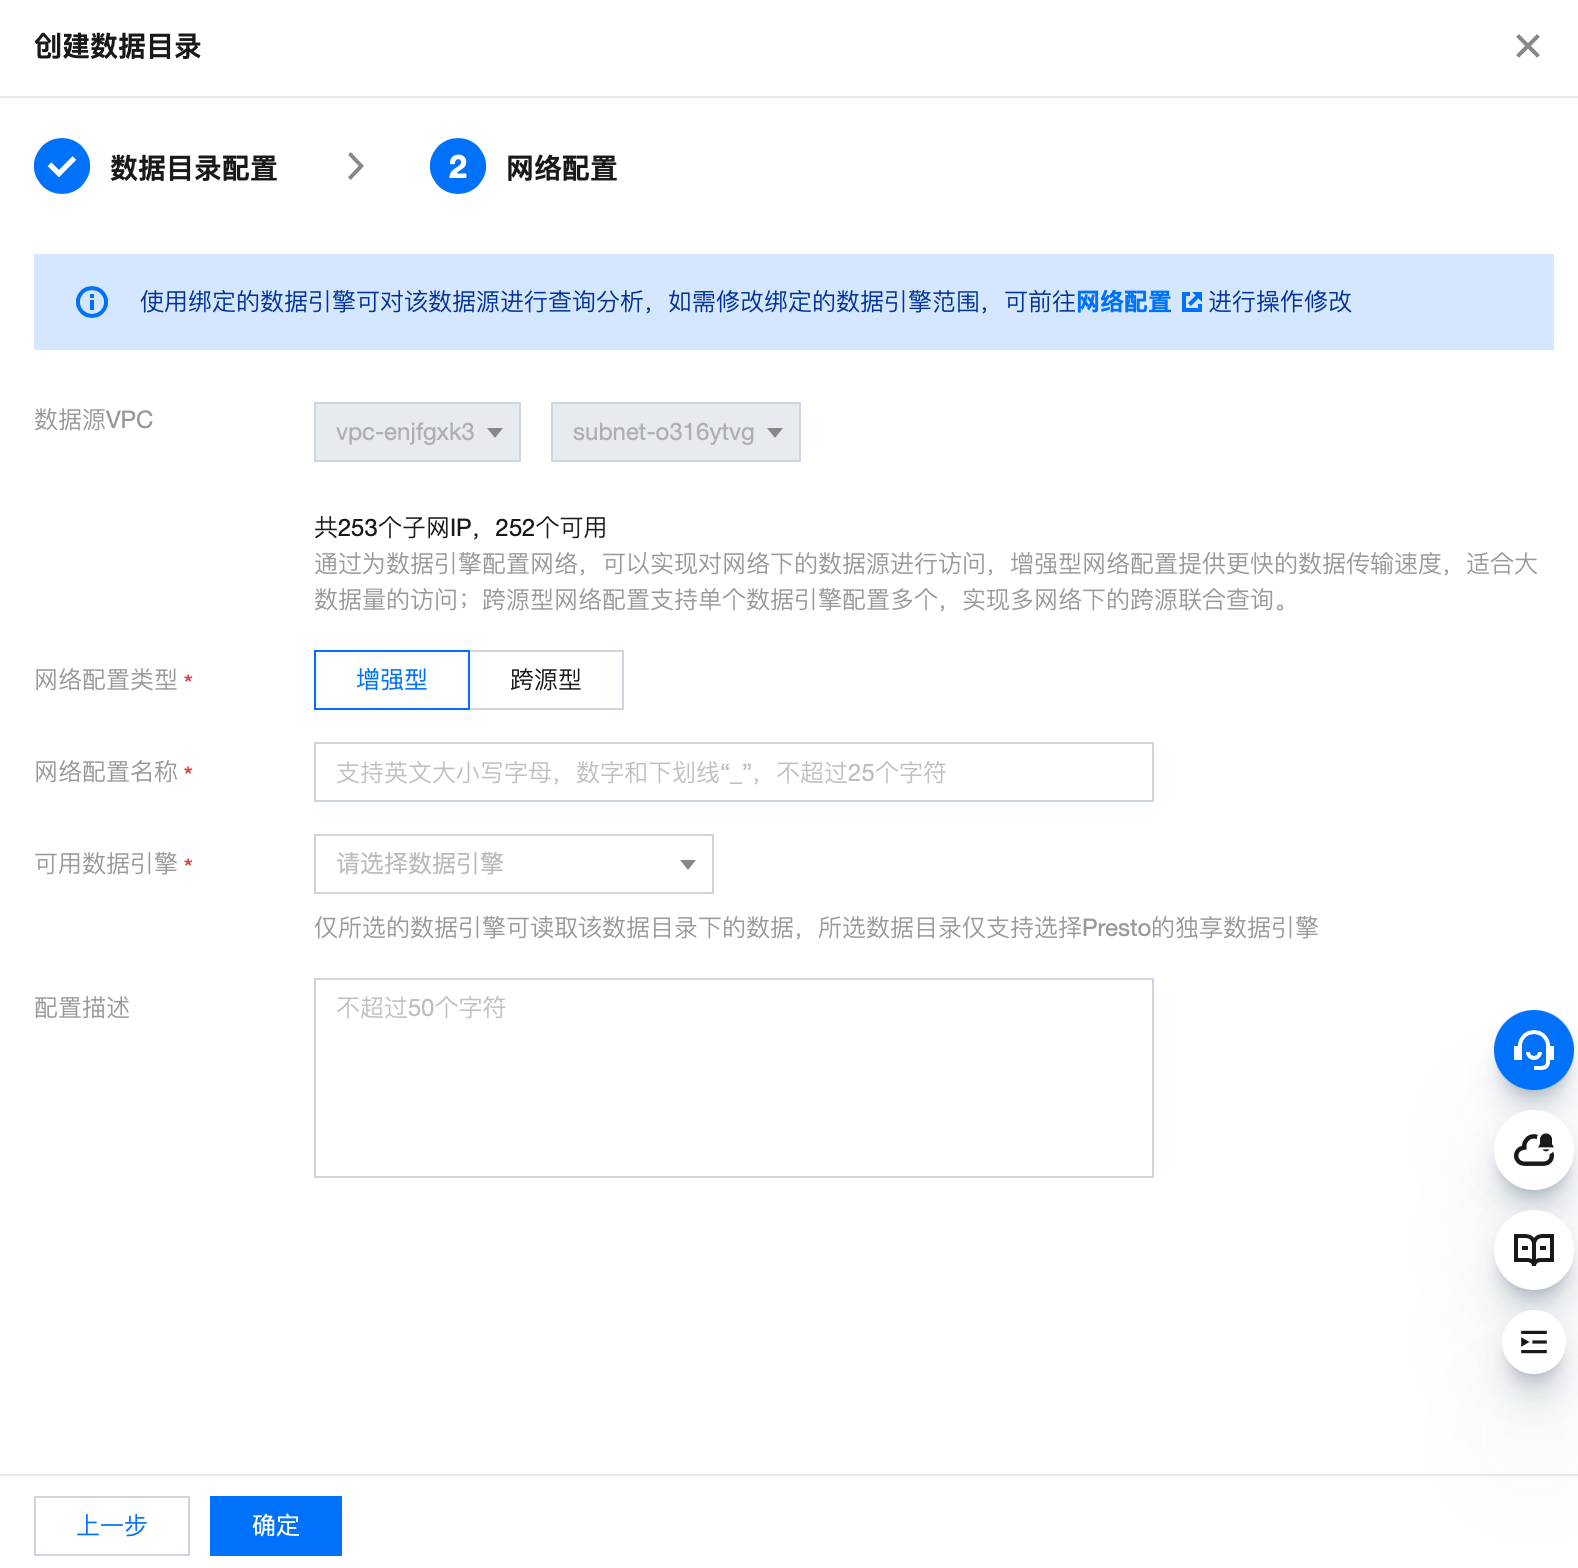
4. 填写数据源信息后单击确认,完成数据源的创建。
5. 在数据目录列表查看连接信息、状态、创建人等信息。
编辑数据目录
1. 在数据目录列表单击对应的数据目录行最右侧编辑按钮,支持修改数据目录的描述信息、网络配置信息、用户名、密码、高级设置等。
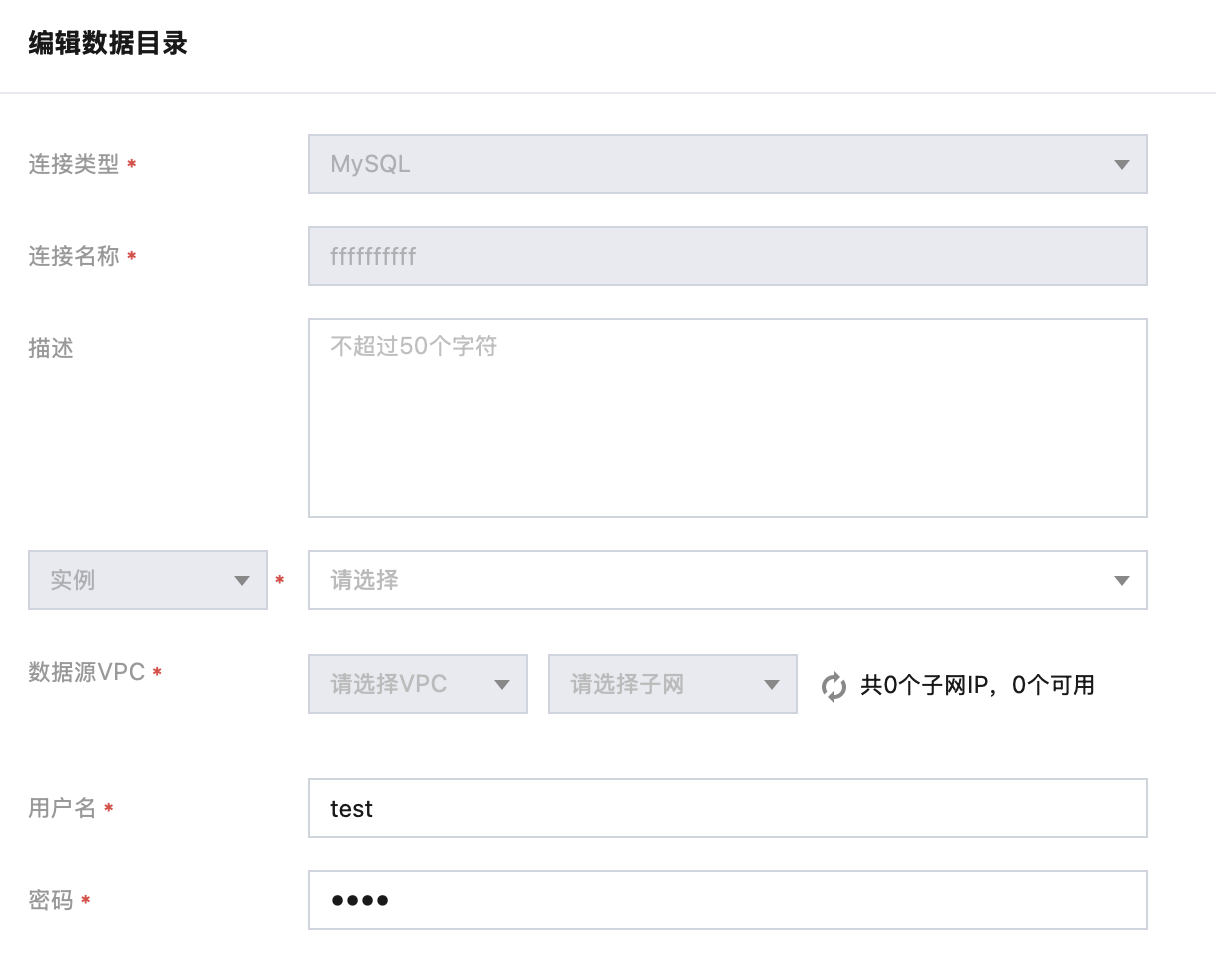
2. 修改后单击确定,数据目录重新创建。
回退数据目录配置
为了保障安全与操作灵活性,DLC 支持回退数据目录的自定义配置。用户可以通过回退数据目录的配置,快速恢复至上一个数据目录版本。
新建数据库
1. 登录 数据湖计算 DLC 控制台,选择服务地域,登录的账户须有数据库新建权限。
2. 进入元数据管理,单击数据目录下的目录名称,查看该目录下的数据库。
3. 单击创建数据库进入数据库创建可视化界面。
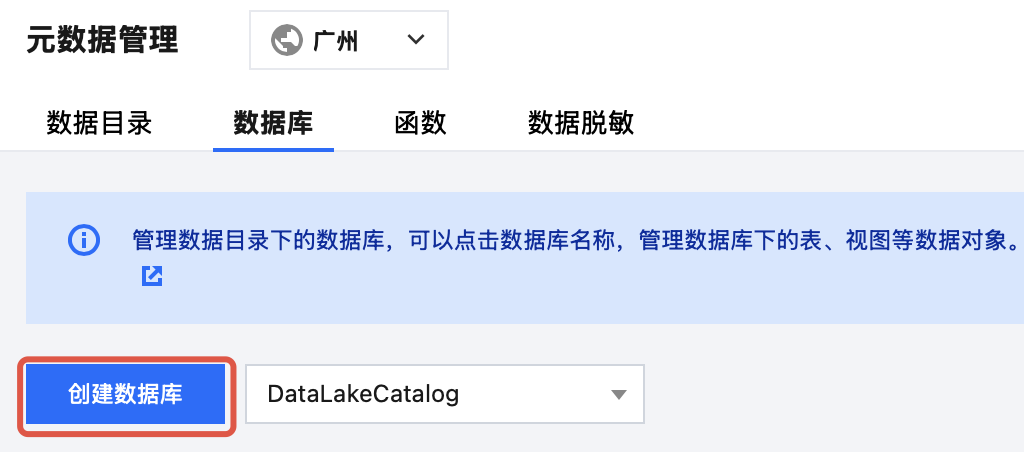
4. 填写数据库相关信息后保存,即可完成数据库新建。
数据库名称:全局唯一,支持英文大小写、数字、“_”,不允许数字开头,最多128个字符。
描述信息:支持中英文,最多2048个字符。
一个主账号最多可创建100个数据库。
查看数据库
1. 登录 数据湖计算 DLC 控制台,选择服务地域,登录的账户须有数据库查询权限。
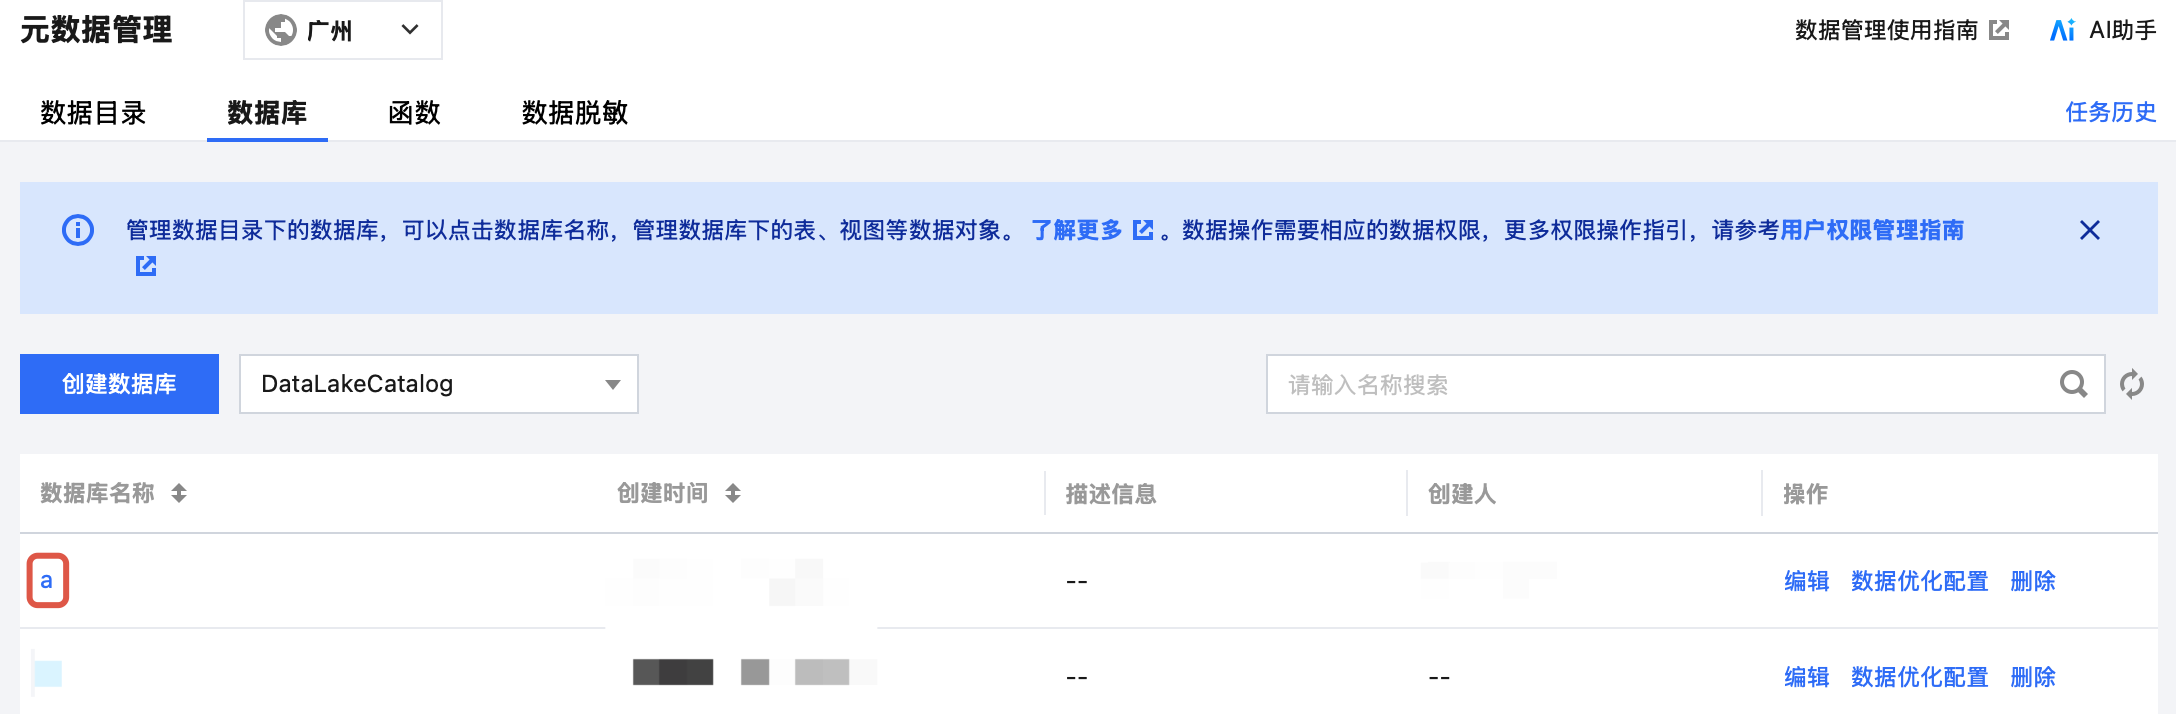
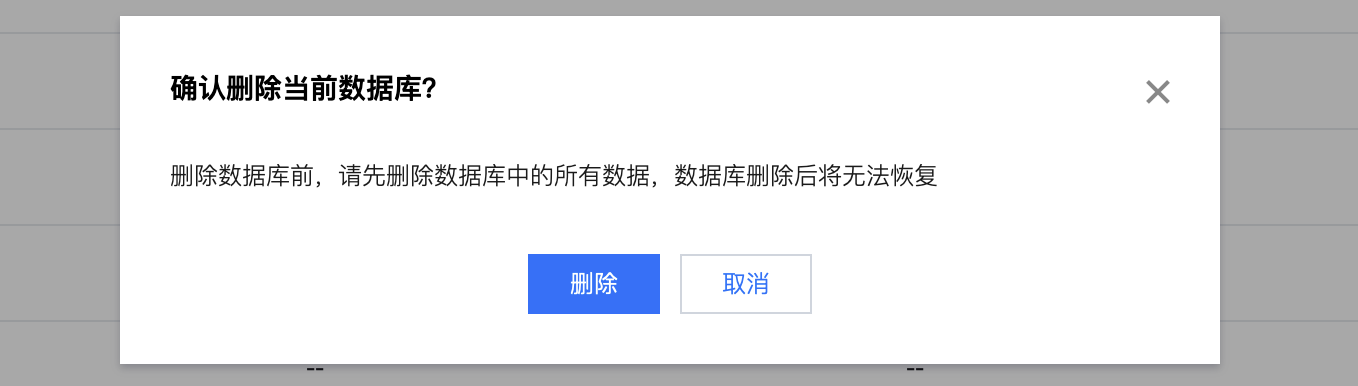
删除数据库
1. 登录 数据湖计算 DLC 控制台,选择服务地域,登录的账户须有数据库删除权限。
2. 进入 元数据管理,单击删除,二次确认后即可将数据库删除。