TencentOS Server 是腾讯云针对云的场景研发的 Linux 操作系统,提供特定的功能及性能优化,为云服务器实例中的应用程序提供更高的性能及更加安全可靠的运行环境。TencentOS Server 基于 Linux 内核自主研发设计,积累了腾讯在操作系统领域超过10年的技术积累,并经过了腾讯内部海量业务多年验证和打磨,在腾讯内部操作系统里占比超99%,覆盖了腾讯所有的业务。同时,腾讯有着国内最种类繁多的业务生态,从社交、游戏、金融支付、AI、安全等,其稳定性、安全性、兼容性和性能等核心能力均已得到长时间充分验证,相比社区 OS 版本,TencentOS Server 在稳定性、性能、容器基础设施等核心能力方面做了全面的增强和优化,能为企业提供稳定高可用的服务,满足业务严苛负载需求,力求打造云上最佳操作系统,更佳的企业级操作系统解决方案。
TencentOS Server 镜像版本
目前腾讯云上有3款 TencentOS Server 镜像供您选择:
镜像版本 | 说明 |
TencentOS Server 4(TK5) | TencentOS Server 4 是腾讯新一代服务器操作系统商业发行版,TencentOS Server 4 依赖的上游发行版的内核及用户态软件均基于 upstream 社区独立演进,自主选型和维护,不再依赖任何第三方发行版。该版本实现了对3000+ (BaseOS、AppStream 仓库)用户态软件和8000+(EPOL)额外软件包的独立编译维护,具备高性能、安全、支持多硬件平台的特性,能为云上产品和业务提供可靠的基础环境和服务能力。 |
TencentOS Server 3(TK4) | 与 CentOS 8用户态完全兼容,配套基于社区5.4 LTS 内核深度优化的 tkernel4 版本。 |
TencentOS Server 2(TK4) | 与 CentOS 7用户态完全兼容,配套基于社区5.4 LTS 内核深度优化的 tkernel4 版本。 |
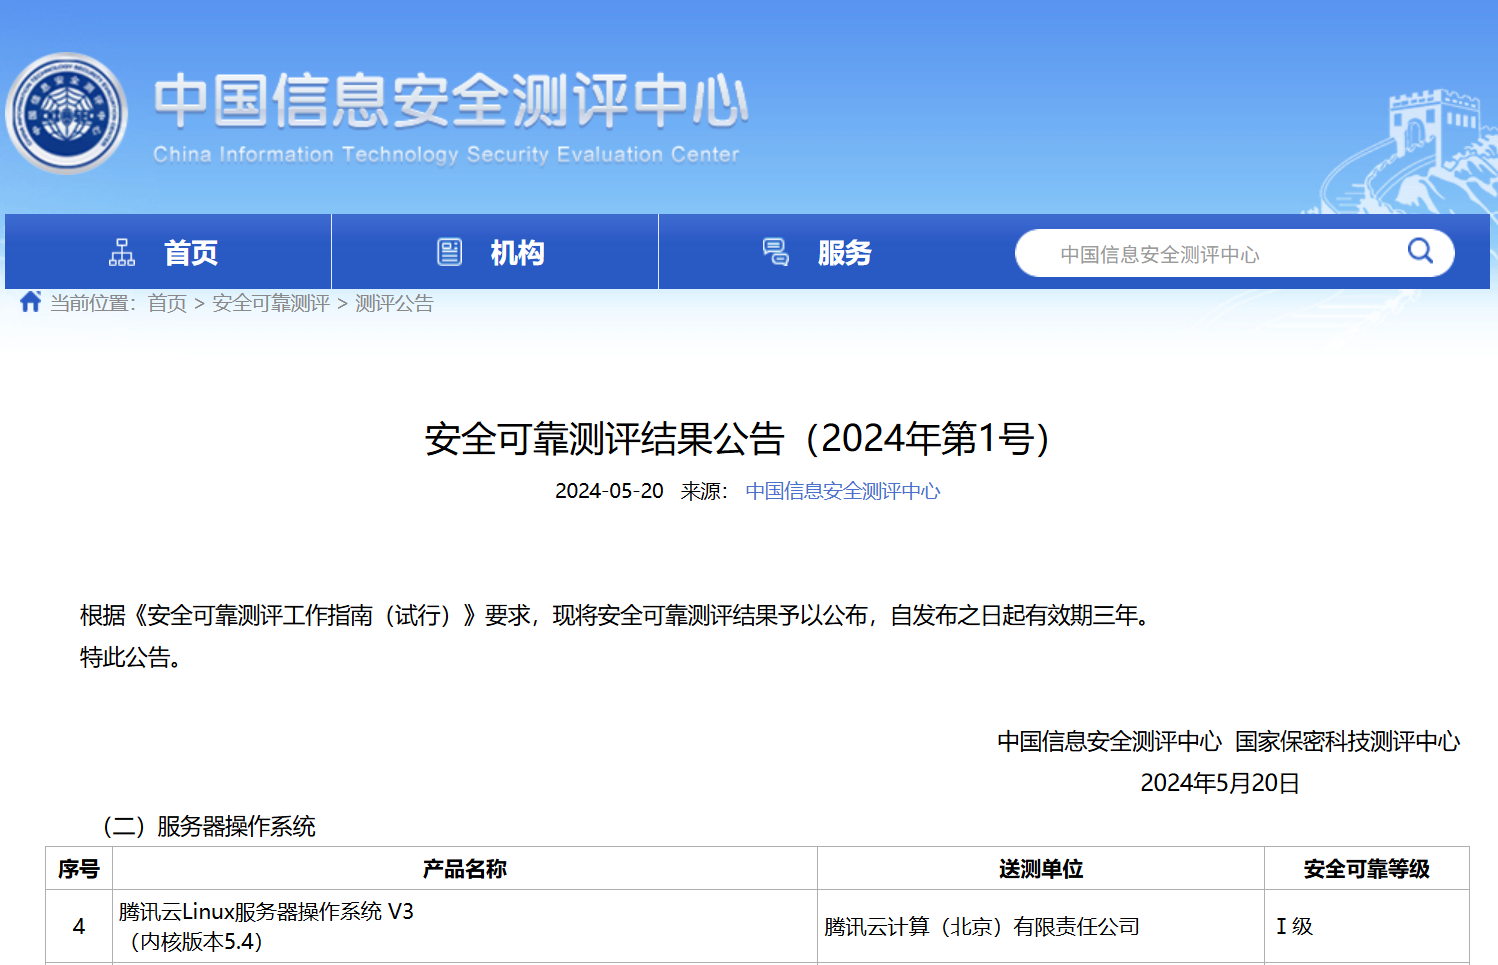
国测认证
TencentOS V3
通过中国信息安全测评中心安全可靠性测评。
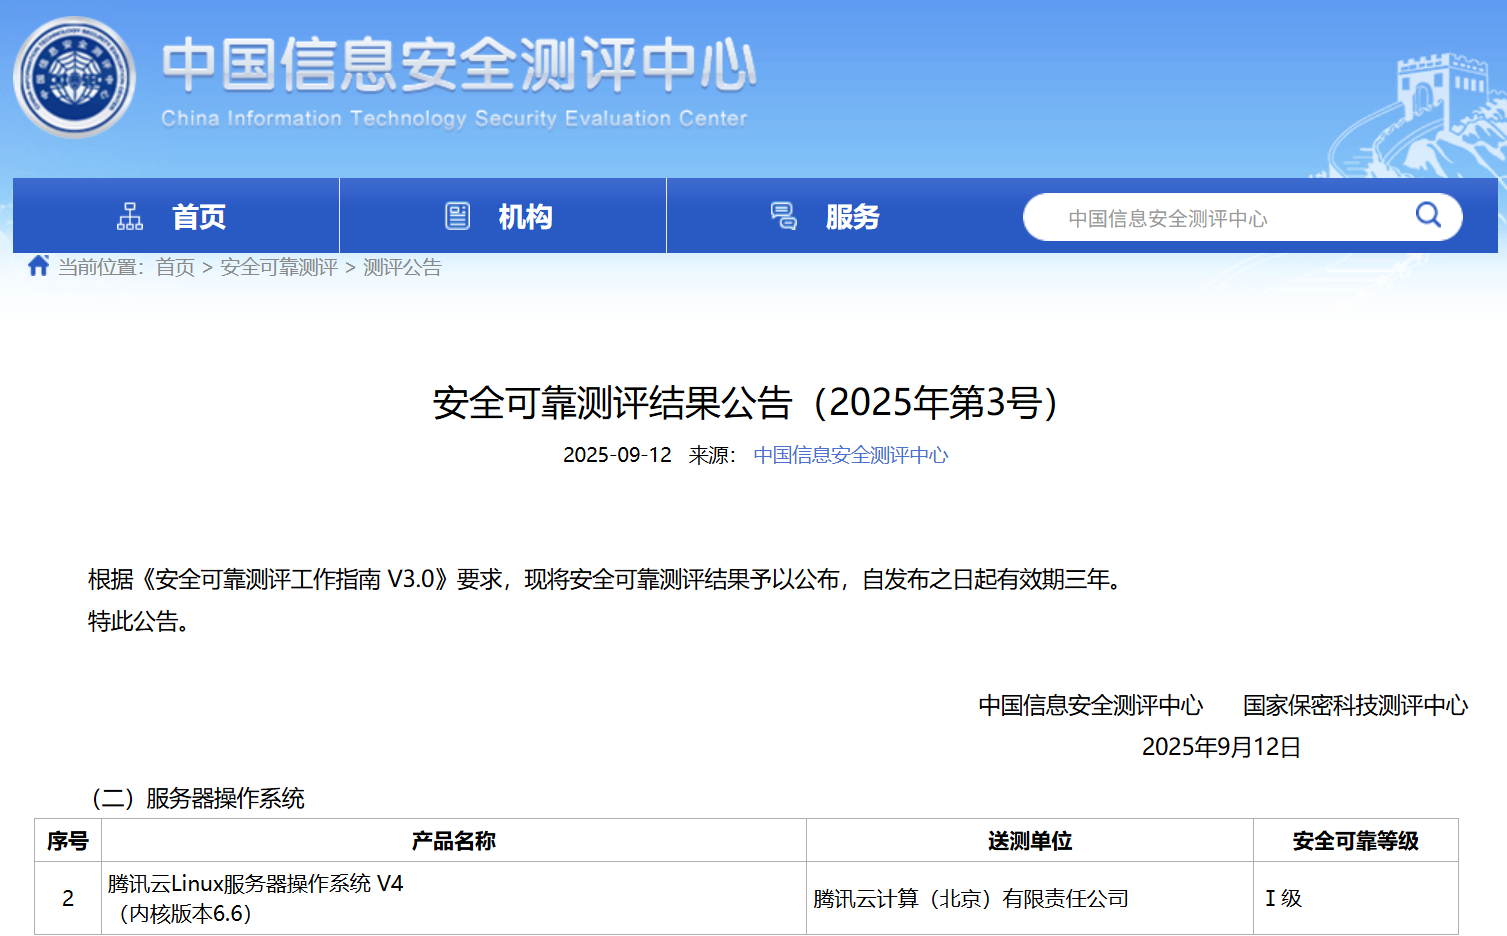
TencentOS V4
通过中国信息安全测评中心安全可靠性测评。
TencentOS Server 内核
TencentOS Server 2:当前内核是基于社区 Linux 5.4 LTS 深度优化的 tkernel4(简称 tk4)。
TencentOS Server 3:当前内核是基于社区 Linux 5.4 LTS 深度优化的 tkernel4(简称 tk4)。
TencentOS Server 4 :当前内核是基于社区 Linux 6.6 LTS 稳定版本内核(简称 tk5)。
更新记录
详情请参见 TencentOS Server 镜像更新日志。
如果您想了解近期或者历史的漏洞修复情况,详情请参见:安全公告。
服务与更新
注意:
若您需了解 TencentOS Server 更多信息,可通过小程序咨询腾讯云助手。


