环境准备
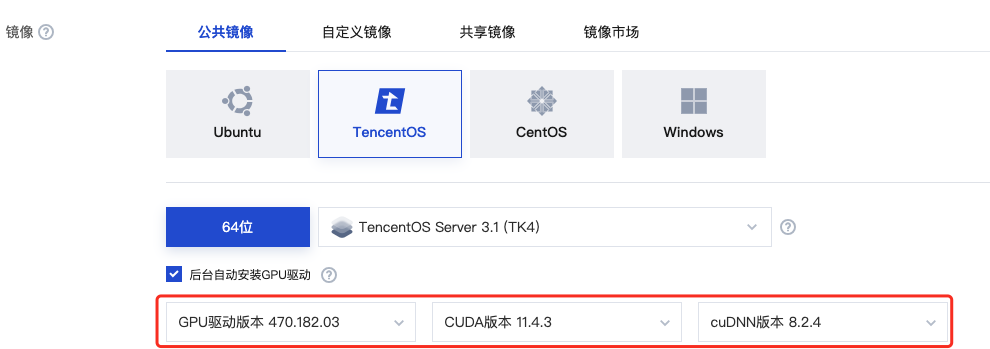
GPU 机型要求
购买 GPU 机型时,根据需求选择下图所示的 GPU 驱动版本、CUDA 版本、cuDNN 版本。
Python 3 版本要求
必须为 3.8 及以上版本,检查方法如下:
[root@VM-0-21-tencentos ~]# python3 -VPython 3.8.16[root@VM-0-21-tencentos ~]# pip3 -Vpip 19.3.1 from /usr/lib/python3.8/site-packages/pip (python 3.8)[root@VM-0-21-tencentos ~]#
如果 Python 版本不满足要求,请按照如下步骤操作:
1. 安装 Python 3.8。
yum install -y python38 python38-devel
2. 配置 Python 3.8 为默认的 Python 3 版本。
cd /usr/bin/ && rm /usr/bin/python3 && ln -s python3.8 python3
3. 配置 pip 3.8 为默认的 pip 3 版本。
cd /usr/bin/ && rm /usr/bin/pip3 && ln -s pip3.8 pip3
升级 pip 及 setuptools
pip3 install --upgrade pippip3 install --upgrade setuptools
配置 python3-config
ln -s /usr/bin/python3.8-config /usr/bin/python3-config
典型模型示例
Tensorflow 训练示例
1. 安装 TensorFlow。
1.1 您可以执行以下命令安装 TensorFlow。
pip3 install tensorflow==2.6
1.2 安装 TensorFlow 后,您也可以执行以下命令检查 TensorFlow 是否安装成功。
[root@VM-16-12-tencentos ~]# pip3 list | grep tensorflowtensorflow 2.6.0tensorflow-estimator 2.13.0
2. 安装依赖。
pip3 install keras==2.6pip3 uninstall protobuf #卸载默认的 4.23.4高版本pip3 install protobuf==3.20.0
3. 将如下 Python 代码保存为 Python 脚本,例如:demo.py。
import tensorflow as tfmnist = tf.keras.datasets.mnist(x_train, y_train), (x_test, y_test) = mnist.load_data()x_train, x_test = x_train / 255.0, x_test / 255.0model = tf.keras.models.Sequential([tf.keras.layers.Flatten(input_shape=(28, 28)),tf.keras.layers.Dense(128, activation='relu'),tf.keras.layers.Dropout(0.2),tf.keras.layers.Dense(10)])predictions = model(x_train[:1]).numpy()loss_fn = tf.keras.losses.SparseCategoricalCrossentropy(from_logits=True)loss_fn(y_train[:1], predictions).numpy()model.compile(optimizer='adam',loss=loss_fn,metrics=['accuracy'])model.fit(x_train, y_train, epochs=5)model.evaluate(x_test, y_test, verbose=2)
4. 运行保存好的 Python 脚本。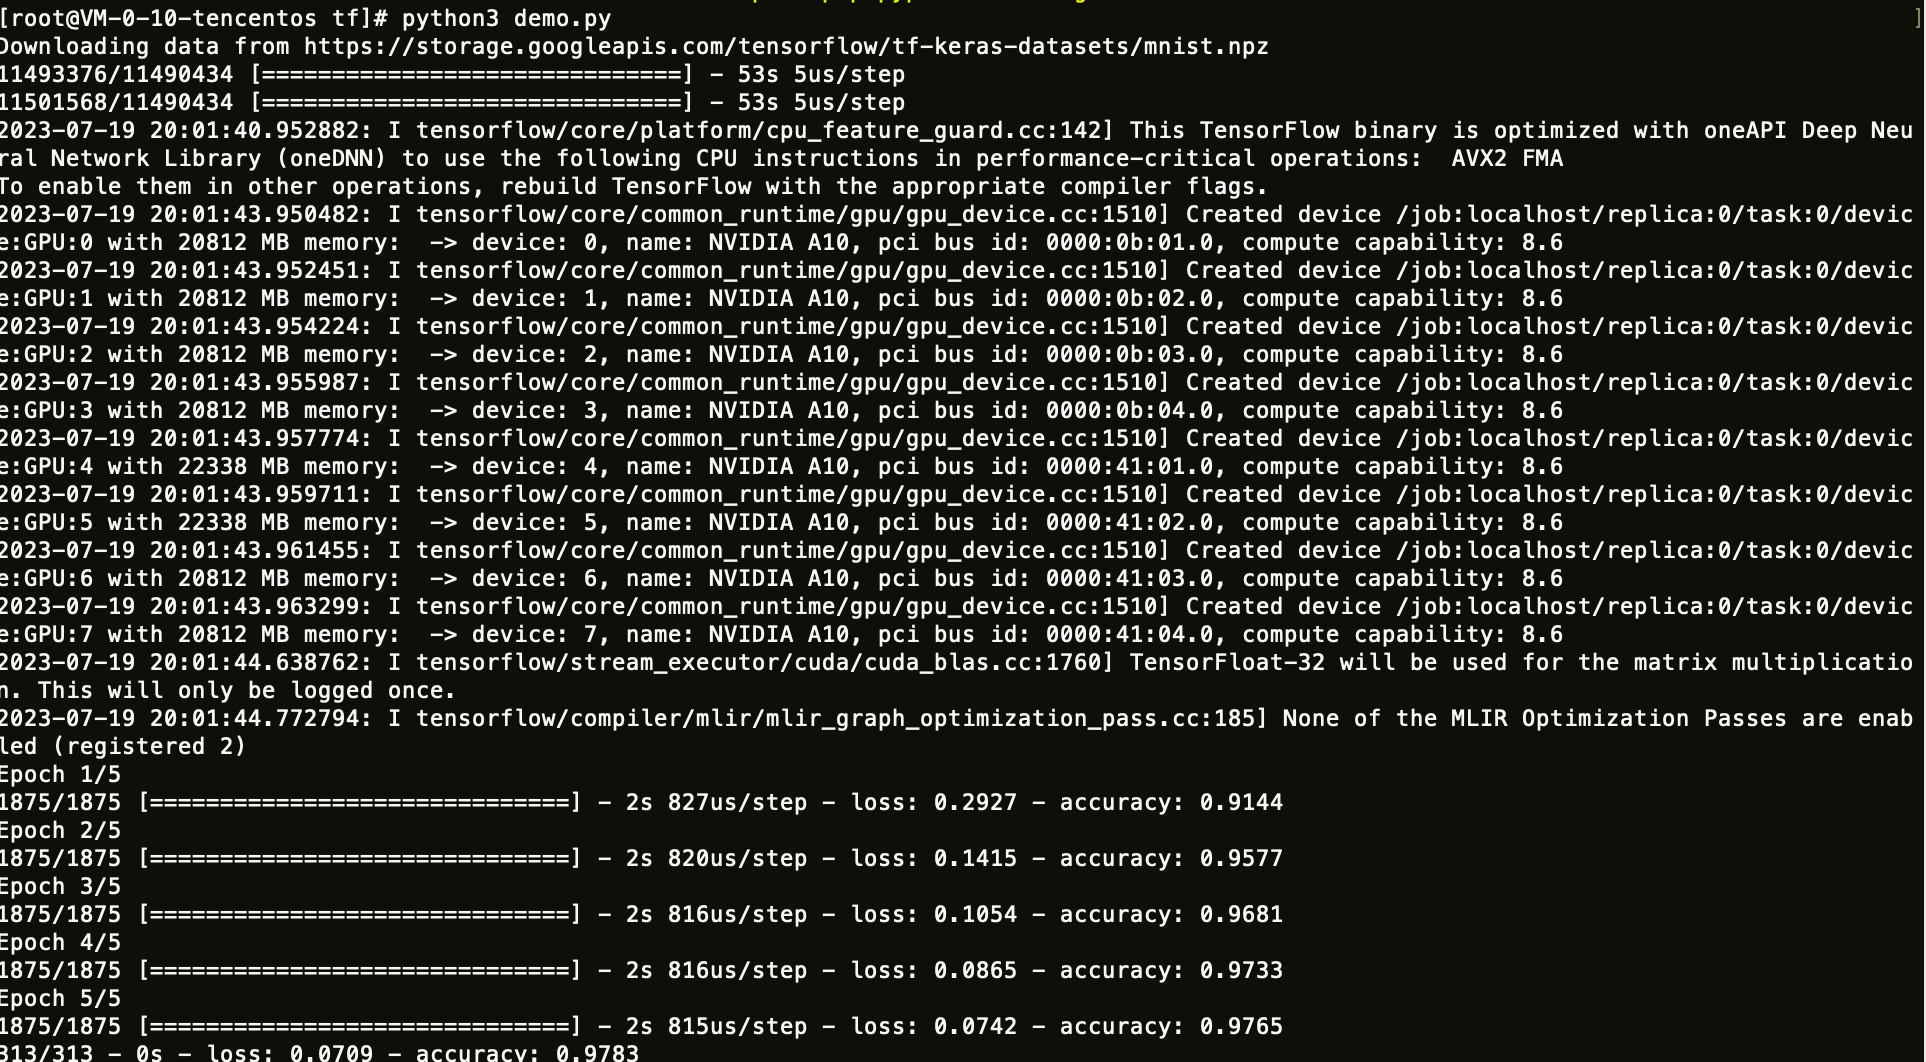
Pytorch 训练示例
1. 安装 Pytorch。
1.1 您可以执行以下命令安装 Pytorch。
pip3 install torch==1.12.1+cu113 torchvision==0.13.1+cu113 torchaudio==0.12.1 --extra-index-url https://download.pytorch.org/whl/cu113
1.2 安装 Pytorch 后,您也可以执行以下命令检查 Pytorch 是否安装成功。
[root@VM-16-12-tencentos ~]# pip3 list | grep torchtorch 1.12.1+cu113torchaudio 0.12.1+cu113torchvision 0.13.1+cu113
2. 将如下 Python 代码保存为 Python 脚本,例如:demo.py。
import torchfrom torch import nnfrom torch.utils.data import DataLoaderfrom torchvision import datasetsfrom torchvision.transforms import ToTensor# Download training data from open datasets.training_data = datasets.FashionMNIST(root="data",train=True,download=True,transform=ToTensor(),)# Download test data from open datasets.test_data = datasets.FashionMNIST(root="data",train=False,download=True,transform=ToTensor(),)batch_size = 64# Create data loaders.train_dataloader = DataLoader(training_data, batch_size=batch_size)test_dataloader = DataLoader(test_data, batch_size=batch_size)# Get cpu, gpu or mps device for training.device = ("cuda"if torch.cuda.is_available()else "mps"if torch.backends.mps.is_available()else "cpu")print(f"Using {device} device")# Define modelclass NeuralNetwork(nn.Module):def __init__(self):super().__init__()self.flatten = nn.Flatten()self.linear_relu_stack = nn.Sequential(nn.Linear(28*28, 512),nn.ReLU(),nn.Linear(512, 512),nn.ReLU(),nn.Linear(512, 10))def forward(self, x):x = self.flatten(x)logits = self.linear_relu_stack(x)return logitsmodel = NeuralNetwork().to(device)loss_fn = nn.CrossEntropyLoss()optimizer = torch.optim.SGD(model.parameters(), lr=1e-3)def train(dataloader, model, loss_fn, optimizer):size = len(dataloader.dataset)model.train()for batch, (X, y) in enumerate(dataloader):X, y = X.to(device), y.to(device)# Compute prediction errorpred = model(X)loss = loss_fn(pred, y)# Backpropagationloss.backward()optimizer.step()optimizer.zero_grad()if batch % 100 == 0:loss, current = loss.item(), (batch + 1) * len(X)print(f"loss: {loss:>7f} [{current:>5d}/{size:>5d}]")def test(dataloader, model, loss_fn):size = len(dataloader.dataset)num_batches = len(dataloader)model.eval()test_loss, correct = 0, 0with torch.no_grad():for X, y in dataloader:X, y = X.to(device), y.to(device)pred = model(X)test_loss += loss_fn(pred, y).item()correct += (pred.argmax(1) == y).type(torch.float).sum().item()test_loss /= num_batchescorrect /= sizeprint(f"Test Error: \\n Accuracy: {(100*correct):>0.1f}%, Avg loss: {test_loss:>8f} \\n")epochs = 5for t in range(epochs):print(f"Epoch {t+1}\\n-------------------------------")train(train_dataloader, model, loss_fn, optimizer)test(test_dataloader, model, loss_fn)print("Done!")
3. 运行保存好的 Python 脚本。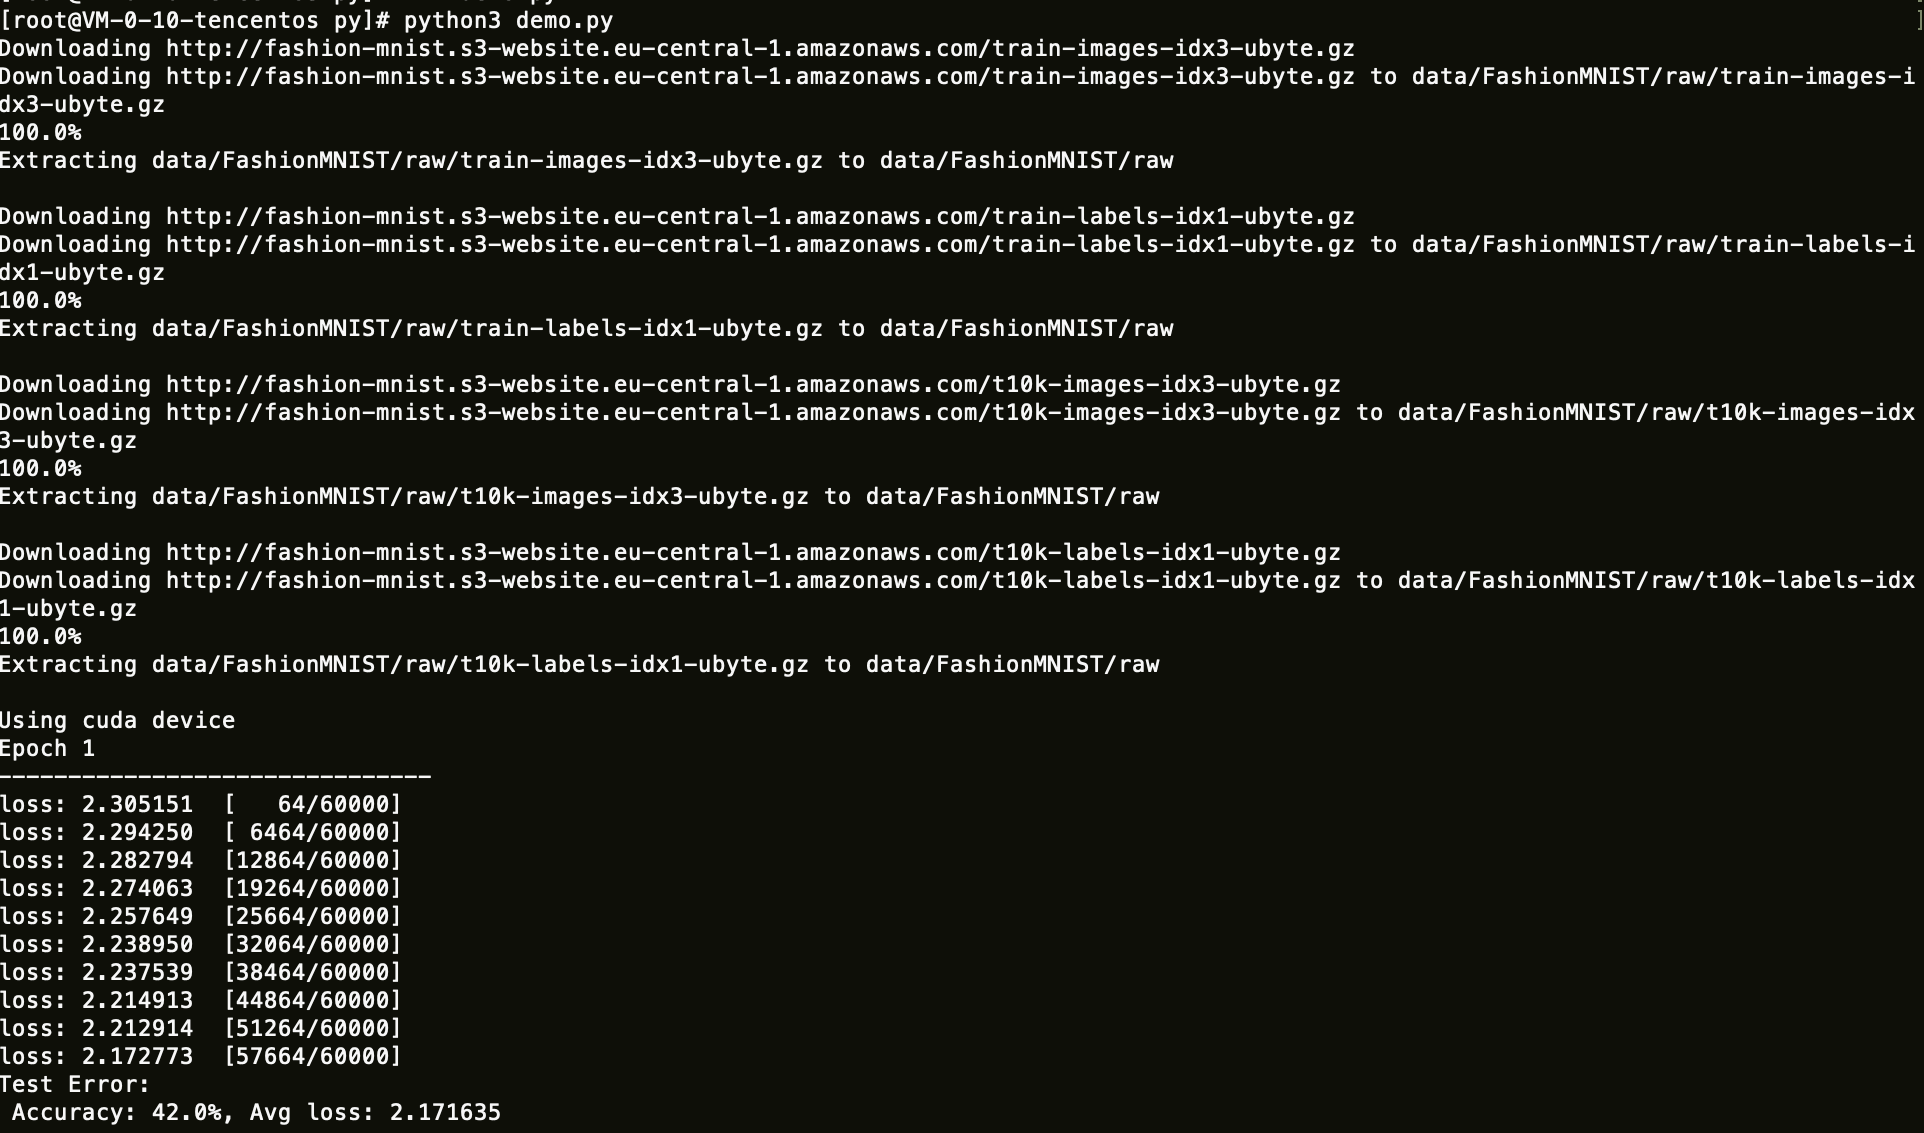
DeepSpeed 训练示例
1. 安装 DeepSpeed。
1.1 您可以执行以下命令安装 DeepSpeed。
pip3 install deepspeed
1.2 安装 DeepSpeed 后,您也可以执行以下命令检查 DeepSpeed 是否安装成功。
[root@VM-16-12-tencentos ~]# pip3 list | grep deepspeeddeepspeed 0.9.5
2. 安装依赖。
# NCCLsudo yum-config-manager --add-repo https://developer.download.nvidia.com/compute/cuda/repos/rhel8/x86_64/cuda-rhel8.reposudo yum install libnccl libnccl-devel libnccl-static -ypip3 install datasets evaluate accelerate sentencepiece transformers==4.28.1 pydantic==1.10.7pip3 uninstall numpy #卸载numpy的高版本pip3 install numpy==1.22.0
3. 下载示例代码,并做相应修改。
wget https://taco-1251783334.cos.ap-shanghai.myqcloud.com/demo/LLM/llama.tar.gztar xzf llama.tar.gz && cd llama
3.1 通过以下命令获取本机 eth0 ip,写到 hostfile 中。
ifconfig eth0
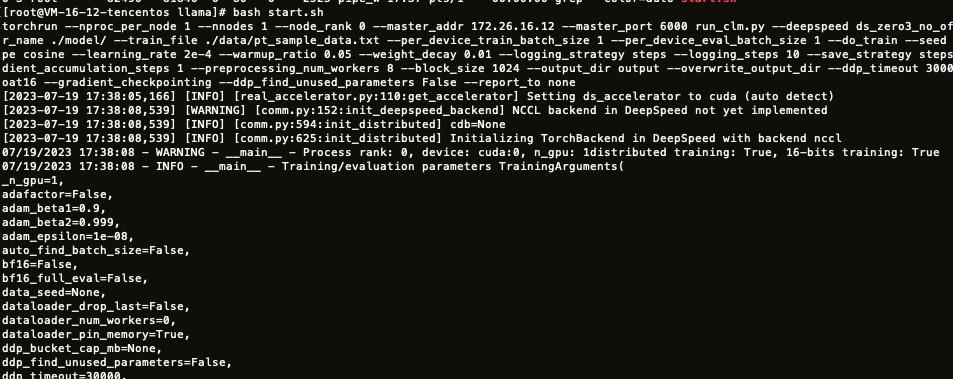
3.2 根据本机 GPU 数量修改 start.sh 文件中的 GPUS_PER_NODE 变量,默认为1。
GPUS_PER_NODE=1
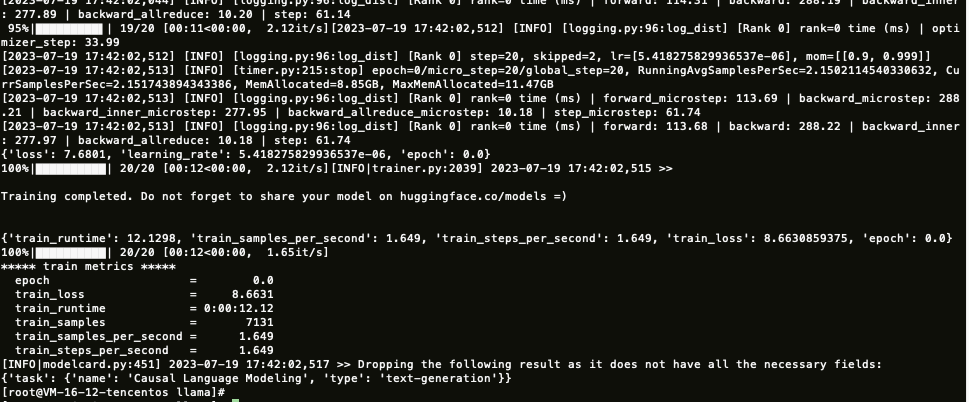
4. 执行 start.sh 开始训练。
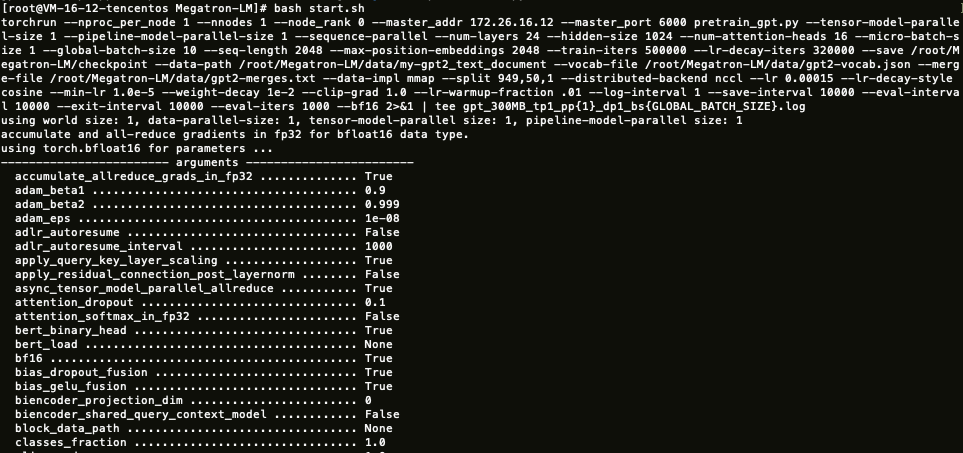
Megatron-LM 训练示例
1. 安装 Megatron-LM。
您可以执行以下命令安装 Megatron-LM。
yum install git -ygit clone https://github.com/NVIDIA/Megatron-LM.git && cd Megatron-LM && git checkout -b v3.0.2 v3.0.2
2. 安装依赖。
# NCCLsudo yum-config-manager --add-repo https://developer.download.nvidia.com/compute/cuda/repos/rhel8/x86_64/cuda-rhel8.reposudo yum install libnccl libnccl-devel libnccl-static# apexgit clone https://github.com/NVIDIA/apex.git && cd apexpip3 install -v --disable-pip-version-check --no-cache-dir --no-build-isolation --config-settings "--build-option=--cpp_ext" --config-settings "--build-option=--cuda_ext" ./
3. (可选)上一步如果编译错误,需要注释掉如下代码。
diff --git a/setup.py b/setup.pyindex b156cfa..150e548 100644--- a/setup.py+++ b/setup.py@@ -174,7 +174,7 @@ if "--distributed_lamb" in sys.argv:if "--cuda_ext" in sys.argv:sys.argv.remove("--cuda_ext")raise_if_cuda_home_none("--cuda_ext")- check_cuda_torch_binary_vs_bare_metal(CUDA_HOME)+# check_cuda_torch_binary_vs_bare_metal(CUDA_HOME)
4. 安装 pybind11。
# pybind11pip3 install pybind11
5. 下载示例代码,并做相应修改。
wget https://taco-1251783334.cos.ap-shanghai.myqcloud.com/demo/LLM/gpt.tar.gztar xzf gpt.tar.gz && cd gptcp hostfile download_data.sh start.sh path/to/Megatron-LM && cd path/to/Megatron-LM #path是Megatorn-LM所在的位置
5.1 通过以下命令获取本机 eth0 ip,写到 hostfile 中。
ifconfig eth0
5.2 根据本机 GPU 数量修改 start.sh 文件中的 GPUS_PER_NODE 变量,默认为1。
GPUS_PER_NODE=1
6. 执行 download_data.sh 下载数据集。

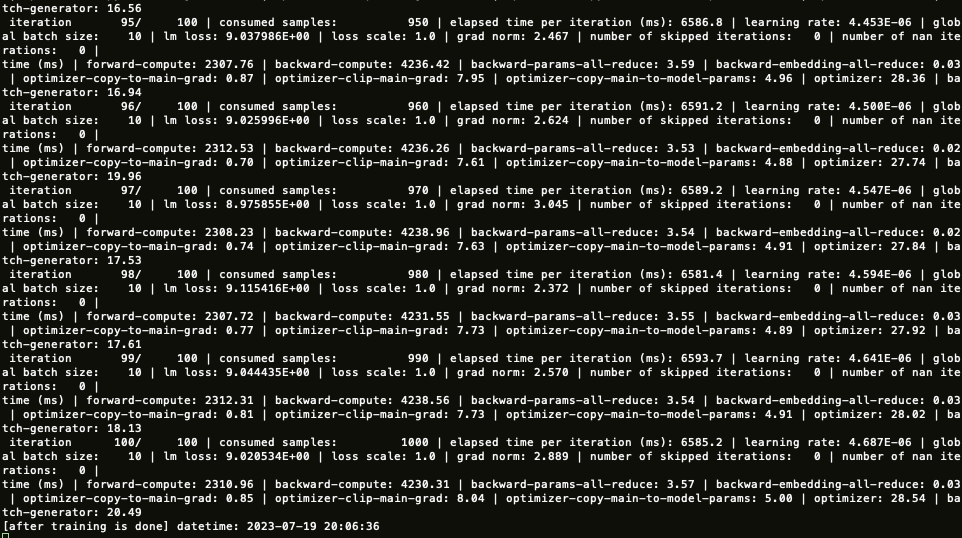
7. 执行 start.sh 开始训练。