什么情况下需要验证站点/域名归属权
当您的站点/域名首次接入 EdgeOne 时,为了确保您是当前接入站点/域名的所有者,我们需要您验证该站点/域名的归属权。
注意:
该操作仅在 CNAME 接入模式下需要,如果您的站点是 NS 模式接入,可直接通过切换 DNS 服务器至 EdgeOne 即视为完成归属权验证。
站点与域名归属权验证的区别
假设您的业务域名为:
a.example.com,b.example.com,c.example.com,此时您接入的站点为example.com站点归属验证:当您拥有根域名 DNS 解析的操作权限或者根域名源站服务器的操作权限时,建议您使用站点归属权验证,可以有效降低操作成本。
站点归属权验证通过后,EdgeOne 认定您拥有该域名下所有多级域名的归属权,接入
a.example.com,b.example.com,c.example.com及其他子域名都无需再验证归属权。域名归属权校验:当您的公司存在多级架构或为代运维域名时,如果您只拥有子域名的 DNS 解析操作权限或子域名源站服务器的操作权限时,EdgeOne 允许您在接入站点时跳过站点归属权验证,之后单独验证域名的归属权,将会增加接入操作成本。
使用域名归属权验证,接入
a.example.com,b.example.com,c.example.com都需要单独验证归属权。子域名归属权验证通过后,该域名下的其他域名无需再次验证,例如:
a.example.com验证通过后,test.a.example.com无需再次验证。如何验证站点/域名归属权
站点和域名验证归属权的实际操作步骤是一致的,下面以验证站点归属权为例。
1. 在站点验证页面,选择 DNS 解析验证,在该页面内,可以获取到 DNS 解析验证所需要添加的主机记录、记录类型以及记录值。

2. 登录该域名的 DNS 解析服务商,新增一条 TXT 记录用于验证站点归属权,以下为不同 DNS 解析服务商的添加示例。
b. 在记录管理页面,单击添加记录,为当前域名新增一条用于归属权校验的解析记录。
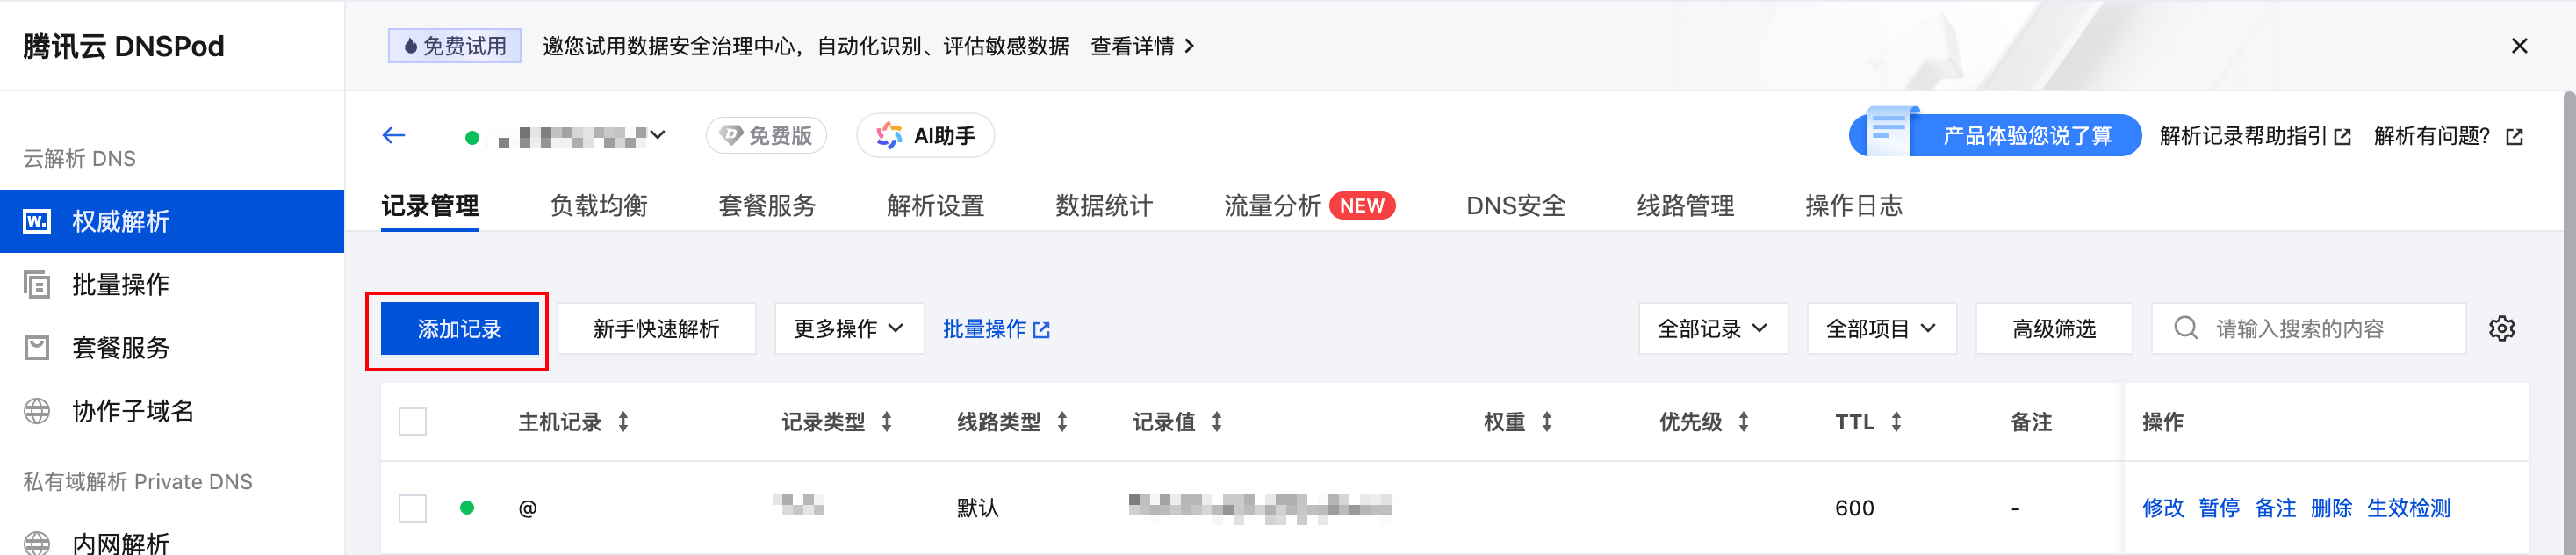
c. 填写步骤1中的主机记录、记录类型和记录值。

参数名称 | 参数说明 |
主机记录 | edgeonereclaim |
记录类型 | TXT |
线路类型 | 默认 |
记录值 | 填写 EdgeOne 提供的记录值 |
TTL | 600 |
d. 单击确认,完成添加。
b. 在域名解析页面,找到当前待验证的域名,在域名右侧单击解析设置,进入解析设置页面。
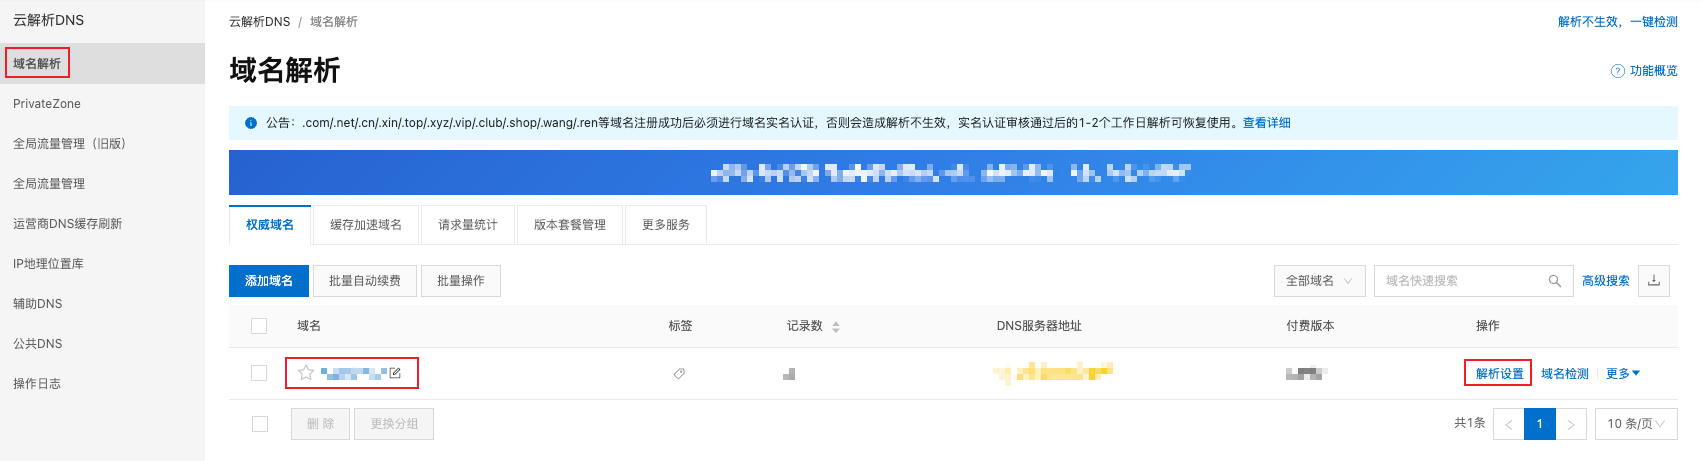
c. 单击添加记录,为当前域名新增一条用于归属权校验的解析记录。

d. 填写步骤1中的记录类型、主机记录和记录值。

参数名称 | 参数说明 |
记录类型 | TXT |
主机记录 | edgeonereclaim |
线路类型 | 默认 |
记录值 | 填写 EdgeOne 提供的记录值 |
TTL | 10分钟 |
e. 单击确认,完成添加。
a. 登录 GoDaddy Domain Portfolio 控制台。
b. 在 Portfolio 页面,找到当前待验证的域名,单击该域名进入解析设置页面。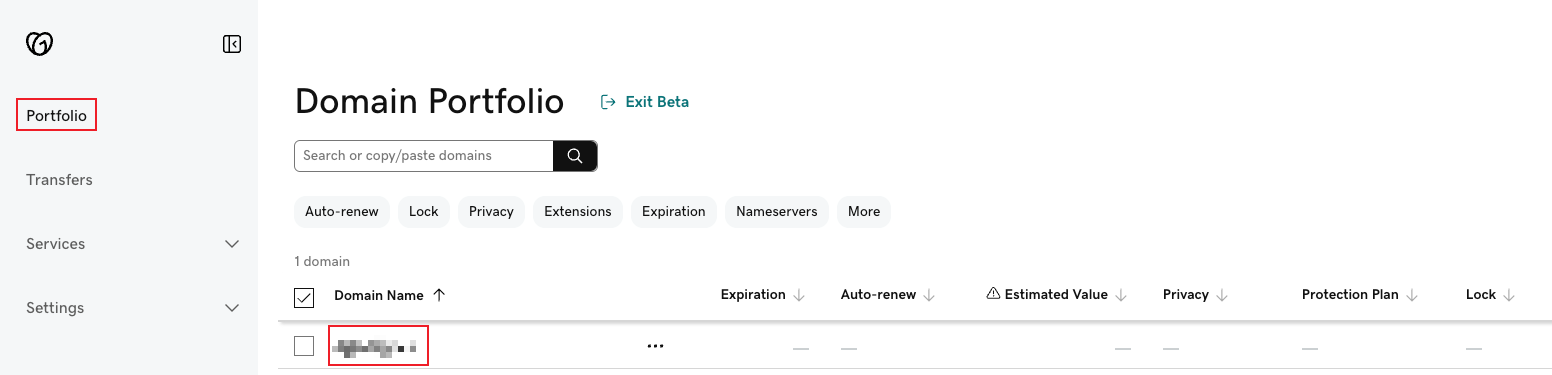
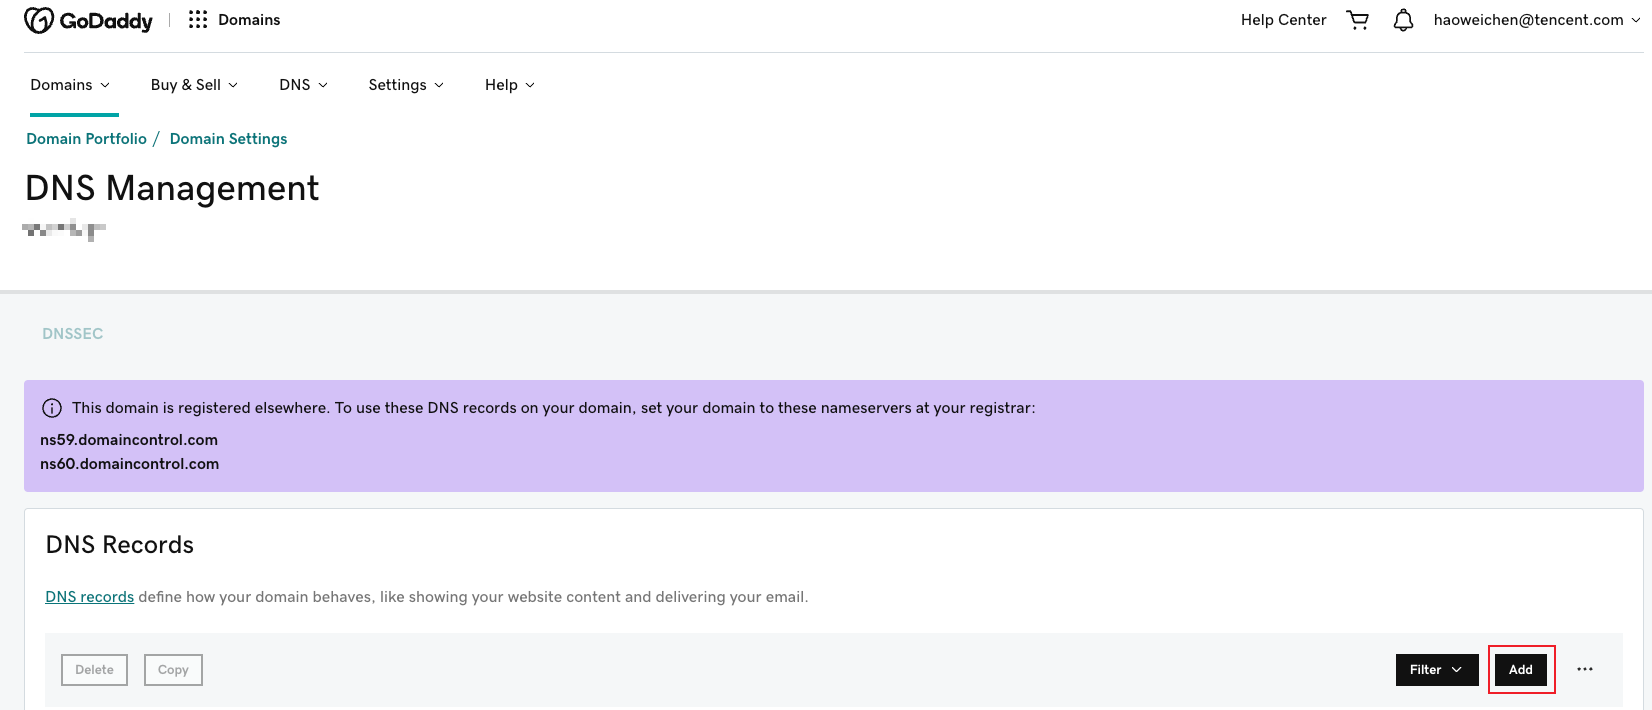
d. 填写步骤1中的记录类型、主机记录和记录值。
参数名称 | 参数说明 |
Type | TXT |
Name | edgeonereclaim |
Value | 填写 EdgeOne 提供的记录值 |
TTL | Default |
e. 单击 Add Record,完成添加。
3. 手动验证当前 TXT 记录解析是否生效,您可以通过以下方式验证:
在 Windows 系统中,打开 cmd 运行程序,以接入站点为 
www.example.com为例,您可以在 cmd 内运行:nslookup -qt=txt edgeonereclaim.example.com,根据运行的解析结果内,可以查看该域名的 TXT 解析记录信息。若 TXT 解析记录值与步骤1提供的记录值相同,则当前 TXT 记录解析已生效。在 Mac/Linux 系统中,可以使用 dig 命令进行验证,以接入站点为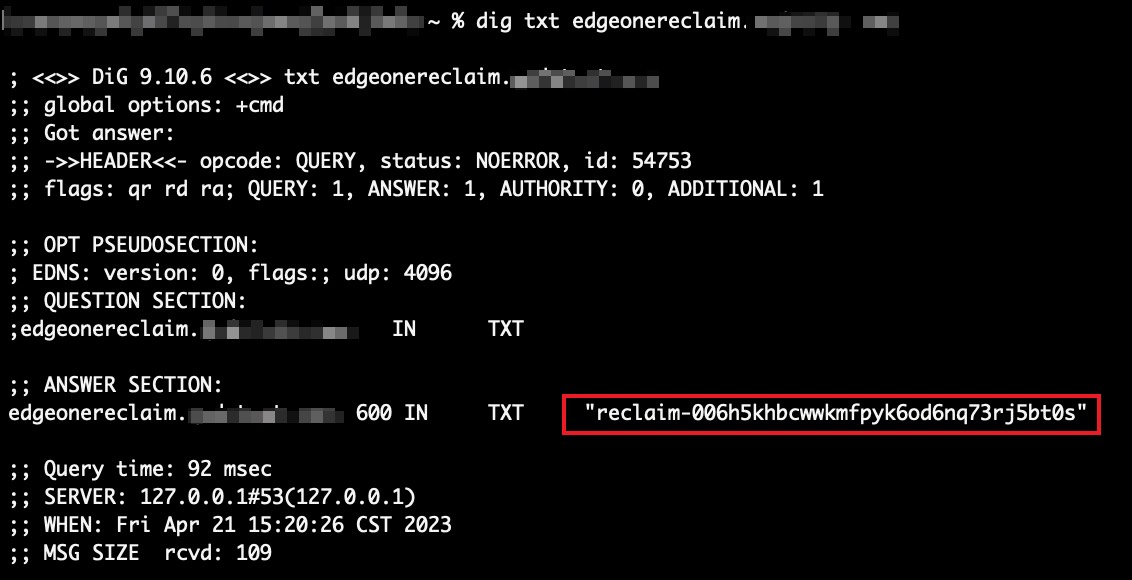
example.com为例,您可以在终端内运行命令:dig txt edgeonereclaim.example.com,根据运行的解析结果内,可以查看该域名的 TXT 记录信息。若 TXT 记录信息与步骤1提供的记录值相同,则当前 TXT 记录解析已生效。4. 确认 TXT 记录生效后,单击验证,完成站点归属权验证。
1. 在站点验证页面,选择文件验证。
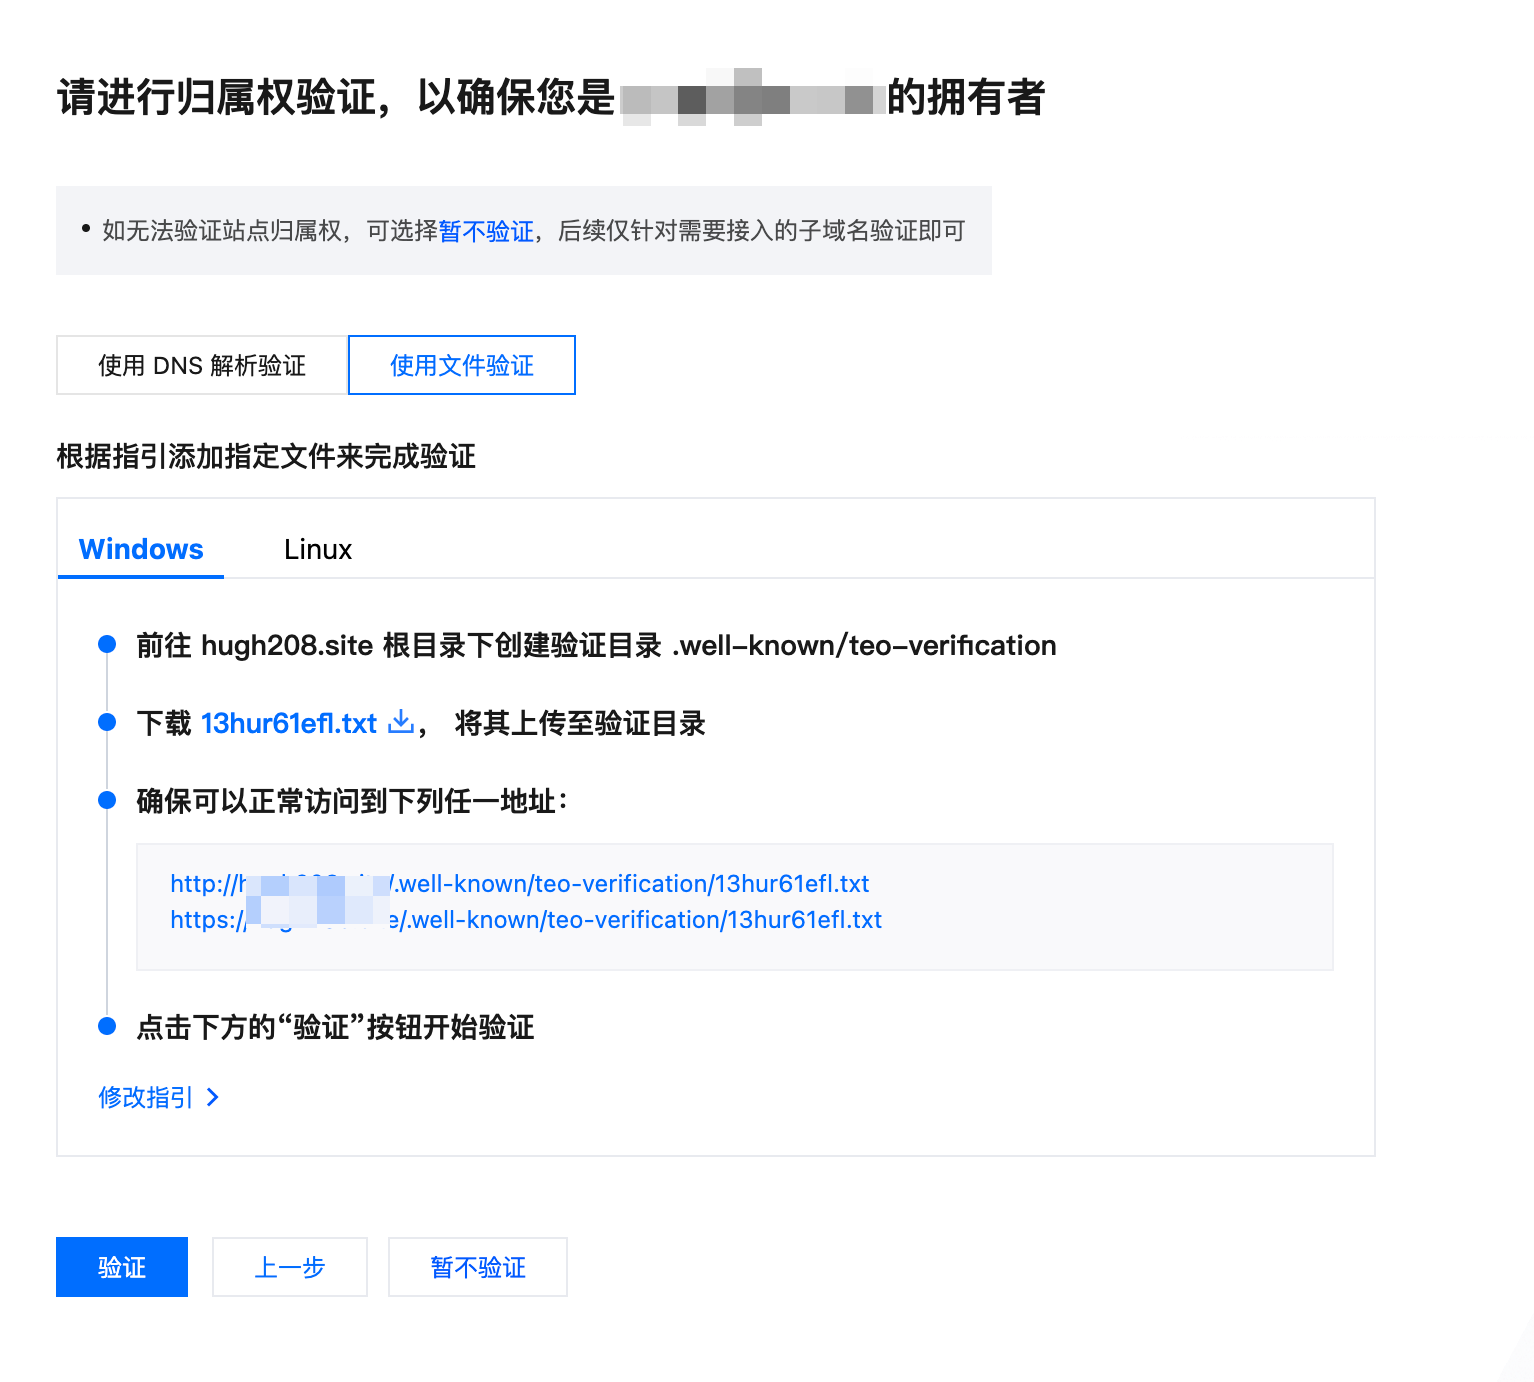
2. 文件验证根据操作系统区分为两种操作方式:
1. 前往服务器的根目录下创建验证目录
.well-known/teo-verification。2. 单击图中第二步文件链接获取验证文件,将其上传至验证目录。
3. 复制图中第三步的 URL 链接到您的浏览器中,确保能够正常访问到该资源。
4. 单击下方验证,验证通过即可。
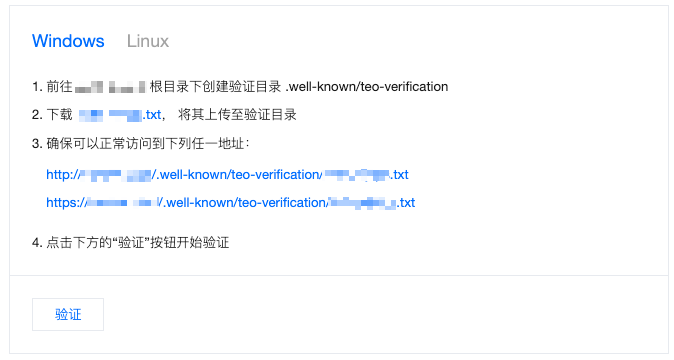
1. 通过命令行进入 Web 服务器根目录下。
2. 复制图中第二步代码至命令行,并执行。

3. 复制图中第三步的 URL 链接到您的浏览器中,确保能够正常访问到该资源。
4. 单击下方验证,验证通过即可。


