操作场景
本文档将指导您如何开通小程序并进行相关的配置。
操作步骤
开通小程序
步骤一:申请小程序账号
说明:
1. 登录 微信公众平台,单击页面右上方立即注册并选择小程序。![微信工作平台](https://qcloudimg.tencent-cloud.cn/image/document/957bd1caea7c6660d9758494a951ce85.png)
![微信工作平台](https://qcloudimg.tencent-cloud.cn/image/document/957bd1caea7c6660d9758494a951ce85.png)
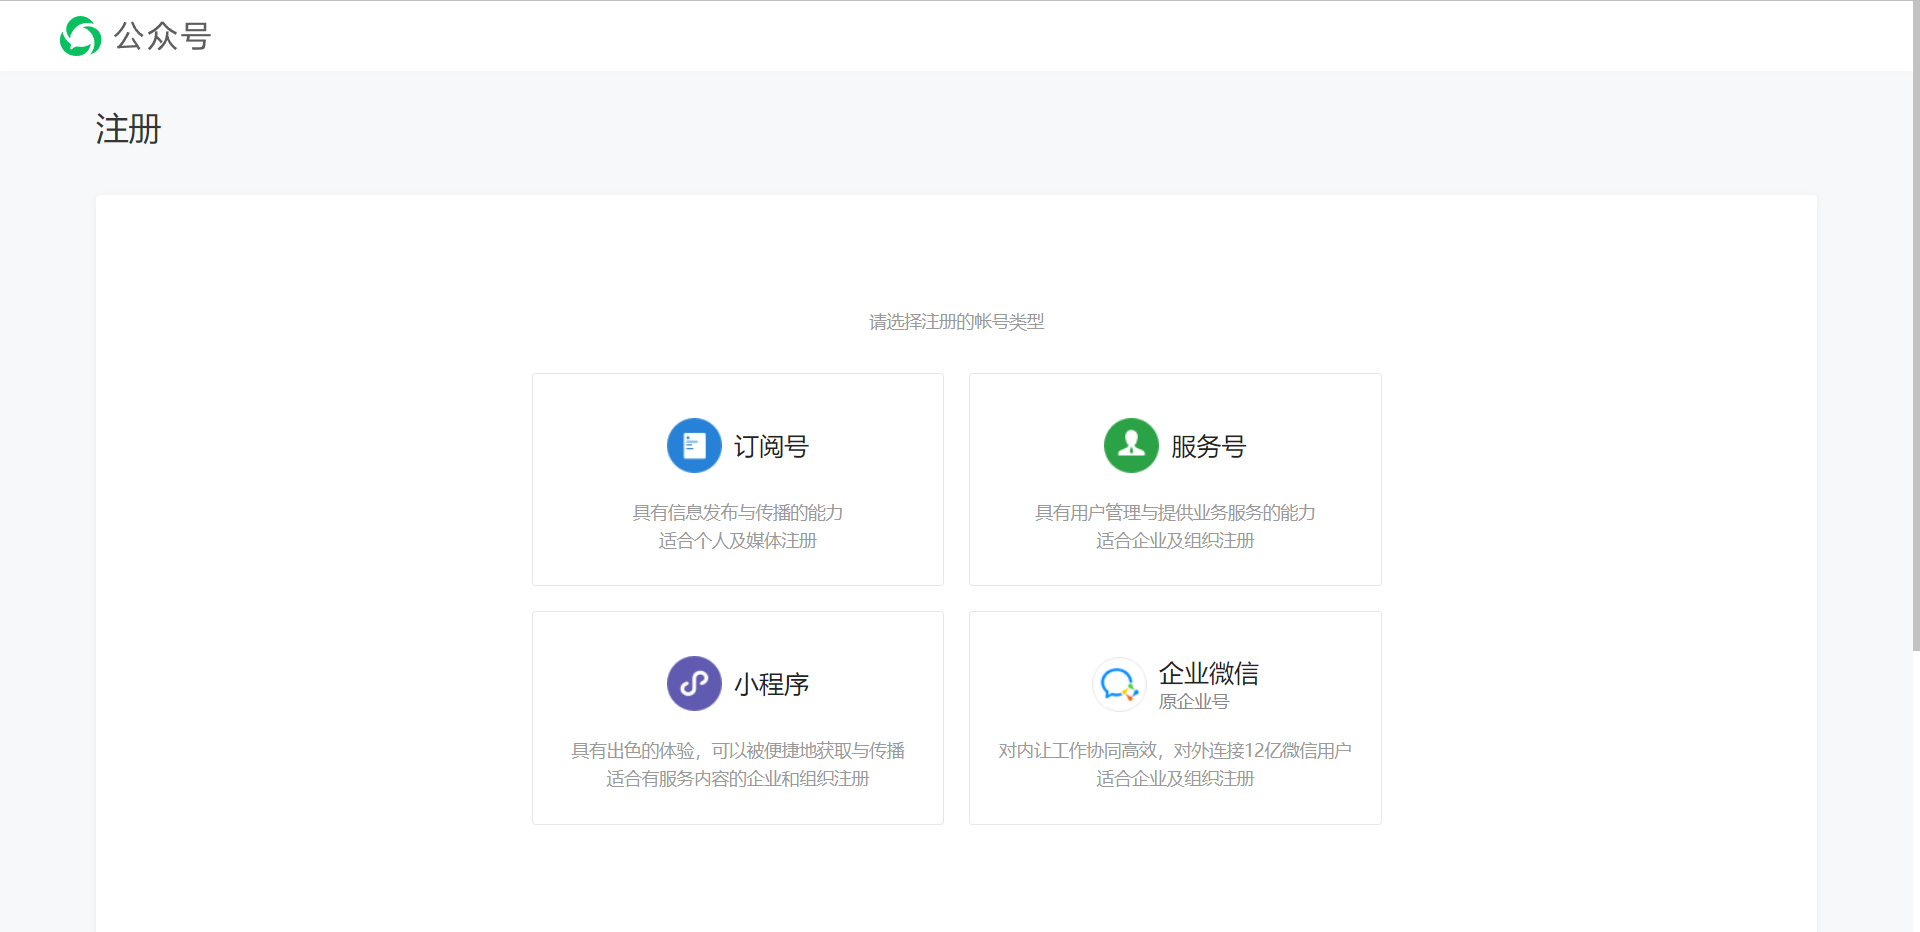
2. 设置邮箱、密码等基本信息,确认无误后阅读并勾选同意相关协议条款,并单击注册。![设置基本信息](https://qcloudimg.tencent-cloud.cn/image/document/9df4527f125eb5b353721d988fa21f6a.png)
![设置基本信息](https://qcloudimg.tencent-cloud.cn/image/document/9df4527f125eb5b353721d988fa21f6a.png)
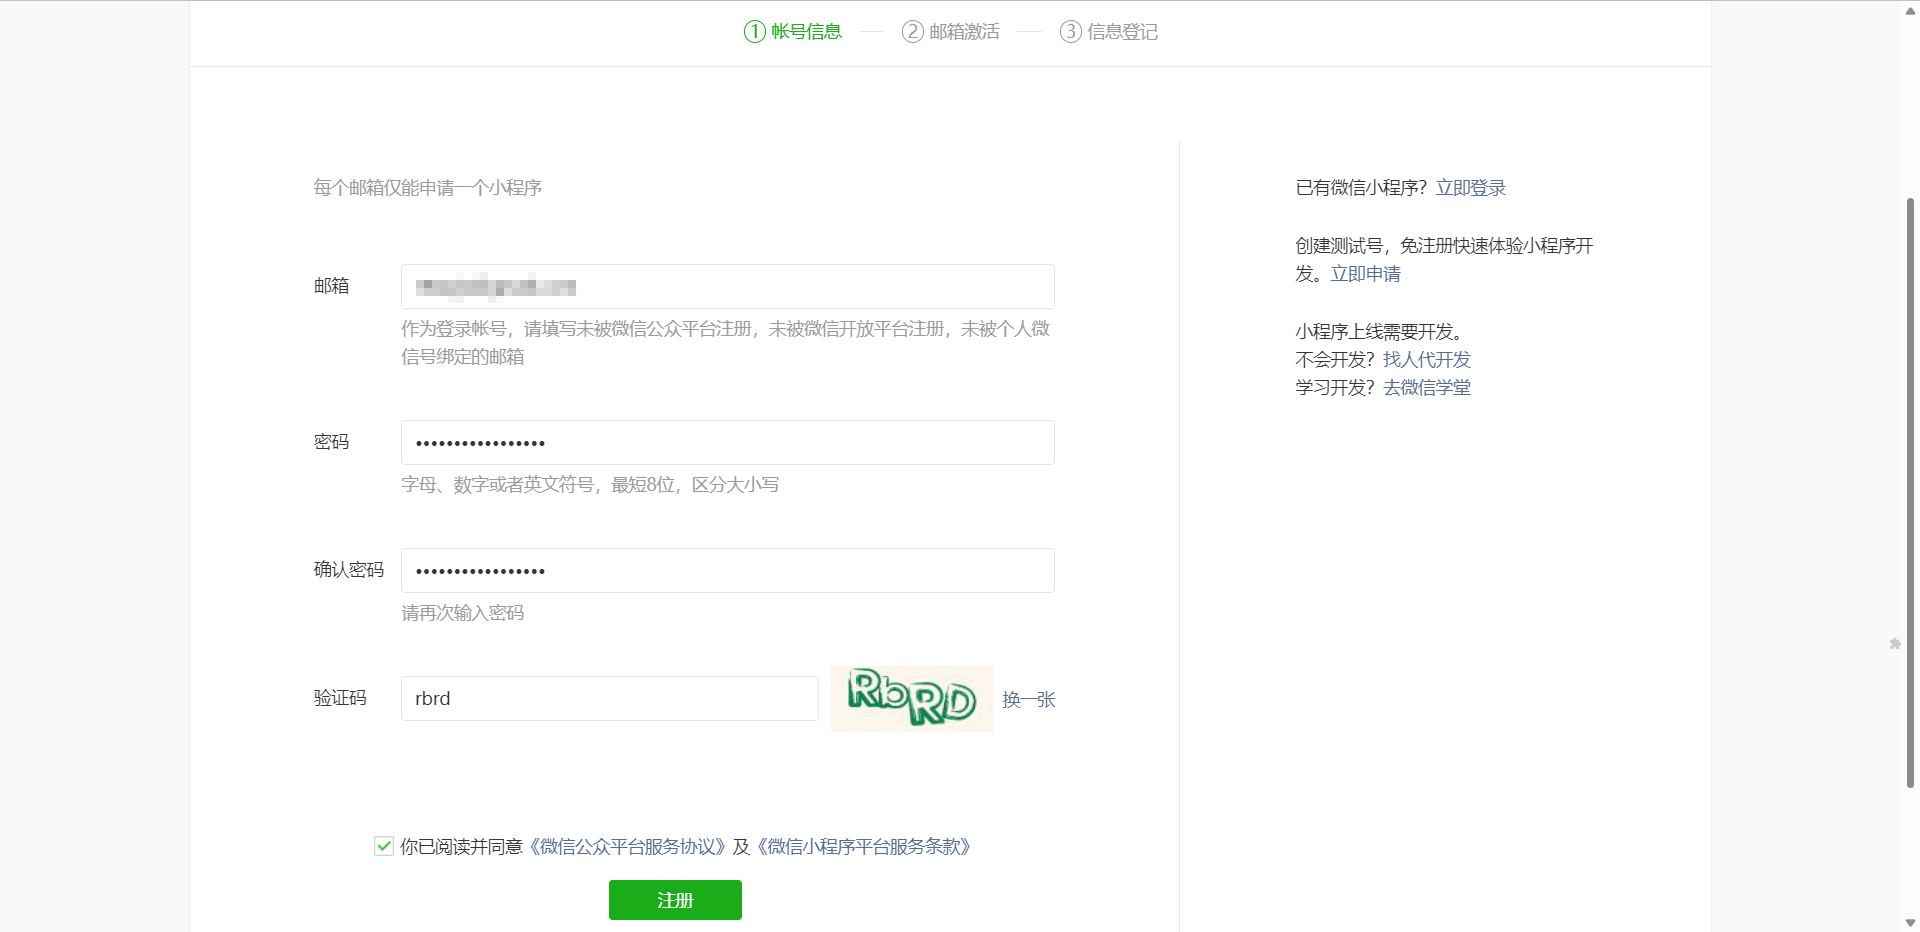
3. 单击注册后,系统会提示已向注册邮箱发送确认邮件,如下图所示:![确认邮件](https://qcloudimg.tencent-cloud.cn/image/document/ace5f91d1114166d4e794e13c1aed417.png)
![确认邮件](https://qcloudimg.tencent-cloud.cn/image/document/ace5f91d1114166d4e794e13c1aed417.png)
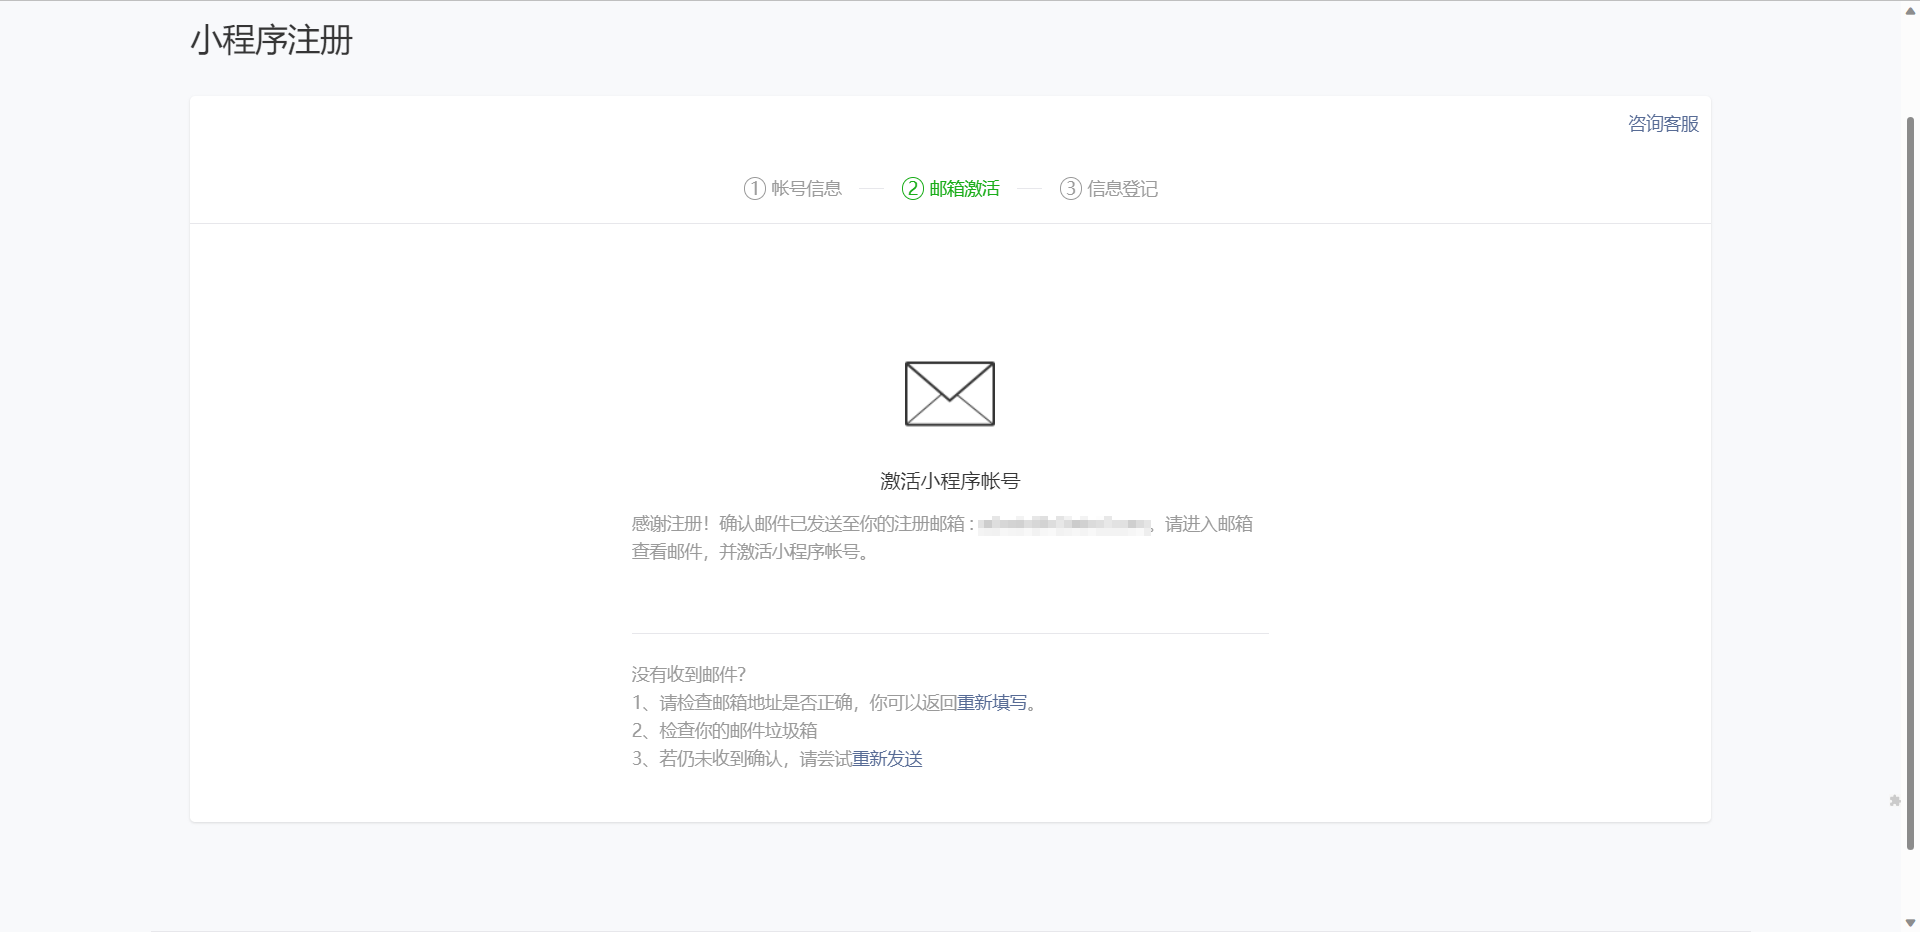
4. 登录注册邮箱,查看确认邮件并单击邮件中的链接激活账号。![激活账号](https://qcloudimg.tencent-cloud.cn/image/document/a4c642fb2301d4d1483d3147d89faca9.png)
![激活账号](https://qcloudimg.tencent-cloud.cn/image/document/a4c642fb2301d4d1483d3147d89faca9.png)
5. 完成激活后在页面选择注册国家/地区,并根据实际情况选择主体类型,根据页面提示完成信息登记。
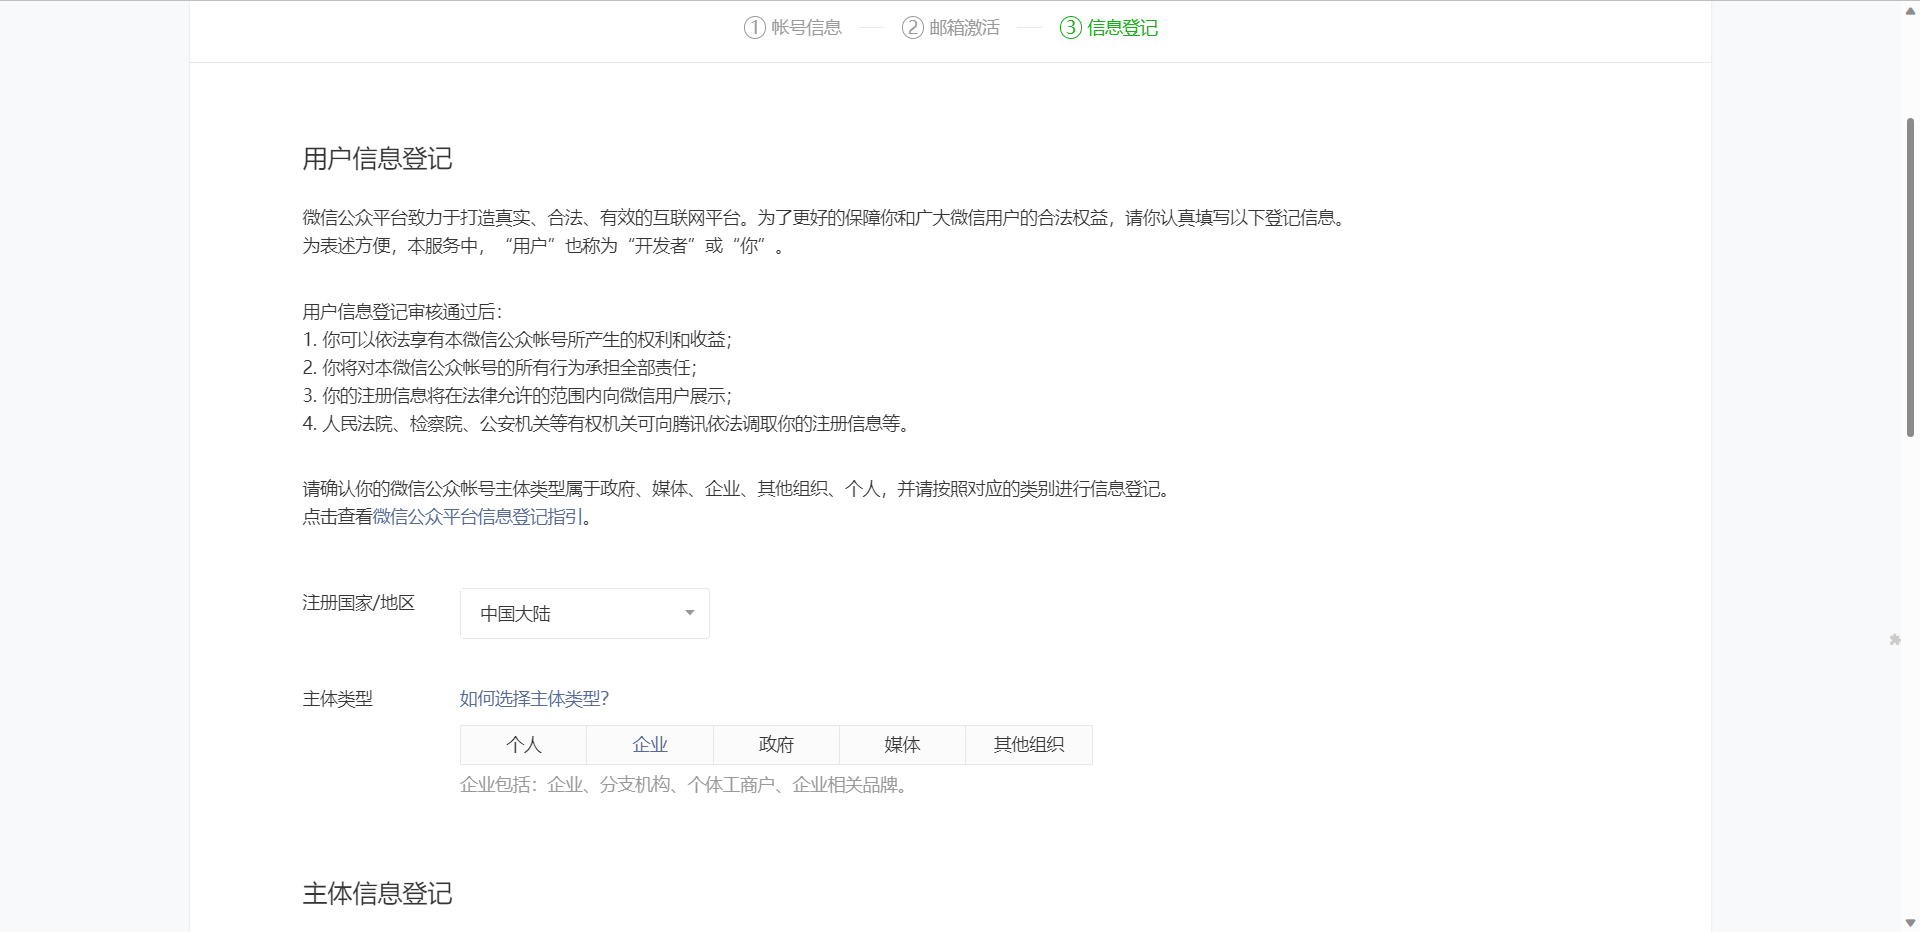
![信息登记](https://qcloudimg.tencent-cloud.cn/image/document/f6716e85ba8374fccdd305b7088fb057.png)
![信息登记](https://qcloudimg.tencent-cloud.cn/image/document/f6716e85ba8374fccdd305b7088fb057.png)
步骤二:补充小程序信息
说明:
注册完成后系统会自动跳转至小程序首页,需在此补充小程序信息、小程序类目后才可进行开发。
1. 单击前往填写补充小程序基本信息。![前往填写](https://qcloudimg.tencent-cloud.cn/image/document/0b5034614eac976c43f05e1dbed16d4b.png)
![前往填写](https://qcloudimg.tencent-cloud.cn/image/document/0b5034614eac976c43f05e1dbed16d4b.png)
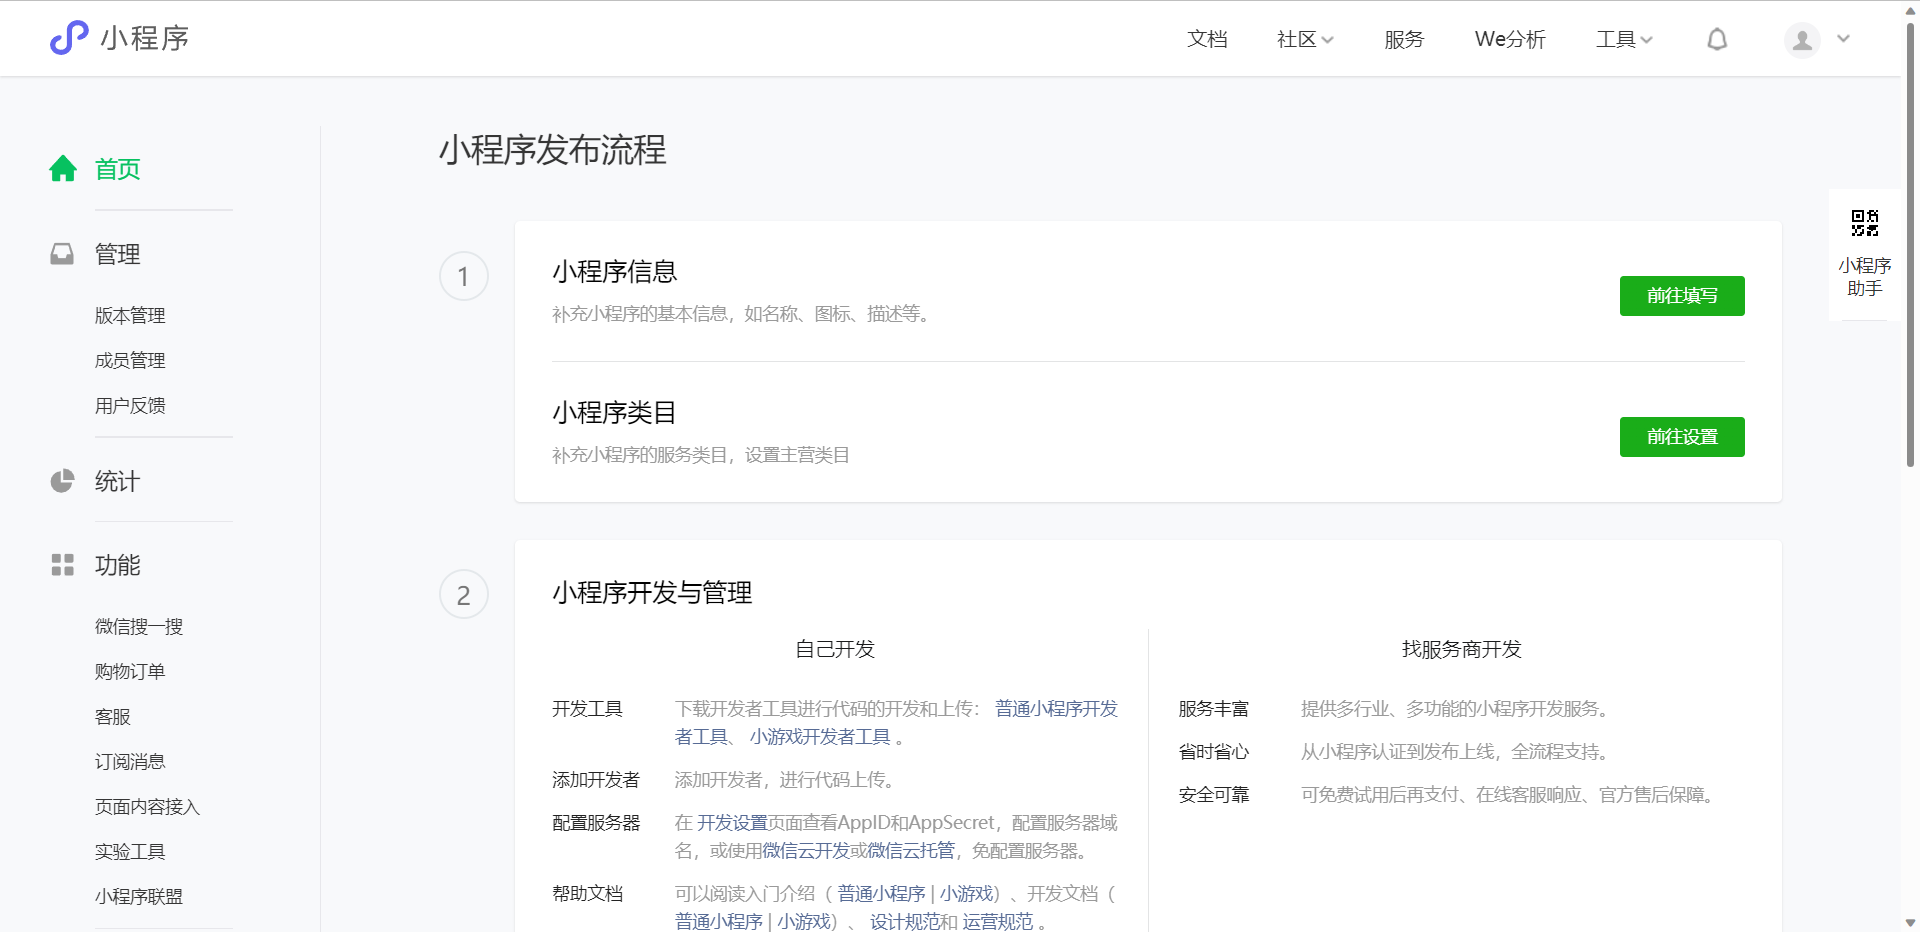
2. 在填写小程序信息页面,填写小程序名称、简称、介绍,并上传小程序头像,完成后单击提交。完成小程序信息填写后,系统会自动跳转至小程序首页,需在此补充小程序类目后才可进行开发。![填写小程序信息](https://qcloudimg.tencent-cloud.cn/image/document/20a3375d8a703e1cadeeb42c25483301.png)
![填写小程序信息](https://qcloudimg.tencent-cloud.cn/image/document/20a3375d8a703e1cadeeb42c25483301.png)
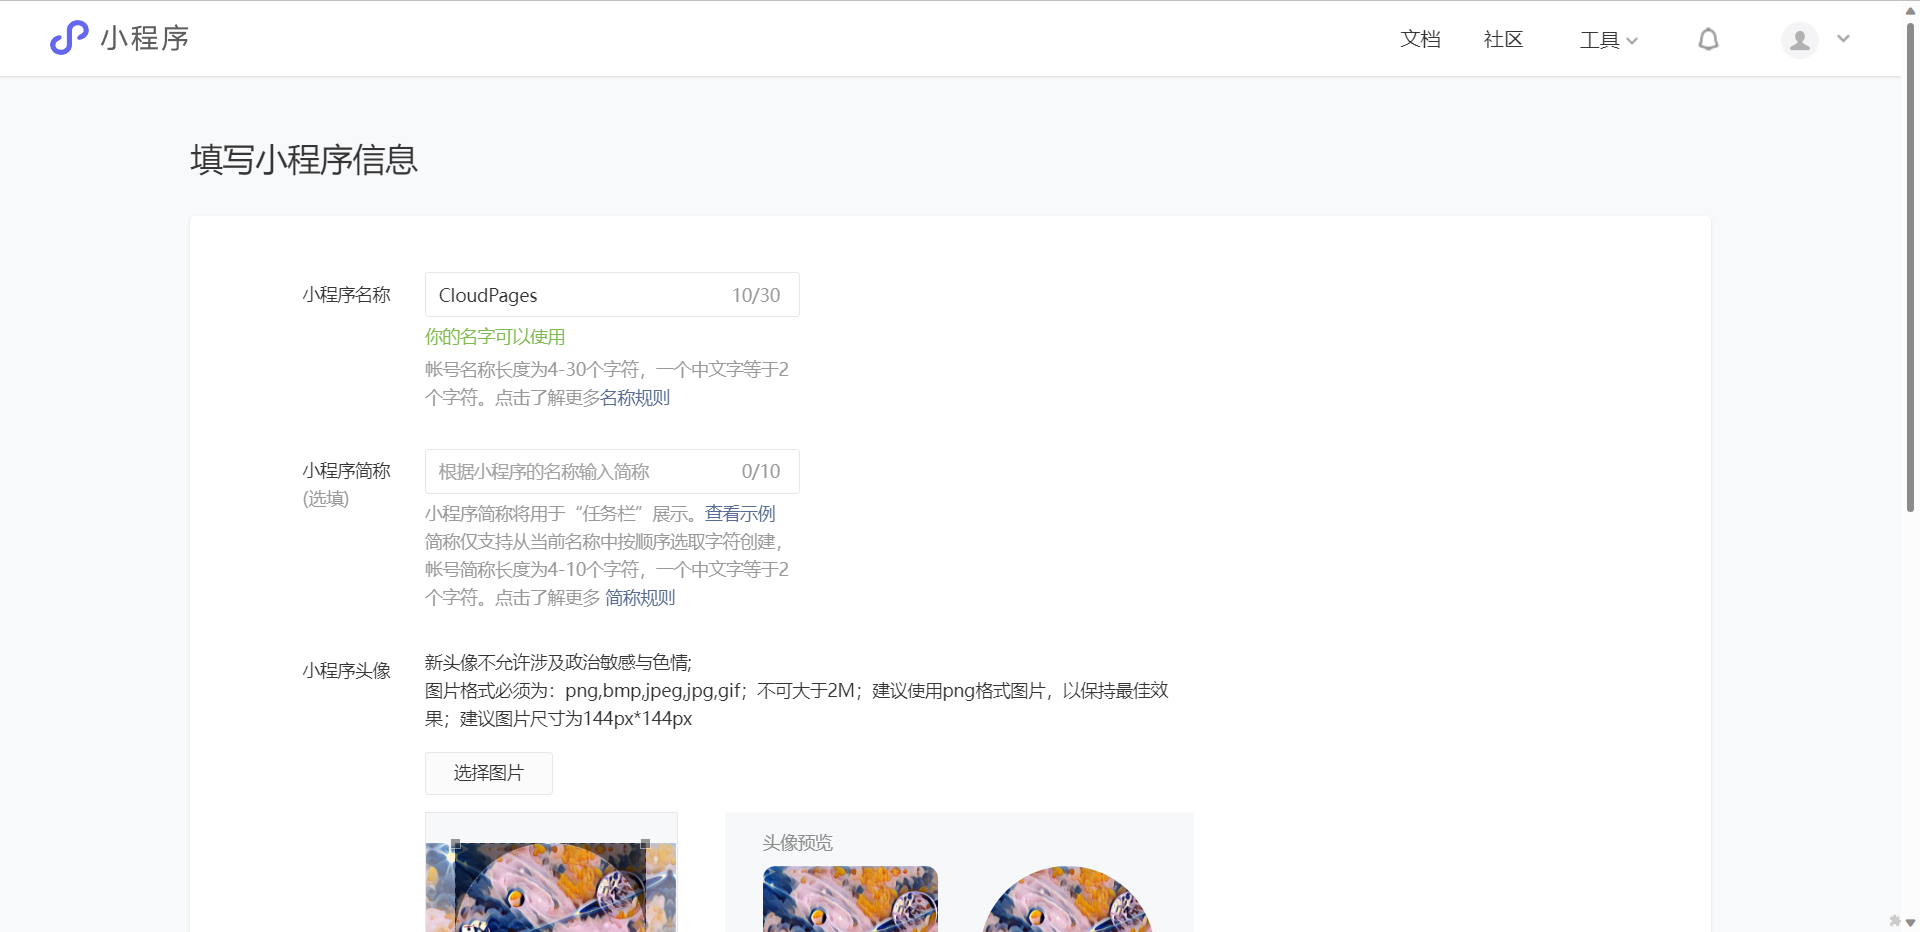
3. 单击前往设置,进入小程序类目设置页面。![前往设置](https://qcloudimg.tencent-cloud.cn/image/document/35ce7532848a2db090e502ae944abf01.png)
![前往设置](https://qcloudimg.tencent-cloud.cn/image/document/35ce7532848a2db090e502ae944abf01.png)
4. 单击添加类目,选择相应的小程序类目。
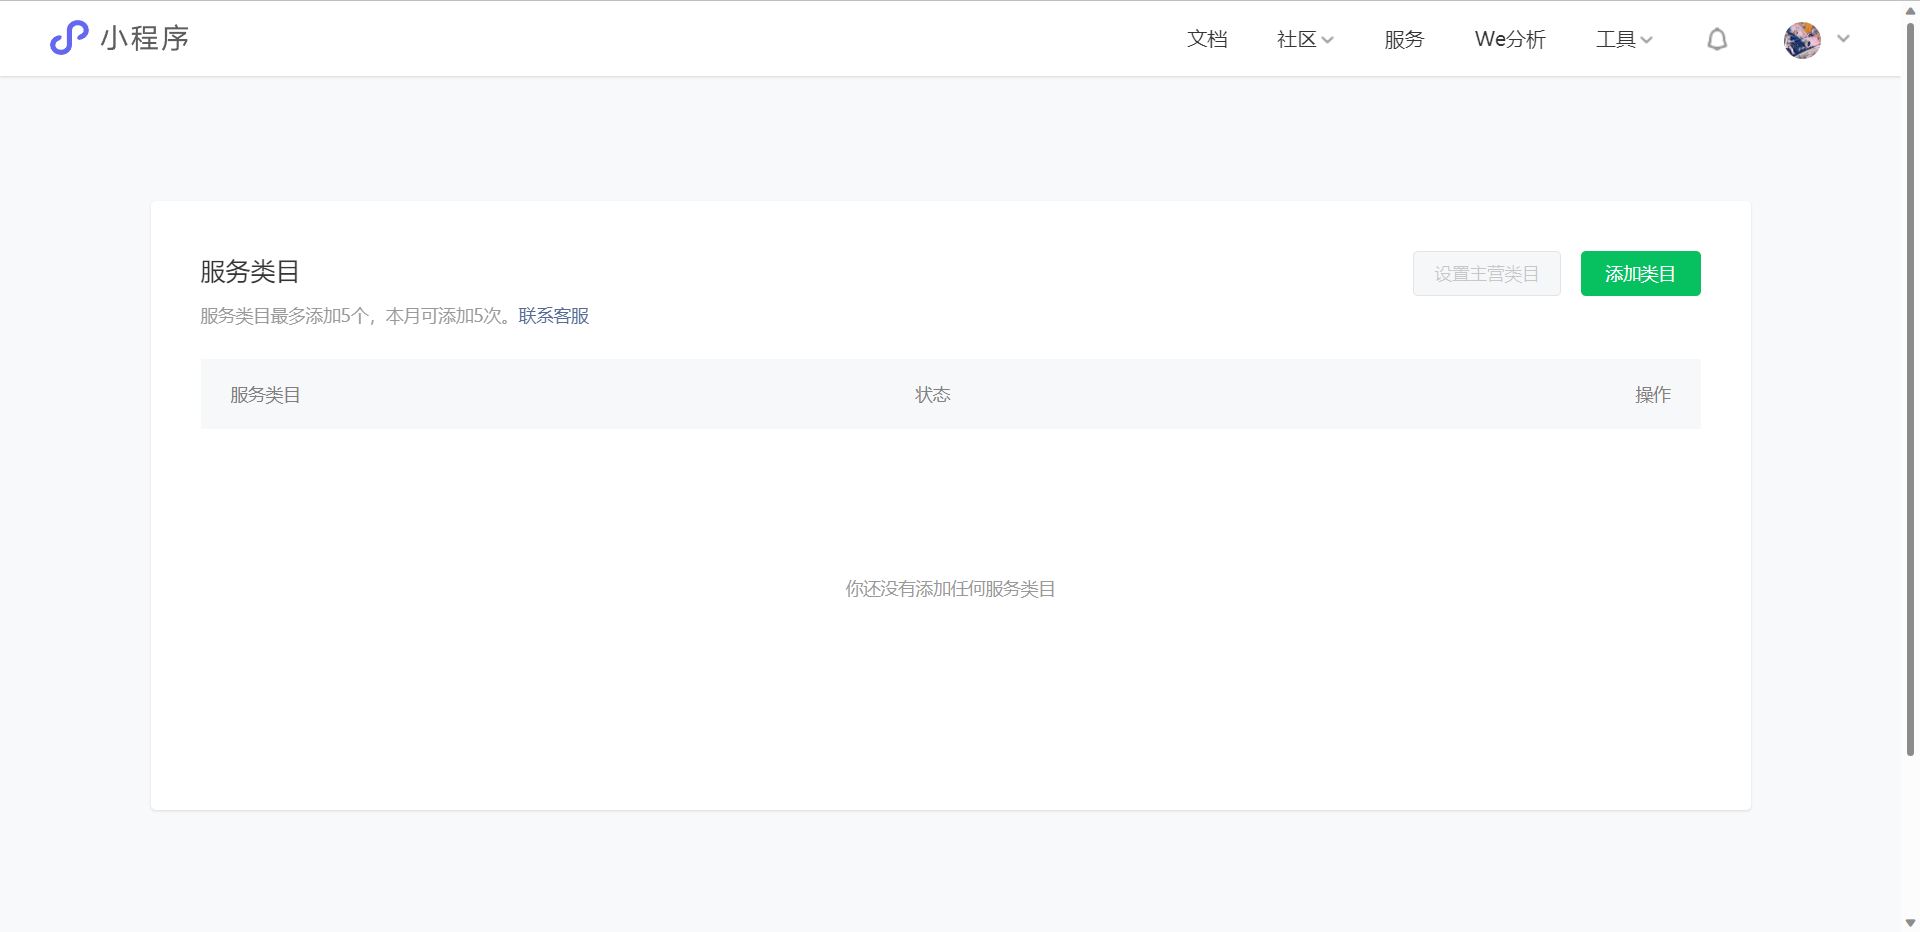
![添加类目](https://qcloudimg.tencent-cloud.cn/image/document/b93ee3760346126ff364dda1f956e988.png)
![添加类目](https://qcloudimg.tencent-cloud.cn/image/document/b93ee3760346126ff364dda1f956e988.png)
5. 单击确定,完成小程序类目设置。![完成添加类目](https://qcloudimg.tencent-cloud.cn/image/document/3cdacd99ce47a3525b2572b058c16d00.png)
![完成添加类目](https://qcloudimg.tencent-cloud.cn/image/document/3cdacd99ce47a3525b2572b058c16d00.png)
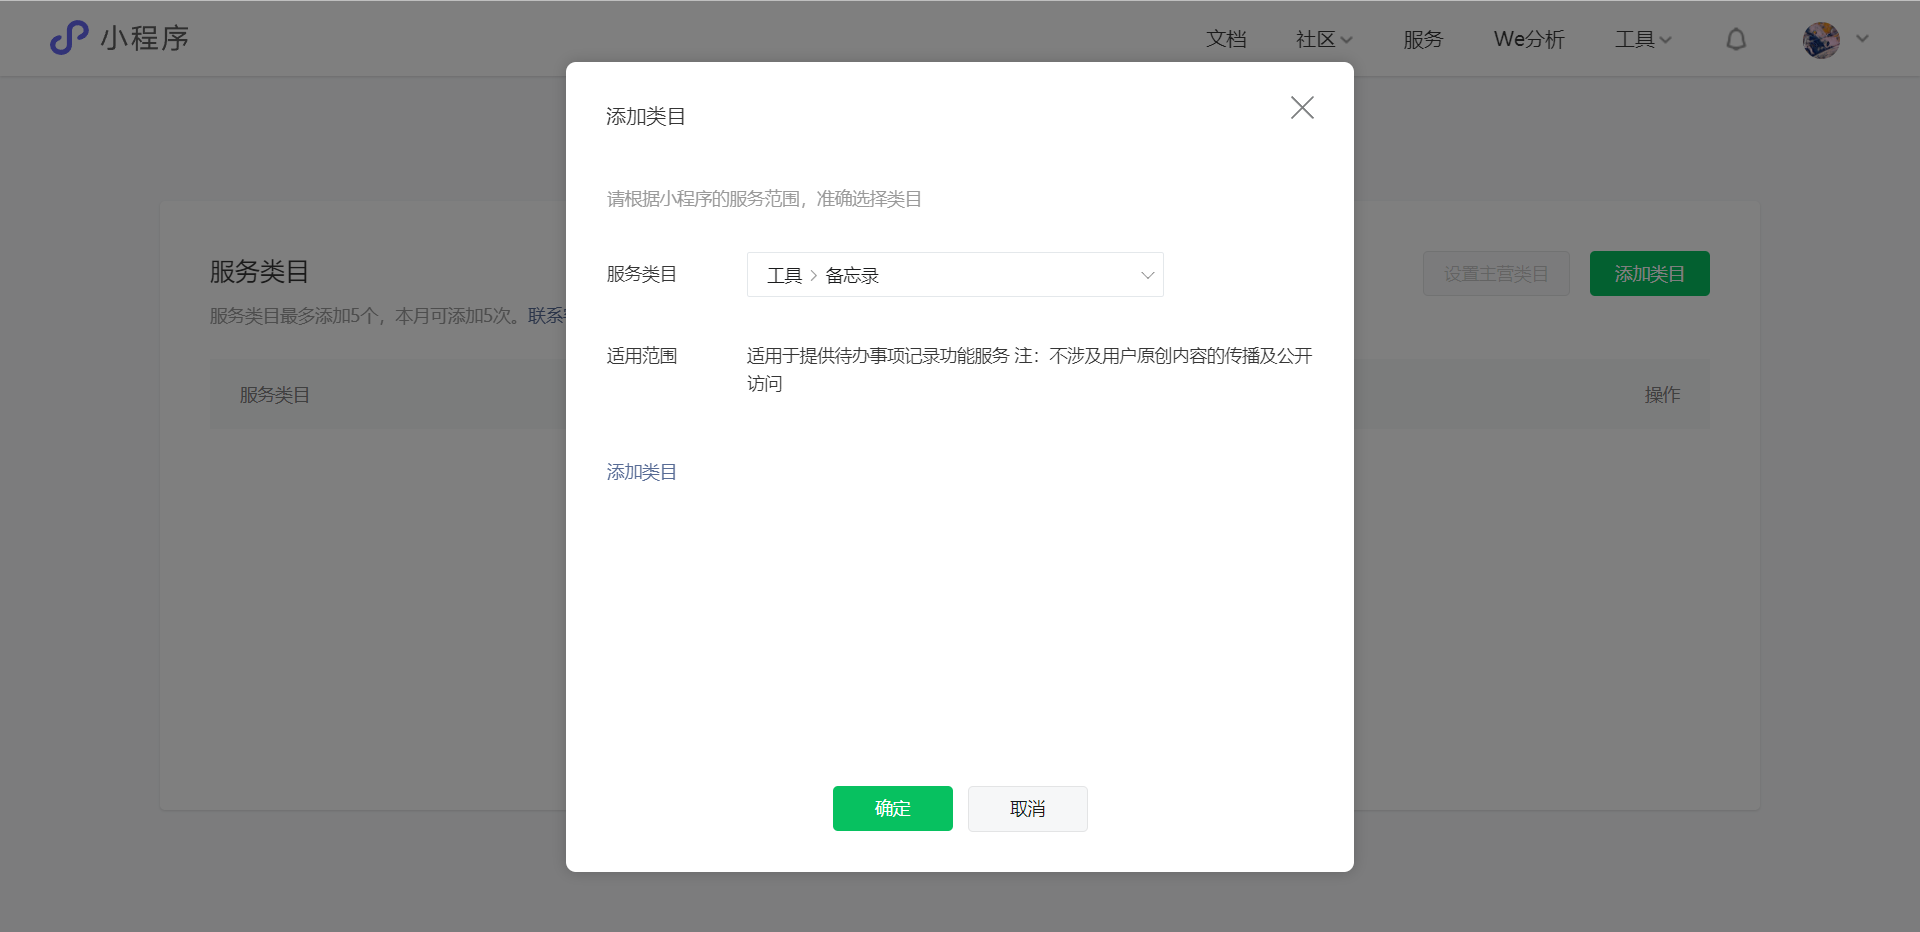
6. 补充完相关信息后页面会显示已完成,如下图所示:
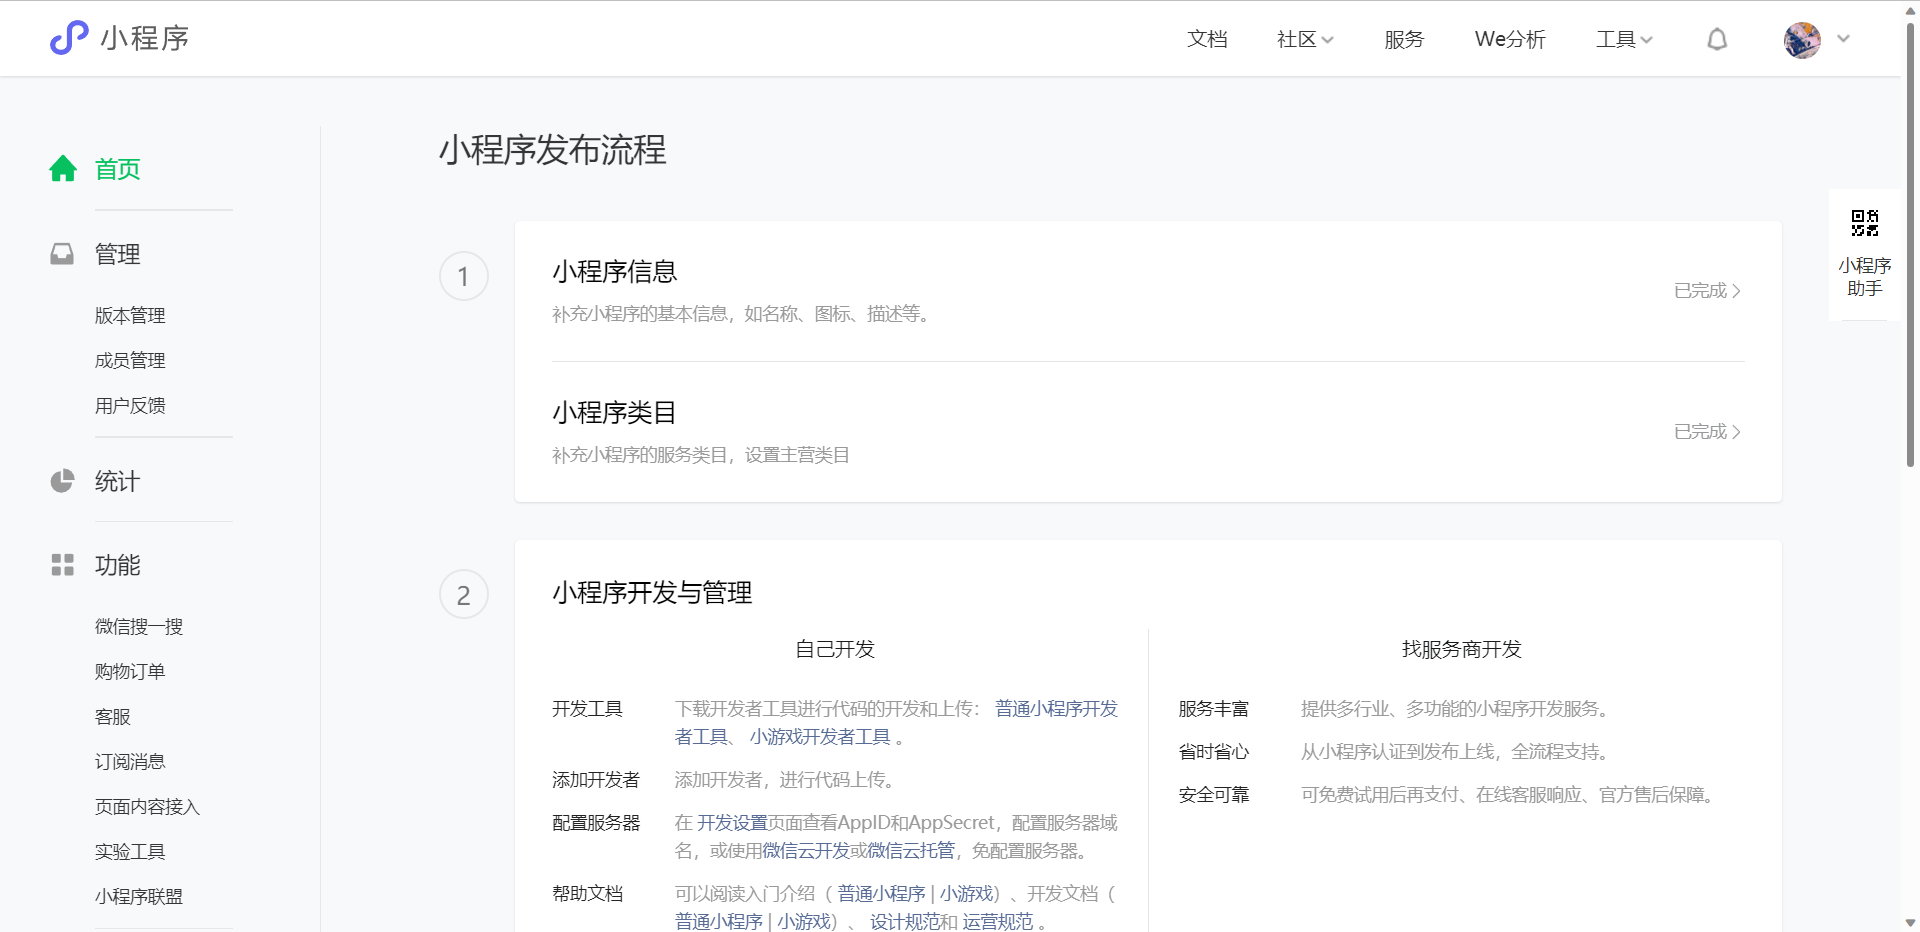
![完成配置](https://qcloudimg.tencent-cloud.cn/image/document/600cd73e8633f091769568f92bea821b.png)
![完成配置](https://qcloudimg.tencent-cloud.cn/image/document/600cd73e8633f091769568f92bea821b.png)
绑定小程序
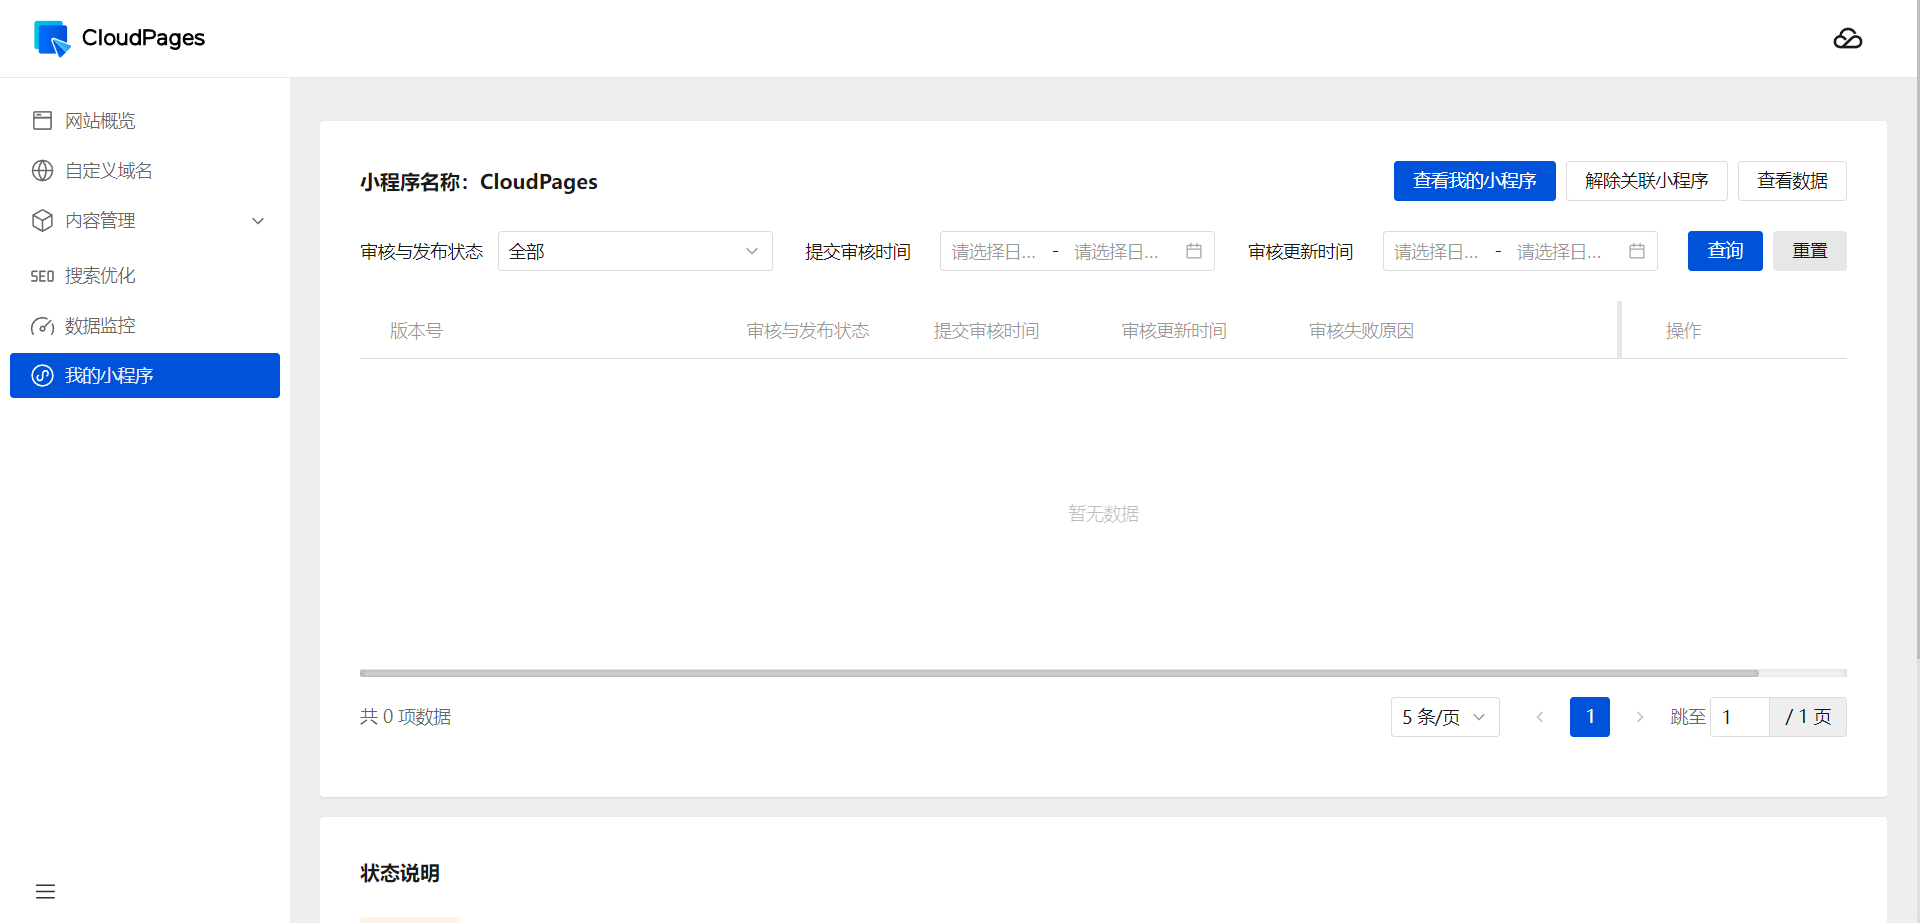
1. 登录 腾讯云建站 CloudPages 控制台,单击左侧菜单栏中的我的小程序,进入小程序管理页面,单击点击关联。![](https://qcloudimg.tencent-cloud.cn/image/document/223e5ae8ad179e9a4045d93401c6baf2.png)
![](https://qcloudimg.tencent-cloud.cn/image/document/223e5ae8ad179e9a4045d93401c6baf2.png)
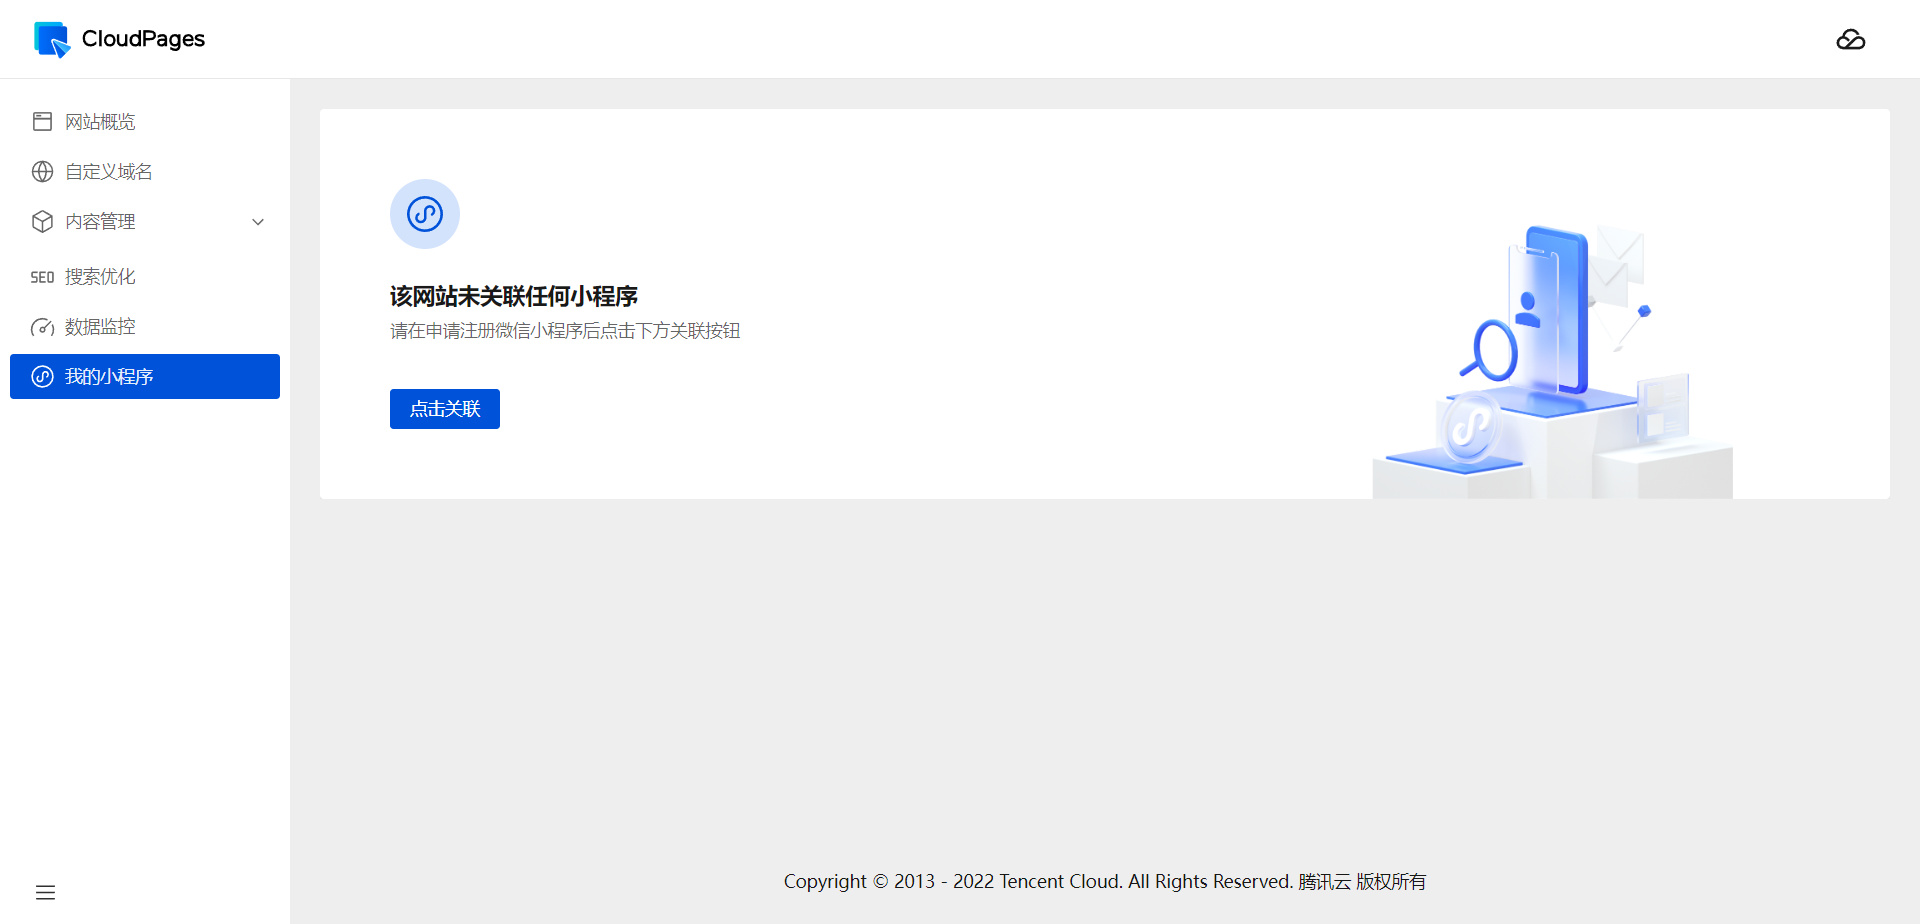
2. 按照小程序授权页面提示使用公众平台绑定的管理员个人微信号扫描二维码完成授权。![小程序授权页面](https://qcloudimg.tencent-cloud.cn/image/document/d432db6f663bc9436aea8d2e8aed384f.png)
![小程序授权页面](https://qcloudimg.tencent-cloud.cn/image/document/d432db6f663bc9436aea8d2e8aed384f.png)
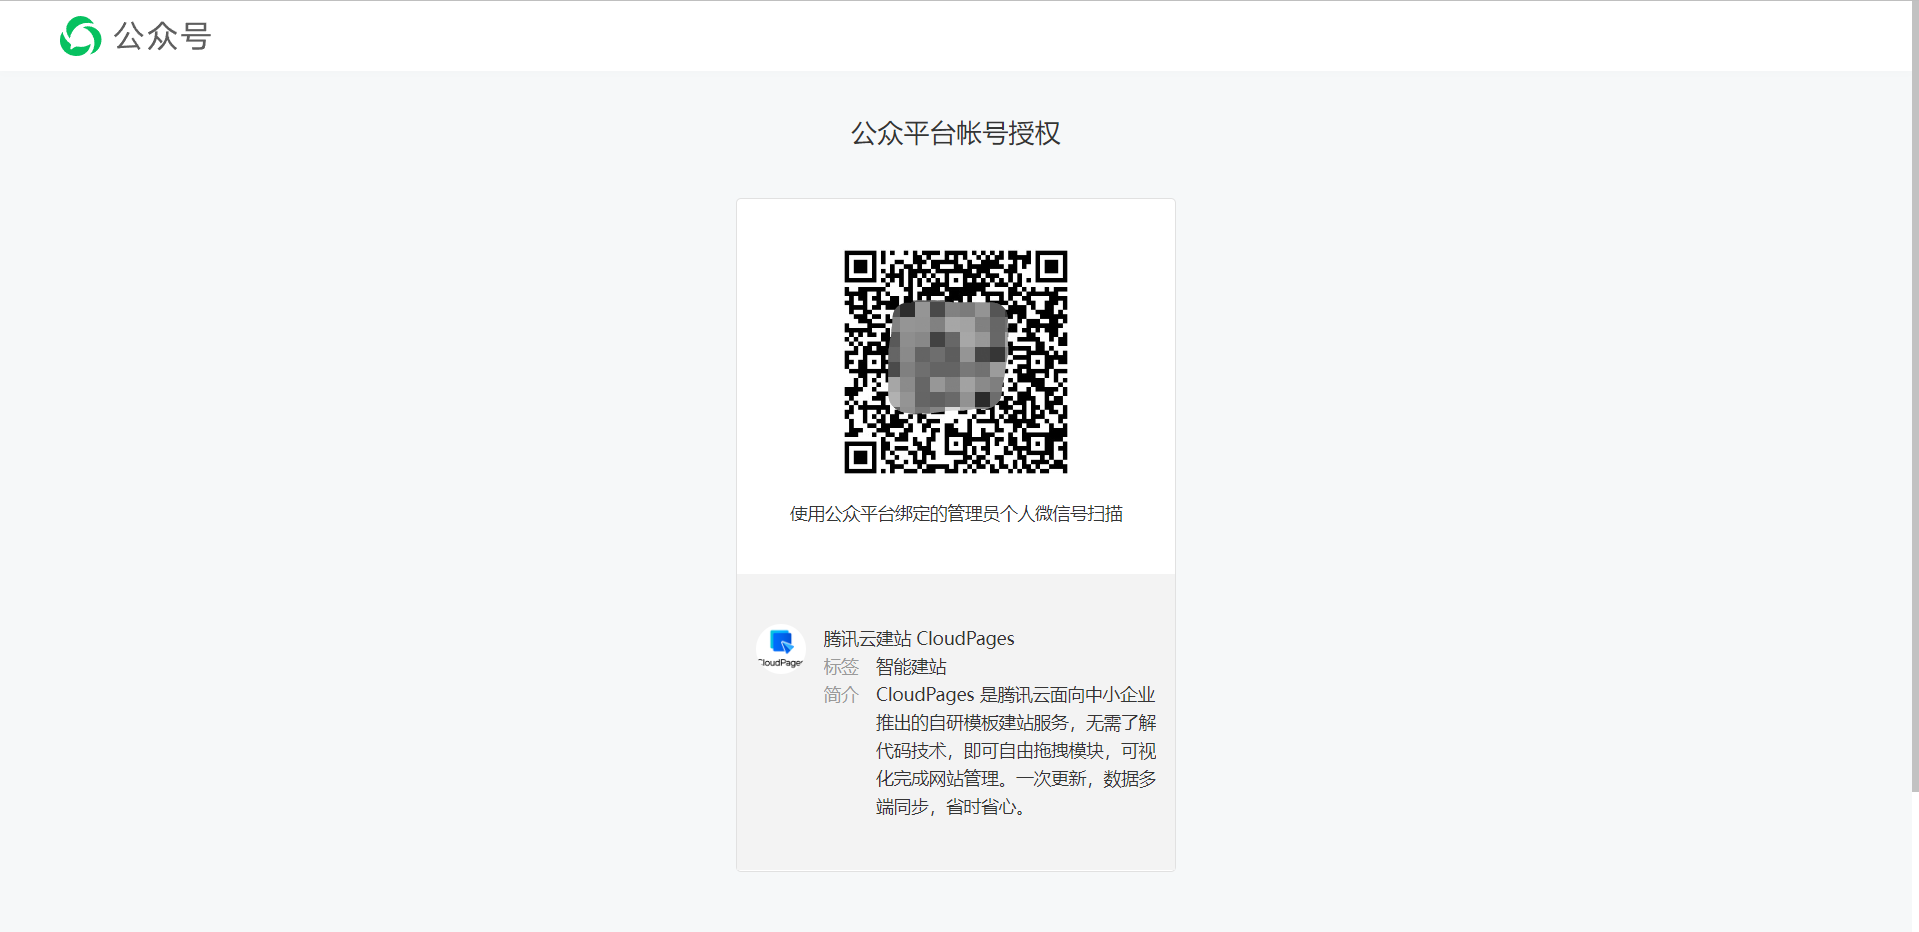
3. 完成授权后即可在小程序管理页面看到已关联绑定小程序。小程序发布需提交至微信小程序平台审核,受限于平台规则不支持跳转至小程序外部,如您的站点涉及外部链接将自动被平台屏蔽。详情请参见 微信小程序平台常见拒绝情形。![](https://qcloudimg.tencent-cloud.cn/image/document/7692b6eb35a35e47b4a93db3e7af5d21.png)
![](https://qcloudimg.tencent-cloud.cn/image/document/7692b6eb35a35e47b4a93db3e7af5d21.png)