Tencent Cloud Terraform VS Code 插件可有效改善您在使用 Terraform 创建和管理腾讯云资源时的效率。同时降低初次使用 Terraform 的难度和管理腾讯云 Terraform 资源的复杂性。
1. 预配置环境
安装 Terraform
获取 AKSK
1. 登录 访问管理控制台,在左侧导航栏,选择访问密钥 > API 密钥管理。
2. 在 API 密钥管理页面,单击新建密钥,即可以创建一对 SecretId/SecretKey。
2. 安装 Tencent Cloud Terraform VS Code 插件
1. 运行 VS Code。
2. 在左侧插件 (extensions) 菜单,输入
Tencent Cloud Terraform搜索插件。如下图所示: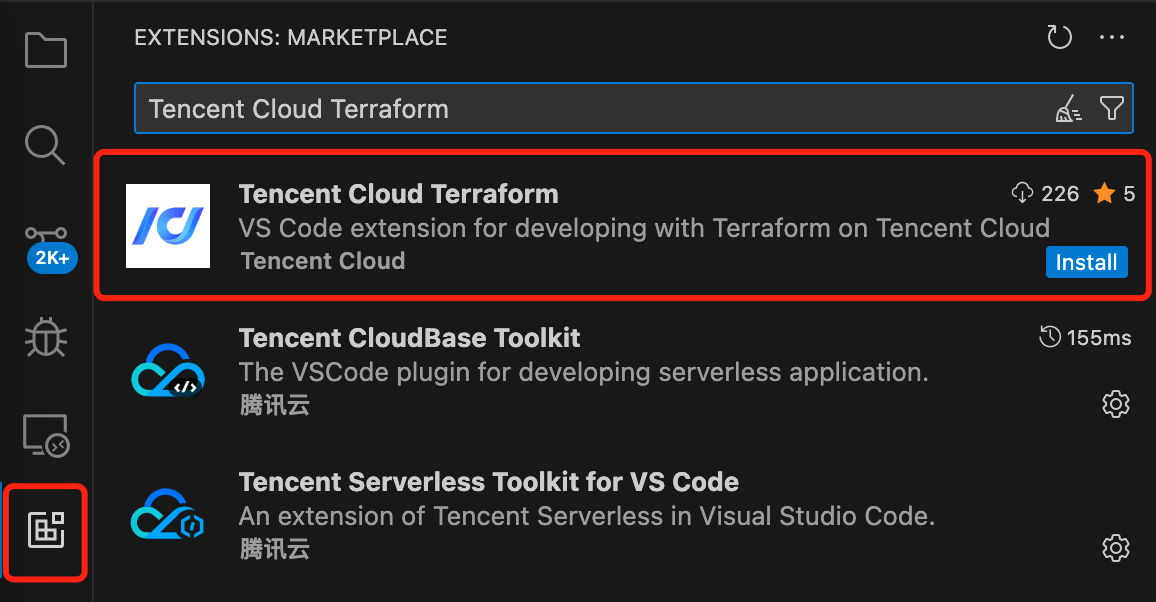
3. 单击安装 (Install)。
3. 登录腾讯云
1. 在侧边栏找到
Tencent Cloud Terraform插件,单击登录 (Sign in)。如下图所示: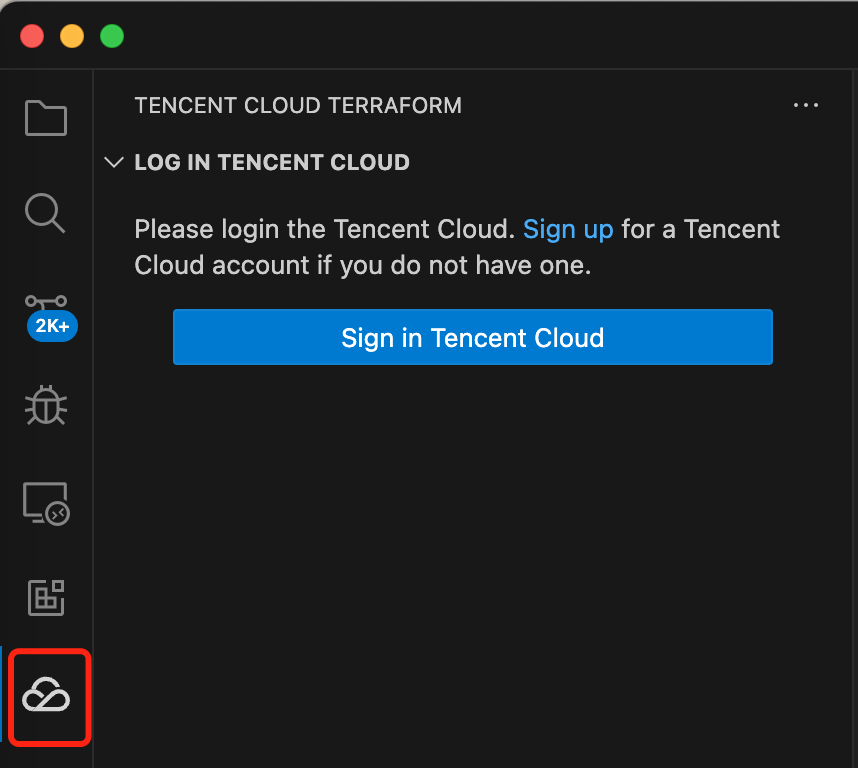
2. 选择 Login with Secret Id/Secret Key 方式,使用 AKSK 登录腾讯云。如下图所示:
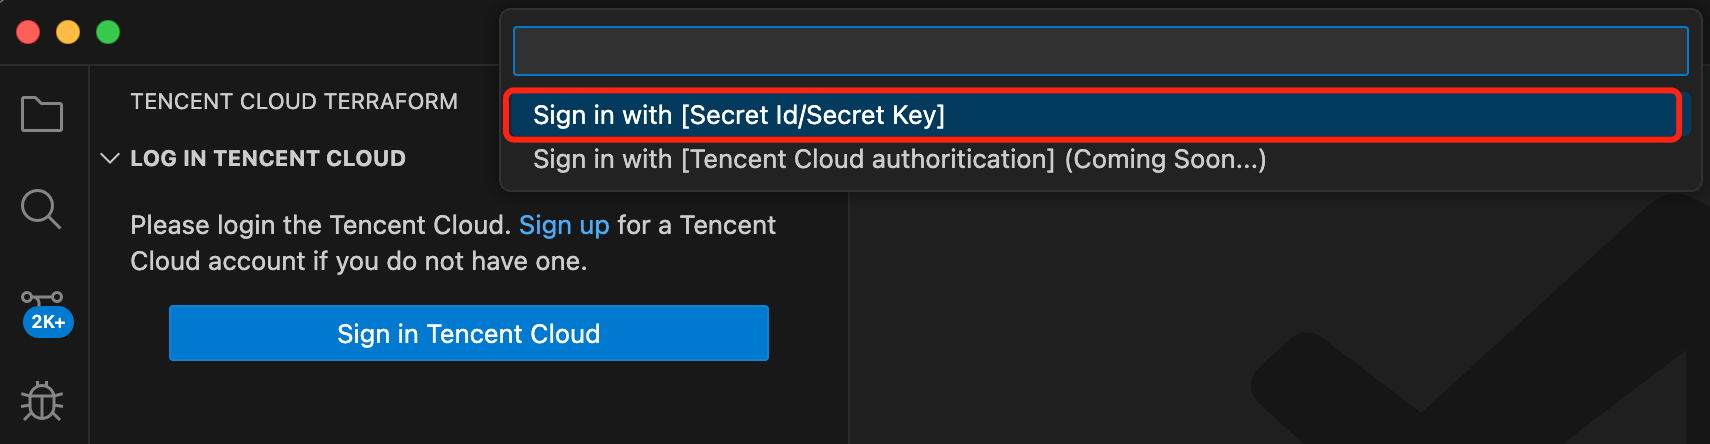
根据输入框,依次输入账号的 Secret Id, Secret Key 和地域 (Region) 等信息。
3. 当显示账户信息时,表明登录成功。如下图所示:
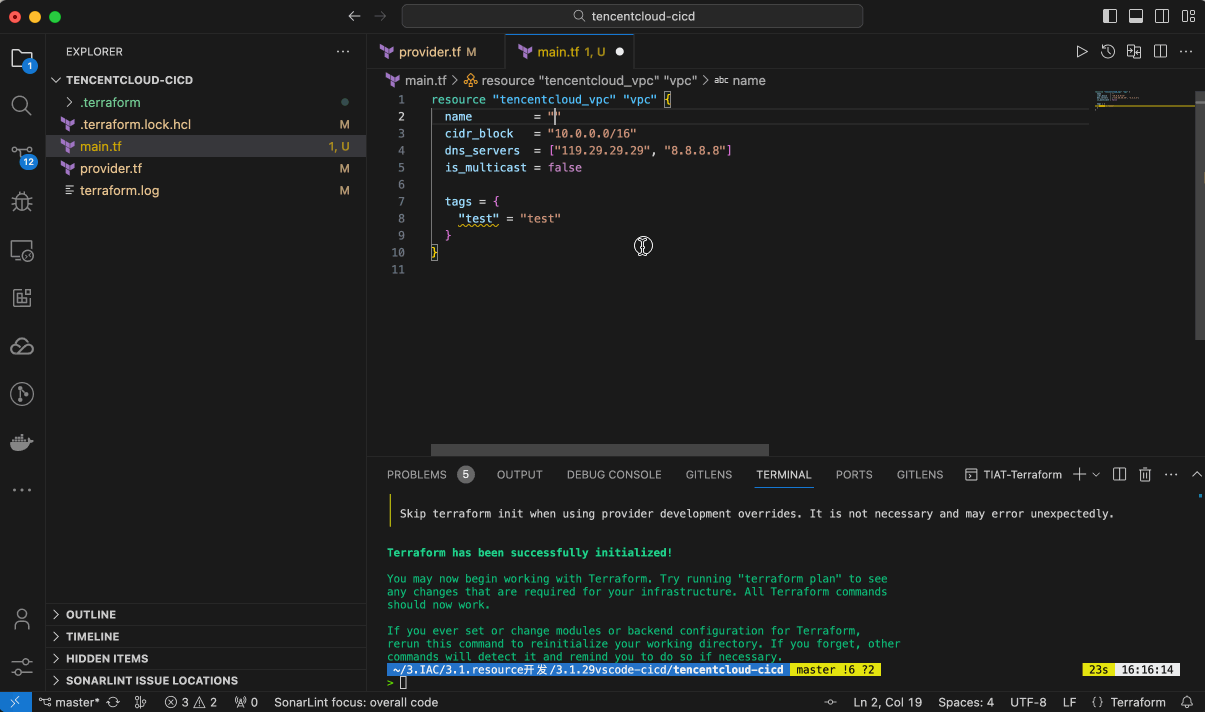
4. 使用插件创建腾讯云 VPC
现在,以创建一个 VPC 资源为例,编写 Terraform 代码。
配置 Provider
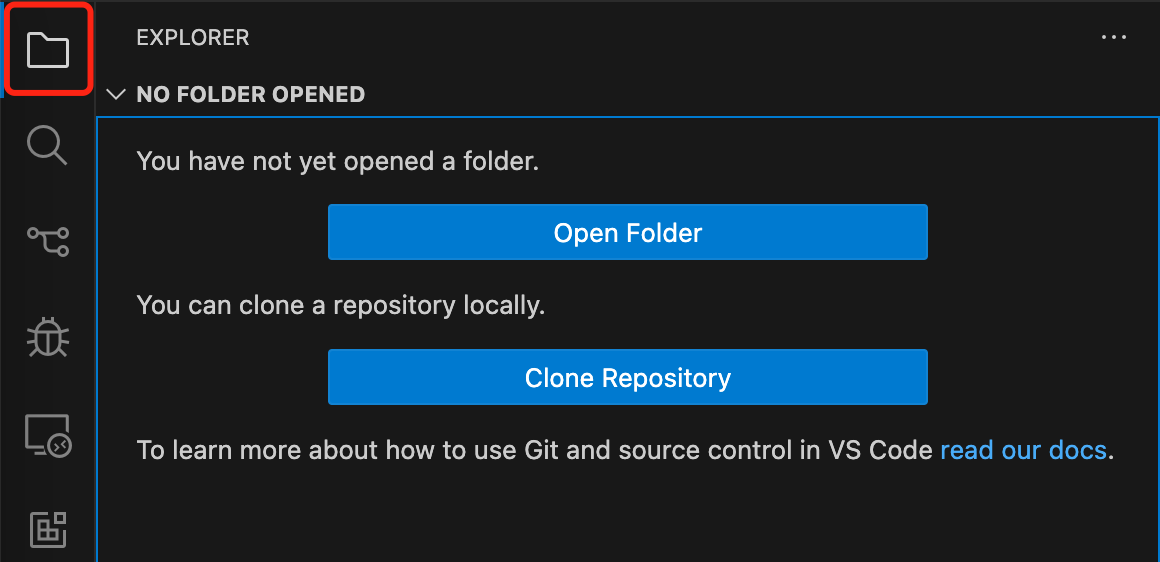
1. 在 Explorer 中创建或选择一个文件夹,该文件夹将作为 Terraform 项目的工作空间。如下图所示:
2. 创建一个名为 "provider.tf" 的文件,并在其中指定 Provider 的配置信息。文件内容如下:
terraform {required_providers {tencentcloud = {source = "tencentcloudstack/tencentcloud"# 通过version指定版本;若不指定,默认为最新版本# version = ">=1.81.60"}}}provider "tencentcloud" {region = "ap-guangzhou"# AKSK已通过插件设置,无需在这里配置}
3. 初始化 Provider 配置。
通过调用 VS Code 命令面板(快捷键:Shift + Command + P (Mac) / Ctrl + Shift + P (Windows/Linux)),选择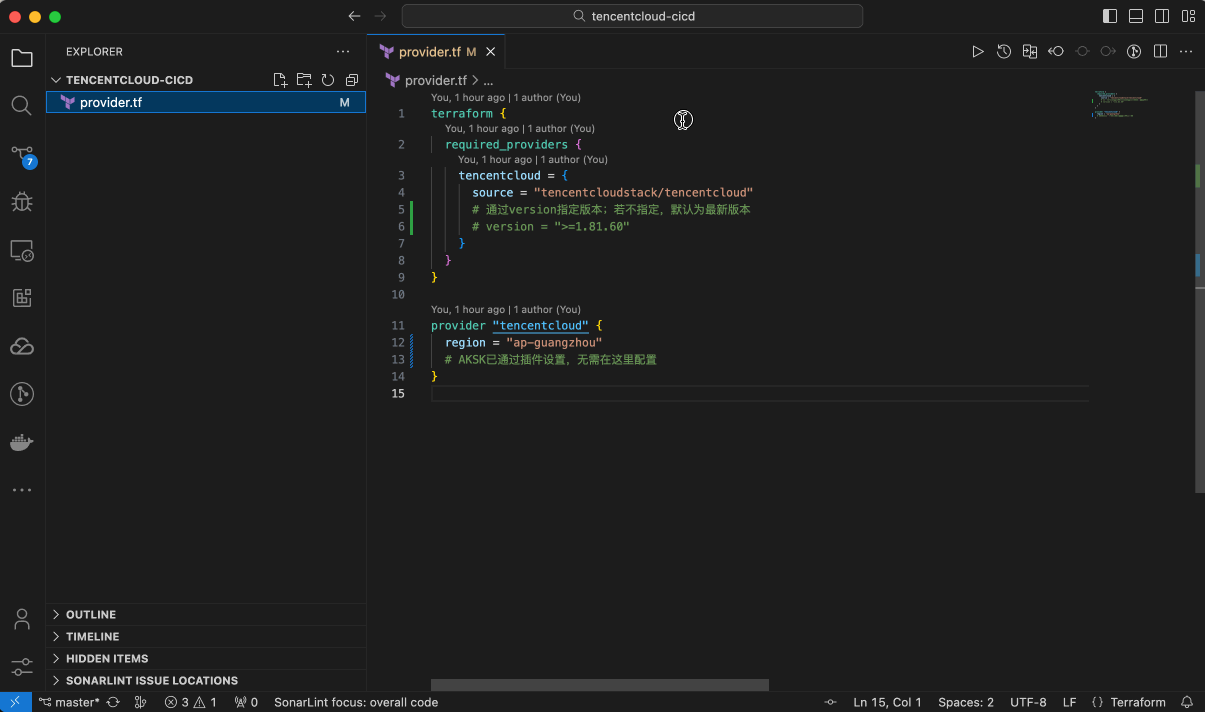
TencentCloud Terraform: Init,执行初始化操作。如下图所示:编写 Terraform 代码
1. 创建一个名为 "main.tf" 的文件。
2. 借助插件的资源提示和自动补全功能,您可以快速创建一个 VPC 资源的代码。在文件中键入 "vpc",然后根据提示按回车键完成自动补全。如下图所示: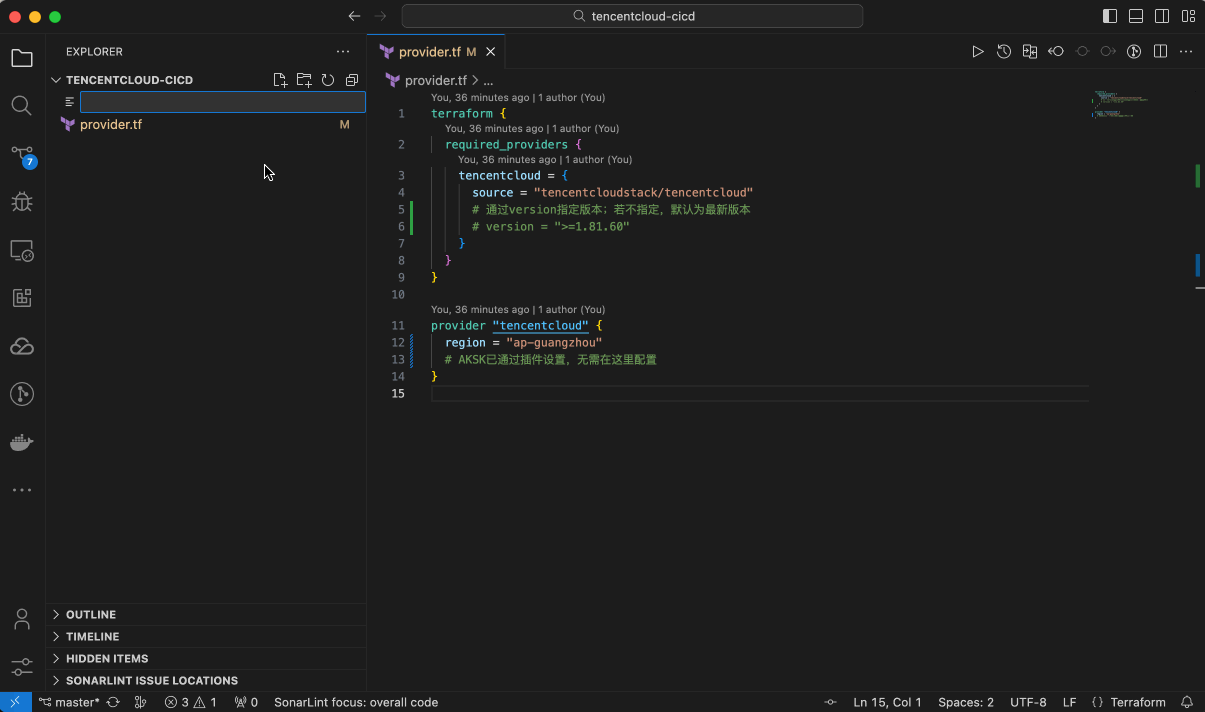
3. 创建出的代码如下所示:
# 自动补全代码resource "tencentcloud_vpc" "vpc" {name = "tf-example"cidr_block = "10.0.0.0/16"dns_servers = ["119.29.29.29", "8.8.8.8"]is_multicast = falsetags = {"test" = "test"}}
4. 如果对资源中的某些类型或参数(Argument)的定义不清楚,您可以在资源类型上右键选择菜单项 "Go to Terraform Definition"(快捷键:Ctrl+Shift+D),本地加载资源定义。如下图所示:
预览待创建 VPC 资源
现在,您可以预览上一节中编写的 main.tf 代码。
如果您对生成的代码不满意,可以进行修改。例如,将代码中 VPC 的名称修改为 "my-first-vpc-demo"。代码示例如下所示:
resource "tencentcloud_vpc" "vpc" {name = "my-first-vpc-demo" # 修改为新名称cidr_block = "10.0.0.0/16"dns_servers = ["119.29.29.29", "8.8.8.8"]is_multicast = falsetags = {"test" = "test"}}
召唤插件的命令面板(快捷键:Shift + Command + P (Mac) / Ctrl + Shift + P (Windows/Linux)),执行
TencentCloud Terraform: Plan,这将预览即将创建的 VPC 资源。如下图所示: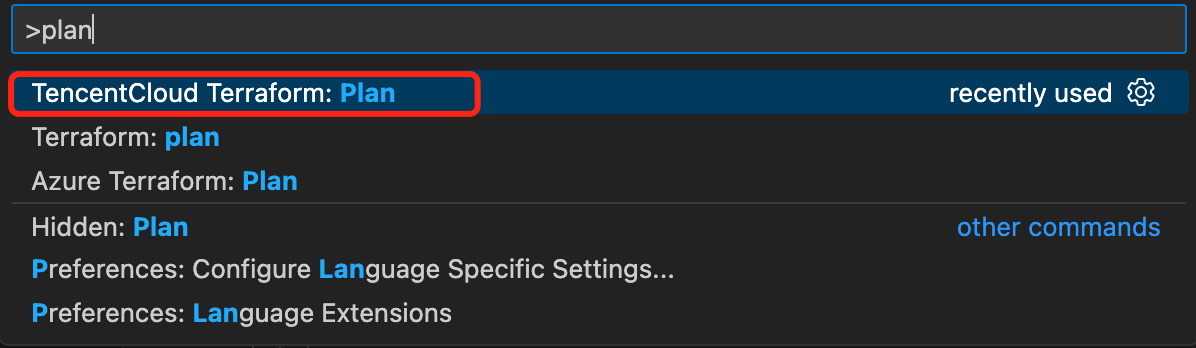
控制台输出如下所示:
> terraform planTerraform used the selected providers to generate the following execution plan. Resource actions are indicated with the following symbols:+ createTerraform will perform the following actions:# tencentcloud_vpc.vpc will be created+ resource "tencentcloud_vpc" "vpc" {+ assistant_cidrs = (known after apply)+ cidr_block = "10.0.0.0/16"+ create_time = (known after apply)+ default_route_table_id = (known after apply)+ dns_servers = [+ "119.29.29.29",+ "8.8.8.8",]+ docker_assistant_cidrs = (known after apply)+ id = (known after apply)+ is_default = (known after apply)+ is_multicast = false+ name = "my-first-vpc-demo"+ tags = {+ "test" = "test"}}Plan: 1 to add, 0 to change, 0 to destroy.────────────────────────────────────────────────────────────────────────────────────────────────────────────────────────────────────────────────────────────────────────────────Note: You didn't use the -out option to save this plan, so Terraform can't guarantee to take exactly these actions if you run "terraform apply" now.
执行资源创建
召唤插件的命令面板,执行
TencentCloud Terraform:Apply,创建资源。如下图所示: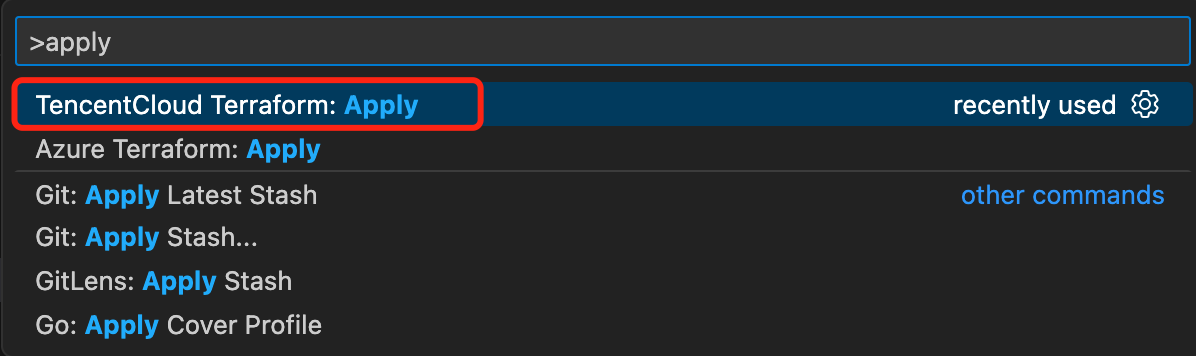
确认无误后,键入"yes",开始创建资源。
> terraform applyTerraform used the selected providers to generate the following execution plan. Resource actions are indicated with the following symbols:+ createTerraform will perform the following actions:# tencentcloud_vpc.vpc will be created+ resource "tencentcloud_vpc" "vpc" {+ assistant_cidrs = (known after apply)+ cidr_block = "10.0.0.0/16"+ create_time = (known after apply)+ default_route_table_id = (known after apply)+ dns_servers = [+ "119.29.29.29",+ "8.8.8.8",]+ docker_assistant_cidrs = (known after apply)+ id = (known after apply)+ is_default = (known after apply)+ is_multicast = false+ name = "my-first-vpc-demo"+ tags = {+ "test" = "test"}}Plan: 1 to add, 0 to change, 0 to destroy.Do you want to perform these actions?Terraform will perform the actions described above.Only 'yes' will be accepted to approve.Enter a value: yestencentcloud_vpc.vpc: Creating...tencentcloud_vpc.vpc: Creation complete after 6s [id=vpc-ou0do5d7]Apply complete! Resources: 1 added, 0 changed, 0 destroyed.
(可选)清理资源
若需要销毁刚才创建的资源。召唤插件的命令面板,执行
TencentCloud Terraform:Destroy,销毁资源。如下图所示: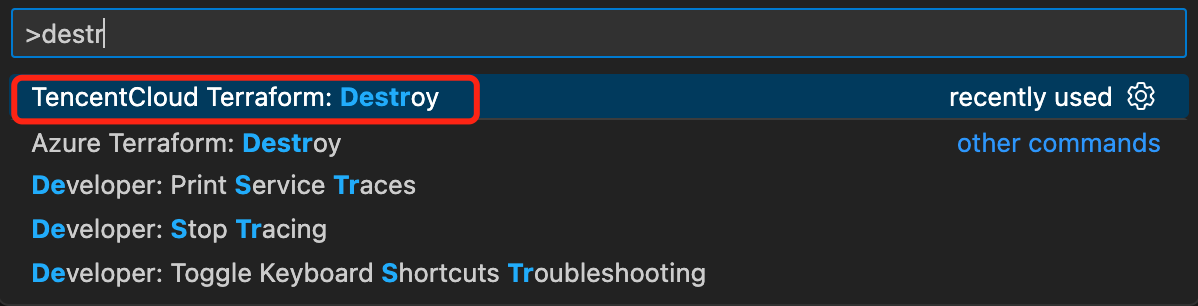
确认无误后,键入"yes",开始销毁资源。
> terraform destroytencentcloud_vpc.vpc: Refreshing state... [id=vpc-ou0do5d7]Terraform used the selected providers to generate the following execution plan. Resource actions are indicated with the following symbols:- destroyTerraform will perform the following actions:# tencentcloud_vpc.vpc will be destroyed- resource "tencentcloud_vpc" "vpc" {- assistant_cidrs = [] -> null- cidr_block = "10.0.0.0/16" -> null- create_time = "2023-12-25 11:16:14" -> null- default_route_table_id = "rtb-jf8ksjl0" -> null- dns_servers = [- "119.29.29.29",- "8.8.8.8",] -> null- docker_assistant_cidrs = [] -> null- id = "vpc-ou0do5d7" -> null- is_default = false -> null- is_multicast = false -> null- name = "my-first-vpc-demo" -> null- tags = {- "test" = "test"} -> null}Plan: 0 to add, 0 to change, 1 to destroy.Do you really want to destroy all resources?Terraform will destroy all your managed infrastructure, as shown above.There is no undo. Only 'yes' will be accepted to confirm.Enter a value: yestencentcloud_vpc.vpc: Destroying... [id=vpc-ou0do5d7]tencentcloud_vpc.vpc: Destruction complete after 3sDestroy complete! Resources: 1 destroyed.
创建一个腾讯云 VPC 的完整 Demo