为方便用户更加细粒度的配置域名查询、管理权限,CDN 权限策略已全面完成升级,用户可通过自定义策略语句,实现域名级别的权限分配。
说明
因 CDN2.0 接口已不再更新维护,不建议用户使用按产品功能或项目权限创建新建策略,建议用户使用功能更全,操作更便捷的按策略生成器创建或按标签授权。
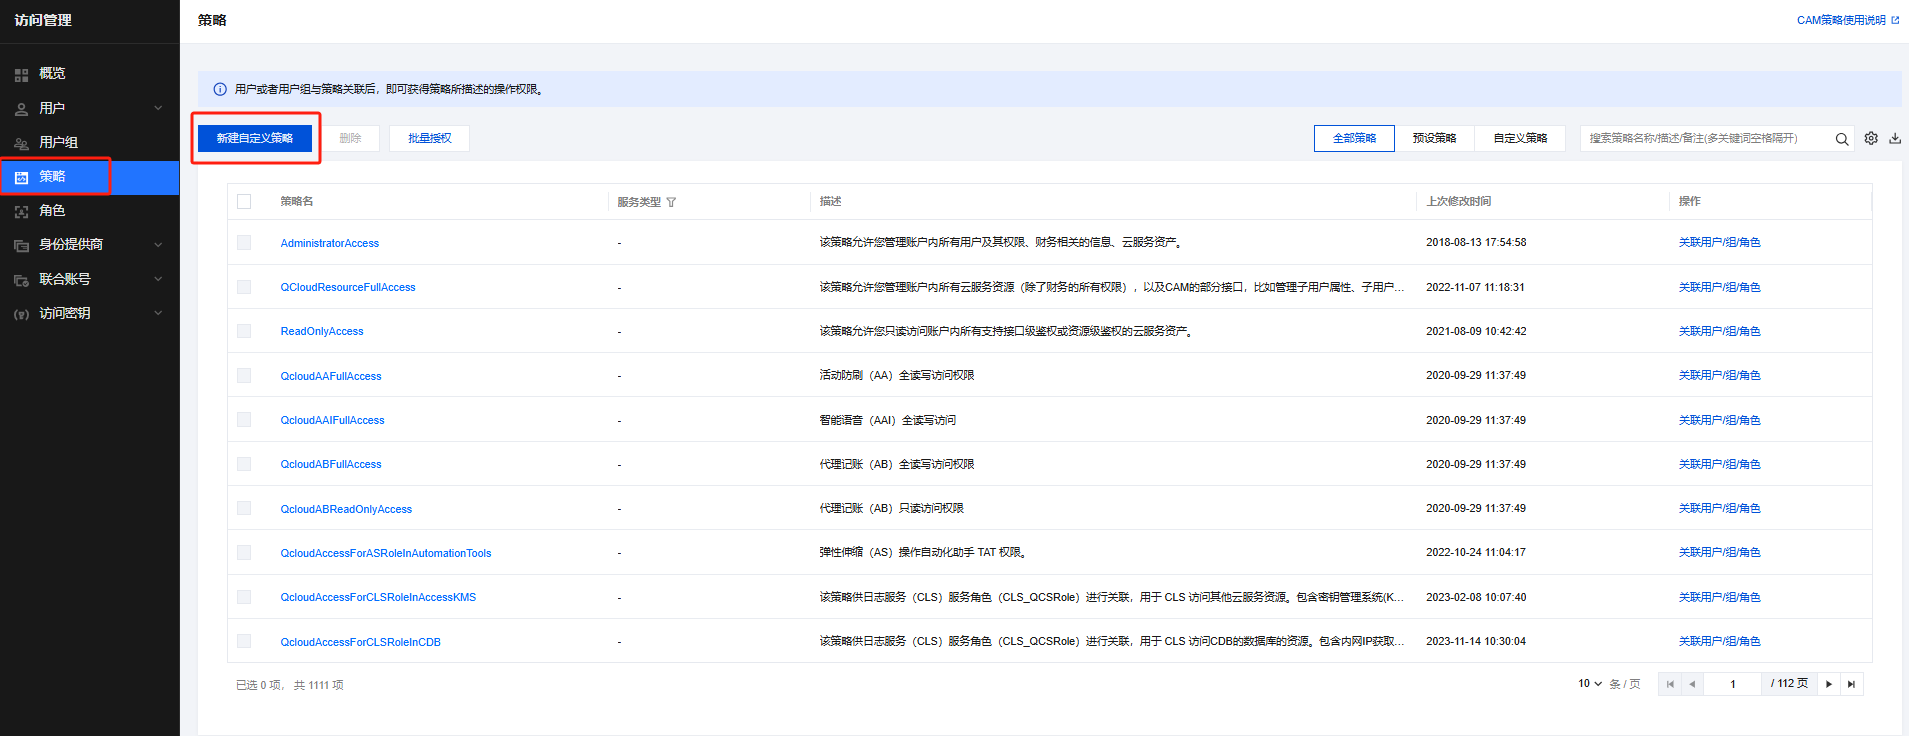
1. 登录 访问管理控制台 ,单击策略菜单,即可进入策略管理页面,单击新建自定义策略。
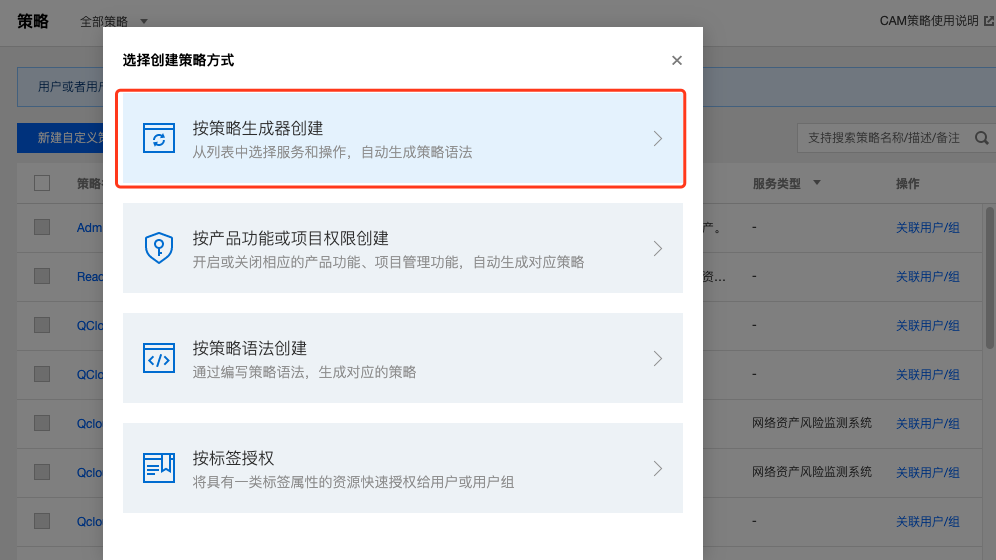
2. 选择按策略生成器创建。
3. 在产品选框中选择内容分发网络,并选择需要授权的功能集合,若授权全读写权限,可勾选全部操作,功能与控制台映射关系可查看 Action 映射表。
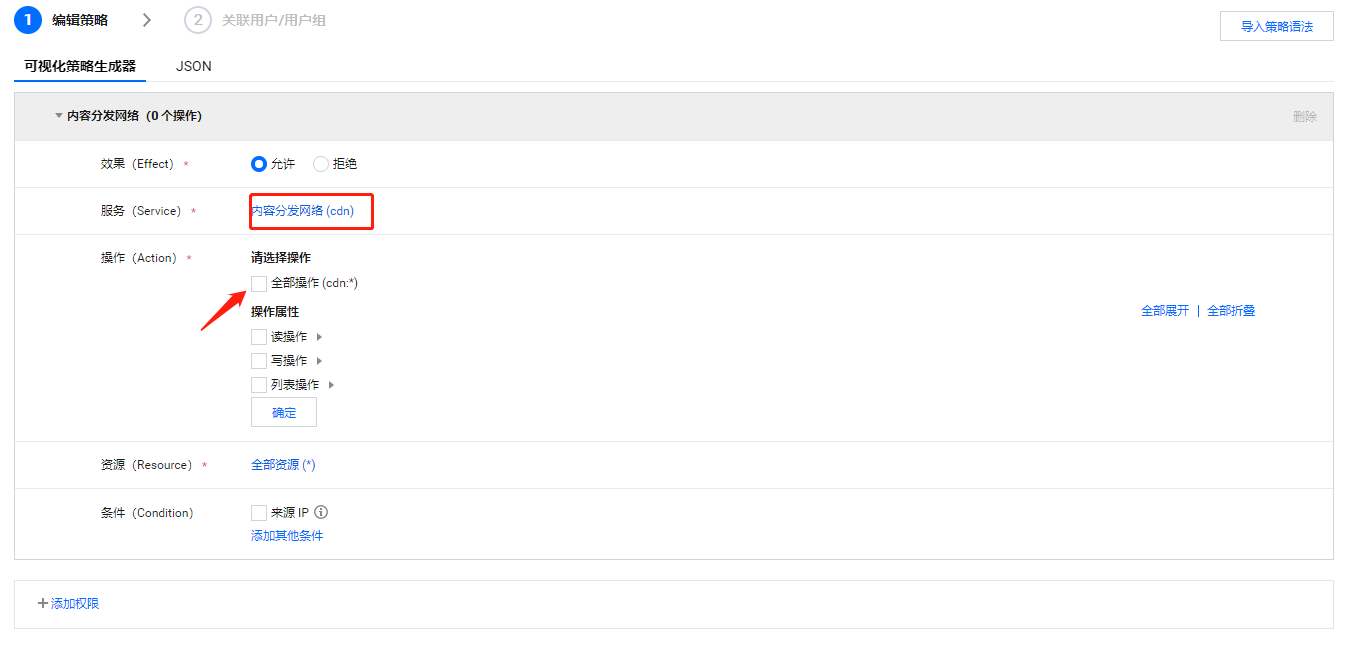
4. 在资源处填写需要授权的域名,完成填写后,单击确定并单击下一步,即可创建策略。将创建好的策略关联已有用户/用户组,即可进行授权。
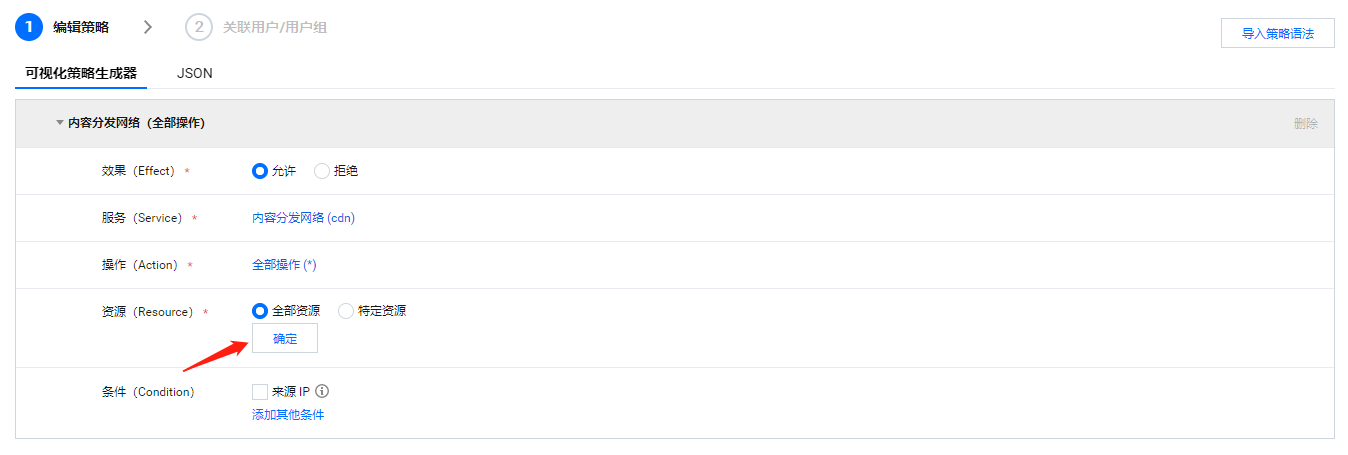
所有域名:在资源处勾选全部资源。
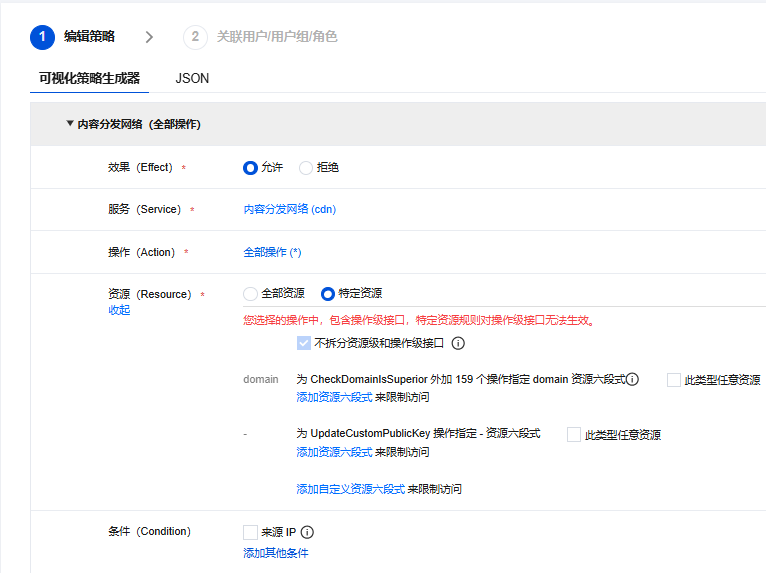
单/多域名:勾选特定资源,单击添加资源六段式。
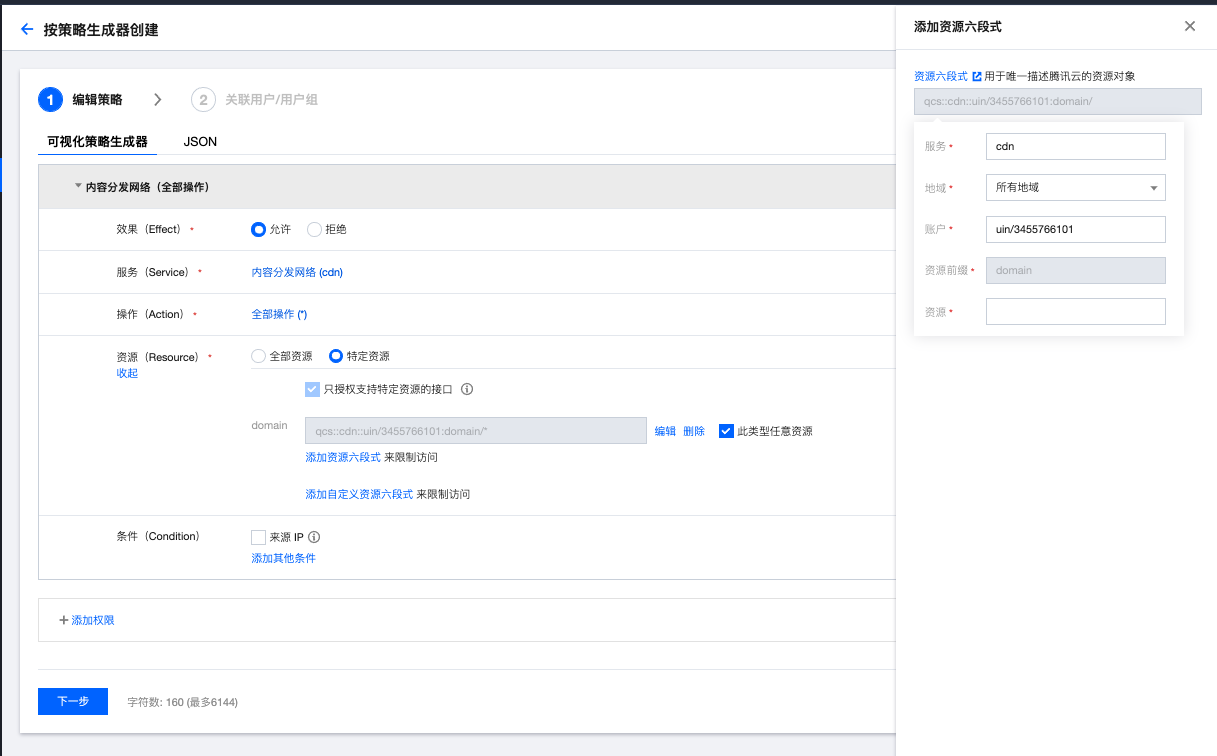
在右边弹窗的资源处填写对应的单个域名后,单击确定即可。如需要加入多个域名,可单击添加资源六段式多次添加。
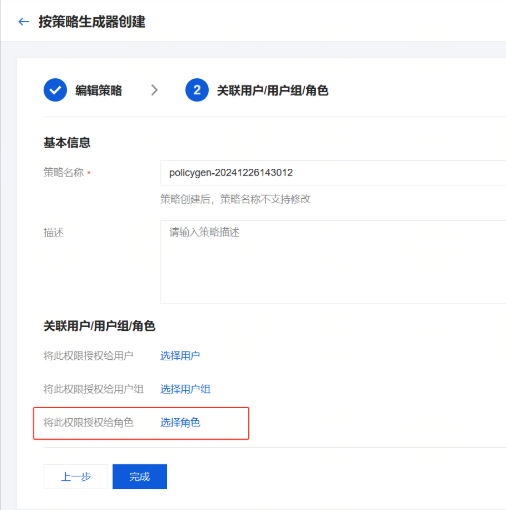
5. 完成上述操作后,单击下一步,选择需要授权的子账号用户,单击完成即可。