本文介绍如何通过 Serverless 控制台创建层。新建层后,将会自动帮您生成一个版本。
操作步骤
1. 登录 Serverless 控制台,选择左侧导航栏中的高级能力 > 层。
2. 在层管理页面,选择需使用层的地域,并单击新建。
3. 在新建层页面,根据实际需求设置层信息。如下图所示:
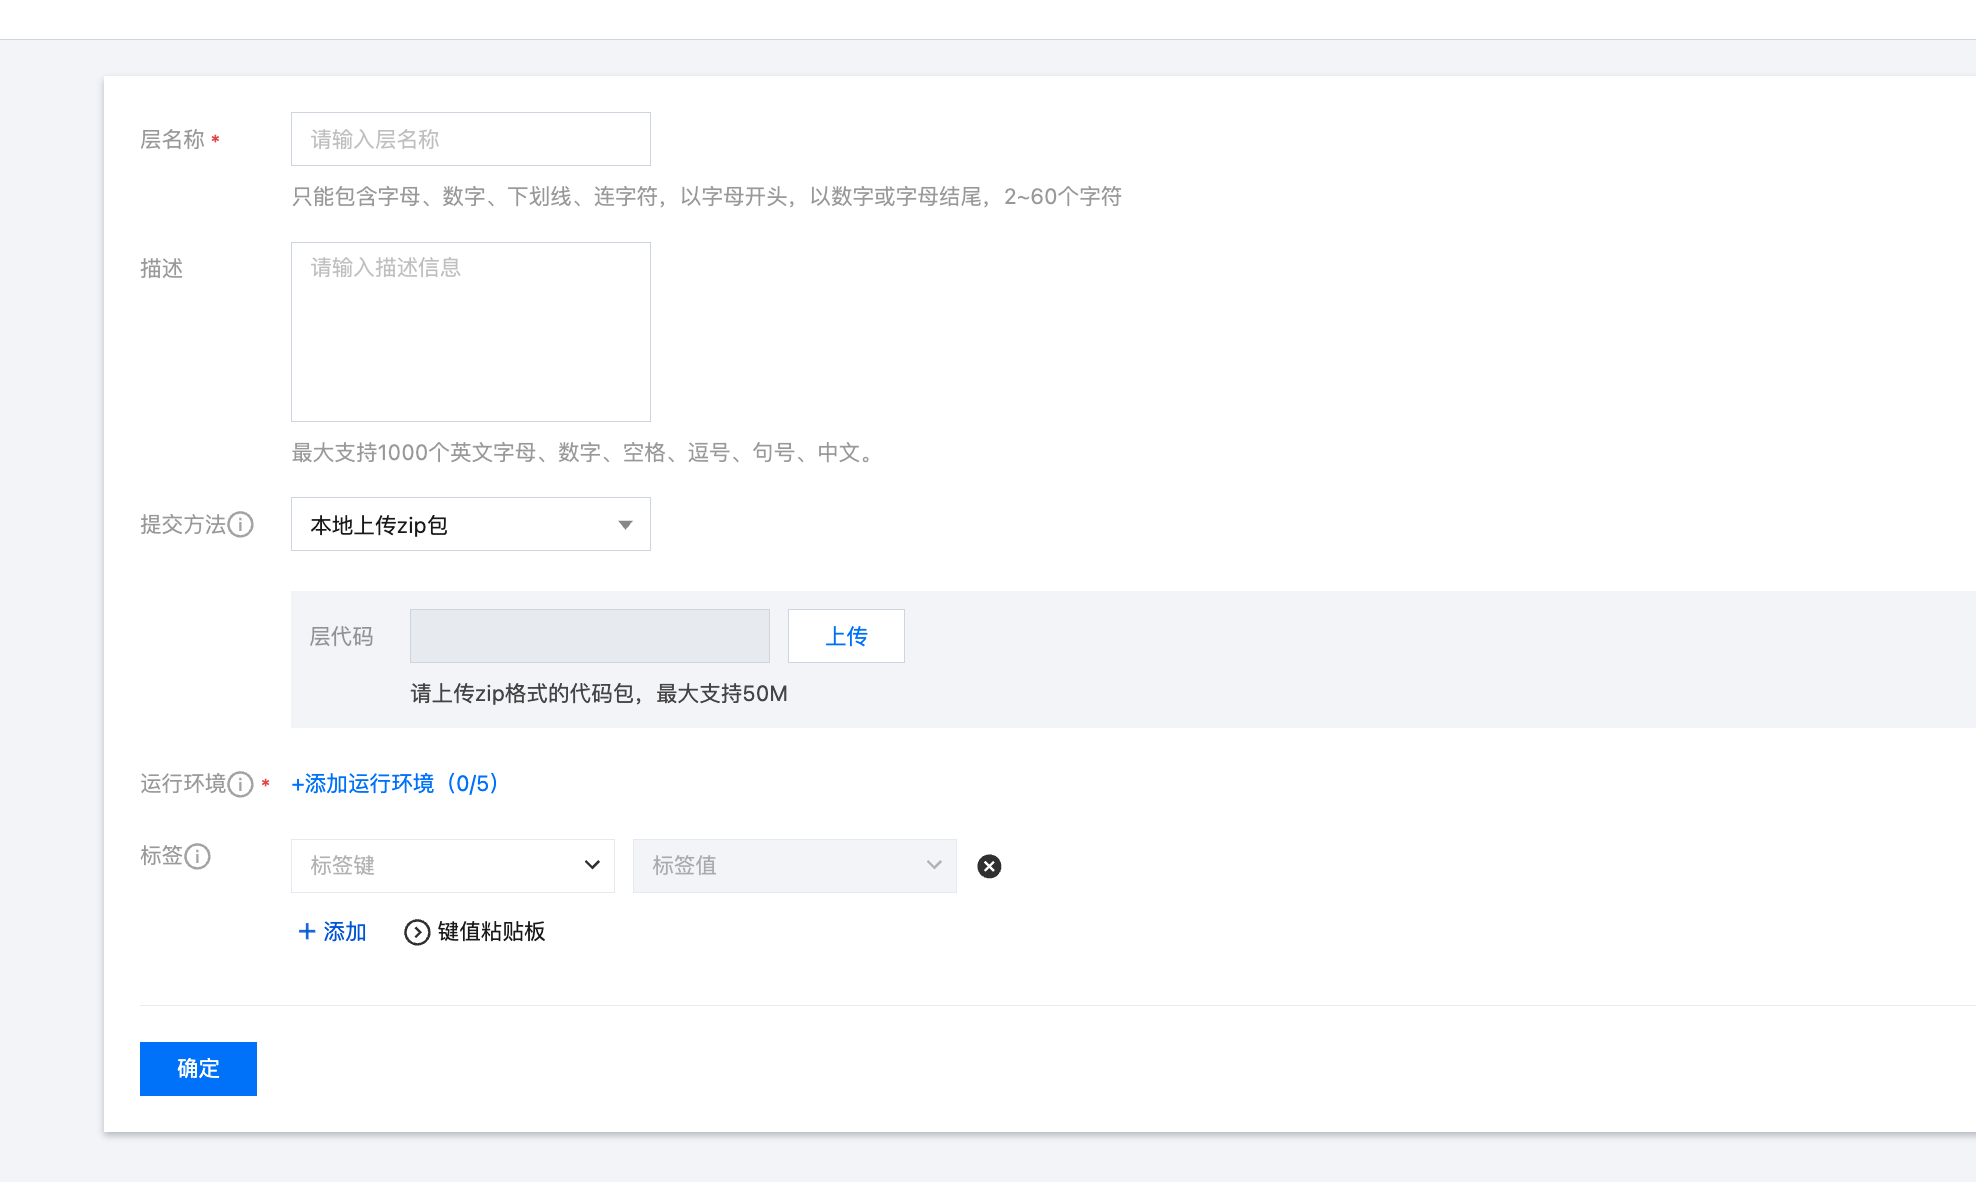
层名称:输入自定义层名称。
描述:层的描述信息,根据实际情况填写。
提交方法:支持本地上传 zip 包、本地上传文件夹及通过 cos 上传 zip 包,结合实际情况选择层文件提交方式。
本地上传 zip 包:单击上传,请上传 zip 格式的代码包,最大支持50MB。
本地上传文件夹:单击上传,请选择文件夹,最大支持250MB。该方式上传后无法保留文件可执行权限,如包含可执行文件,请先在本地设置可执行权限并通过 zip 包方式上传。
通过 cos 上传 zip 包:选择用作事件源的 COS 存储桶,该存储桶必须位于函数所在地域。填写 COS 对象文件路径,从 Bucket 根目录("/")开始的 zip 代码文件完整路径。
添加运行环境:该层的兼容运行环境,最多可设置5个。
标签:该层资源所属的业务标签,只有标签匹配的用户才可见该资源。同时在函数服务添加层资源时,也只能添加与用户标签匹配的层资源。
4. 单击确定。创建完成后您可以在层列表中查看层。


