本文档将为您介绍 Web 应用防火墙的防信息泄露功能。防信息泄露功能支持对网站返回的内容进行过滤(支持替换、脱敏展示和拦截),过滤内容包括敏感信息(如身份证、手机号和银行卡)、关键字和响应码。您可以根据实际需要设置防敏感信息泄露的规则,满足数据安全保护和等保合规需求。
背景信息
通过防信息泄露功能,您可以添加防护规则,根据实际需要对网站返回的内容进行过滤。过滤内容包括但不限于身份证、手机号和银行卡等,您也可以自定义关键字(支持正则)对订单号、地址信息等进行过滤、部分替换或者全部替换。针对网站返回的状态码,您可以对非200的状态码进行阻断或者告警,满足合规要求。
说明:
前提条件
添加规则
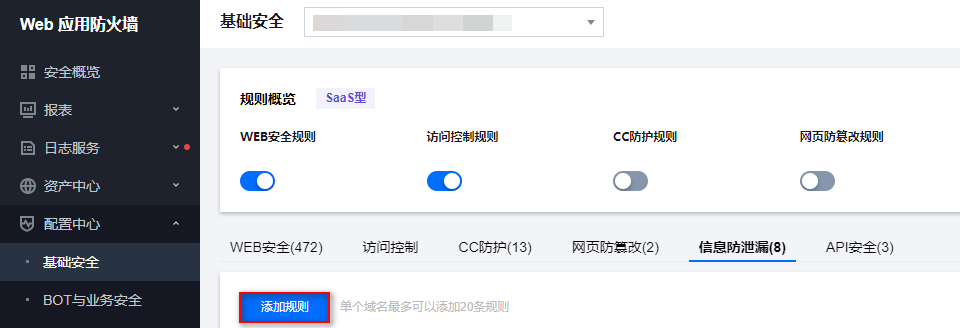
1. 登录 Web 应用防火墙控制台,在左侧导航栏,选择配置中心 > 基础安全。
2. 在基础安全页面,左上角选择需要防护的域名,单击信息防泄漏。
3. 在信息防泄漏页面,单击添加规则,弹出添加防信息泄露规则弹窗。
4. 在添加防信息泄露规则弹窗中,填写相关字段,设置完成后,单击确定。
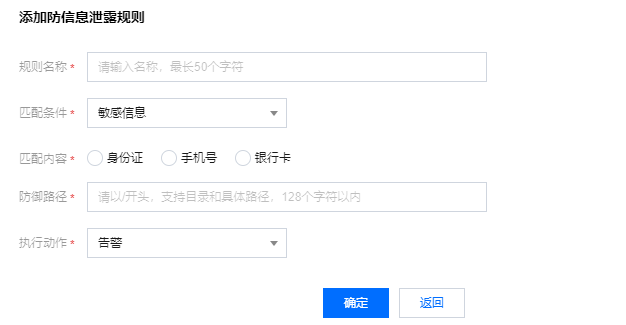
字段说明:
规则名称:防信息泄露规则名称,最长50个字符,可以在攻击日志中按照规则名称进行搜索。
匹配条件:防泄漏信息匹配条件,支持敏感信息、关键字和响应码,不同类型对应不同的匹配内容和动作类型,关系如下:
匹配条件 | 匹配内容 | 匹配动作 |
敏感信息 | 身份证、手机号、银行卡 | 告警、全部替换、仅显示后四位、仅显示前四位、阻断 |
关键字 | 支持关键字,支持正则 | 告警、全部替换、阻断 |
响应码 | 400、403、404、其他4xx、500、501、502、504、其他5xx | 告警 、阻断 |
匹配内容:匹配内容因匹配条件不同有差异。
防御路径:需要进行防泄露的路径,支持配置根目录全站识别敏感信息,根据实际需要填写。
执行动作:命中防泄漏匹配条件的执行动作,相关命中信息可在攻击日志中查询。
5. 规则生效,会对您网页中返回的敏感信息进行防护,例如执行动作为:替换,则防护效果如下(敏感内容为虚构):
开启防护前

开启防护后

检索规则
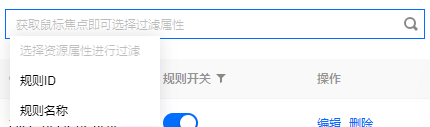
1. 在 基础安全页面,左上角选择需要防护的域名,单击信息防泄漏。
2. 在信息防泄漏页面,单击搜索框通过“规则 ID、规则名称”关键词对规则进行查询。
编辑规则
1. 在 基础安全页面,左上角选择需要防护的域名,单击信息防泄漏。
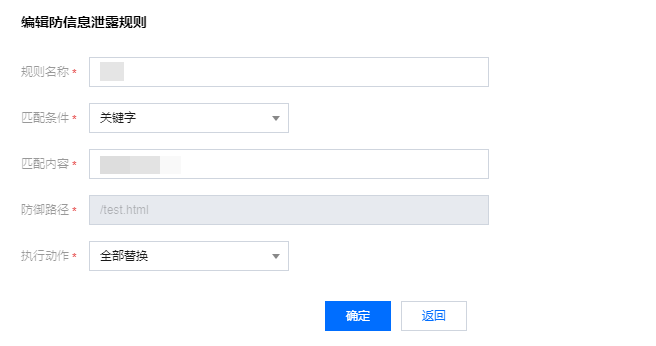
2. 在信息防泄漏页面,选择所需规则,单击操作列的编辑,弹出编辑防信息泄露规则弹窗。

3. 在编辑防信息泄露规则弹窗中,修改相关参数,单击确定即可。
删除规则
1. 在 基础安全页面,左上角选择需要防护的域名,单击信息防泄漏。
2. 在信息防泄漏页面,选择所需规则,单击操作列的删除,弹出确认删除弹窗。

3. 在确认删除弹窗中,单击确定,即可删除该规则。


