操作场景
本文档将演示如何在开发机实例中拉取镜像、构建镜像、推送镜像、运行镜像等操作。
开发机内使用 PodMan
开发机实例中已经内置了 PodMan 工具执行镜像的基本操作,PodMan 的使用命令与 Docker 基本一致。
登录镜像仓库
# 登录到私有镜像仓库podman login <registry-url> -u <username> -p <password># 示例podman login tione.tencentcloudcr.com --username ******* --password ******
拉取镜像
# 从仓库拉取镜像podman pull <image-name>:<tag># 示例podman pull tione.tencentcloudcr.com/tione-public-images/notebook-conda-cpu:ubuntu22.04-miniforge3-py38
镜像拉取过程可能需要占用较大磁盘空间,若开发机所在节点自带本地数据盘,建议挂载本地数据盘后进行拉取:
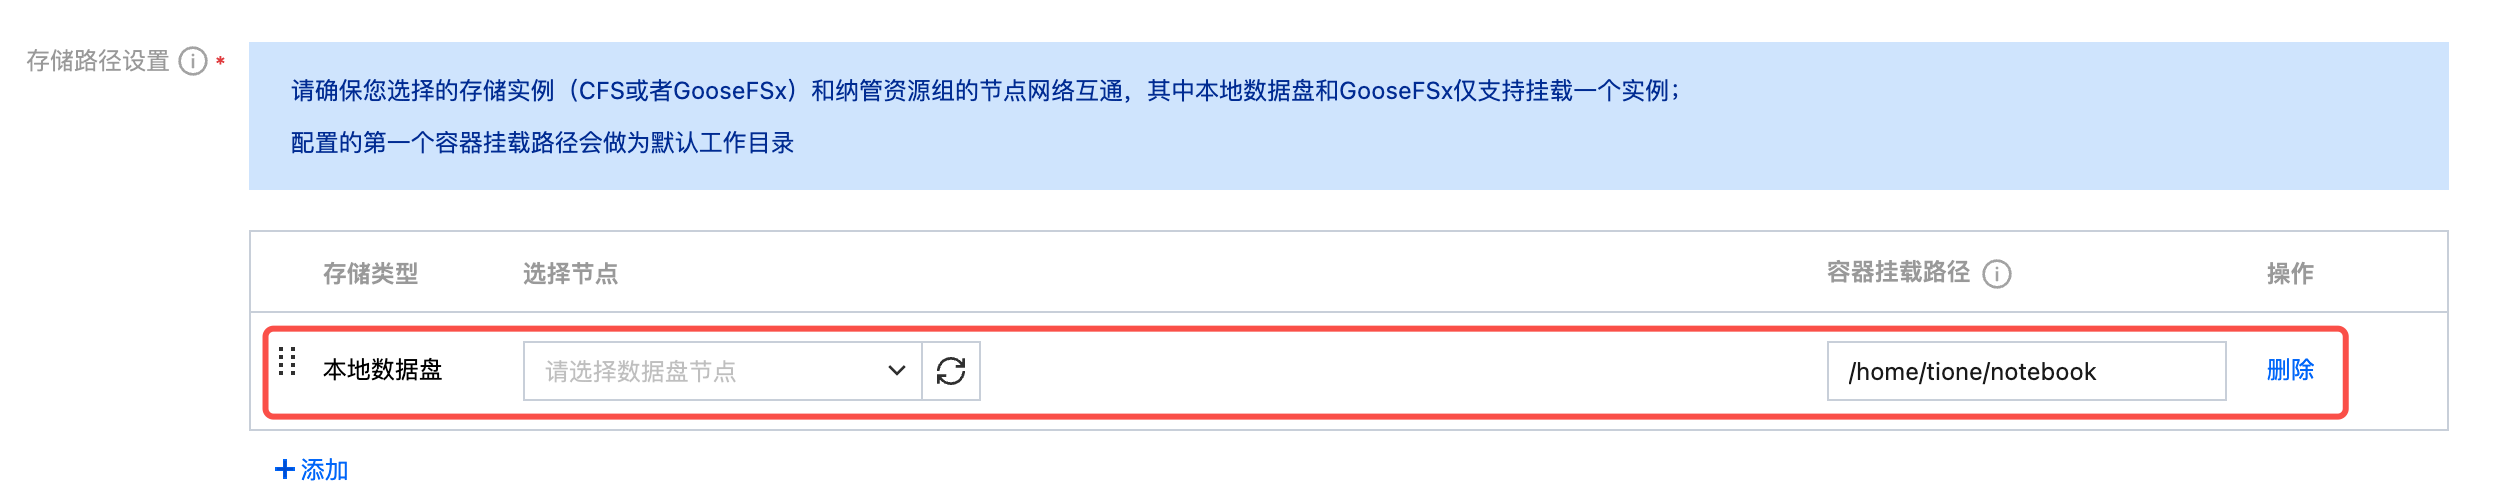
创建/编辑开发机,将本地数据盘挂载到容器内。
修改存储配置文件的镜像层/容器读写层存储路径 graphroot,详细请查看 PodMan 工具的关键配置修改。
查看镜像
# 列出本地镜像podman images# 查看镜像详细信息podman inspect <image-id|image-name># 示例podman inspect tione.tencentcloudcr.com/tione-public-images/notebook-conda-cpu:ubuntu22.04-miniforge3-py38
构建镜像
构建镜像时建议采用分阶段构建,减少存储占用。
# 使用Dockerfile构建镜像podman build -t <image-name>:<tag> <context-path># 示例:podman build -t myapp:1.0 .
推送镜像
# 标记镜像podman tag <local-image> <registry>/<repository>:<tag># 推送镜像到仓库podman push <registry>/<repository>:<tag># 示例:podman tag myapp:1.0 registry.example.com/myteam/myapp:1.0podman push registry.example.com/myteam/myapp:1.0
运行容器
目前暂不支持指定 GPU 运行镜像的功能。
# 运行容器podman run [options] <image-name># 可选项 -d 后台运行 -v 卷挂载 --name 指定容器名# 示例:podman run -d --name myContainer tione.tencentcloudcr.com/tione-public-images/notebook-conda-cpu:ubuntu22.04-miniforge3-py38#查看运行中的容器 可选参数 -a:包含已停止的容器podman ps
删除镜像或容器
# 删除镜像podman rmi -f <镜像ID或名称> # -f为强制删除podman image prune -a # -a 删除未被引用的镜像# 删除容器podman rm -f <容器ID或名称> # -f 为强制删除podman container prune # 删除所有退出的容器# 如果 Podman 存储损坏或需要彻底清理,可直接删除 graphroot 和 runroot 目录# 示例: rm -rf /var/lib/containers/storage/
PodMan 工具的关键配置修改
存储配置文件路径:/etc/containers/storage.conf。
# 容器运行时临时存储路径runroot = "/var/run/containers/storage"# 镜像层/容器读写层存储路径graphroot = "/var/lib/containers/storage"


