❤️创意网页:创意视觉效果粒子循环的网页动画
介绍
在这篇技术博客中,我们将学习如何使用HTML5 Canvas和JavaScript创建一个视觉效果震撼的网页动画。我们将绘制一组随机颜色和运动的粒子,通过鼠标的移动产生交互效果,营造出一个令人惊叹的视觉效果。本项目将为您展示如何利用Canvas绘制动态粒子效果,并实现鼠标交互效果的加持。
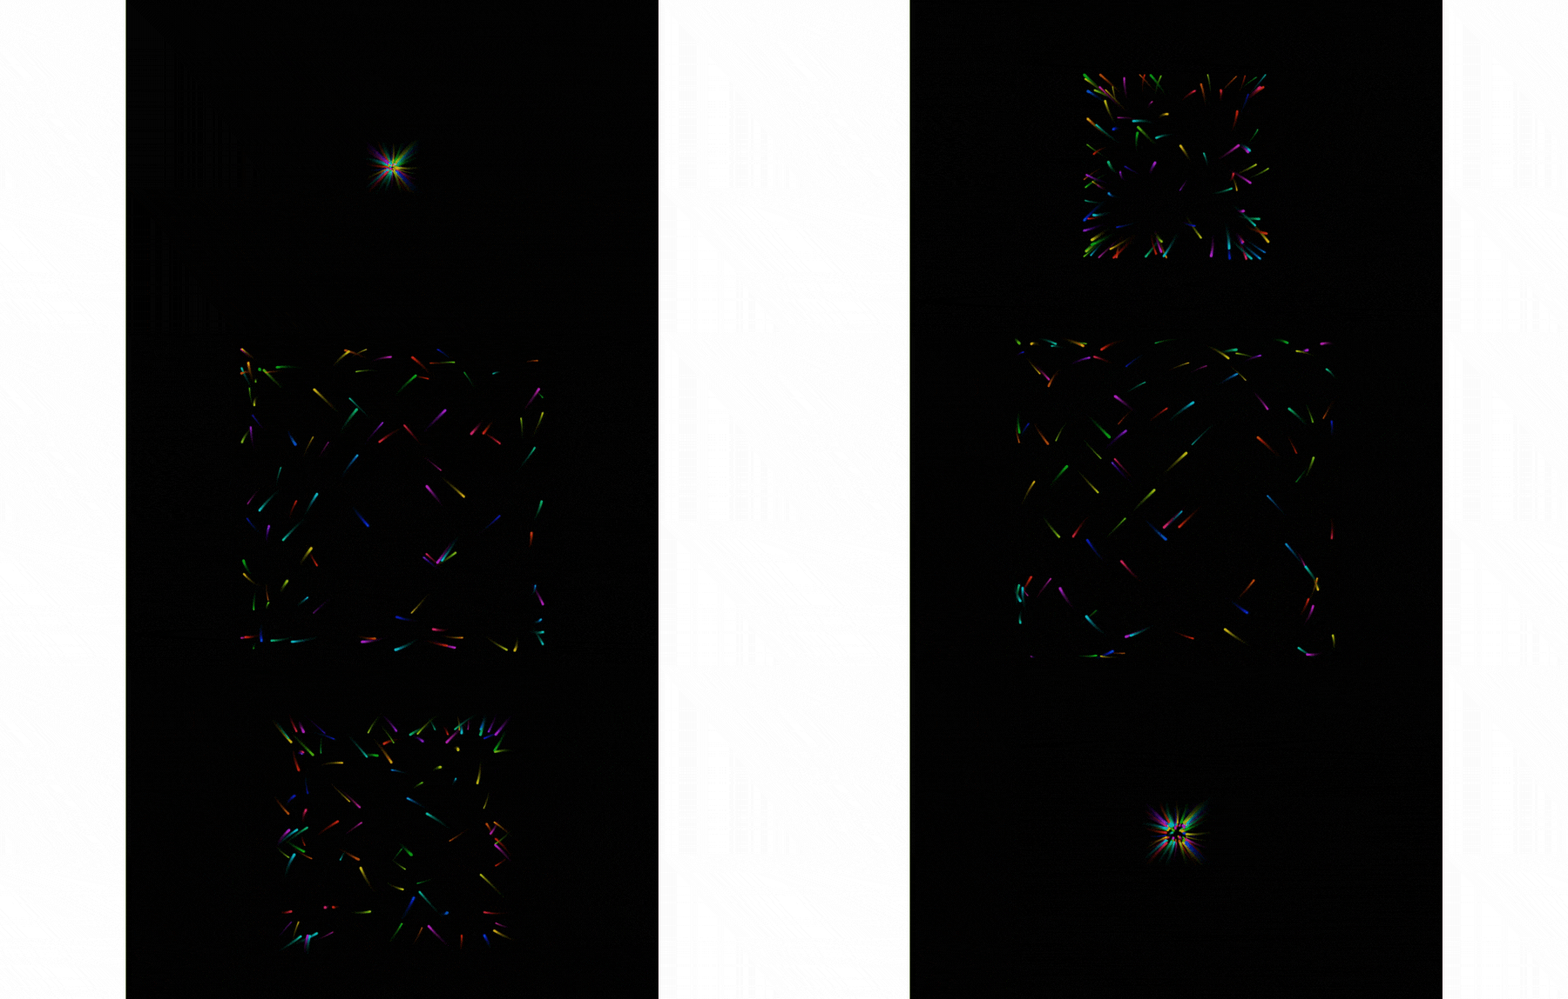
动态图展示
准备工作
在开始之前,请确保您已经具备以下条件:
- 基本的HTML、CSS和JavaScript知识。
- 一个支持HTML5的现代web浏览器(推荐使用最新版本的Chrome、Firefox、Safari等)。
HTML 结构
首先,让我们创建一个HTML文件,并添加必要的结构。
<!DOCTYPE html>
<html>
<head>
    <title>视觉效果震撼的网页</title>
    <style>
        body {
            margin: 0;
            overflow: hidden;
        }
        canvas {
            display: block;
        }
    </style>
</head>
<body>
    <canvas id="canvas"></canvas>
    <script>
        // JavaScript代码将在下面添加
    </script>
</body>
</html>
在这个HTML结构中,我们定义了一个Canvas元素,用于绘制我们的视觉效果震撼的网页动画。
JavaScript 代码
现在,让我们添加JavaScript代码来实现这个视觉效果震撼的网页动画。
<!-- ... 上面的HTML代码 ... -->

<script>
    const canvas = document.getElementById("canvas");
    const ctx = canvas.getContext("2d");
    let mouseX = 0;
    let mouseY = 0;

    // 设置画布大小
    canvas.width = window.innerWidth;
    canvas.height = window.innerHeight;

    window.addEventListener("mousemove", (e) => {
        mouseX = e.clientX;
        mouseY = e.clientY;
    });

    class Particle {
        constructor(x, y, color) {
            this.x = x;
            this.y = y;
            this.color = color;
            this.radius = Math.random() * 2 + 1;
            this.angleX = Math.random() * 6;
            this.angleY = Math.random() * 6;
        }

        update() {
            this.x += Math.sin(this.angleX) * 2;
            this.y += Math.sin(this.angleY) * 2;
            this.angleX += 0.01;
            this.angleY += 0.01;
        }

        draw() {
            ctx.fillStyle = this.color;
            ctx.beginPath();
            ctx.arc(this.x, this.y, this.radius, 0, Math.PI * 2);
            ctx.fill();
        }
    }

    const particles = [];

    function createParticles() {
        for (let i = 0; i < 100; i++) {
            const color = `hsl(${Math.random() * 360}, 100%, 50%)`;
            const particle = new Particle(canvas.width / 2, canvas.height / 2, color);
            particles.push(particle);
        }
    }

    function animate() {
        requestAnimationFrame(animate);
        ctx.fillStyle = "rgba(0, 0, 0, 0.1)";
        ctx.fillRect(0, 0, canvas.width, canvas.height);

        for (let i = 0; i < particles.length; i++) {
            particles[i].update();
            particles[i].draw();
        }
    }

    createParticles();
    animate();
</script>
</body>
</html>
以上代码中,我们创建了一个Particle类来表示每个粒子。每个粒子都有其位置、颜色、大小和运动角度。我们监听鼠标移动事件,获取鼠标的坐标,然后通过粒子的位置和角度更新实现交互效果。最后,我们使用Canvas绘制了动态的粒子效果。
运行效果
将上述HTML代码保存为一个HTML文件,并在支持HTML5的现代web浏览器中打开它。您将会看到一个视觉效果震撼的网页动画,许多随机颜色和运动的粒子在画布上自由运动,并随着鼠标的移动而产生交互效果。
完整代码
<!DOCTYPE html>
<html>
<head>
    <title>❤️创意网页:创意视觉效果粒子循环的网页动画</title>
    <style>
        body {
            margin: 0;
            overflow: hidden;
        }
        canvas {
            display: block;
        }
    </style>
</head>
<body>
    <canvas id="canvas"></canvas>

    <script>
        const canvas = document.getElementById("canvas");
        const ctx = canvas.getContext("2d");
        let mouseX = 0;
        let mouseY = 0;

        // 设置画布大小
        canvas.width = window.innerWidth;
        canvas.height = window.innerHeight;

        window.addEventListener("mousemove", (e) => {
            mouseX = e.clientX;
            mouseY = e.clientY;
        });

        class Particle {
            constructor(x, y, color) {
                this.x = x;
                this.y = y;
                this.color = color;
                this.radius = Math.random() * 2 + 1;
                this.angleX = Math.random() * 6;
                this.angleY = Math.random() * 6;
            }

            update() {
                this.x += Math.sin(this.angleX) * 2;
                this.y += Math.sin(this.angleY) * 2;
                this.angleX += 0.01;
                this.angleY += 0.01;
            }

            draw() {
                ctx.fillStyle = this.color;
                ctx.beginPath();
                ctx.arc(this.x, this.y, this.radius, 0, Math.PI * 2);
                ctx.fill();
            }
        }

        const particles = [];

        function createParticles() {
            for (let i = 0; i < 100; i++) {
                const color = `hsl(${Math.random() * 360}, 100%, 50%)`;
                const particle = new Particle(canvas.width / 2, canvas.height / 2, color);
                particles.push(particle);
            }
        }

        function animate() {
            requestAnimationFrame(animate);
            ctx.fillStyle = "rgba(0, 0, 0, 0.1)";
            ctx.fillRect(0, 0, canvas.width, canvas.height);

            for (let i = 0; i < particles.length; i++) {
                particles[i].update();
                particles[i].draw();
            }
        }

        createParticles();
        animate();
    </script>
</body>
</html>
代码的使用方法(超简单什么都不用下载)
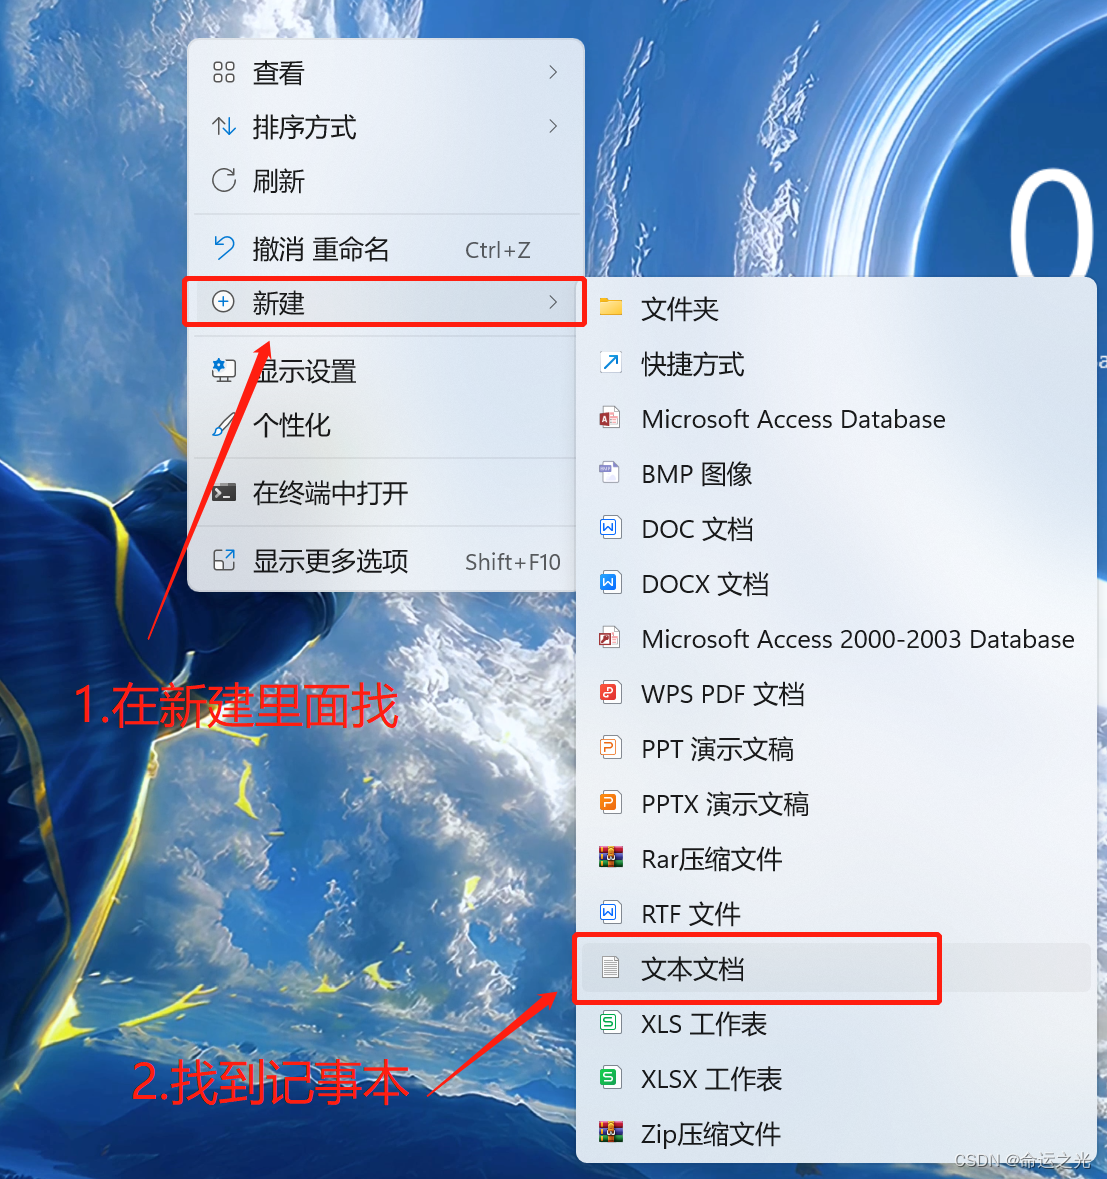
🍓1.打开记事本
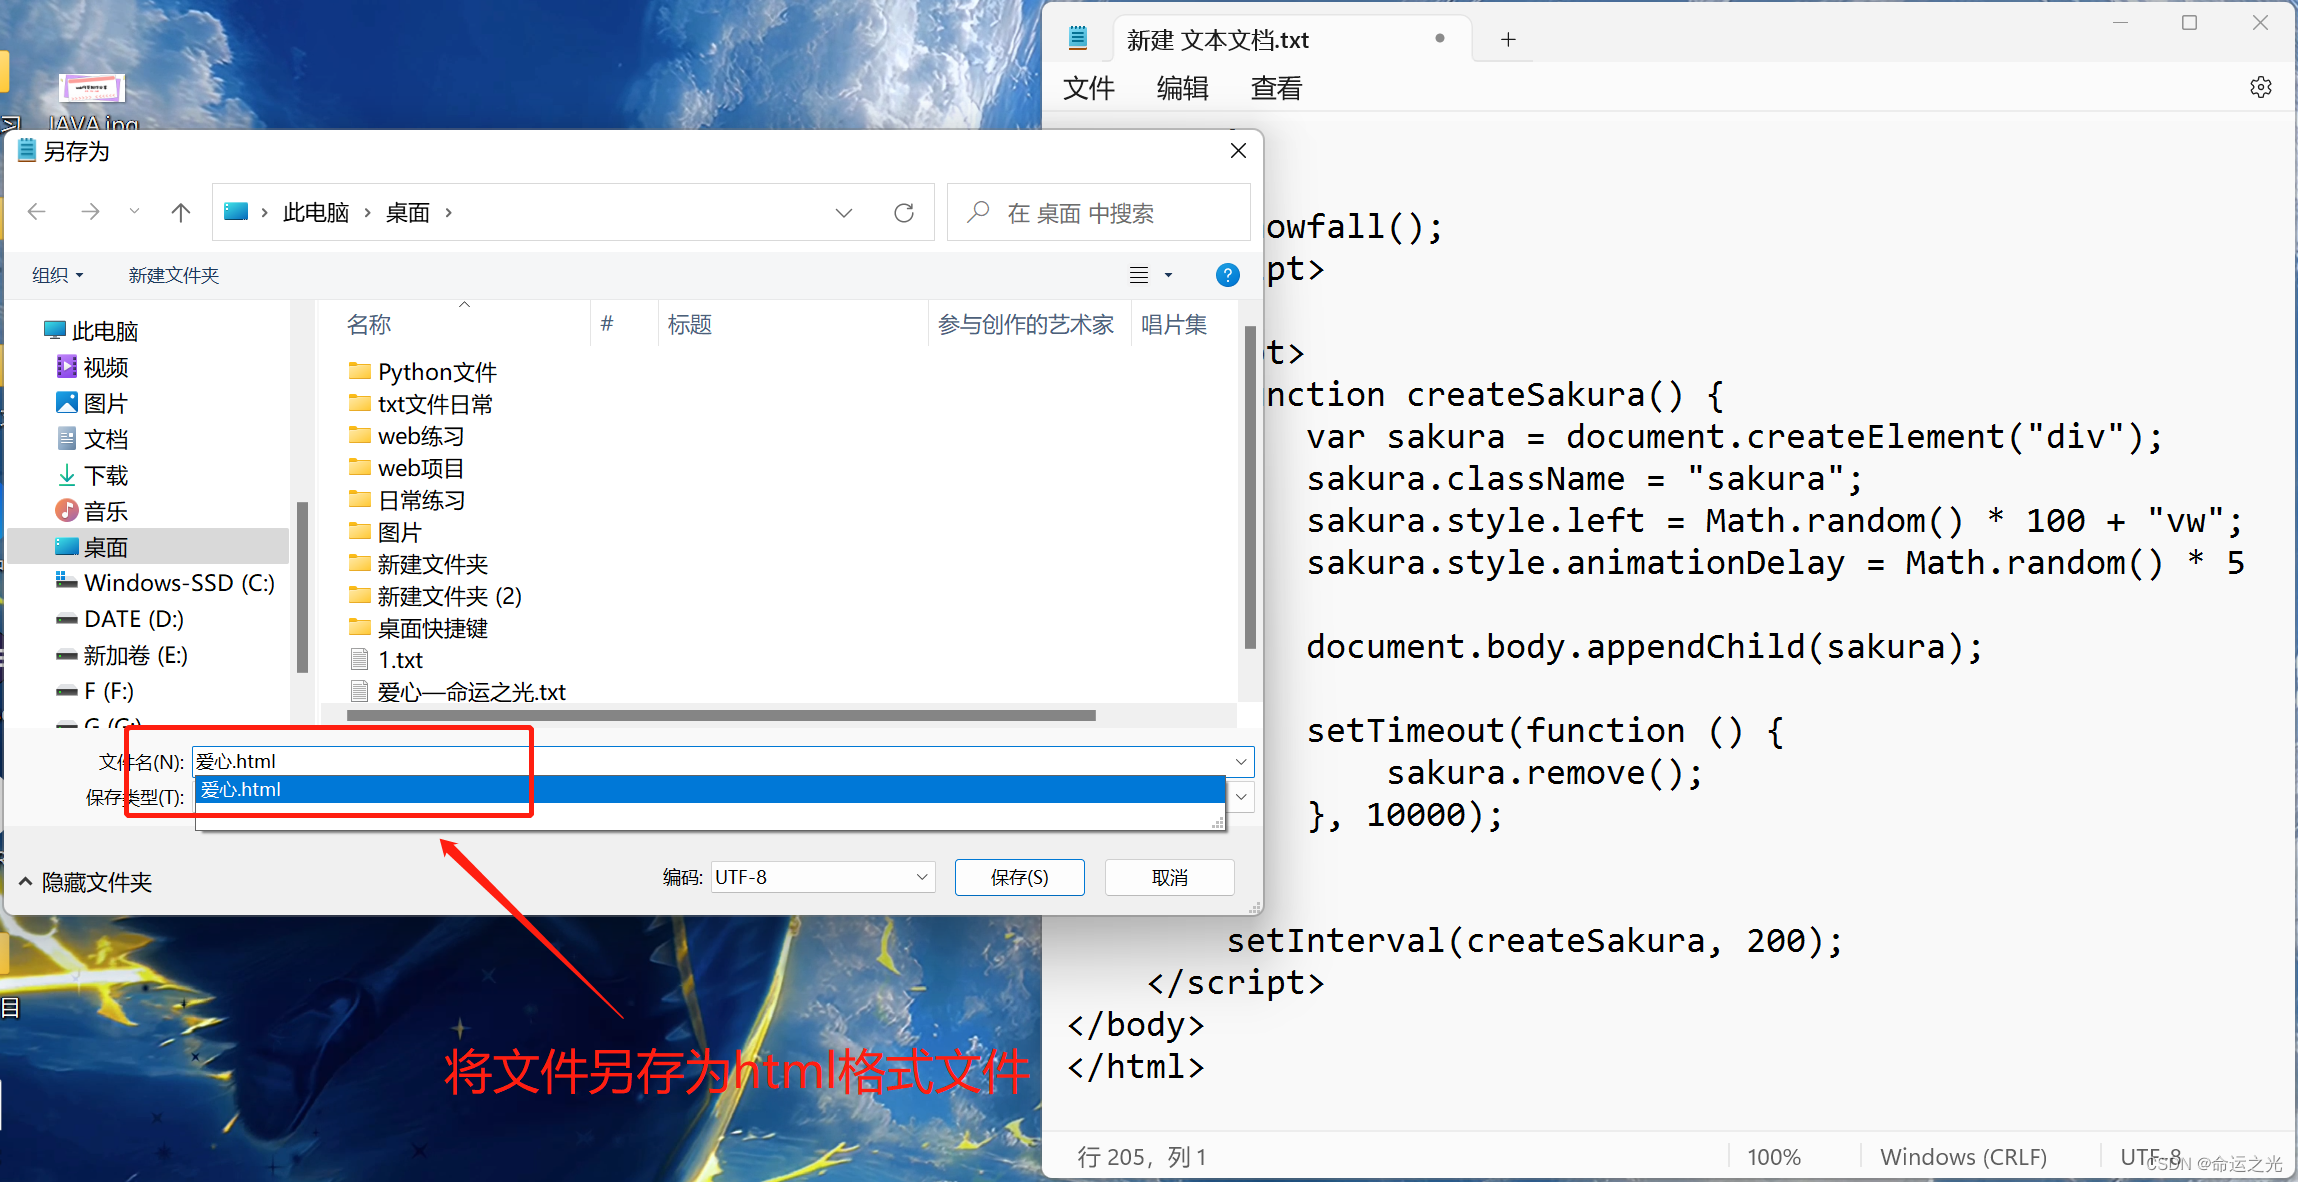
🍓2.将上面的源代码复制粘贴到记事本里面将文件另存为HTML文件点击保存即可
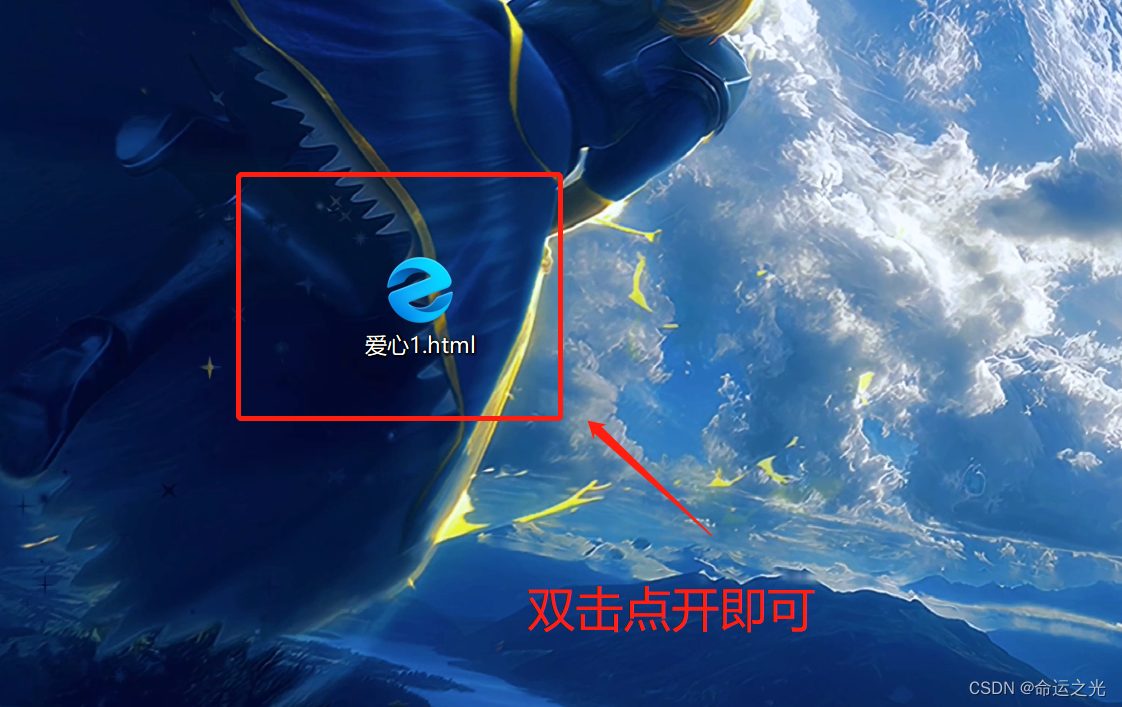
🍓3.打开html文件(大功告成(●'◡'●))
总结
在本篇博客中,我们学习了如何使用HTML5 Canvas和JavaScript创建一个视觉效果震撼的网页动画。通过绘制动态粒子效果,并添加鼠标交互效果,我们成功地打造了一个令人惊叹的视觉效果。
本文参与 腾讯云自媒体同步曝光计划,分享自作者个人站点/博客。
原始发表:2024-03-19,如有侵权请联系 cloudcommunity@tencent.com 删除
评论
登录后参与评论
推荐阅读
目录

