【愚公系列】《循序渐进Vue.js 3.x前端开发实践》039-使用JavaScript的方式实现动画效果

【愚公系列】《循序渐进Vue.js 3.x前端开发实践》039-使用JavaScript的方式实现动画效果

愚公搬代码
发布于 2025-06-02 17:46:25
发布于 2025-06-02 17:46:25
标题 | 详情 |
|---|---|
作者简介 | 愚公搬代码 |
头衔 | 华为云特约编辑,华为云云享专家,华为开发者专家,华为产品云测专家,CSDN博客专家,CSDN商业化专家,阿里云专家博主,阿里云签约作者,腾讯云优秀博主,腾讯云内容共创官,掘金优秀博主,亚马逊技领云博主,51CTO博客专家等。 |
近期荣誉 | 2022年度博客之星TOP2,2023年度博客之星TOP2,2022年华为云十佳博主,2023年华为云十佳博主,2024年华为云十佳博主等。 |
博客内容 | .NET、Java、Python、Go、Node、前端、IOS、Android、鸿蒙、Linux、物联网、网络安全、大数据、人工智能、U3D游戏、小程序等相关领域知识。 |
欢迎 | 👍点赞、✍评论、⭐收藏 |
🚀前言
在现代网页开发中,动画效果不仅能够提升用户体验,还能够为网站增添活力和趣味。虽然 CSS 动画因其简单易用而被广泛应用,但有时我们需要更复杂的动画效果,这时 JavaScript 就成为了不可或缺的工具。通过 JavaScript,我们可以实现更为灵活和自定义的动画效果,控制动画的每一个细节。
本篇文章将深入探讨如何使用 JavaScript 创建动画效果。我们将介绍基础的 DOM 操作,结合 requestAnimationFrame 方法来实现平滑的动画过渡。文章中将涵盖如何通过 JavaScript 控制元素的样式变化、运动轨迹、动画时长,以及如何处理动画的暂停、恢复和结束事件。
🚀一、使用JavaScript的方式实现动画效果
🔎1. HTML 部分
<!DOCTYPE html>
<html lang="en">
<head>
    <meta charset="UTF-8">
    <meta http-equiv="X-UA-Compatible" content="IE=edge">
    <meta name="viewport" content="width=device-width, initial-scale=1.0">
    <script src="https://unpkg.com/vue@3/dist/vue.global.js"></script>
    <title>JS动画</title>
</head>
<body>
    <div id="Application">
        <div :style="{backgroundColor: 'blue', width: width + 'px', height:height + 'px'}" @click="run">
        </div>
    </div>
    <script>
        /* Vue 代码 */
    </script>
</body>
</html>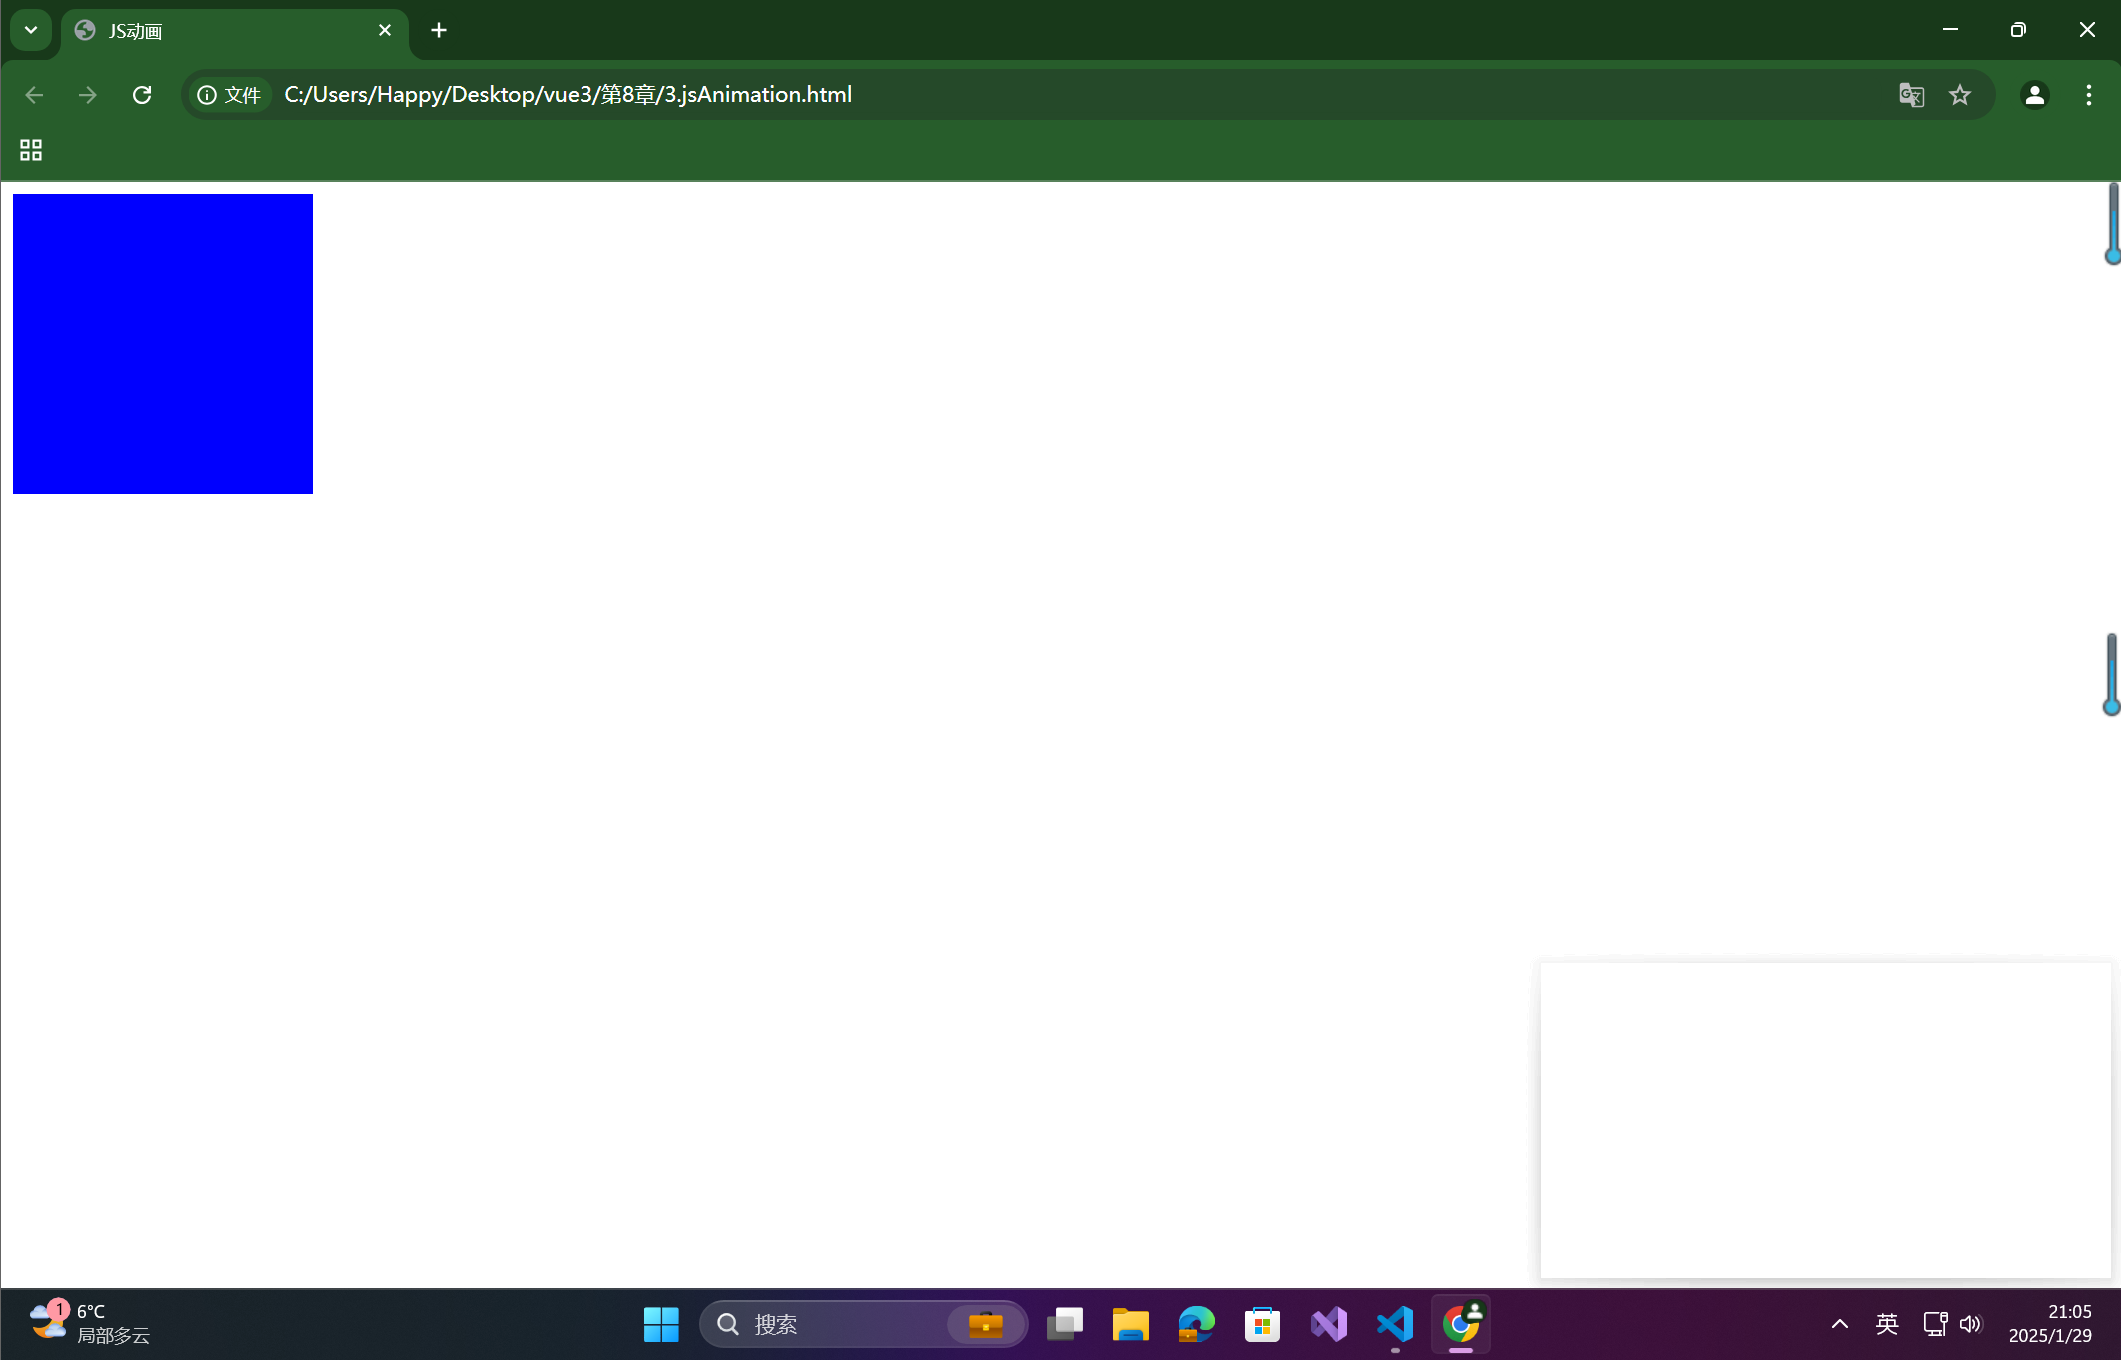
🦋1.1 关键点
<script src="https://unpkg.com/vue@3/dist/vue.global.js"></script>:引入 Vue 3 的全局脚本。<div id="Application">:Vue 应用将挂载在这个div上。:style:使用 Vue 的绑定语法将动态样式绑定到div上,背景色是蓝色,宽度和高度是响应式的,通过width和height来动态更新。@click="run":点击div元素时,触发run方法来开始动画。
🔎2. Vue 部分
const { createApp, ref } = Vue;

const App = createApp({
    setup() {
        // 定义响应式数据
        const width = ref(100);
        const height = ref(100);
        let timer = null;

        // run 方法:启动动画
        const run = () => {
            // setInterval 每 10 毫秒执行一次 animation 函数
            timer = setInterval(animation, 10);
        };

        // animation 方法:控制宽度和高度的变化
        const animation = () => {
            // 当宽度达到 200px 时,停止动画
            if (width.value == 200) {
                clearInterval(timer);
                return;
            } else {
                // 否则,增加宽度和高度
                width.value += 1;
                height.value += 1;
            }
        };

        // 返回响应式数据和方法,供模板使用
        return { width, height, run };
    }
});

App.mount("#Application");
🦋2.1 响应式数据:width 和 height
const width = ref(100);
const height = ref(100);ref是 Vue 3 的响应式 API,用来创建响应式的数据。width和height的初始值分别为 100,表示div元素的初始宽度和高度。
🦋2.2 run 方法:启动动画
const run = () => {
    timer = setInterval(animation, 10);
};run方法通过setInterval每 10 毫秒执行一次animation方法,从而实现动画的逐步更新。setInterval是 JavaScript 中的定时器函数,它接受两个参数:一个函数和时间间隔(以毫秒为单位)。每 10 毫秒就调用一次animation。
🦋2.3 animation 方法:更新宽度和高度
const animation = () => {
    if (width.value == 200) {
        clearInterval(timer);
        return;
    } else {
        width.value += 1;
        height.value += 1;
    }
};animation方法控制div元素的宽度和高度逐渐增加:- 每次调用时,
width.value和height.value增加 1。 - 当
width.value达到 200 时,调用clearInterval(timer)停止定时器,结束动画。
- 每次调用时,
🦋2.4 返回响应式数据和方法
return { width, height, run };- 在
setup函数中,返回了width、height和run,这些可以在模板中直接使用。这样 Vue 会自动将这些值绑定到组件的模板中。
🔎3. 动画效果
🦋3.1 动态样式绑定
<div :style="{backgroundColor: 'blue', width: width + 'px', height:height + 'px'}" @click="run"></div>:style是 Vue 中的动态绑定语法,用于绑定 CSS 样式。这里的绑定设置了:backgroundColor: 'blue':背景色始终为蓝色。width: width + 'px':宽度是响应式的,初始值为 100px,点击后会逐渐增加。height: height + 'px':高度是响应式的,初始值为 100px,点击后会逐渐增加。
🦋3.2 点击触发动画
- 当用户点击
div时,会触发run方法,启动动画。 run方法调用setInterval来每 10 毫秒调用一次animation,使得div的宽度和高度逐渐增大,直到宽度和高度都达到 200px。
🦋3.3 动画过程
- 页面加载时,
div元素的宽度和高度为 100px,背景色为蓝色。 - 当点击
div时,run方法会被触发,定时器开始每 10 毫秒执行一次animation方法。 - 在
animation方法中,width和height的值每次增加 1,直到它们的值都达到 200px。 - 当宽度达到 200px 时,
clearInterval(timer)停止定时器,动画停止。
🔎4. 总结
这段代码通过 Vue 3 实现了一个简单的 JavaScript 动画效果,点击 div 时,元素的宽度和高度逐渐增加,直到达到指定的 200px。主要实现方式如下:
- 使用 Vue 的
ref来创建响应式数据width和height。 - 使用
setInterval实现每 10 毫秒更新一次width和height,从而逐步改变元素的大小。 - 使用 Vue 的动态样式绑定来实时更新
div的宽度和高度。 - 当宽度达到 200px 时,清除定时器,停止动画。
这种方式是通过 JavaScript 控制动画的常见做法,利用 Vue 的响应式系统和定时器来实现平滑的动画效果。
本文参与 腾讯云自媒体同步曝光计划,分享自作者个人站点/博客。
原始发表:2025-05-16,如有侵权请联系 cloudcommunity@tencent.com 删除
评论
登录后参与评论
推荐阅读
目录
腾讯云开发者

Copyright © 2013 - 2026 Tencent Cloud. All Rights Reserved. 腾讯云 版权所有
深圳市腾讯计算机系统有限公司 ICP备案/许可证号:粤B2-20090059 ![]() 粤公网安备44030502008569号
粤公网安备44030502008569号
腾讯云计算(北京)有限责任公司 京ICP证150476号 | 京ICP备11018762号