本文为您详细介绍如何在 CODING 项目协同中筛选事项。
进入项目
1. 登录 CODING 控制台,单击立即使用进入 CODING 使用页面。
2. 单击团队首页左侧的项目,进入项目列表页,选择目标项目。
3. 单击进入左侧菜单栏中的项目协同功能。
功能介绍
在项目协同内,待规划(Scrum 敏捷项目管理模式)、计划(经典项目管理模式)、迭代以及所有事项列表页中,均支持使用筛选器筛选事项,帮助团队成员根据特定条件对事项快速搜索并排序。筛选器包含系统筛选器和自定义筛选器,系统筛选器不可修改和删除。下文将以全部事项为例,演示如何使用与自定义筛选器。
新增筛选条件
在全部事项下方的筛选器中,支持自定义多个属性条件组合筛选事项。

您也可以在搜索框内使用事项“标题”和“描述”模糊搜索事项。其中,支持多个关键字(以空格分隔即可,关系为 or)模糊匹配标题进行搜索。

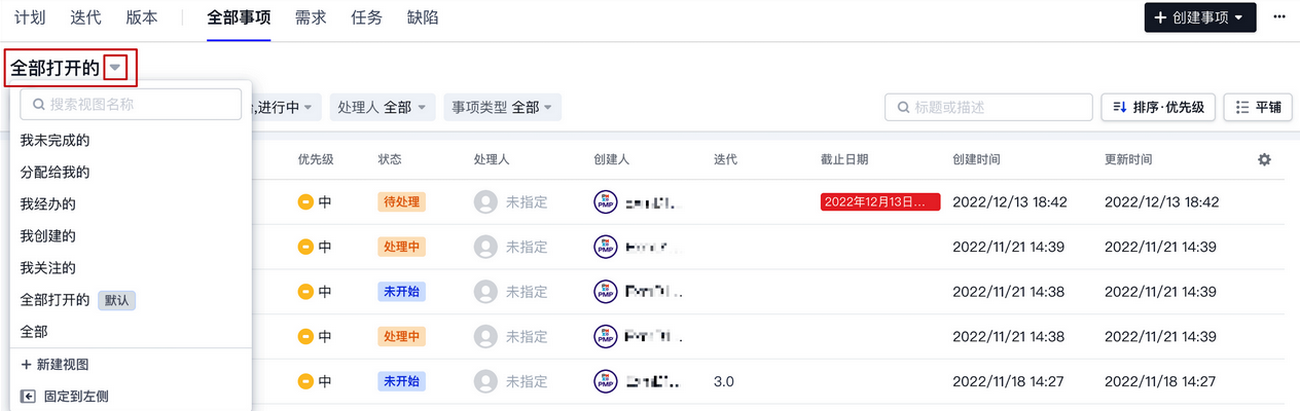
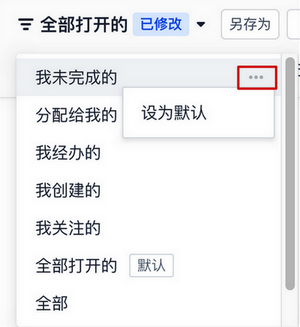
设置默认筛选器
1. 全部事项下方筛选器内置了系统筛选器,不可修改和删除,可以在筛选器右侧下拉菜单中更换搜索条件。
2. 通过筛选条件后方的 
自定义筛选器
创建自定义筛选器
1. 在事项列表左上角的筛选对话框中单击添加筛选条件,修改筛选条件会同步更新至列表顶部。
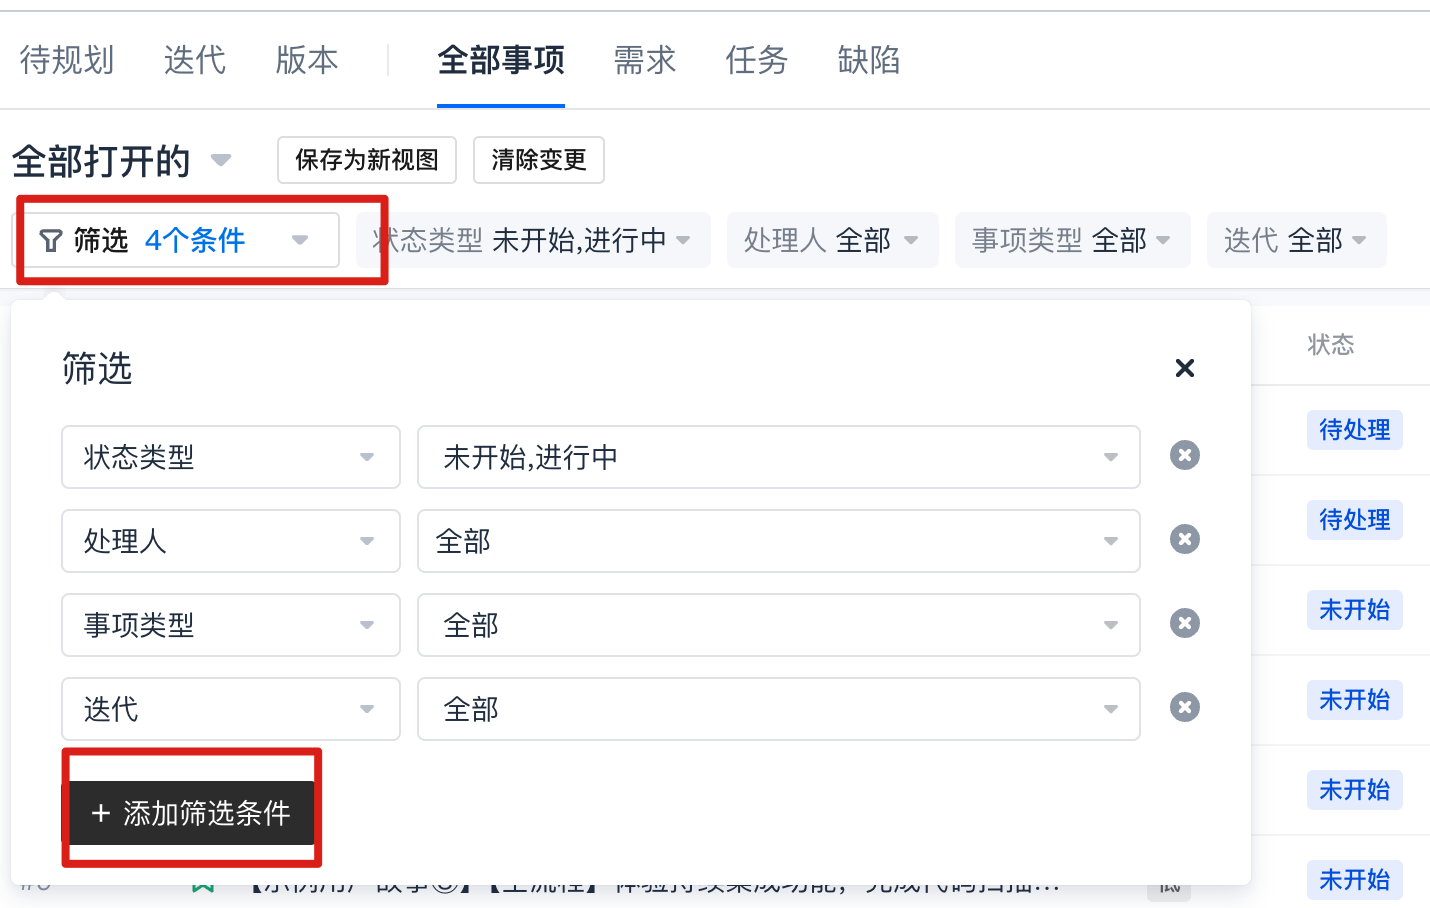
2. 事项表头用于描述各项参数。您可以参考 自定义事项表头 进行调整,以更好地排序筛选后的事项,调整后的表头将保存至当前筛选器条件中。

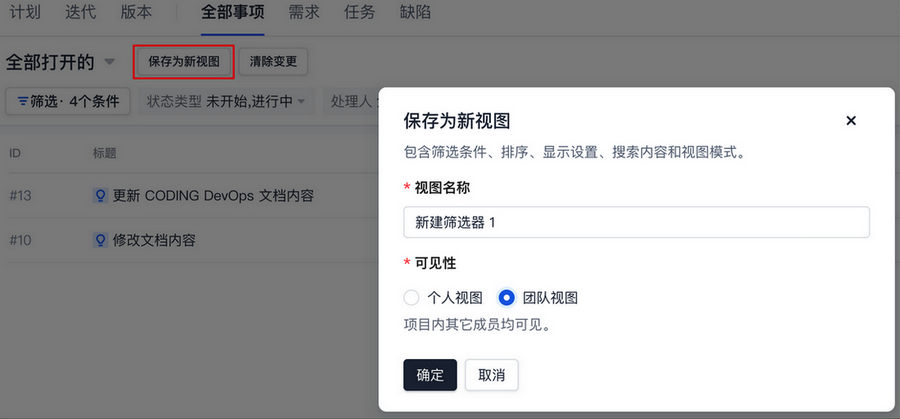
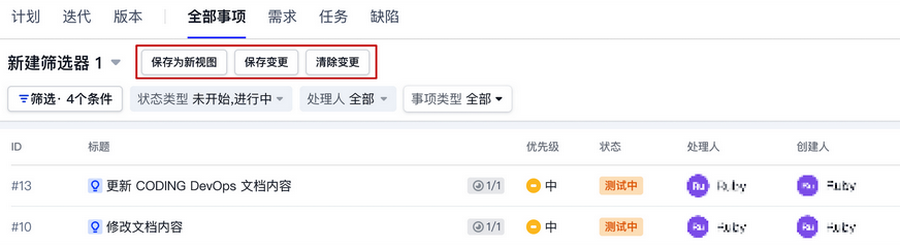
3. 如设置有误,可选择清除变更;筛选器设置无误后选择保存为新视图,输入筛选器名称即可保存。可以设置为团队筛选器,则该筛选器对项目内其他成员可见。
个人视图:仅个人可见,团队内其他成员不可见。
团队视图:项目内其他成员均可见。
4. 保存完毕后,可在筛选器列表的下拉菜单中查看创建成功的自定义筛选器。
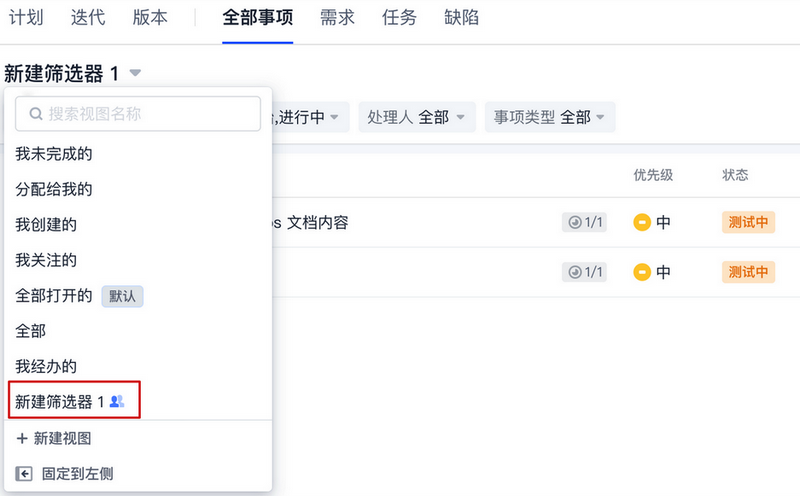
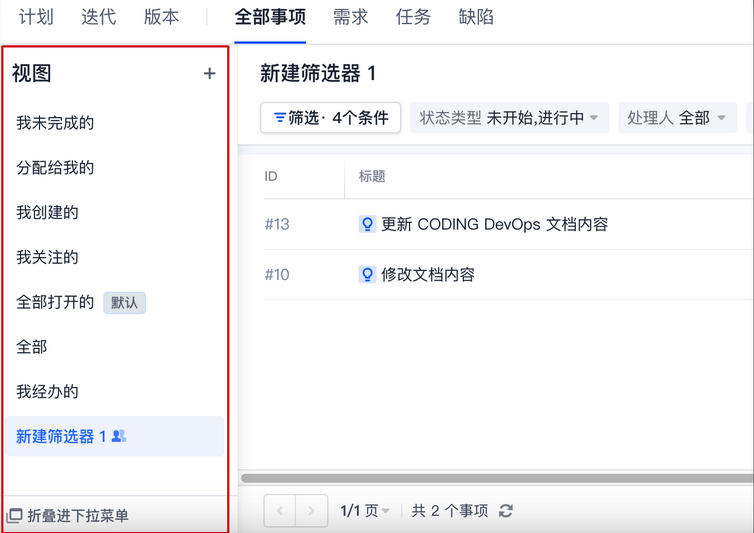
5. 在筛选器列表的下拉菜单中单击固定到左侧,可将筛选器视图固定至左边侧边栏,便于快速切换定位。
修改自定义筛选器
在筛选器列表的下拉菜单中,选择需要修改的自定义筛选器,修改搜索条件和排序方式,选择保存新视图将保存为新筛选器;选择保存变更则将覆盖当前筛选器;如设置有误,可选择清除变更。
删除自定义筛选器
通过筛选列表后方的
···菜单,单击删除视图即可删除自定义筛选器。


