说明
如果您是首次使用云服务器,建议您先选择轻量应用服务器(Lighthouse) 来作为云服务器使用的入门途径,详情请参见 快速配置轻量应用服务器 Linux 实例。轻量应用服务器专为云开发者及云计算入门者设计,您可前往 与云服务器 CVM 对比 了解云服务器与轻量应用服务器的区别。
本文主要介绍如何从零开始,以最简单的方式搭建一个 Linux 云服务器。您可按照以下文档,购买和配置您的第一台包年包月的 Linux 云服务器。
若想了解搭建 Windows 云服务器的入门教程,可以参见 快速配置 Windows 云服务器。
步骤1:注册腾讯云账号
如果您已在腾讯云注册,可忽略此步骤。
步骤2:购买 Linux 云服务器
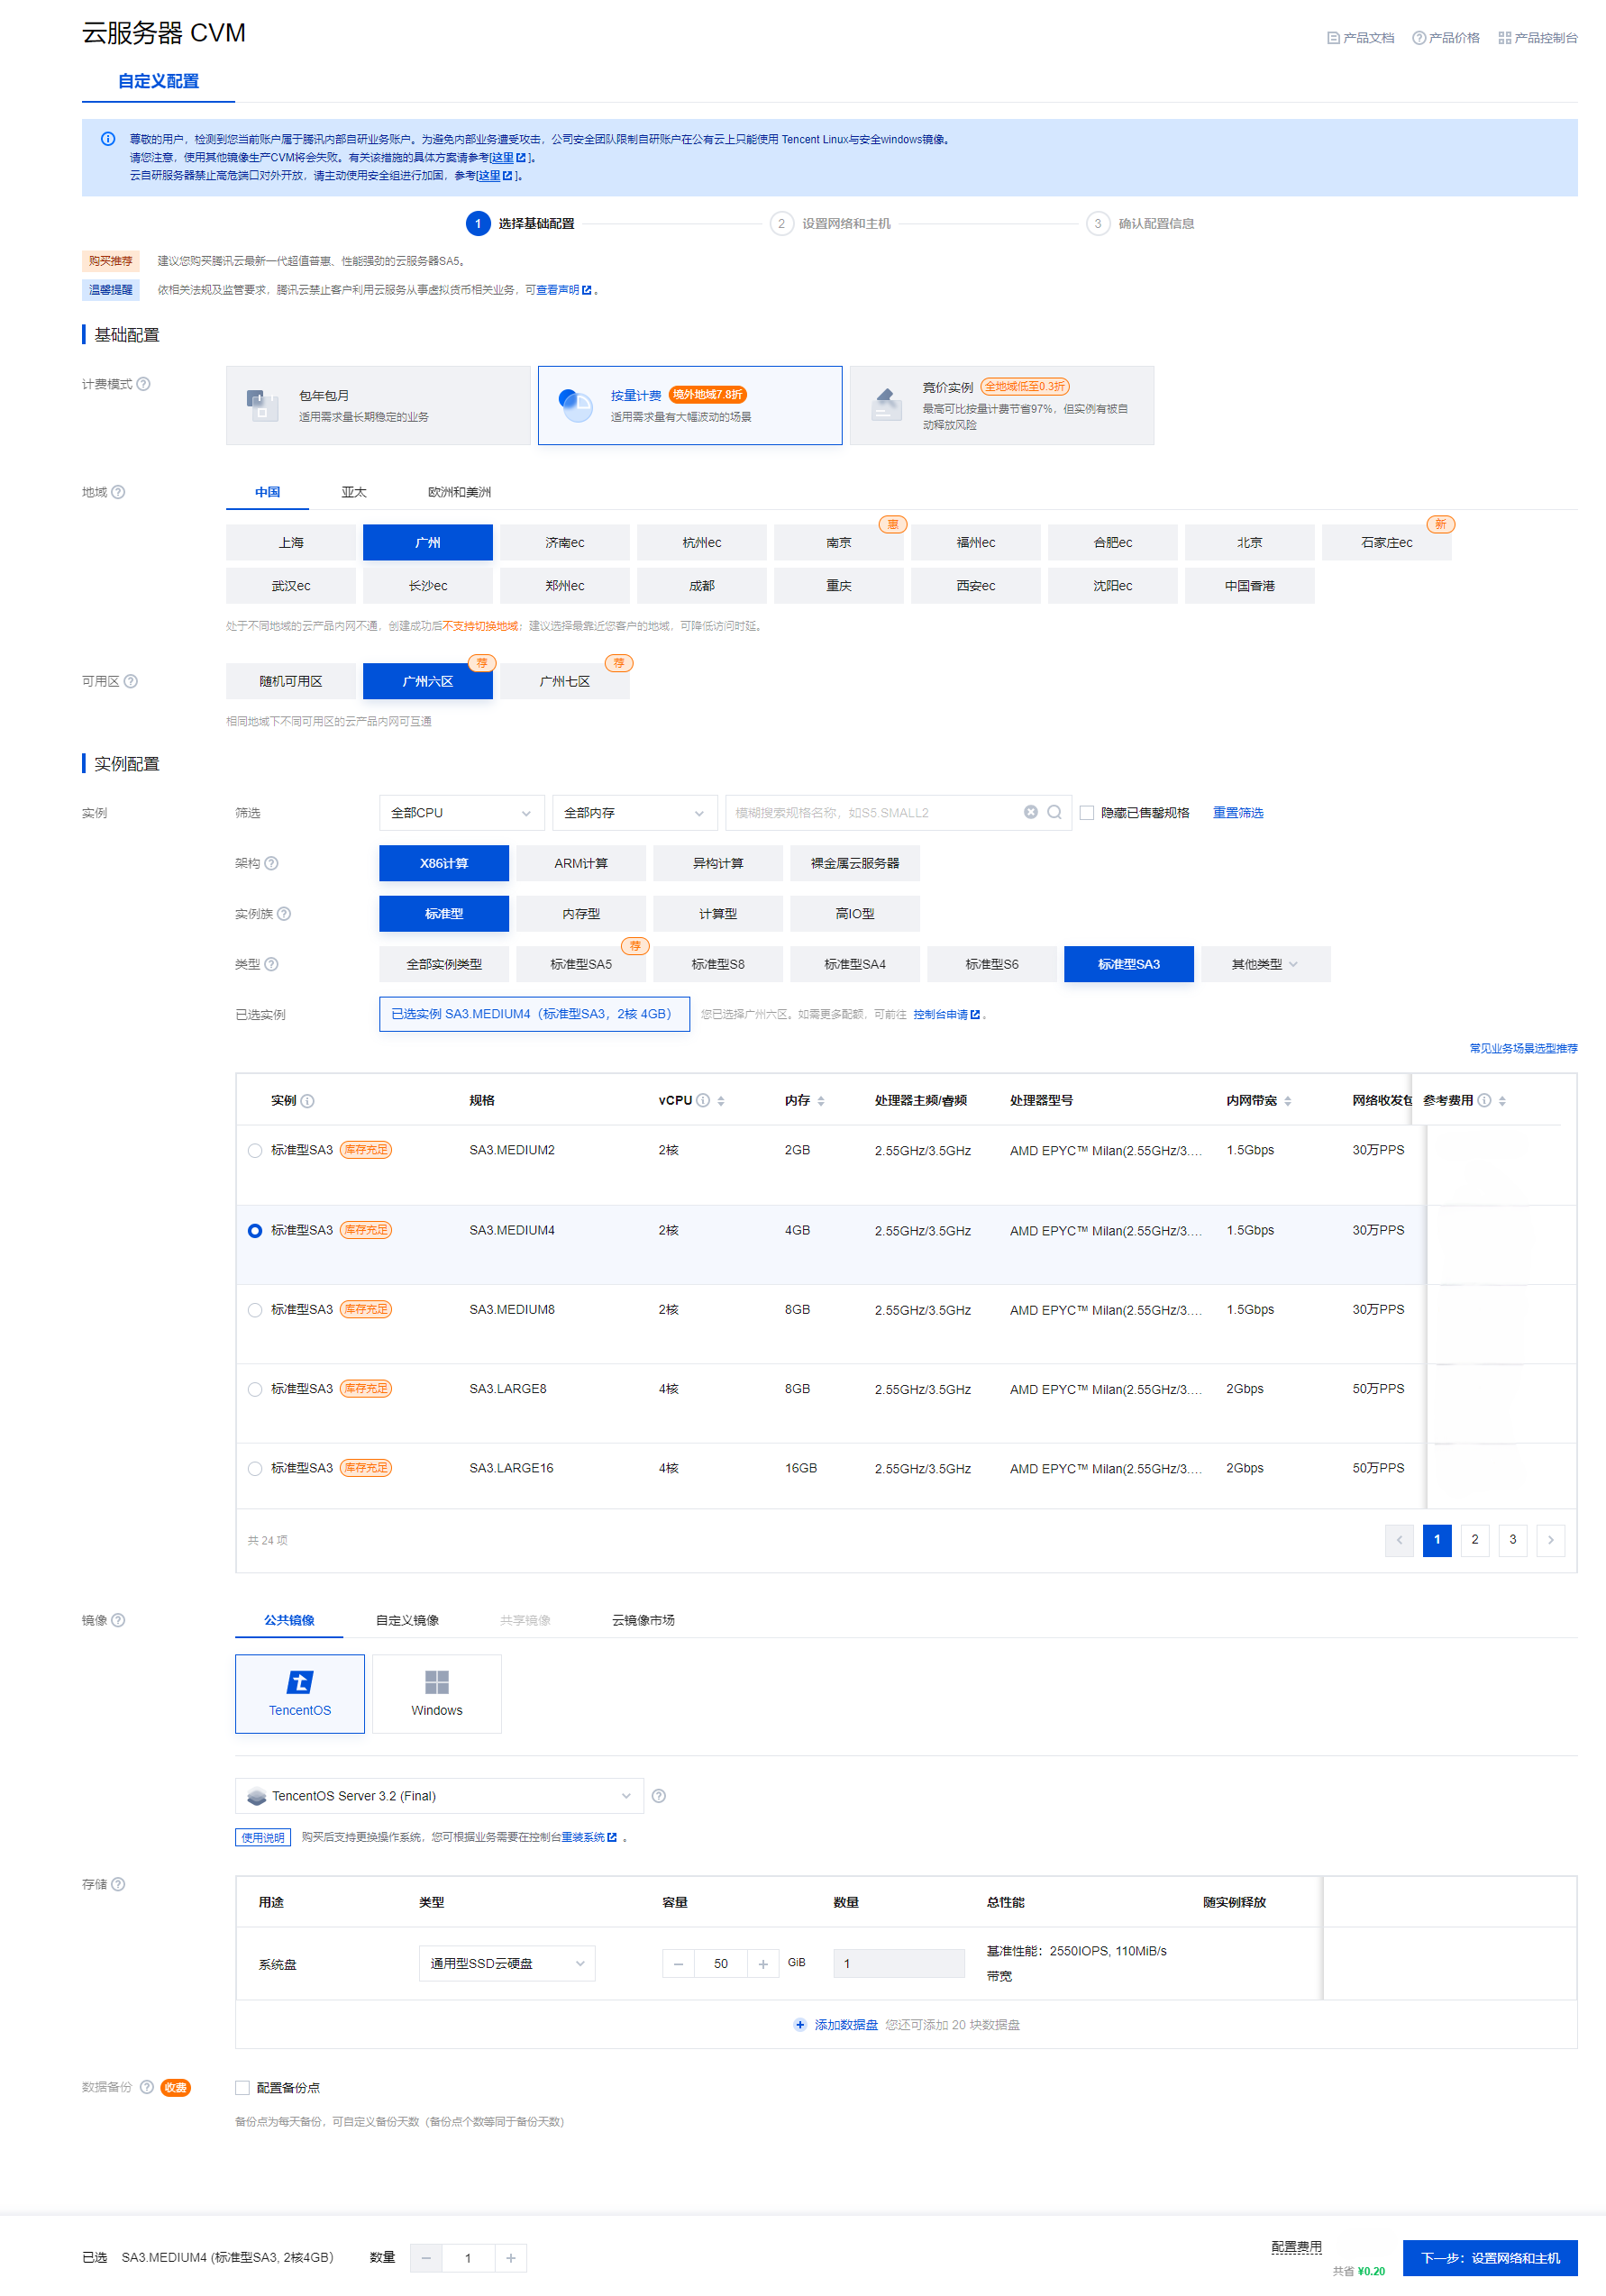
配置说明如下:
配置项 | 说明 |
计费模式 | 根据您的业务需求,选择适合的计费模式。 |
地域 | 选择与您最近的一个地区,例如我在深圳,地域选择广州。 |
实例 | 选择您需要的云服务器机型配置。这里我们选择标准型SA3(2核4 GB)。 |
操作系统 | 选择您需要的云服务器操作系统。这里我们选择 TencentOS Server 3.2 (Final) 。 |
公网 IP | 勾选后会为您分配公网 IP,默认公网带宽为 1Mbps,您可以根据需求调整。 |
登录方式 | |
默认配置 | 可展开查看可用区、安全组等6项默认配置。 |
自动续费 | 勾选后,若账户余额足够,则将在云服务器到期时按月自动续费。 |
协议 | 查阅并了解相关协议后勾选。 |
时长 | 购买时长,默认为1个月。 |
数量 | 购买数量,默认为1台。 |
单击立即购买,并付费完成后,即完成了云服务器的购买。
云服务器可以作为个人虚拟机或者您建站的服务器。接下来,您可以登录您购买的这台服务器。
步骤3:登录云服务器
注意
通过快速配置购买的云服务器,系统将为您自动分配云服务器登录密码并发送到您的站内信中。此密码为登录云服务器的凭据。
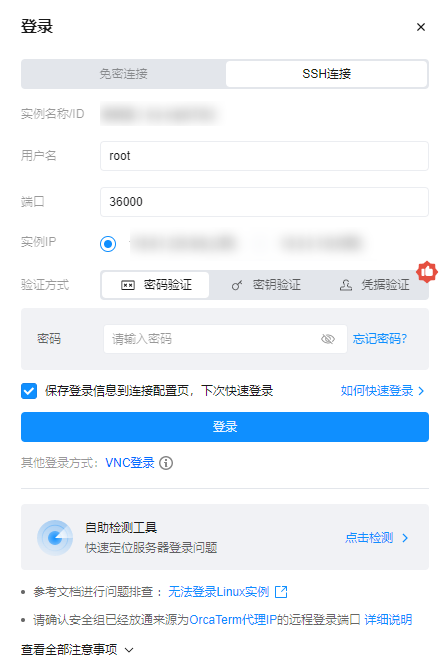
1. 登录 云服务器控制台,在实例列表中找到刚购买的云服务器,在右侧操作栏中单击登录。

2. 在标准登录 | Linux 实例窗口中,输入云服务器的用户名和密码,并单击登录即可正常登录。如下图所示:
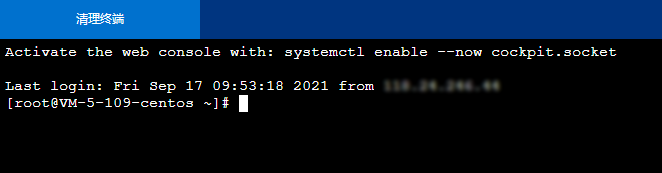
3. 登录成功后,界面如下图所示:
下一步操作:使用云服务器
当您登录云服务器后,即可在云服务器上进行您所需要的操作。常用的任务包括:
您可以根据需要,按照文档指引进行下一步操作。
出现问题?
忘记云服务器登录密码?
请参见 重置实例密码。
登录不成功?如何定位问题?
请参见 无法登录 Linux 实例。


