本文档旨在为您提供多人会议无 UI 集成方案的快速接入指南。借助该方案,开发者能够以极低的接入成本,在 Web 端快速落地企业协同、医疗问诊与会诊、专业咨询、在线小班课等支持 2~300 人实时互动的音视频场景。
该方案将复杂的房间管理、成员状态、设备控制及屏幕共享等核心会议能力,高度抽象为易用的响应式数据、精简接口与事件,并内置了丰富的场景化最佳实践。您在享受响应式开发带来极致便利的同时,拥有对业务 UI 与交互 100% 的自定义控制权,彻底告别设备插拔监听、房间状态同步、视频流懒加载、大小流切换等繁杂的底层技术处理。
适用场景
凭借这套极具弹性的无 UI 集成架构,您可以轻松打破标准化会议产品的界面束缚,将高品质的音视频能力无缝内嵌至现有的业务工作流中。不论是企业内部协作,还是深耕垂直行业的在线服务,都能快速打磨出高度贴合自身品牌调性的互动体验:
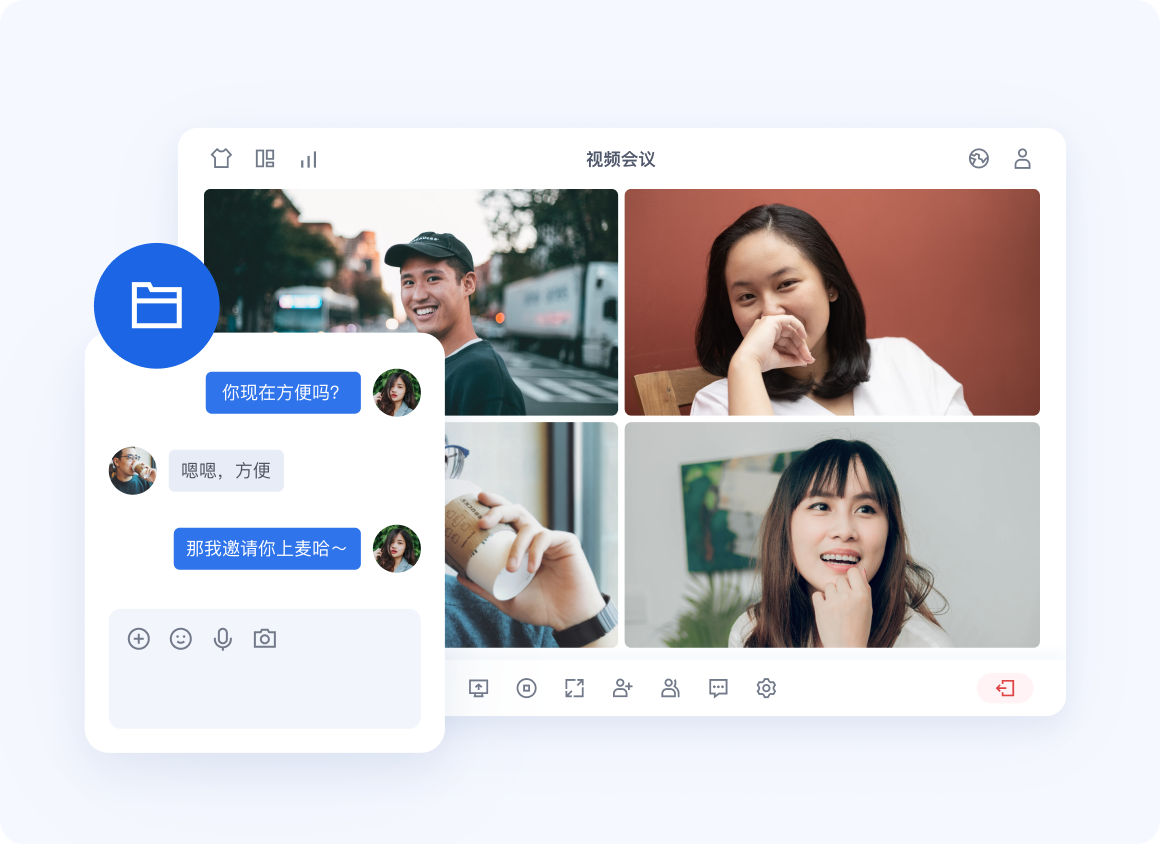
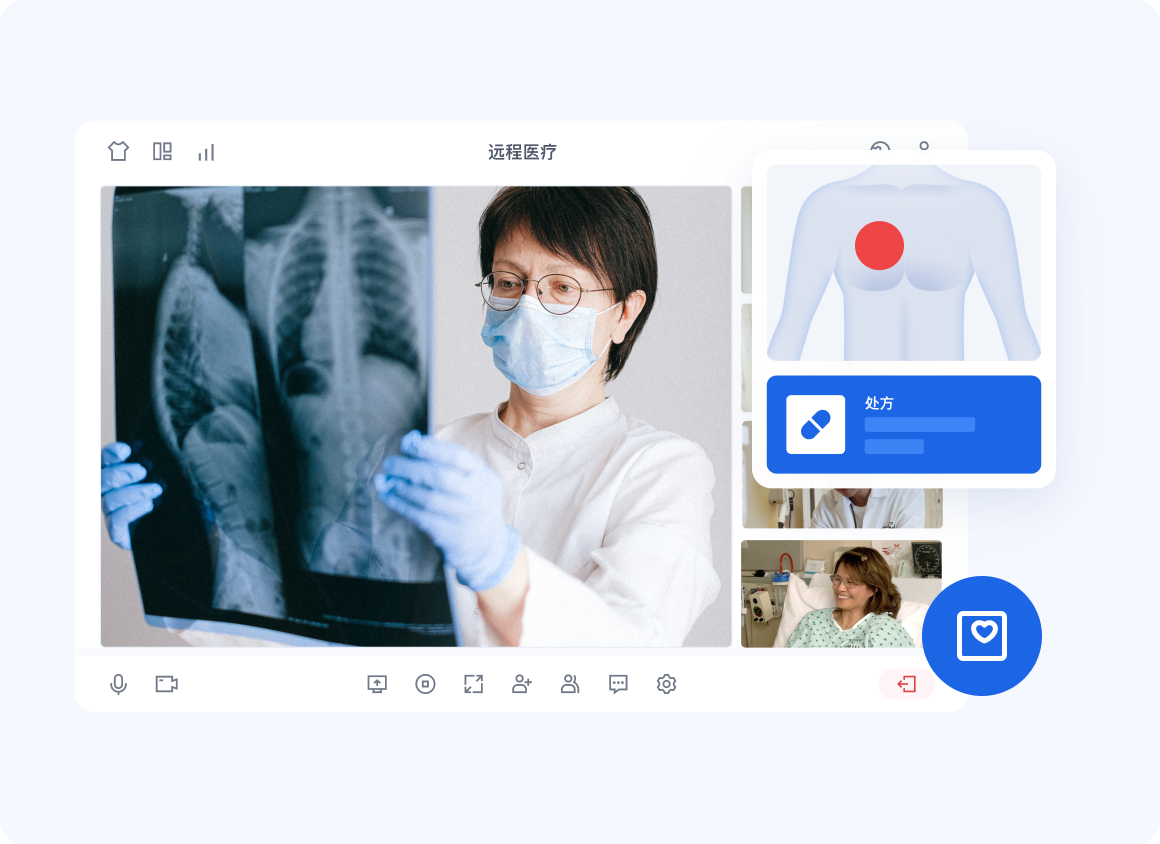
企业协同 | 医疗问诊/医疗会诊 |
 |  |
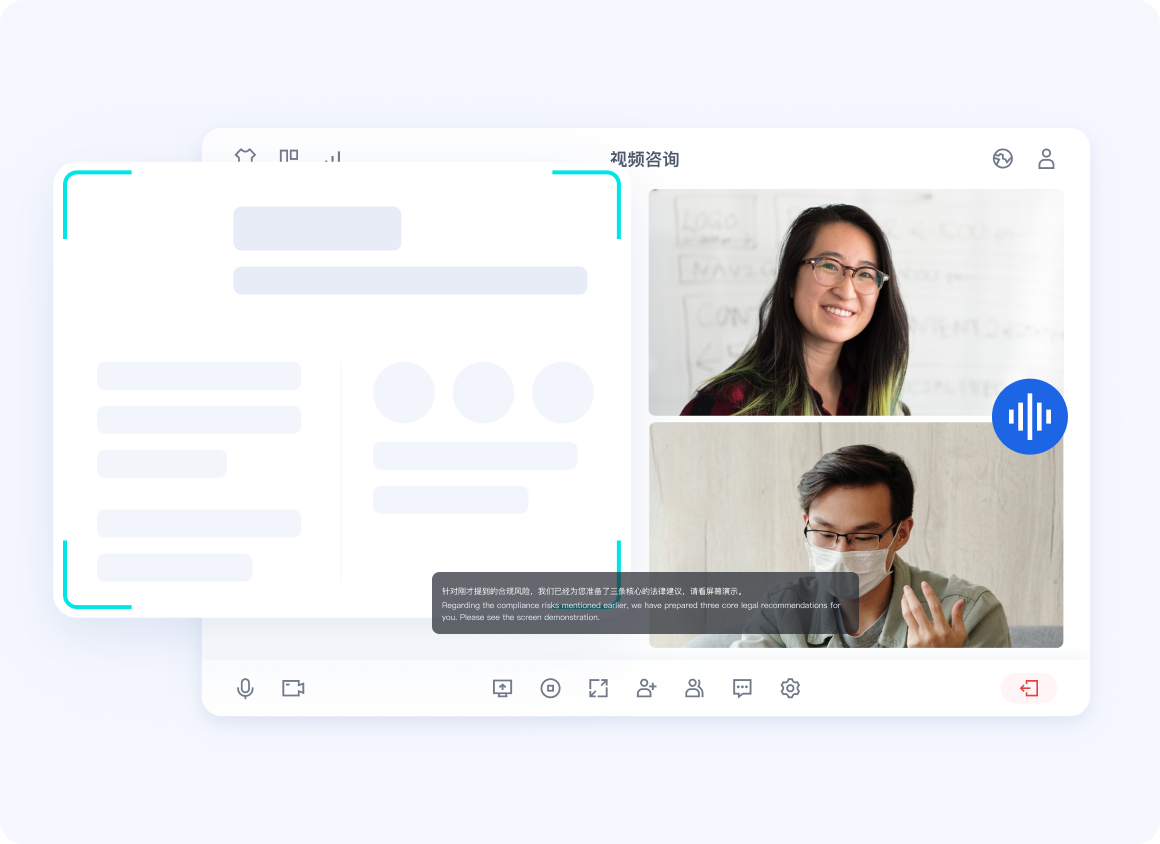
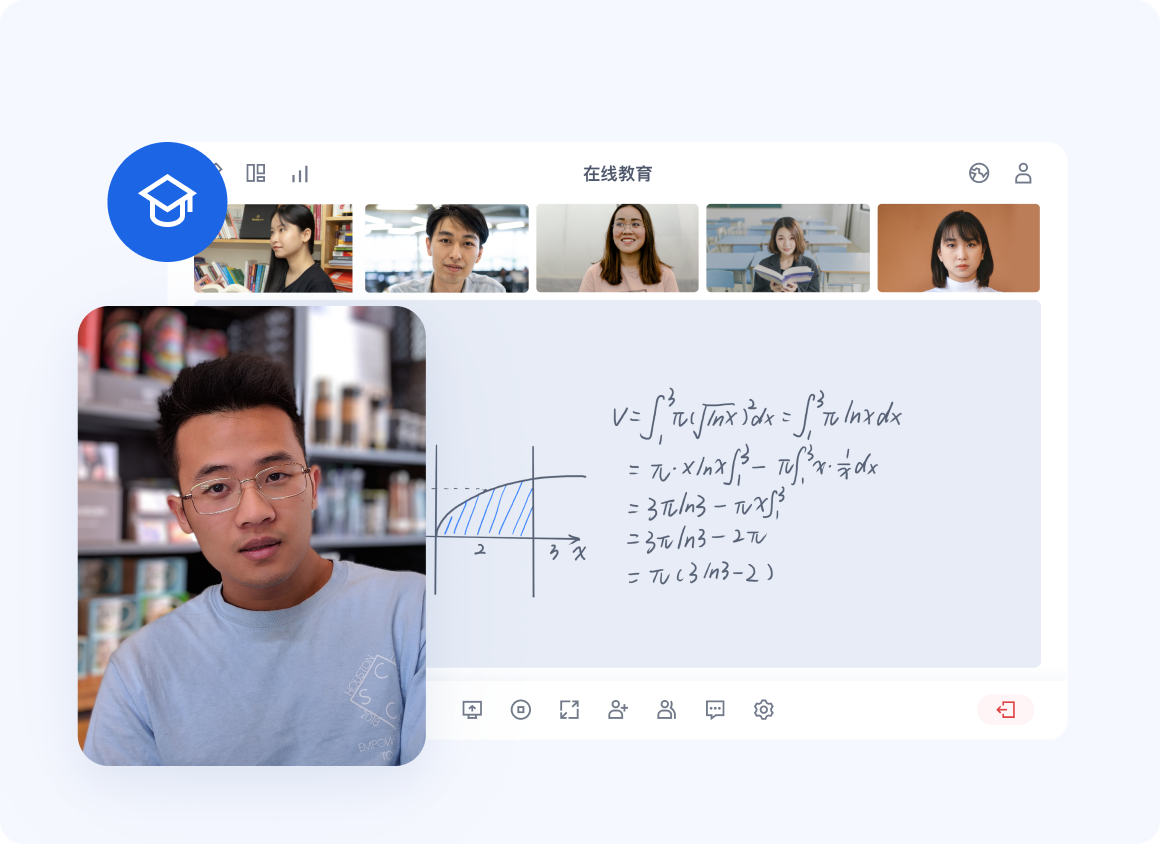
专业咨询 | 在线教育 |
 |  |
除上述典型行业外,只要您的业务核心诉求涵盖 2~300 人并发的高质量实时互动、灵活的会中协作以及严密的会议秩序管控,该方案均能为您提供坚实稳定的技术底座,显著缩短产品的上线周期。
底层能力概览
尽管企业协同、在线教育、医疗问诊等业务面向不同的行业受众,但其底层产品形态高度一致。基于这套多人会议无 UI 底座,您可以轻松应对以下核心需求:
高并发实时互动:支持最高 300 人稳定在会,保障低延迟、高流畅的音视频沟通体验。
严密的会控与秩序管理:提供完善的房主/主持人权限体系,灵活管理成员状态。
动态的会中协作:支持中途灵活加入、高质量屏幕共享与业务内容演示。
开发者只需基于同一套集成方案快速接入,即可在统一的能力底座上,自由构建贴合自身行业特性的产品体验。
准备工作
步骤1:开通服务
步骤2:环境准备
Node.js:≥ 18.19.1 (推荐使用官方 LTS 版本)。
Vue:≥ 3.4.21(Vue3 集成)。
React:≥ 18.2.0(React 集成)。
现代浏览器:支持 WebRTC APIs 的现代浏览器。
设备:摄像头、麦克风、扬声器。
步骤3:安装 Atomicx 依赖
Vue3
npm install tuikit-atomicx-vue3@5 @tencentcloud/uikit-base-component-vue3
pnpm install tuikit-atomicx-vue3@5 @tencentcloud/uikit-base-component-vue3
yarn add tuikit-atomicx-vue3@5 @tencentcloud/uikit-base-component-vue3
React
npm install tuikit-atomicx-react @tencentcloud/uikit-base-component-react
pnpm install tuikit-atomicx-react @tencentcloud/uikit-base-component-react
yarn add tuikit-atomicx-react @tencentcloud/uikit-base-component-react
搭建基础多人房间
下面我们将通过一个最小可用 Demo,快速完成标准会议场景的基础接入。完成本节后,您将获得一个可运行的 Web 会议页面,支持登录鉴权、创建或加入房间、设备控制、房间画面渲染、屏幕分享以及成员列表展示。
步骤1:配置全局 UIKitProvider
先在应用根组件中配置
UIKitProvider。它主要用于提供全局主题和语言配置,建议在 App.vue(Vue3)或 App.tsx(React)中完成初始化。<template><UIKitProvider theme="light" language="zh-CN"><div id="app-content" /></UIKitProvider></template><script setup lang="ts">import { UIKitProvider } from '@tencentcloud/uikit-base-component-vue3';</script>
import { UIKitProvider } from '@tencentcloud/uikit-base-component-react';export default function App() {return (<UIKitProvider theme="light" language="zh-CN"><div id="app-content" /></UIKitProvider>);}
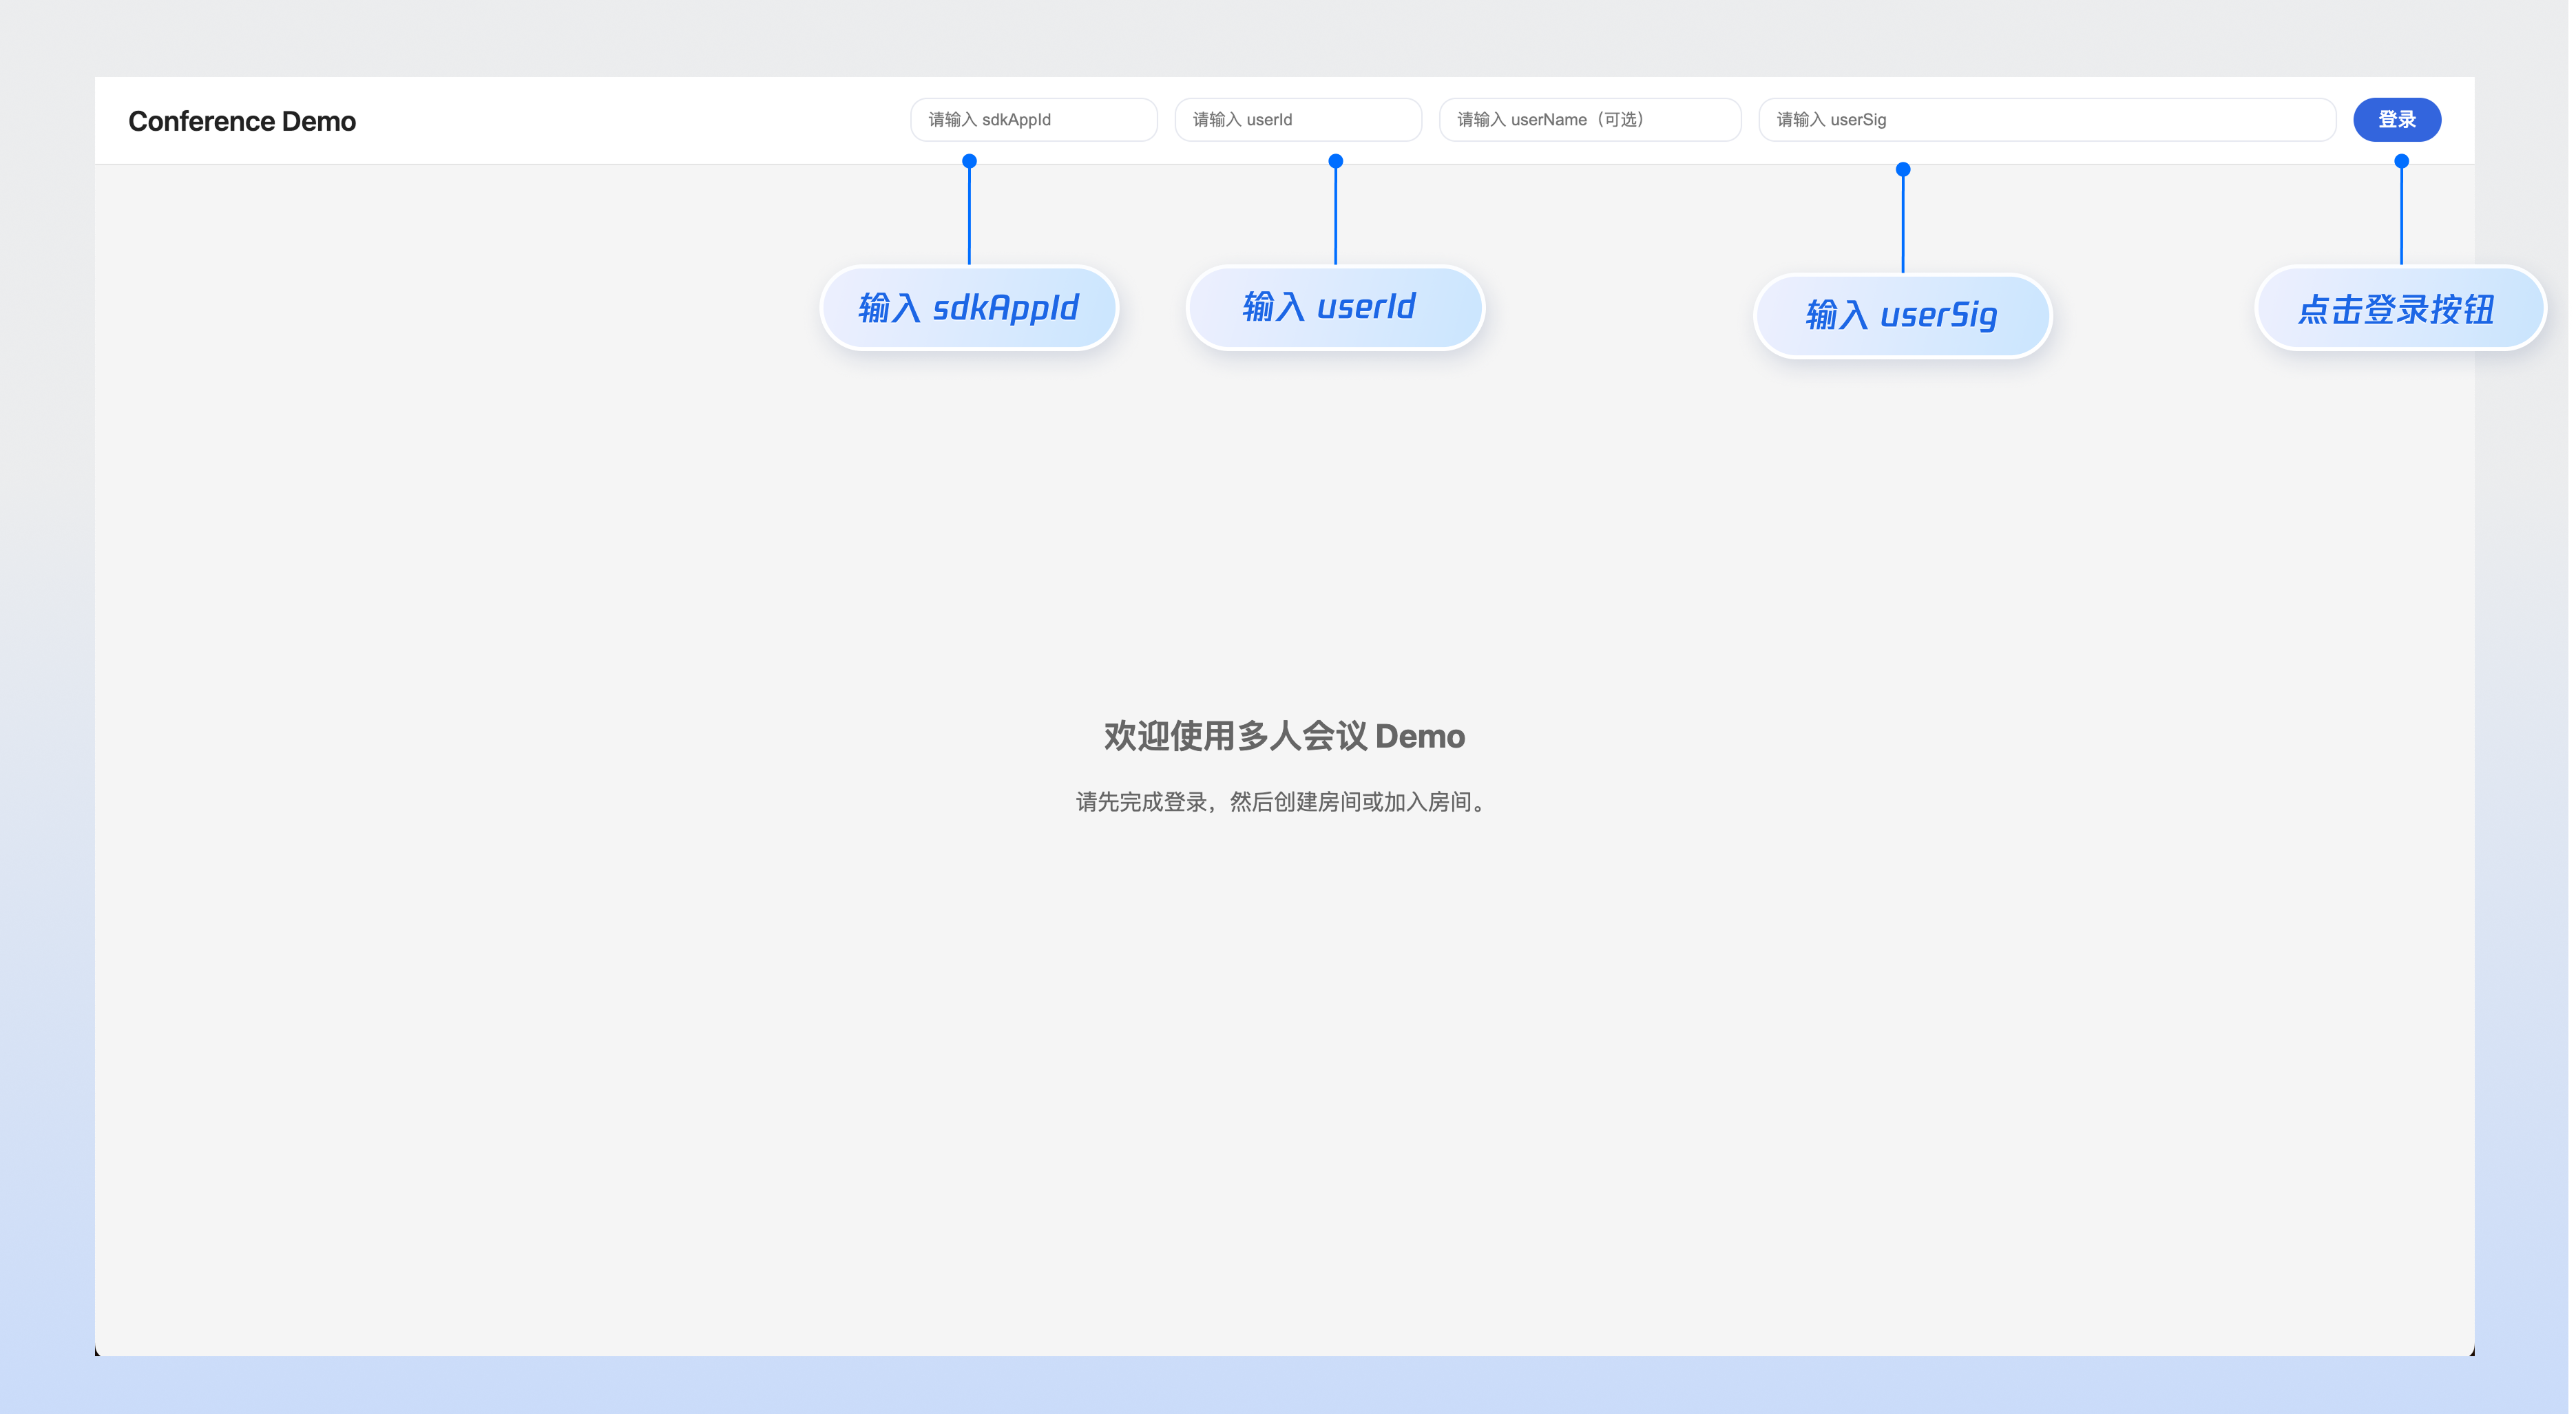
步骤2:登录与身份鉴权
在项目的
src/components 目录下创建 LoginUserInfo.vue(Vue3)或 LoginUserInfo.tsx(React)文件,并拷贝以下代码完成用户登录与退出。<template><div class="login-user-info"><template v-if="loginUserInfo"><span>{{ loginUserInfo.userName || loginUserInfo.userId }}</span><TUIButton type="primary" @click="handleLogout">退出登录</TUIButton></template><template v-else><TUIInput v-model="sdkAppId" style="width: 180px;" placeholder="请输入 sdkAppId" /><TUIInput v-model="userId" style="width: 180px;" placeholder="请输入 userId" /><TUIInput v-model="userName" style="width: 220px;" placeholder="请输入 userName(可选)" /><TUIInput v-model="userSig" style="width: 420px;" :maxLength="2000" placeholder="请输入 userSig" /><TUIButton type="primary" @click="handleLogin">登录</TUIButton></template></div></template><script setup lang="ts">import { ref } from 'vue';import { TUIInput, TUIButton } from '@tencentcloud/uikit-base-component-vue3';import { useLoginState } from 'tuikit-atomicx-vue3';const { loginUserInfo, login, logout, setSelfInfo } = useLoginState();const sdkAppId = ref('');const userId = ref('');const userName = ref('');const userSig = ref('');async function handleLogin() {if (!sdkAppId.value || !userId.value || !userSig.value) {return;}await login({sdkAppId: Number(sdkAppId.value),userId: userId.value,userSig: userSig.value,});if (userName.value) {await setSelfInfo({userName: userName.value,avatarUrl: '',});}}async function handleLogout() {await logout();}</script><style scoped>.login-user-info { display: flex; align-items: center; gap: 12px; flex-wrap: wrap; }</style>
import { useState } from 'react';import { TUIInput, TUIButton, Toast } from '@tencentcloud/uikit-base-component-react';import { useLoginState } from 'tuikit-atomicx-react/room';export default function LoginUserInfo() {const { loginUserInfo, login, logout, setSelfInfo } = useLoginState();const [sdkAppId, setSdkAppId] = useState('');const [userId, setUserId] = useState('');const [userName, setUserName] = useState('');const [userSig, setUserSig] = useState('');async function handleLogin() {if (!sdkAppId || !userId || !userSig) return;await login({sdkAppId: Number(sdkAppId),userId,userSig,});if (userName) {await setSelfInfo({ userName, avatarUrl: '' });}}async function handleLogout() {await logout();}return (<div style={{ display: 'flex', alignItems: 'center', gap: '12px', flexWrap: 'wrap' }}>{loginUserInfo ? (<><span>{loginUserInfo.userName || loginUserInfo.userId}</span><TUIButton type="primary" onClick={handleLogout}>退出登录</TUIButton></>) : (<><TUIInput style={{ width: '180px' }} placeholder="请输入 sdkAppId" value={sdkAppId} onChange={e => setSdkAppId(e.target.value)} /><TUIInput style={{ width: '180px' }} placeholder="请输入 userId" value={userId} onChange={e => setUserId(e.target.value)} /><TUIInput style={{ width: '220px' }} placeholder="请输入 userName(可选)" value={userName} onChange={e => setUserName(e.target.value)} /><TUIInput style={{ width: '420px' }} maxLength={2000} placeholder="请输入 userSig" value={userSig} onChange={e => setUserSig(e.target.value)} /><TUIButton type="primary" onClick={handleLogin}>登录</TUIButton></>)}</div>);}
为了快速体验,您可以先通过控制台或 UserSig 工具生成测试用
userSig。正式环境请改为由业务服务端签发。步骤3:创建或加入房间
在项目的
src/components 目录下创建 RoomControl.vue(Vue3)或 RoomControl.tsx(React)文件,并拷贝以下代码完成房间生命周期管理。<template><div class="room-control"><template v-if="!currentRoom"><TUIInput v-model="roomId" style="max-width: 200px;" placeholder="请输入房间 ID" /><TUIButton type="primary" @click="handleCreateRoom">创建房间</TUIButton><TUIButton type="primary" @click="handleJoinRoom">加入房间</TUIButton></template><template v-else><span>房间 ID:{{ currentRoom.roomId }}</span><TUIButton type="primary" @click="handleLeaveRoom">离开房间</TUIButton><TUIButton v-if="localParticipant?.role === RoomParticipantRole.Owner" type="primary" @click="handleEndRoom">结束房间</TUIButton></template></div></template><script setup lang="ts">import { ref } from 'vue';import { TUIInput, TUIButton, TUIToast } from '@tencentcloud/uikit-base-component-vue3';import { useRoomState, useRoomParticipantState, RoomParticipantRole } from 'tuikit-atomicx-vue3/room';const { currentRoom, createAndJoinRoom, joinRoom, leaveRoom, endRoom } = useRoomState();const { localParticipant } = useRoomParticipantState();const roomId = ref('');async function handleCreateRoom() {try {await createAndJoinRoom({ roomId: roomId.value, options: { roomName: '临时房间' } });TUIToast.success({ message: '创建房间成功' });} catch {TUIToast.error({ message: '创建房间失败,请重试' });}}async function handleJoinRoom() {try {await joinRoom({ roomId: roomId.value });TUIToast.success({ message: '加入房间成功' });} catch {TUIToast.error({ message: '加入房间失败,请重试' });}}async function handleLeaveRoom() {await leaveRoom();}async function handleEndRoom() {await endRoom();}</script><style scoped>.room-control { display: flex; align-items: center; gap: 12px; flex-wrap: wrap; padding: 16px; background: #fff; border: 1px solid #e5e5e5; border-radius: 8px; flex: 1; min-width: 300px; }</style>
import { useState } from 'react';import { TUIInput, TUIButton, Toast } from '@tencentcloud/uikit-base-component-react';import { useRoomState, useRoomParticipantState, RoomParticipantRole } from 'tuikit-atomicx-react/room';export default function RoomControl() {const { currentRoom, createAndJoinRoom, joinRoom, leaveRoom, endRoom } = useRoomState();const { localParticipant } = useRoomParticipantState();const [roomId, setRoomId] = useState('');async function handleCreateRoom() {try {await createAndJoinRoom({ roomId, options: { roomName: '临时房间' } });Toast.success({ message: '创建房间成功' });} catch {Toast.error({ message: '创建房间失败,请重试' });}}async function handleJoinRoom() {try {await joinRoom({ roomId });Toast.success({ message: '加入房间成功' });} catch {Toast.error({ message: '加入房间失败,请重试' });}}return (<div style={{ display: 'flex', alignItems: 'center', gap: '12px', flexWrap: 'wrap', padding: '16px', background: '#fff', border: '1px solid #e5e5e5', borderRadius: '8px', flex: 1, minWidth: '300px' }}>{!currentRoom ? (<><div style={{ width: '200px', flexShrink: 0 }}><TUIInput placeholder="请输入房间 ID" value={roomId} onChange={e => setRoomId(e.target.value)} /></div><TUIButton type="primary" onClick={handleCreateRoom}>创建房间</TUIButton><TUIButton type="primary" onClick={handleJoinRoom}>加入房间</TUIButton></>) : (<><span>房间 ID:{currentRoom.roomId}</span><TUIButton type="primary" onClick={() => leaveRoom()}>离开房间</TUIButton>{localParticipant?.role === RoomParticipantRole.Owner && (<TUIButton type="primary" onClick={() => endRoom()}>结束房间</TUIButton>)}</>)}</div>);}
本示例同时提供“创建房间”和“加入房间”两个入口,方便使用两个测试账号完成联调。
步骤4:媒体设备与屏幕分享
在项目的
src/components 目录下创建 DeviceControl.vue(Vue3)或 DeviceControl.tsx(React)文件,并拷贝以下代码完成摄像头、麦克风和屏幕分享控制。<template><div class="device-control"><TUIButton type="primary" @click="toggleCamera">{{ isLocalCameraOpen ? '关闭摄像头' : '打开摄像头' }}</TUIButton><TUIButton type="primary" @click="toggleMicrophone">{{ isLocalMicrophoneOpen ? '关闭麦克风' : '打开麦克风' }}</TUIButton><TUIButton type="primary" @click="toggleScreenShare">{{ isScreenSharing ? '停止共享' : '共享屏幕' }}</TUIButton></div></template><script setup lang="ts">import { computed } from 'vue';import { TUIButton, TUIToast } from '@tencentcloud/uikit-base-component-vue3';import { DeviceStatus, useDeviceState } from 'tuikit-atomicx-vue3/room';const {cameraStatus,microphoneStatus,screenStatus,openLocalCamera,closeLocalCamera,openLocalMicrophone,closeLocalMicrophone,startScreenShare,stopScreenShare,} = useDeviceState();const isLocalCameraOpen = computed(() => cameraStatus.value === DeviceStatus.On);const isLocalMicrophoneOpen = computed(() => microphoneStatus.value === DeviceStatus.On);const isScreenSharing = computed(() => screenStatus.value === DeviceStatus.On);async function toggleCamera() {try {if (isLocalCameraOpen.value) {await closeLocalCamera();} else {await openLocalCamera();}} catch {TUIToast.error({ message: '摄像头操作失败,请检查设备权限' });}}async function toggleMicrophone() {try {if (isLocalMicrophoneOpen.value) {await closeLocalMicrophone();} else {await openLocalMicrophone();}} catch {TUIToast.error({ message: '麦克风操作失败,请检查设备权限' });}}async function toggleScreenShare() {try {if (isScreenSharing.value) {await stopScreenShare();} else {await startScreenShare({ screenAudio: true });}} catch {TUIToast.error({ message: '屏幕共享失败,请检查浏览器权限' });}}</script><style scoped>.device-control { display: flex; align-items: center; gap: 12px; flex-wrap: wrap; padding: 16px; background: #fff; border: 1px solid #e5e5e5; border-radius: 8px; flex: 1; min-width: 300px; }</style>
import { TUIButton, Toast } from '@tencentcloud/uikit-base-component-react';import { DeviceStatus, useDeviceState } from 'tuikit-atomicx-react/room';export default function DeviceControl() {const {cameraStatus,microphoneStatus,screenStatus,openLocalCamera,closeLocalCamera,openLocalMicrophone,closeLocalMicrophone,startScreenShare,stopScreenShare,} = useDeviceState();const isLocalCameraOpen = cameraStatus === DeviceStatus.On;const isLocalMicrophoneOpen = microphoneStatus === DeviceStatus.On;const isScreenSharing = screenStatus === DeviceStatus.On;async function toggleCamera() {try {if (isLocalCameraOpen) {await closeLocalCamera();} else {await openLocalCamera();}} catch {Toast.error({ message: '摄像头操作失败,请检查设备权限' });}}async function toggleMicrophone() {try {if (isLocalMicrophoneOpen) {await closeLocalMicrophone();} else {await openLocalMicrophone();}} catch {Toast.error({ message: '麦克风操作失败,请检查设备权限' });}}async function toggleScreenShare() {try {if (isScreenSharing) {await stopScreenShare();} else {await startScreenShare({ screenAudio: true });}} catch {Toast.error({ message: '屏幕共享失败,请检查浏览器权限' });}}return (<div style={{ display: 'flex', alignItems: 'center', gap: '12px', flexWrap: 'wrap', padding: '16px', background: '#fff', border: '1px solid #e5e5e5', borderRadius: '8px', flex: 1, minWidth: '300px' }}><TUIButton type="primary" onClick={toggleCamera}>{isLocalCameraOpen ? '关闭摄像头' : '打开摄像头'}</TUIButton><TUIButton type="primary" onClick={toggleMicrophone}>{isLocalMicrophoneOpen ? '关闭麦克风' : '打开麦克风'}</TUIButton><TUIButton type="primary" onClick={toggleScreenShare}>{isScreenSharing ? '停止共享' : '共享屏幕'}</TUIButton></div>);}
步骤5:视频区域及成员列表
在项目的
src/components 目录下创建 ConferenceRoom.vue(Vue3)或 ConferenceRoom.tsx(React)文件,并拷贝以下代码完成会议主区域渲染。<template><div v-if="currentRoom" class="conference-room"><div class="conference-content"><div class="room-stage"><RoomView><template #participantViewUI="{ participant, streamType }"><divv-if="participant":class="['participant-overlay', { 'participant-overlay--camera-off': isCameraOff(participant, streamType) }]"><Avatarv-if="isCameraOff(participant, streamType)"class="participant-avatar"size="xxl":src="participant.avatarUrl":user-id="participant.userId"/><div v-if="isLocalScreenStream(participant, streamType)" class="screen-share-mask">正在屏幕分享中</div><div class="participant-tag"><span>{{ participant.userName || participant.userId }}</span><span v-if="participant.microphoneStatus !== DeviceStatus.On && !isScreen(streamType)">麦克风已关闭</span><span v-if="isScreen(streamType)">屏幕共享中</span></div></div></template></RoomView></div><aside class="member-panel"><div class="member-title">参会者({{ currentRoom.participantCount || participantList.length }})</div><div v-for="participant in participantList" :key="participant.userId" class="member-item"><div class="member-name"><span>{{ participant.userName || participant.userId }}</span><span v-if="isRoomOwner(participant.userId)" class="member-role-tag">房主</span></div><div class="member-status"><span>{{ participant.cameraStatus === DeviceStatus.On ? '开摄像头' : '关摄像头' }}</span><span>{{ participant.microphoneStatus === DeviceStatus.On ? '开麦克风' : '关麦克风' }}</span></div></div></aside></div></div><div v-else class="empty-state">请先创建房间或加入已有房间</div></template><script setup lang="ts">import { watch } from 'vue';import {Avatar,DeviceStatus,RoomView,useRoomParticipantState,useRoomState,VideoStreamType,} from 'tuikit-atomicx-vue3/room';const { currentRoom } = useRoomState();const { participantList, getParticipantList, localParticipant } = useRoomParticipantState();watch(() => currentRoom.value?.roomId,async (roomId, oldRoomId) => {if (!oldRoomId && roomId) {await getParticipantList({ cursor: '' });}},);function isScreen(streamType: VideoStreamType) {return streamType === VideoStreamType.Screen;}function isCameraOff(participant: { cameraStatus?: DeviceStatus }, streamType: VideoStreamType) {return !isScreen(streamType) && participant.cameraStatus !== DeviceStatus.On;}function isLocalScreenStream(participant: { userId?: string }, streamType: VideoStreamType) {return isScreen(streamType) && participant.userId === localParticipant.value?.userId;}function isRoomOwner(userId?: string) {return userId === currentRoom.value?.roomOwner.userId;}</script><style scoped>.conference-room { display: flex; flex-direction: column; gap: 16px; min-height: 0; }.conference-content { display: flex; gap: 16px; min-height: 520px; }.room-stage { flex: 1; background: #fff; border: 1px solid #e5e5e5; border-radius: 8px; overflow: hidden; }.member-panel { width: 280px; padding: 16px; background: #fff; border: 1px solid #e5e5e5; border-radius: 8px; overflow-y: auto; }.member-title { margin-bottom: 12px; font-weight: 600; }.member-item { padding: 10px 0; border-bottom: 1px solid #f5f5f5; }.member-name { display: flex; align-items: center; gap: 8px; font-size: 14px; color: #222; margin-bottom: 4px; }.member-role-tag { padding: 2px 6px; border-radius: 10px; background: rgba(0, 82, 217, 0.12); color: #0052d9; font-size: 12px; line-height: 1; }.member-status { display: flex; gap: 8px; font-size: 12px; color: #888; }.participant-overlay { position: absolute; inset: 0; }.participant-overlay--camera-off { background: #f3f4f6; }.participant-avatar { position: absolute; top: 50%; left: 50%; transform: translate(-50%, -50%); }.screen-share-mask { position: absolute; inset: 0; display: flex; align-items: center; justify-content: center; background: rgba(0, 0, 0, 0.45); color: #fff; font-size: 18px; font-weight: 600; }.participant-tag { position: absolute; left: 12px; bottom: 12px; display: flex; gap: 8px; padding: 6px 10px; border-radius: 14px; background: rgba(0, 0, 0, 0.65); color: #fff; font-size: 12px; }.empty-state { min-height: 520px; display: flex; align-items: center; justify-content: center; color: #999; background: #fff; border: 1px dashed #d9d9d9; border-radius: 8px; }</style>
import { useEffect, useRef } from 'react';import {Avatar,DeviceStatus,RoomView,useRoomParticipantState,useRoomState,VideoStreamType,} from 'tuikit-atomicx-react/room';export default function ConferenceRoom() {const { currentRoom } = useRoomState();const { participantList, getParticipantList, localParticipant } = useRoomParticipantState();const prevRoomIdRef = useRef<string | undefined>(undefined);useEffect(() => {const roomId = currentRoom?.roomId;if (!prevRoomIdRef.current && roomId) {getParticipantList({ cursor: '' });}prevRoomIdRef.current = roomId;}, [currentRoom?.roomId]);function isRoomOwner(userId?: string) {return userId === currentRoom?.roomOwner.userId;}if (!currentRoom) {return (<div style={{ minHeight: '520px', display: 'flex', alignItems: 'center', justifyContent: 'center', color: '#999', background: '#fff', border: '1px dashed #d9d9d9', borderRadius: '8px' }}>请先创建房间或加入已有房间</div>);}return (<div style={{ display: 'flex', flexDirection: 'column', gap: '16px', minHeight: 0 }}><div style={{ display: 'flex', gap: '16px', minHeight: '520px' }}><div style={{ flex: 1, background: '#fff', border: '1px solid #e5e5e5', borderRadius: '8px', overflow: 'hidden' }}><RoomViewrenderParticipantView={({ participant, streamType }) => {const isScreen = streamType === VideoStreamType.Screen;const isCameraOff = !isScreen && participant.cameraStatus !== DeviceStatus.On;const isLocalScreen = isScreen && participant.userId === localParticipant?.userId;return (<div style={{ position: 'absolute', inset: 0, background: isCameraOff ? '#f3f4f6' : undefined }}>{isCameraOff && (<Avatarstyle={{ position: 'absolute', top: '50%', left: '50%', transform: 'translate(-50%, -50%)' }}size="xxl"src={participant.avatarUrl}/>)}{isLocalScreen && (<div style={{ position: 'absolute', inset: 0, display: 'flex', alignItems: 'center', justifyContent: 'center', background: 'rgba(0,0,0,0.45)', color: '#fff', fontSize: '18px', fontWeight: 600 }}>正在屏幕分享中</div>)}<div style={{ position: 'absolute', left: '12px', bottom: '12px', display: 'flex', gap: '8px', padding: '6px 10px', borderRadius: '14px', background: 'rgba(0,0,0,0.65)', color: '#fff', fontSize: '12px' }}><span>{participant.userName || participant.userId}</span>{!isScreen && participant.microphoneStatus !== DeviceStatus.On && <span>麦克风已关闭</span>}{isScreen && <span>屏幕共享中</span>}</div></div>);}}/></div><aside style={{ width: '280px', padding: '16px', background: '#fff', border: '1px solid #e5e5e5', borderRadius: '8px', overflowY: 'auto' }}><div style={{ marginBottom: '12px', fontWeight: 600 }}>参会者({currentRoom.participantCount || participantList.length})</div>{participantList.map(participant => (<div key={participant.userId} style={{ padding: '10px 0', borderBottom: '1px solid #f5f5f5' }}><div style={{ display: 'flex', alignItems: 'center', gap: '8px', fontSize: '14px', color: '#222', marginBottom: '4px' }}><span>{participant.userName || participant.userId}</span>{isRoomOwner(participant.userId) && (<span style={{ padding: '2px 6px', borderRadius: '10px', background: 'rgba(0,82,217,0.12)', color: '#0052d9', fontSize: '12px' }}>房主</span>)}</div><div style={{ display: 'flex', gap: '8px', fontSize: '12px', color: '#888' }}><span>{participant.cameraStatus === DeviceStatus.On ? '开摄像头' : '关摄像头'}</span><span>{participant.microphoneStatus === DeviceStatus.On ? '开麦克风' : '关麦克风'}</span></div></div>))}</aside></div></div>);}
RoomView 负责房间中的布局组织与视频画面渲染,您可以通过视频挂件接口补充成员名称、设备状态、本地屏幕分享遮罩等自定义 UI(Vue3 使用 participantViewUI 插槽,React 使用 renderParticipantView prop)。同时,您也可以基于 useRoomParticipantState 获取成员数据,自行渲染成员面板。步骤6:组装完整页面
完成以上组件后,您可以回到
src/App.vue(Vue3)或 src/App.tsx(React)中将它们组装为一个完整页面。<template><UIKitProvider theme="light" language="zh-CN"><div class="app-container"><header class="app-header"><h1 class="app-title">Conference Demo</h1><LoginUserInfo /></header><main v-if="loginUserInfo" class="app-main"><div class="control-panel"><RoomControl /><DeviceControl /></div><ConferenceRoom /></main><div v-else class="welcome-screen"><div class="welcome-content"><h2>欢迎使用多人会议 Demo</h2><p>请先完成登录,然后创建房间或加入房间。</p></div></div></div></UIKitProvider></template><script setup lang="ts">import { UIKitProvider } from '@tencentcloud/uikit-base-component-vue3';import { useLoginState } from 'tuikit-atomicx-vue3';import LoginUserInfo from './components/LoginUserInfo.vue';import DeviceControl from './components/DeviceControl.vue';import RoomControl from './components/RoomControl.vue';import ConferenceRoom from './components/ConferenceRoom.vue';const { loginUserInfo } = useLoginState();</script><style>* { box-sizing: border-box; }html, body, #app { width: 100%; height: 100%; margin: 0; }body { font-family: -apple-system, BlinkMacSystemFont, 'Segoe UI', 'PingFang SC', 'Microsoft YaHei', sans-serif; background: #f5f5f5; }.app-container { width: 100%; height: 100%; display: flex; flex-direction: column; }.app-header { padding: 16px 24px; background: #fff; border-bottom: 1px solid #e5e5e5; display: flex; align-items: center; justify-content: space-between; gap: 16px; }.app-title { margin: 0; font-size: 20px; font-weight: 600; color: #222; }.app-main { flex: 1; display: flex; flex-direction: column; gap: 16px; padding: 20px; min-height: 0; width: 100%; max-width: 1400px; margin: 0 auto; }.control-panel { display: flex; gap: 16px; flex-wrap: wrap; }.welcome-screen { flex: 1; display: flex; align-items: center; justify-content: center; }.welcome-content { text-align: center; color: #666; }</style>
import { UIKitProvider } from '@tencentcloud/uikit-base-component-react';import { useLoginState } from 'tuikit-atomicx-react/room';import LoginUserInfo from './components/LoginUserInfo';import DeviceControl from './components/DeviceControl';import RoomControl from './components/RoomControl';import ConferenceRoom from './components/ConferenceRoom';export default function App() {const { loginUserInfo } = useLoginState();return (<UIKitProvider theme="light" language="zh-CN"><div style={{ width: '100%', height: '100%', display: 'flex', flexDirection: 'column' }}><header style={{ padding: '16px 24px', background: '#fff', borderBottom: '1px solid #e5e5e5', display: 'flex', alignItems: 'center', justifyContent: 'space-between', gap: '16px' }}><h1 style={{ margin: 0, fontSize: '20px', fontWeight: 600, color: '#222' }}>Conference Demo</h1><LoginUserInfo /></header>{loginUserInfo ? (<main style={{ flex: 1, display: 'flex', flexDirection: 'column', gap: '16px', padding: '20px', minHeight: 0, width: '100%', maxWidth: '1400px', margin: '0 auto' }}><div style={{ display: 'flex', gap: '16px', flexWrap: 'wrap' }}><RoomControl /><DeviceControl /></div><ConferenceRoom /></main>) : (<div style={{ flex: 1, display: 'flex', alignItems: 'center', justifyContent: 'center' }}><div style={{ textAlign: 'center', color: '#666' }}><h2>欢迎使用多人会议 Demo</h2><p>请先完成登录,然后创建房间或加入房间。</p></div></div>)}</div></UIKitProvider>);}
到这里,一个最小可用的标准会议页面就已经组装完成。
步骤7:运行和联调验证
启动开发服务器。
npm run dev
pnpm run dev
yarn run dev
准备两个测试账号
打开两个浏览器标签页
窗口 A:使用 user_test_A 登录。
窗口 B:使用 user_test_B 登录。
测试流程
在窗口 A 中:输入房间 ID(例如 "test_room_A"),点击创建房间。
在窗口 A 中:点击打开摄像头和打开麦克风。
在窗口 B 中:输入相同的房间 ID("test_room_A"),点击加入房间。
在窗口 B 中:点击打开摄像头和打开麦克风。
验证两个窗口能否看到对方的视频画面并听到声音。

完成以上验证后,您已经成功跑通一个最小可用的标准会议 Demo,可以继续进入专题文档扩展更复杂的业务能力。
下一步
当您完成了基础的多人音视频房间功能后,您可以参考以下功能指南,进一步丰富和扩展您的特色业务能力。
核心功能
附加功能
API 参考
State Hook 名称 | 核心作用与场景 | API 文档 |
useLoginState | 登录鉴权。 管理用户登录生命周期和身份信息。 | |
useDeviceState | 设备与网络。 管理麦克风、摄像头、屏幕共享设备,以及网络质量。 | |
useRoomState | 房间管理。 管理实时房间的生命周期(创建、加入、结束)和核心信息。 | |
useRoomParticipantState | 成员管理。 管理房间内所有参会者信息、角色和权限。 | |
useMessageListState | 聊天消息。 管理消息收发和展示。 | |
useMessageInputState | 聊天输入。管理消息的发送 |
常见问题
本地开发时音视频功能正常,但部署到线上环境后无法正常采集用户的摄像头或麦克风设备?
原因分析:浏览器出于安全和隐私保护的考虑,对音视频设备(麦克风、摄像头)的采集有着严格限制。只有在安全环境下,采集操作才会被允许。安全环境协议包括:https://、localhost、file:// 等。HTTP 协议被视为不安全,浏览器会默认禁止其访问媒体设备。
解决方案:若您在本地(localhost)测试一切正常,但部署后出现采集失败,请立即检查您的网页是否部署在 HTTP 协议上。您必须使用 HTTPS 协议部署您的网页,并确保具备有效的安全证书。
相关资源:更多关于 URL 域名及协议的限制详情,请参见 URL 域名及协议限制说明。
是否支持使用 iframe 集成?
支持。使用
iframe 集成无 UI SDK 时, 需要在 iframe 标签中配置 allow 属性以授予必要的浏览器权限(麦克风、摄像头、屏幕共享、全屏等),示例如下:// 开启麦克风、摄像头、屏幕分享、全屏权限<iframe allow="microphone; camera; display-capture; display; fullscreen;">


