进入编排空间页面
1. 登录 数据开发治理平台 WeData 控制台。
2. 单击左侧菜单中的项目列表,找到需要操作开发流程的目标项目。
3. 选择项目后,单击进入离线开发模块。
4. 单击左侧菜单中的编排空间。
工作流操作步骤
新建文件夹
光标悬停在编排空间目录树的
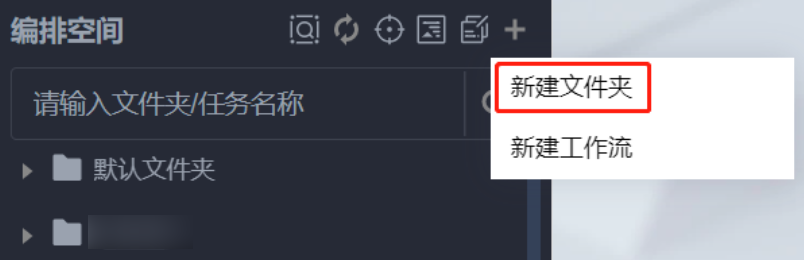
说明:
WeData 支持创建多级文件夹目录,可以保存新创建的文件夹至根目录或其他已经创建好的文件夹中。
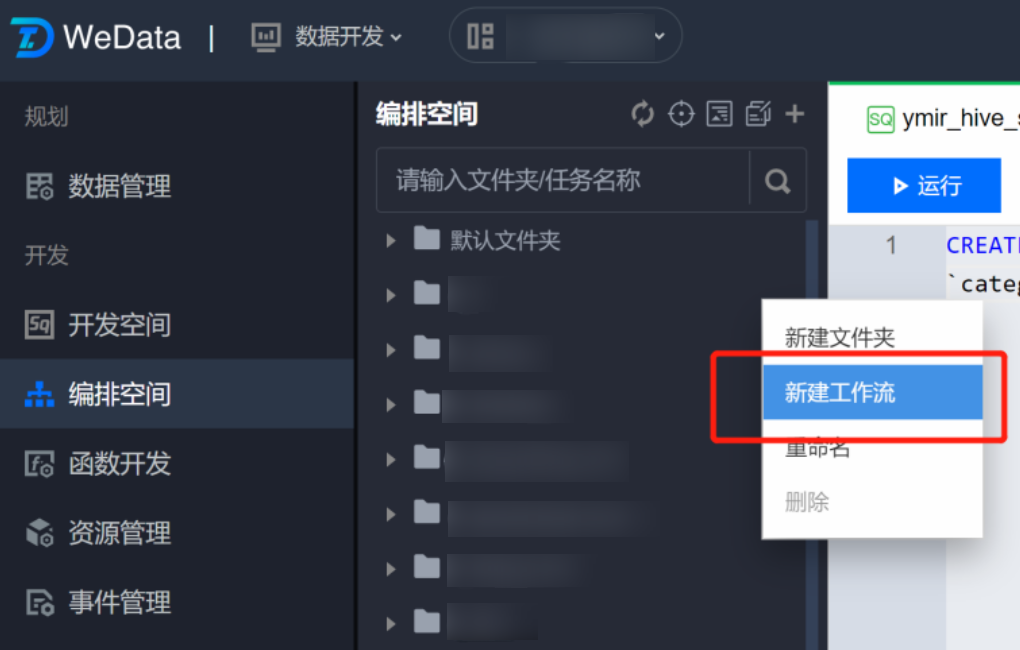
新建工作流
1. 在左侧目录树选择目标文件夹,单击右键菜单选择新建工作流。
2. 在新建工作流的弹窗中输入工作流名称并选择目标文件夹,并单击确认。
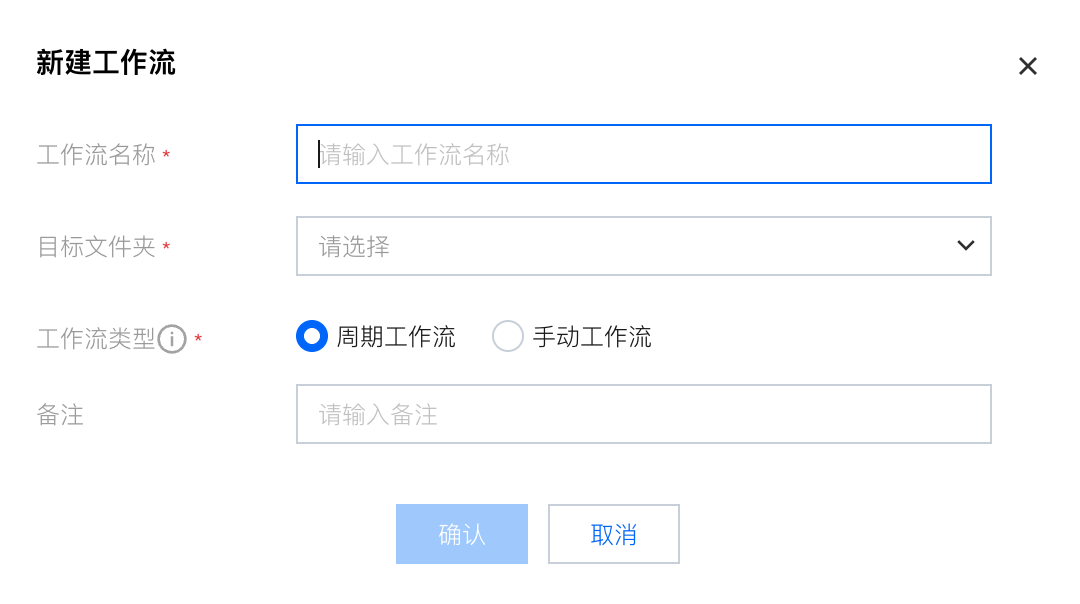
说明:
工作流名称支持中文、大小写字母、数字和下划线,且最长可包括100个字符。
设计工作流
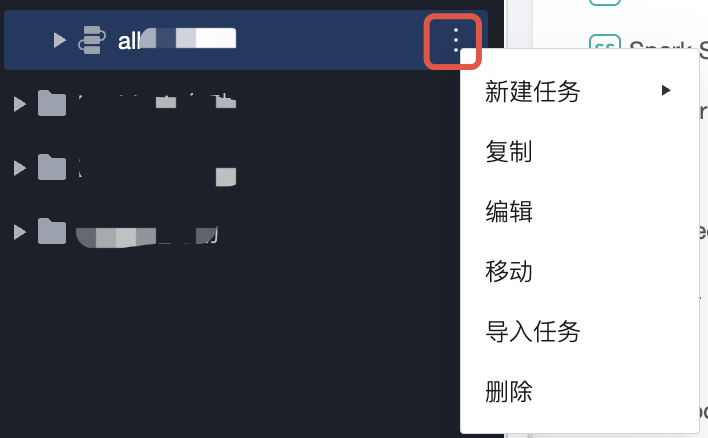
创建并编辑任务
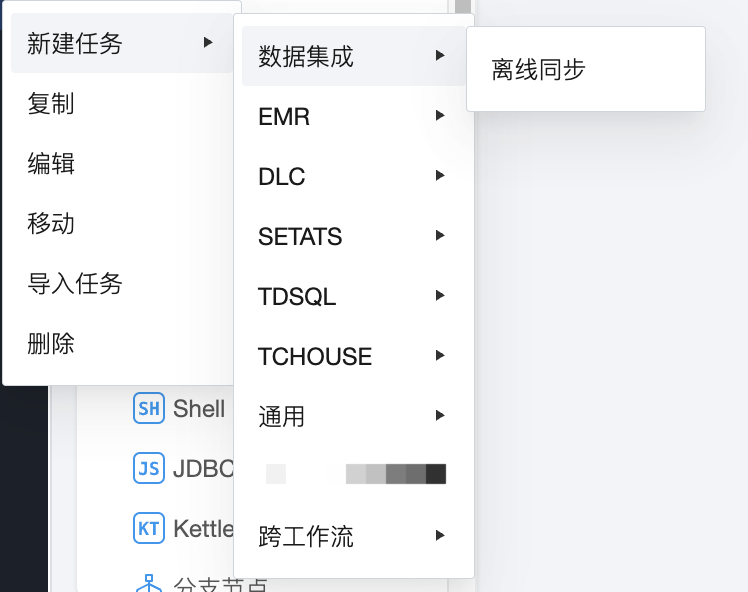
1. 在左侧目录树中选择新建的工作流,单击尾部的按钮,在弹出的菜单中选择新建任务。
2. 选择工作流中需要配置的任务类型。 任务调度支持多种任务类型,以满足不同的开发应用场景,支持数据集成、EMR、DLC、SETATS、TDSQL、TCHOUSE、通用、跨工作流任务类型。
3. 创建成功后(或双击目录树中任务节点名称)在打开的任务 Tab 页面中进行任务编辑。
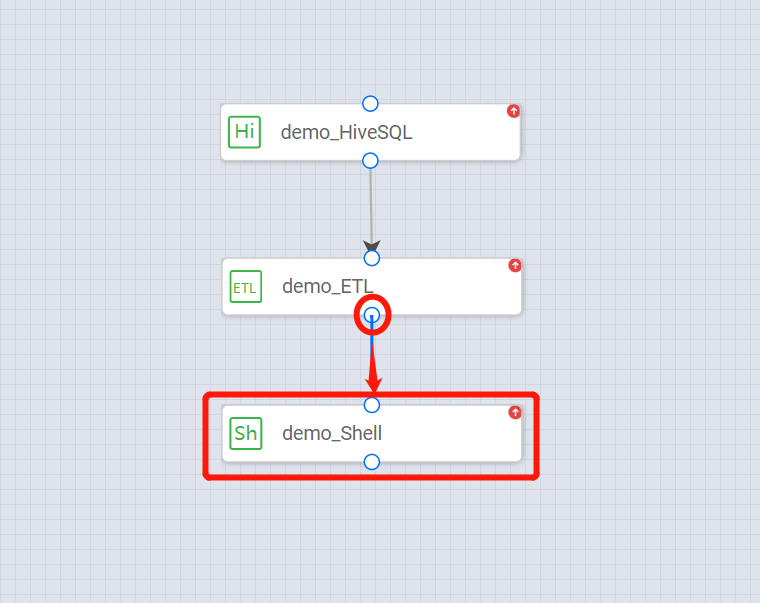
4. 任务配置过程参考计算任务操作步骤,将多个计算任务配置完成后,在工作流画布中进行编排,形成任务节点的上下游依赖关系。
提交工作流
1. 编辑工作流完成后,单击工具栏中的
2. 在提交对话框中查看本次待提交的任务节点的详情,并输入相关的变更描述。
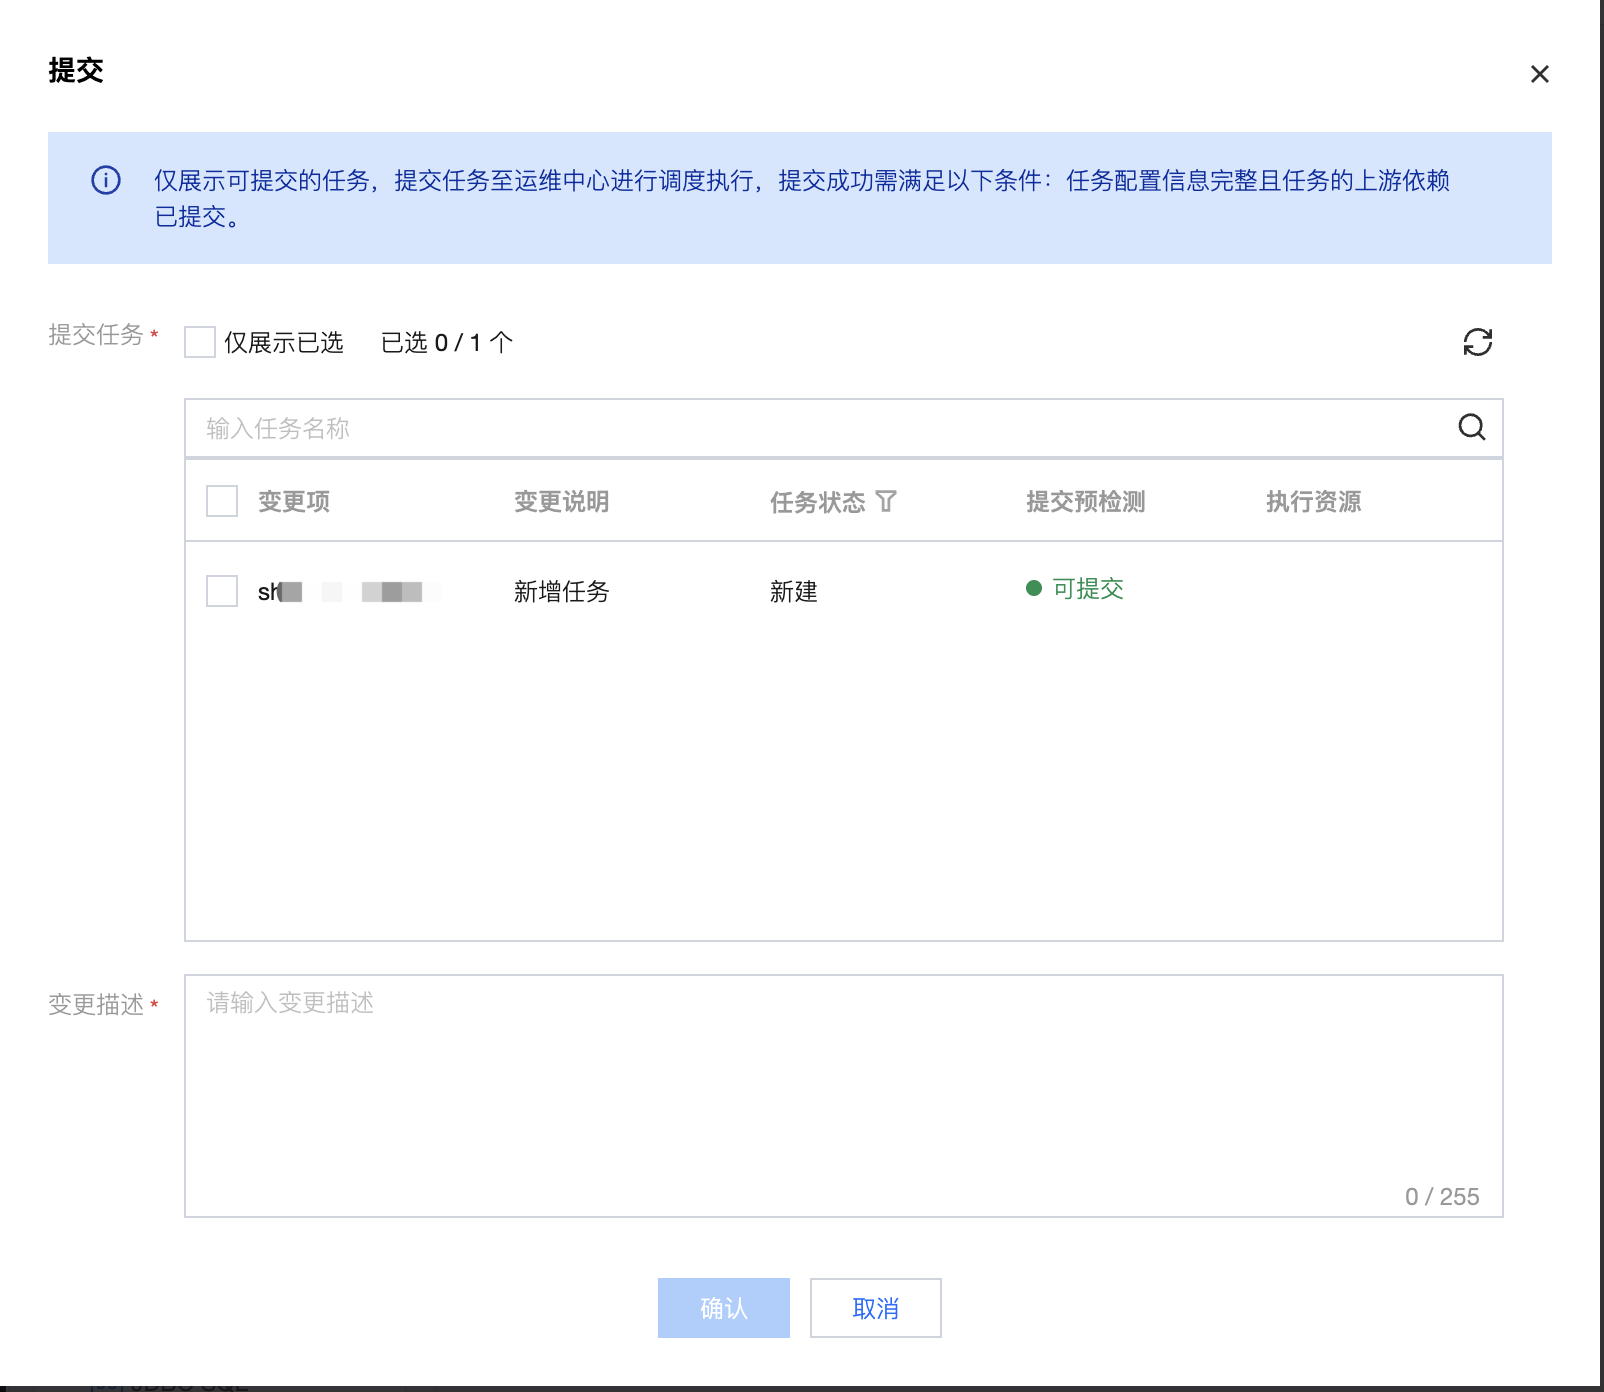
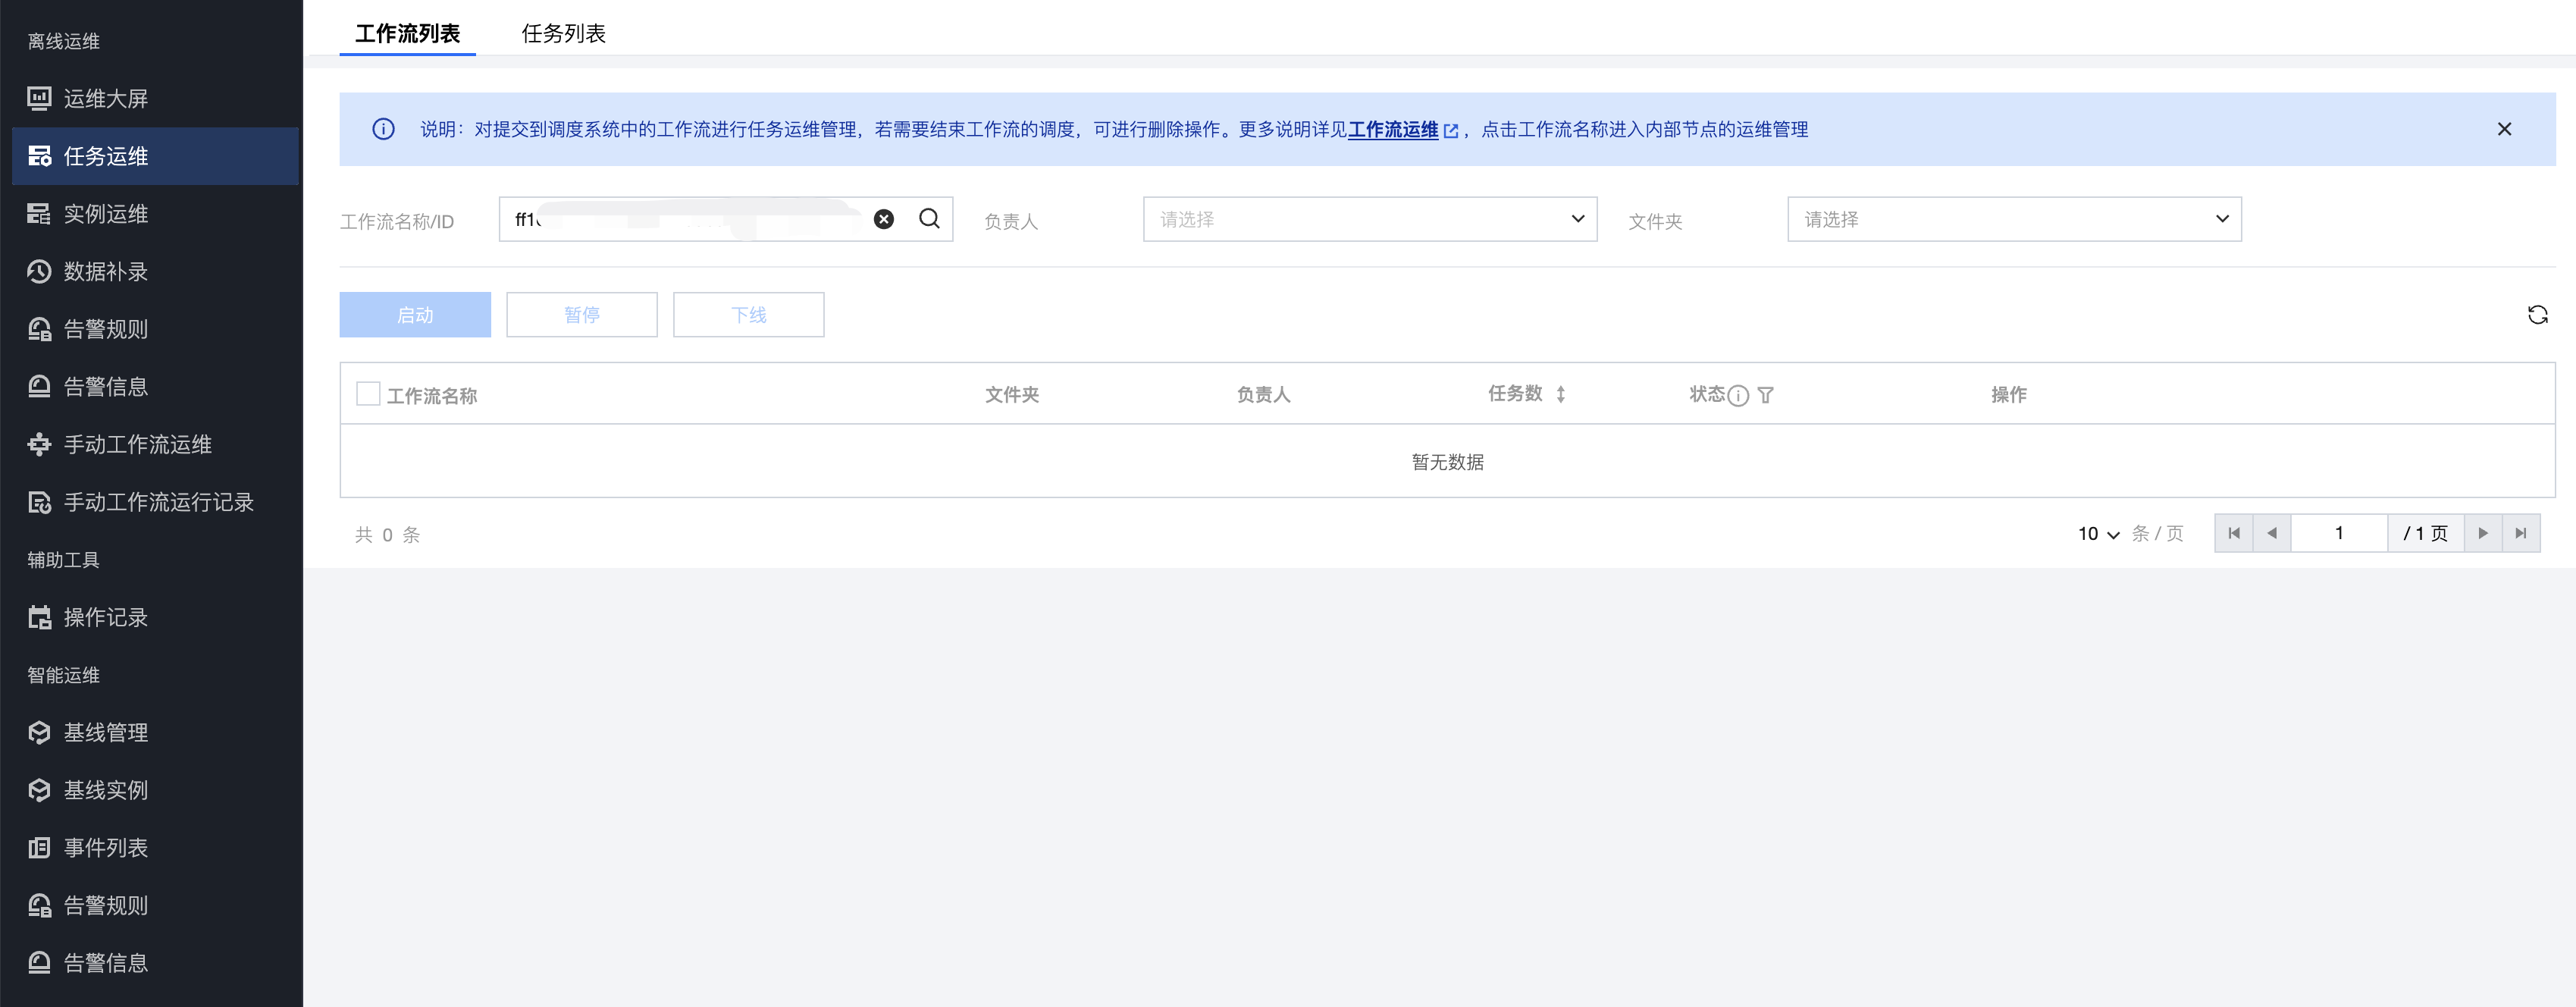
3. 单击确定,将工作流提交到运维阶段。
4. 已经提交的节点在未改变节点内容的情况下将不出现在弹窗中,但其属性等改动会被正常提交。单击
计算任务操作步骤
任务节点开发支持多种任务类型,以满足不同的开发应用场景。
创建任务节点
选择工作流,再单击新建任务,选择需要创建的计算任务类型。
配置任务节点
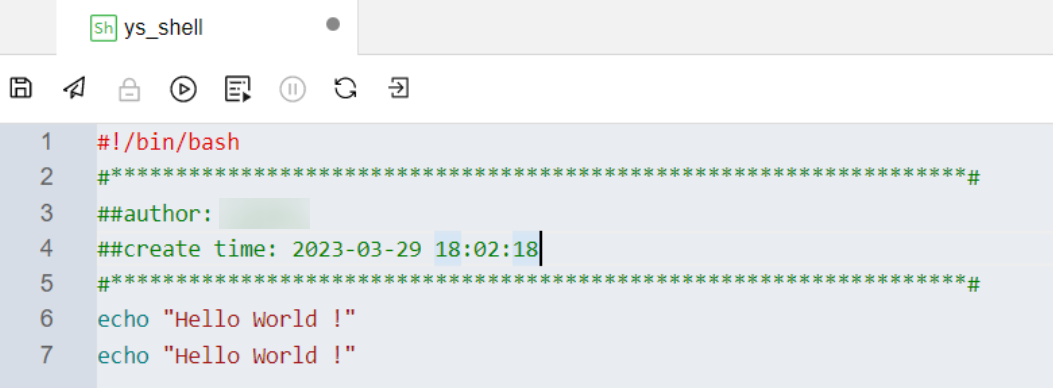
1. 创建成功后,在计算任务画布中进行相应类型的代码开发。
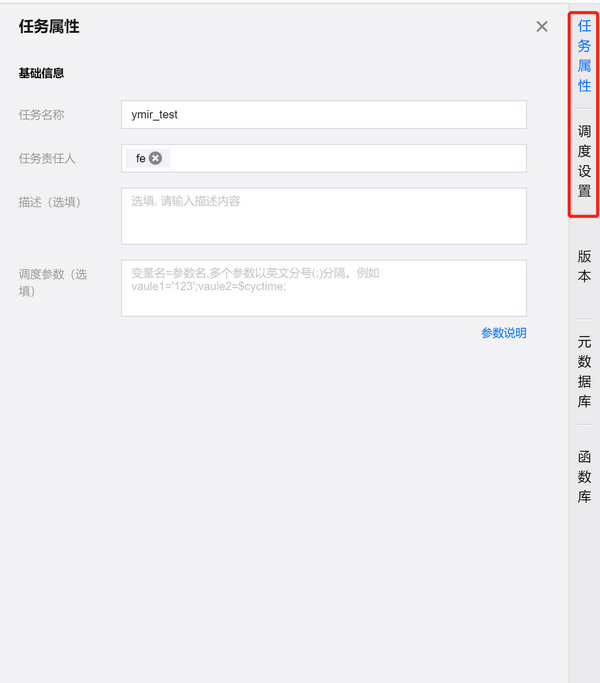
2. 配置任务属性与调度策略。单击任务右侧任务属性、调度设置,在面板中配置任务的基本信息、调度信息。
3. 选择计算任务执行所需的数据源、资源队列、调度资源组。

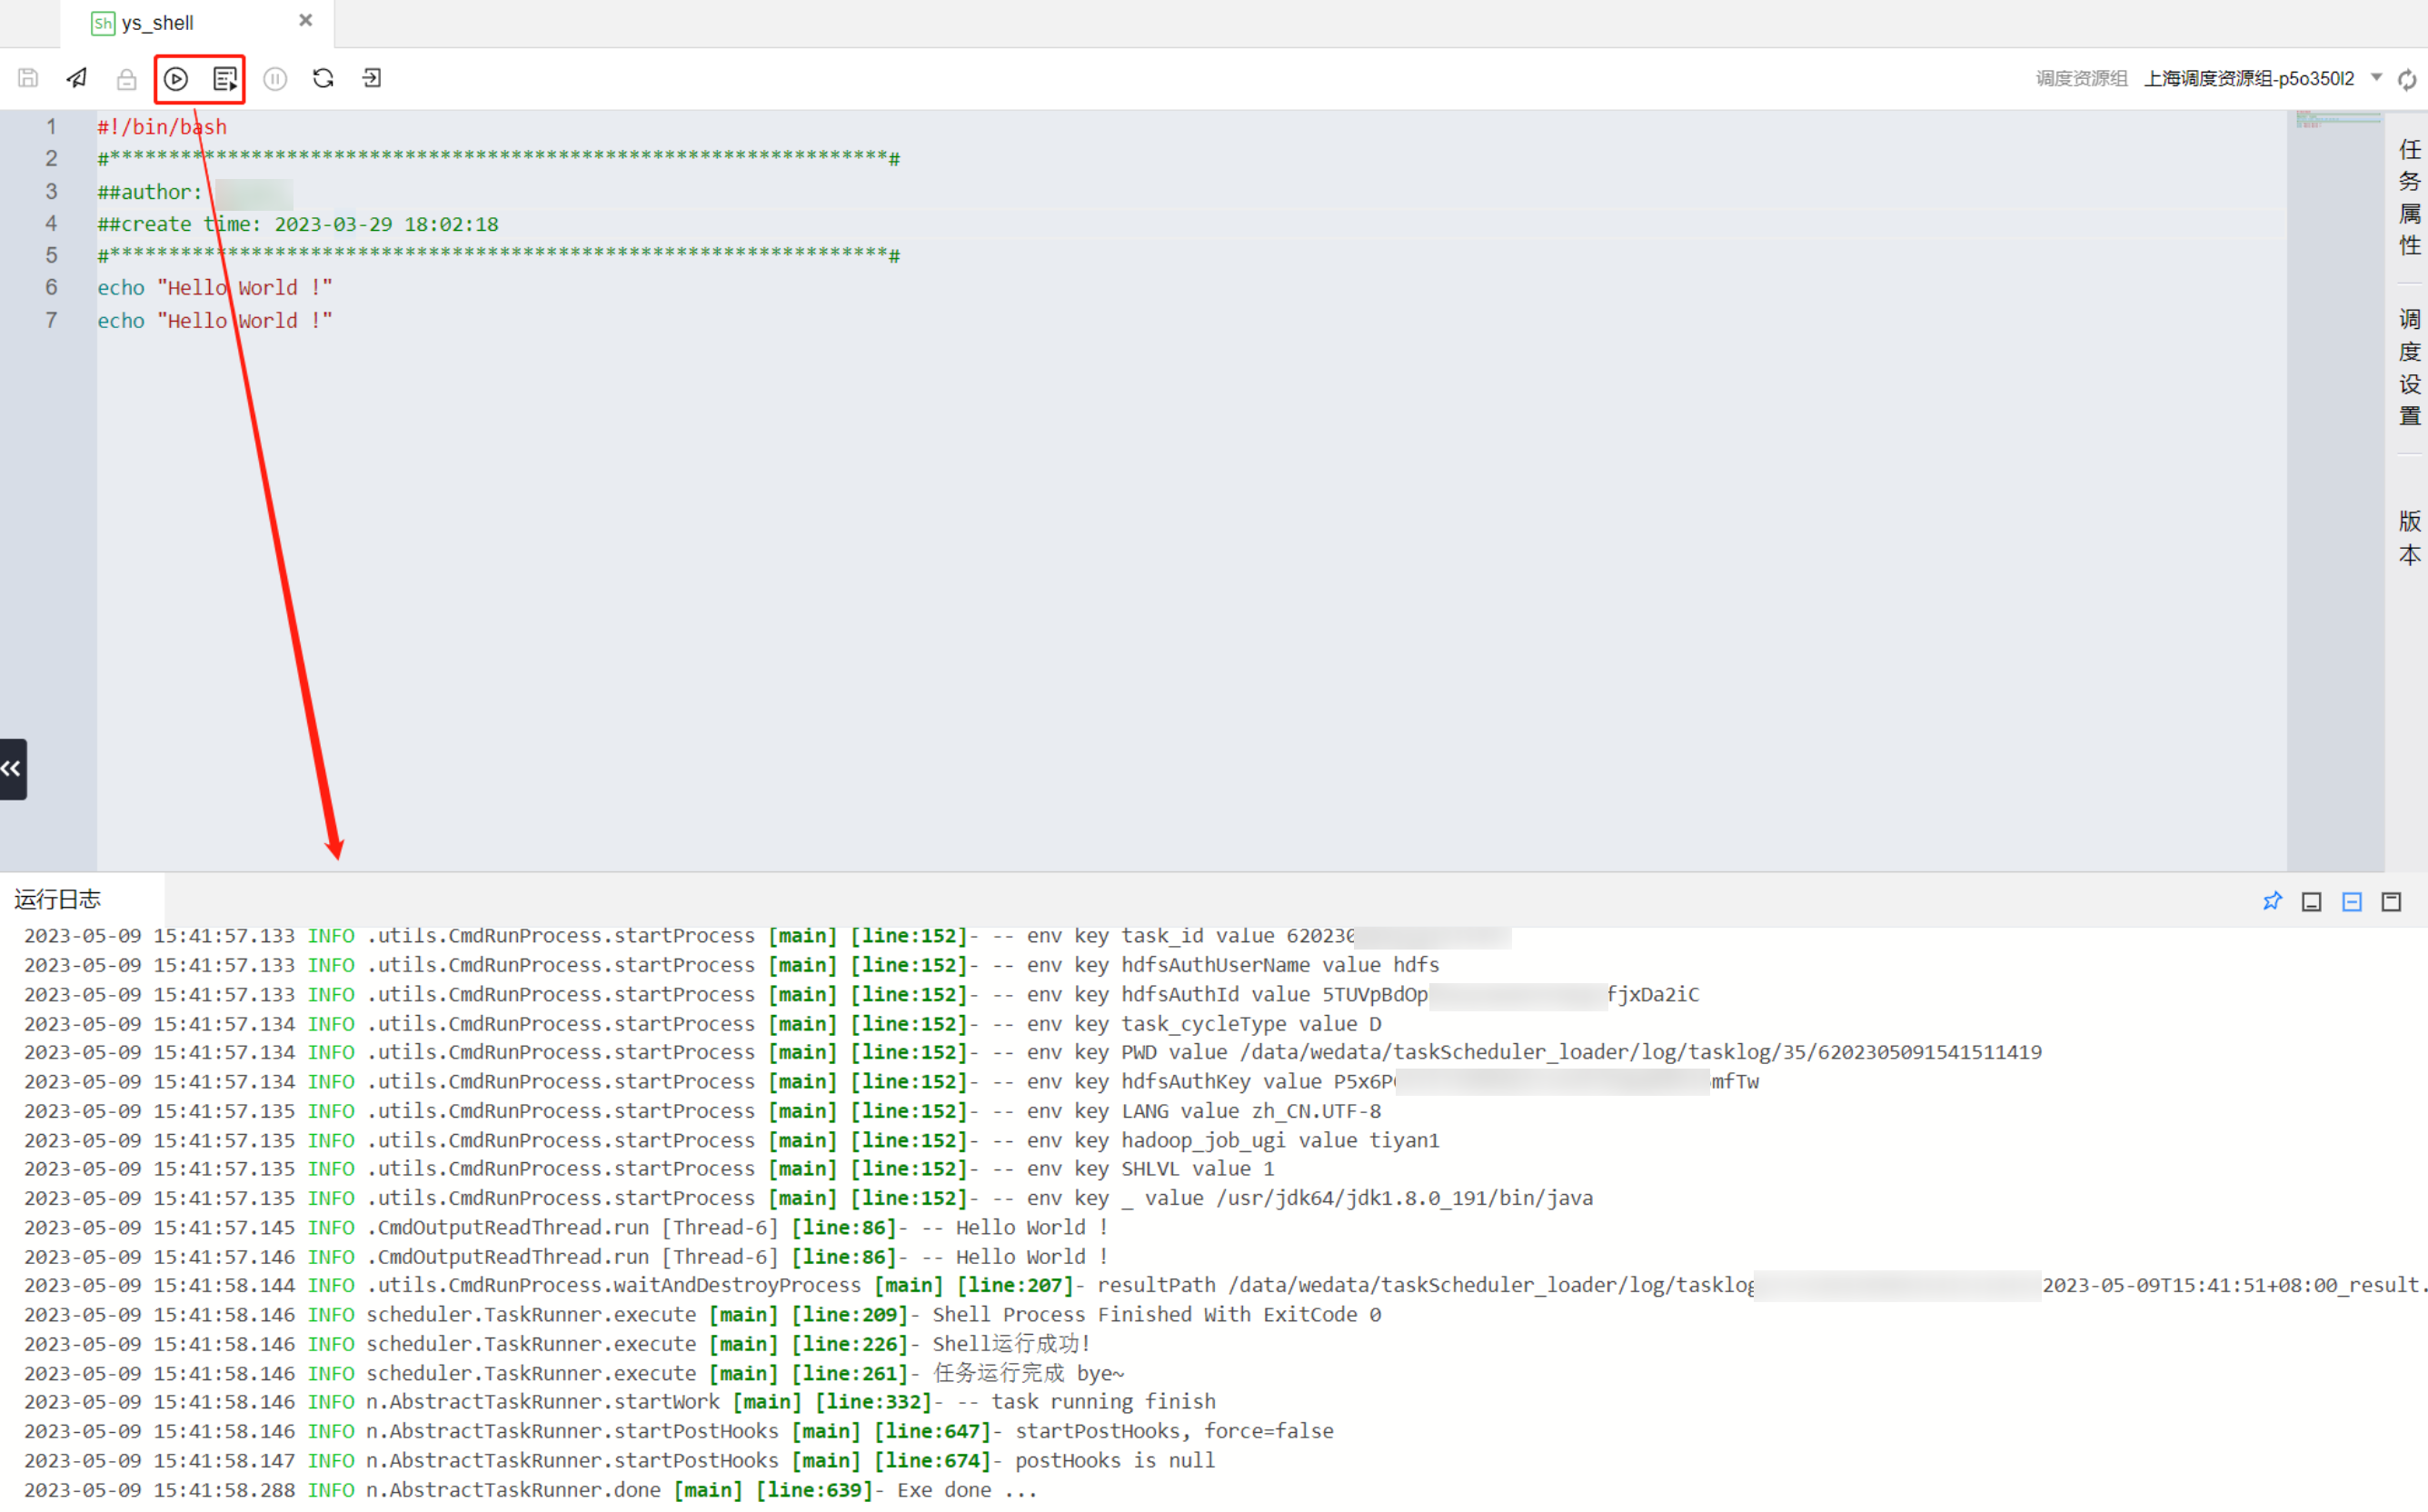
4. 执行运行功能来测试计算任务运行结果是否符合预期。
提交任务节点
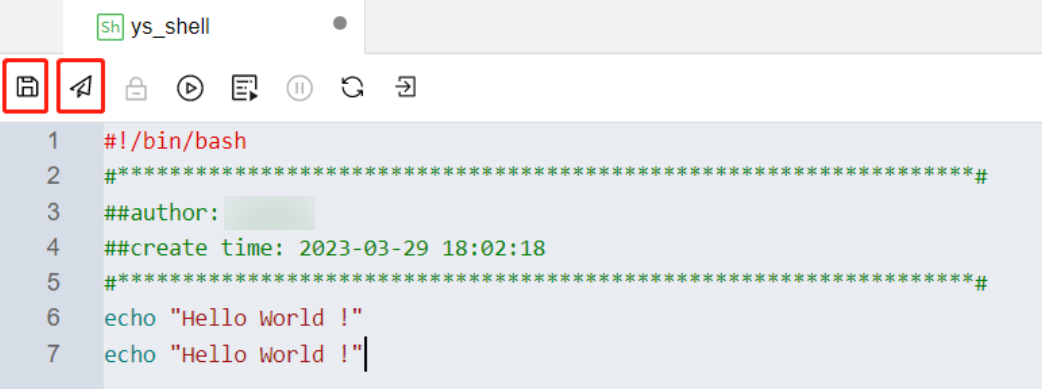
1. 将计算代码、任务属性、调度策略、计算资源都配置完成,并且测试任务运行符合预期后,对计算任务进行保存并提交即可完成任务节点配置。
2. 依次将各计算任务按步骤配置完成后,再根据工作流操作步骤完成工作流层面的编排配置,即可提交调度运行。


