Help & Documentation>Cloud Block Storage>Best Practice>Expanding MBR Cloud Disks to Greater Than 2 TB

Expanding MBR Cloud Disks to Greater Than 2 TB

Last updated: 2023-09-19 21:44:14

Scenario

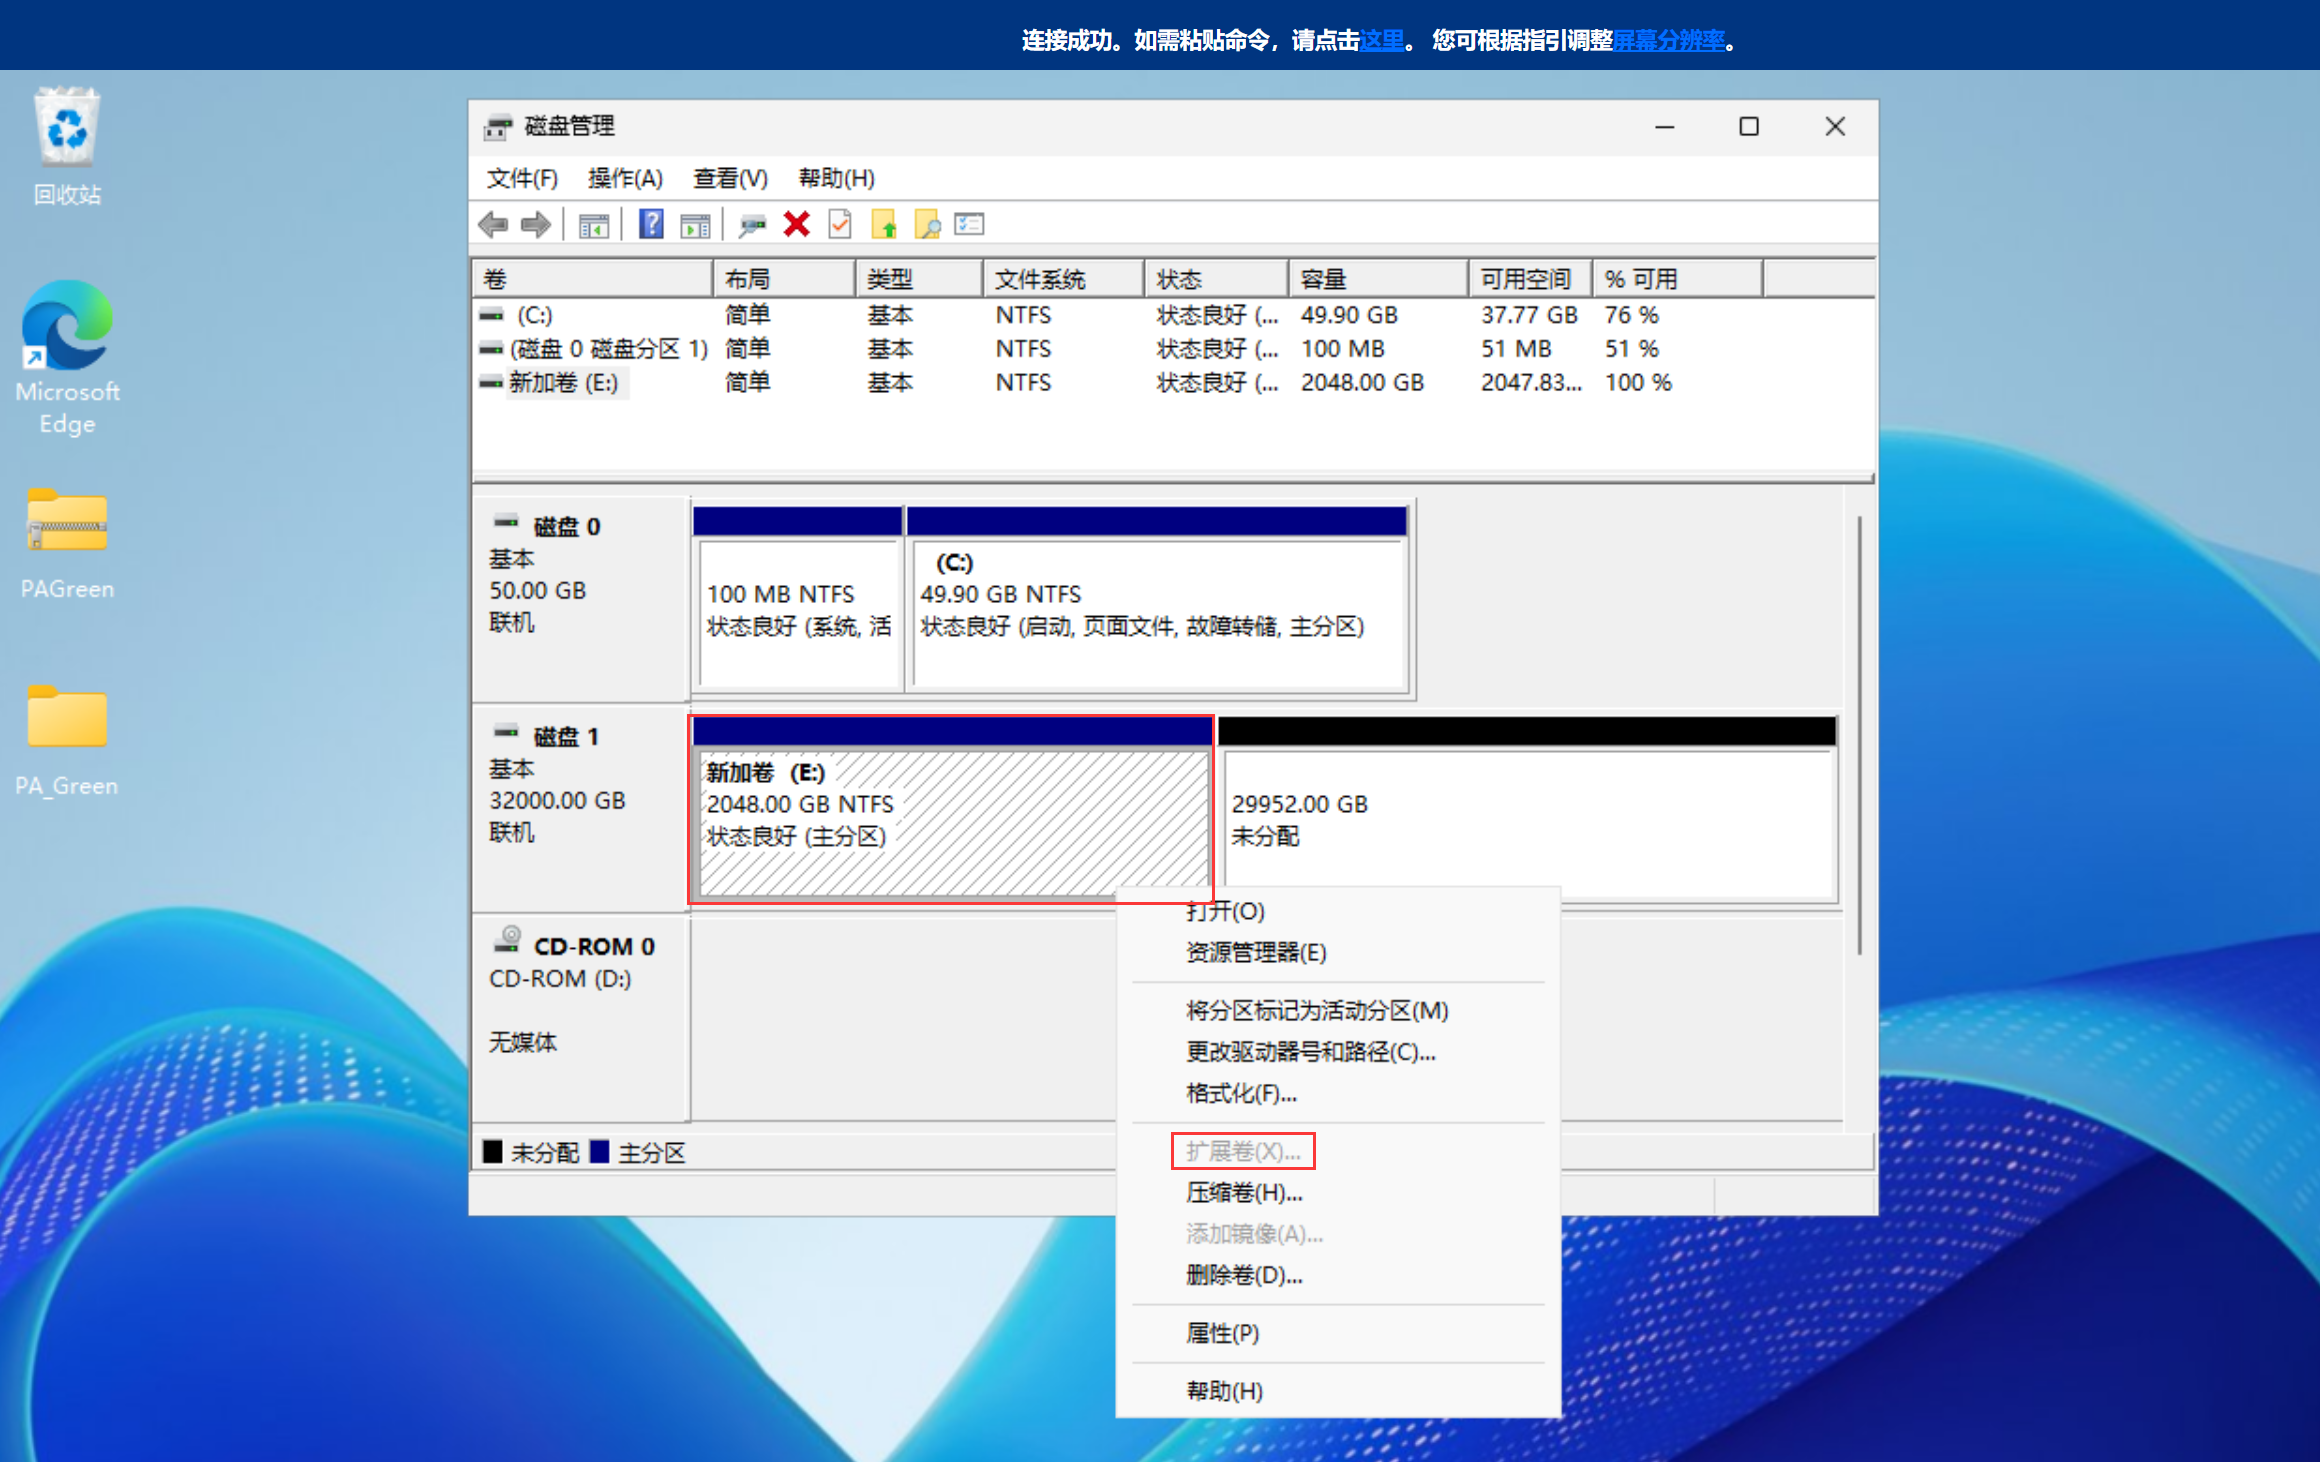
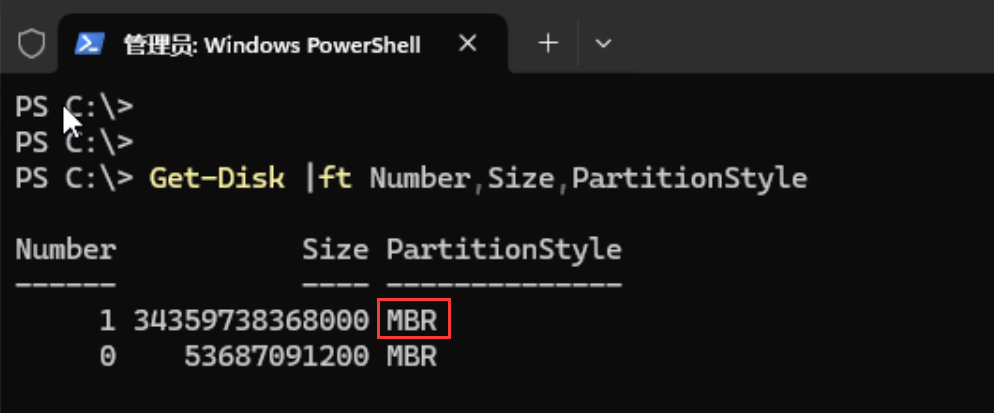
When your cloud disk has an MBR partition with a created file system and has been expanded to greater than 2 TB, the file system cannot be expanded to greater than 2 TB. This document describes how to convert the MBR partition to the GPT partition to implement the expansion.

Supports and Limits

To convert the partition format, you need to replace the original partition. The original partition data will not be deleted in normal cases. However, as the original partition needs to be unmounted, online businesses will be affected.
Please proceed with caution as any misoperation may lead to data loss or anomalies. It is advised to create a snapshot for the corresponding cloud disk to back up the data. For more information, see Creating Snapshots. If data loss occurs due to misoperation, you can roll back the snapshot to recover the data.

Instructions

1. Log in to the cloud server. For more information, see Logging in to Linux Instance Using Standard Login Method (Recommended).
2. Run the following command to check whether the partition format is MBR.
fdisk -l
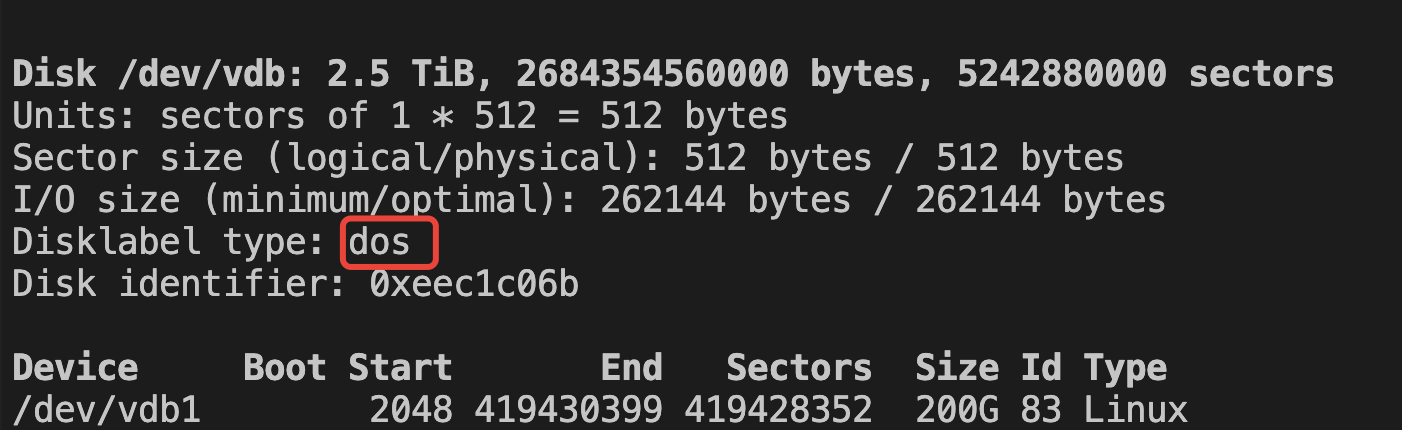
If the following result is shown (which may vary by operation system), the partition format is MBR.

3. Run the following command to unmount the partition.
umount <mount point>
Taking the /data mount point as an example, run the following command:
umount /data
4. Run the following command to view the unmount result.
lsblk
If the original partition MOUNTPOINT is displayed as empty, it indicates that the unmounting task has been successful. This document uses the /dev/vdb1 partition as an example, and the result is shown in the following figure .

5. Run the following command to enter the parted partition tool:
parted <disk path>
This guide uses the disk path /dev/vdb as an example. Proceed as follows:
parted /dev/vdb
6. Enter p and press Enter to view the current partition information. The returned information should resemble the following:

7. Enter rm partition number and press Enter to delete the last partition to be replaced. In this example, there is only one partition, so you can enter rm 1 and press Enter to delete partition 1.
8. Enter p and press Enter to view the current partition information and check whether the last partition has been deleted.
9. Enter mklabel GPT and press Enter to repartition using the GPT partition format.
10. After confirming the prompt, type Yes and press Enter, as shown in the following figure:

11. Enter mkpart primary 2048s 100% and press Enter to create a partition. Here, 2048s represents the initial disk capacity, and 100% represents the end capacity of the disk. This is for reference only, and you can plan the number and capacity of disk partitions according to your business needs.
Note
Data may be lost in the following cases:
The configured initial capacity differs from the original partition capacity.
The configured maximum capacity is smaller than the original partition capacity before the expansion.
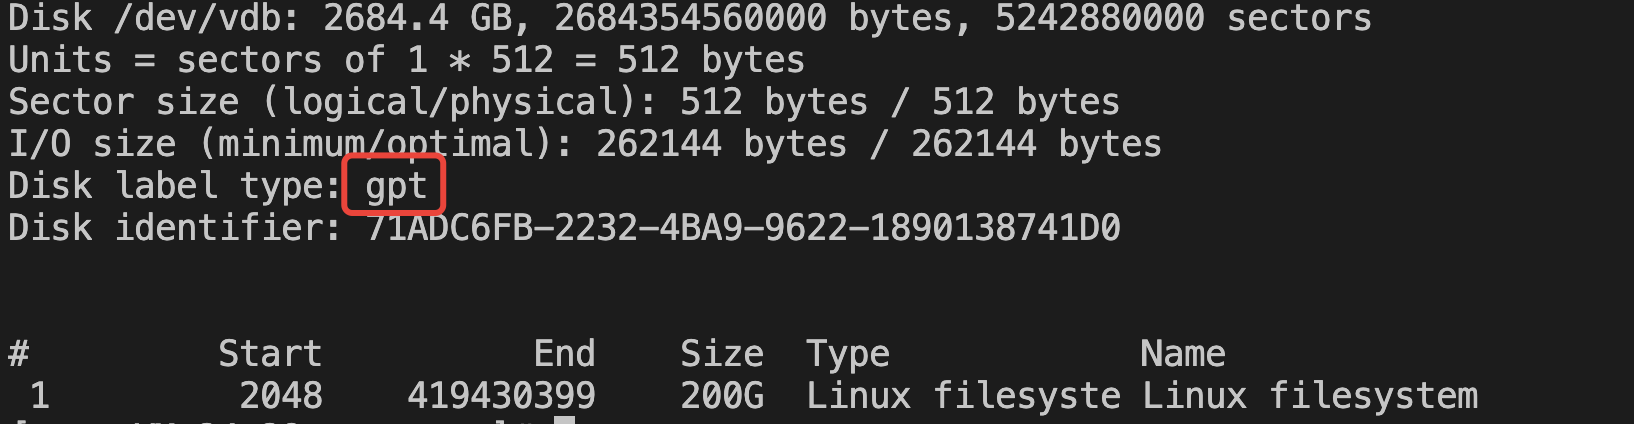
12. Enter p and press Enter to check if the new partition has been successfully replaced. If the returned information is similar to the following figure, it indicates that the replacement has been successful:

13. Enter q and press Enter to exit the parted partition tool.
14. Execute the following command to mount the partition.
mount <partition path> <mount point>
This document uses the partition path /dev/vdb1 and the mount point /data as examples. Execute the following command:
mount /dev/vdb1 /data
15. Execute the corresponding command to extend the file system.
Expanding the EXT File System
Extending the XFS File System
Run the following command to extend the EXT file system.
resize2fs /dev/corresponding partition
Assuming the partition path is /dev/vdb1, execute the following:
resize2fs /dev/vdb1
Run the following command to extend the XFS file system.
xfs_growfs /dev/corresponding partition
Assuming the partition path is /dev/vdb1, execute the following:
xfs_growfs /dev/vdb1
16. Refer to Setting Up Automatic Mounting at Startup to set up automatic partition mounting.
At this point, the configuration to convert MBR partition to GPT partition has been completed. You can run the df -h command to view the partition information.