Help & Documentation>Auto Scaling>Getting Started>Step 1:Creating a Launch Configuration

Step 1:Creating a Launch Configuration

Last updated: 2024-01-17 17:52:34

Scenario

The launch configuration delineates the configuration information for the Cloud Virtual Machine (CVM) instances used for Auto Scaling, encompassing the CVM's image, storage, network, security group, login method, and other configuration details.
Note:
The creation of the launch configuration service is entirely complimentary; please feel free to create one.

Instructions

Select a region

1. Log in to the Auto Scaling console and select Launch Configuration from the left navigation bar.
2. At the top of the Launch Configuration page, select the project and region for the launch configuration, as shown in the figure below:

The selection of the region restricts the instances that can be manually added and the load balancers that can be bound. For example, if the Guangzhou region is selected for the launch configuration, the instances automatically added to the scaling group will be from Guangzhou. A scaling group in the Guangzhou region cannot manually add instances from other regions such as Shanghai, Beijing, Hong Kong, Toronto, etc., nor can it bind load balancers from these regions.
3. Click on New to navigate to the "Create Launch Configuration" page.

Select a model

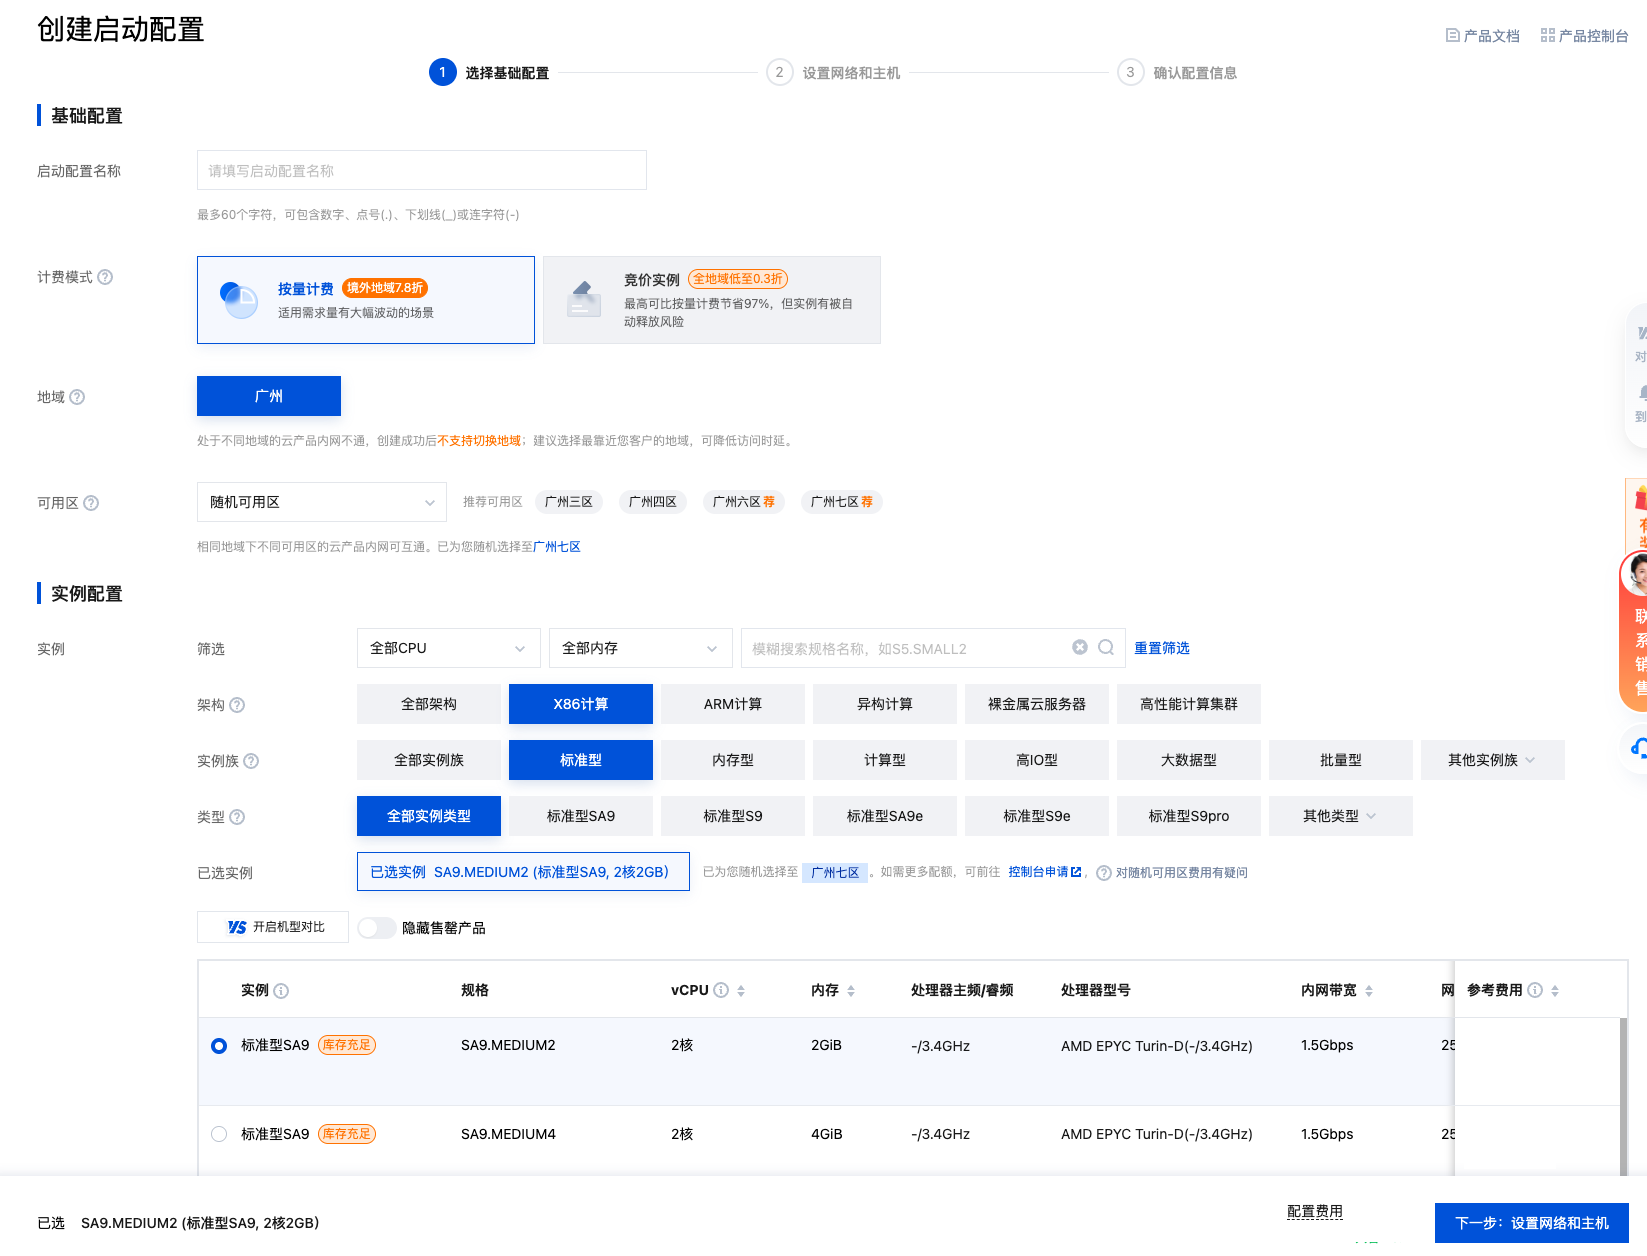
In the Select Model step, refer to the following information to set the launch configuration name, availability zone, and model, as shown in the figure below:

Launch Configuration Name: Customize the name of the launch configuration.
Billing Mode: Supports both Pay-as-you-go and Bidding Instance modes.
Availability Zone, Model: Select the model of the instance you wish to bind with the scaling group.

Select Image, Storage, and Bandwidth

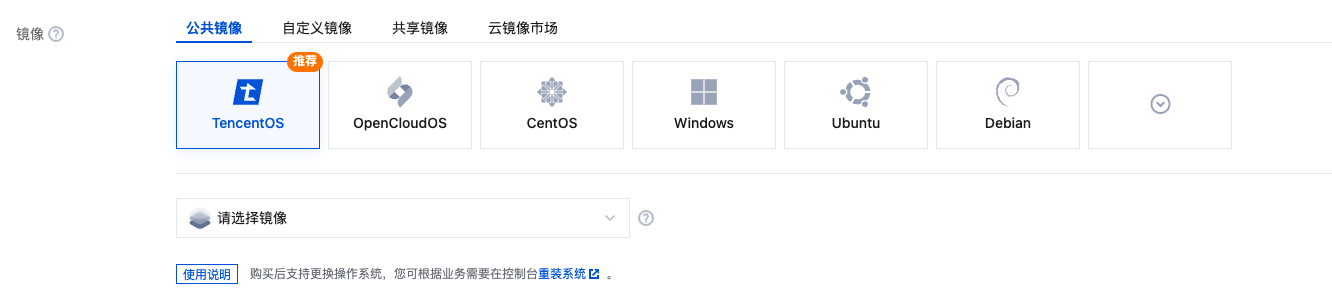
1. When creating a launch configuration, you can use public images, custom images, shared images, or images from the marketplace. For more details, please refer to Image Overview. As shown in the figure below:

It is recommended to use custom images with pre-deployed environments for the following reasons:
If you choose a public image, the instances scaled out will be a pure OS, and the application environment will still need to be manually deployed.
If you opt for a custom image, by creating an image from a CVM instance with a pre-deployed environment, and then using this image to create CVM instances in bulk, the newly created instances will possess a software environment consistent with the previous CVM instance, thereby achieving the purpose of bulk deployment.
Note:
For instructions on how to create an image of the "instance expected to be bound to the scaling group", please refer to Creating Custom Images.
2. Refer to the information below to set up the disk in the launch configuration, as shown in the figure:

If a cloud disk is selected for the system disk, then a data disk snapshot can be chosen for the data disk:
For users with a large amount of data, data disks are often used for storage. When a snapshot file is created from data disk A, users can utilize this snapshot file to rapidly clone multiple disks, thereby achieving the purpose of swift server deployment.
When Auto Scaling automatically adds new CVM instances, if a data disk snapshot is specified in the launch configuration data disk, in conjunction with the cloud disk, it can support the ability to automatically mount a data disk containing set data after the CVM instance is launched, thereby fulfilling the requirement for automatic data copying.
If a data disk snapshot is specified in the launch configuration, it is necessary to ensure that the data disk can be correctly auto-mounted for the scaling group to successfully auto-scale. Prior to setting up Auto Scaling, you need to operate on the original instance that created the data disk snapshot, enabling it to support auto-mounting of the data disk when launching new CVM instances. For more details, please refer to Auto-Mounting.
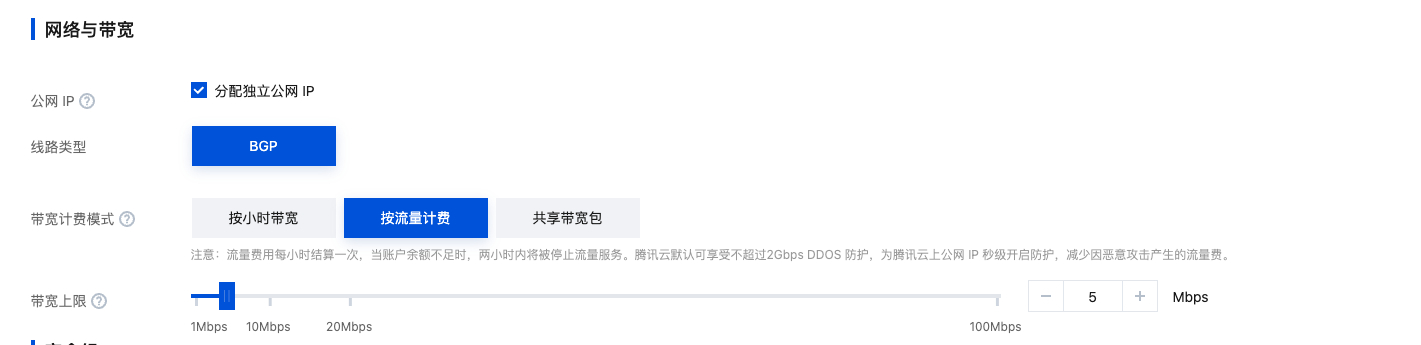
3. By default, an independent public IP is allocated free of charge. Please choose the network billing mode according to the actual situation, as shown in the figure:

Note:
The Auto Scaling service is free of charge. Additional CVMs, disks, and networks will be billed on a pay-as-you-go basis for the CVM instances, disks, and networks. The pricing will be displayed on this page according to your settings.

Configuration Information

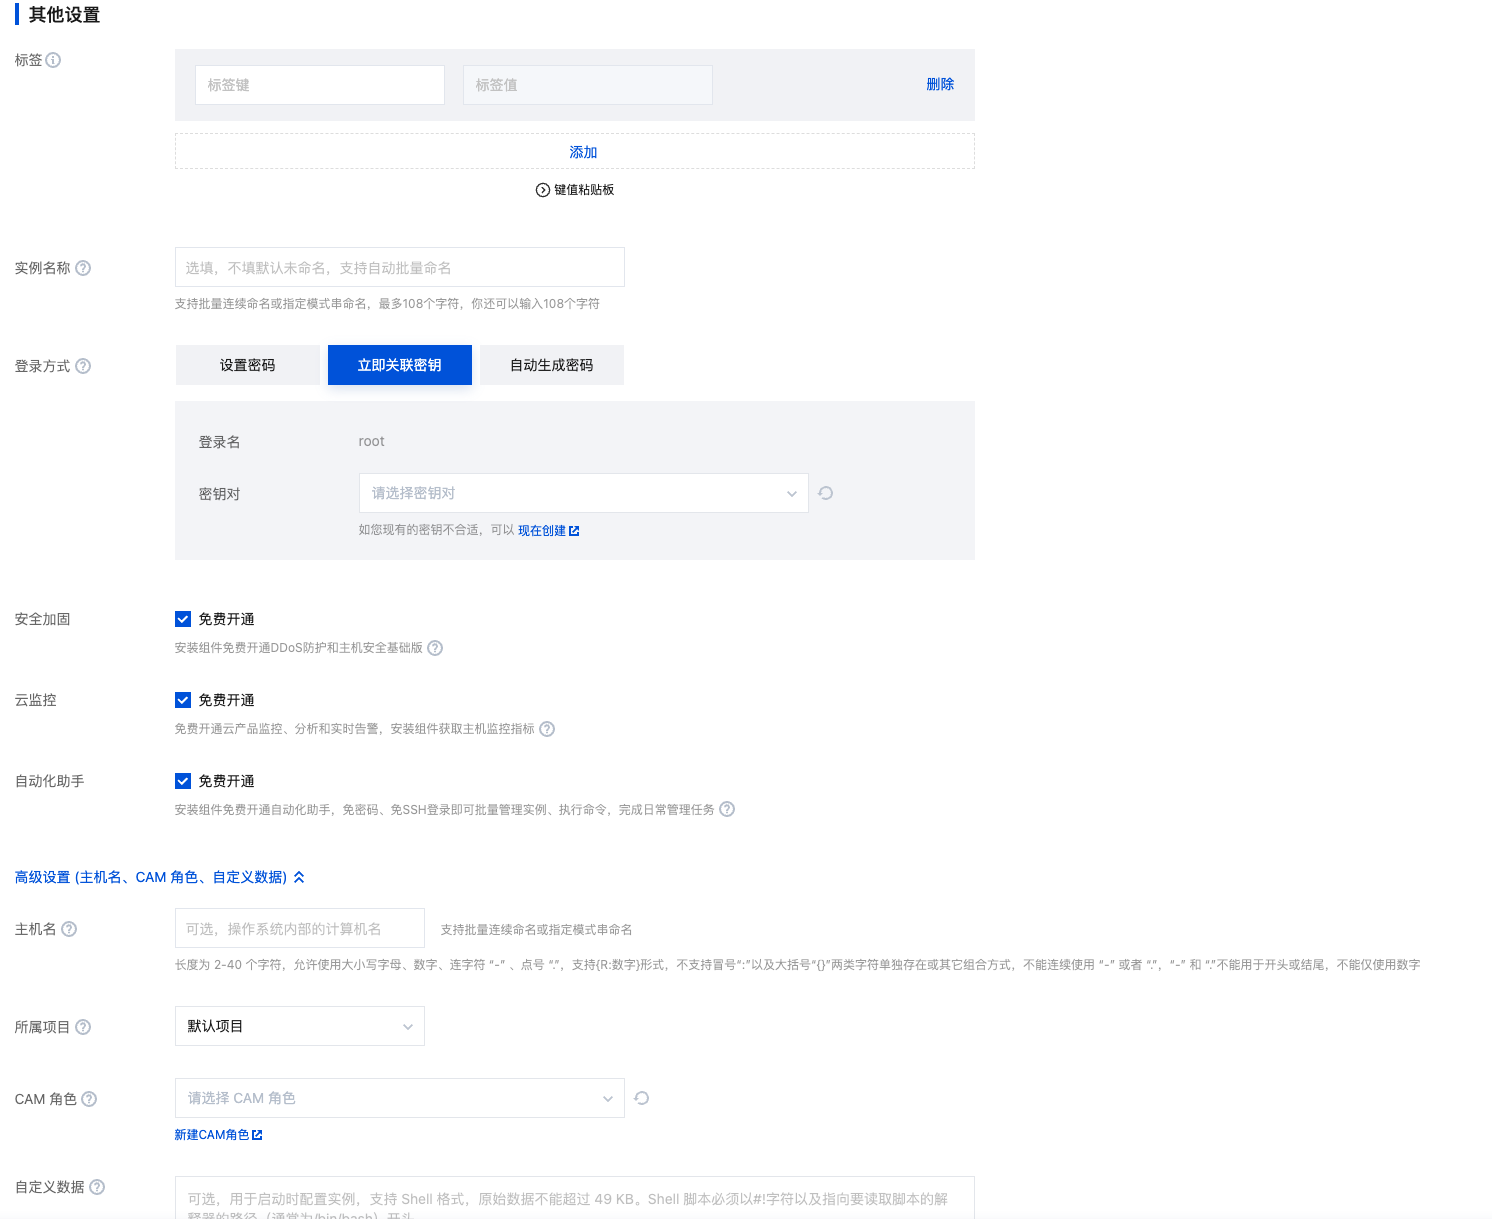
1. In the Set Up Host step, select the login method and security group. The CVM instances added through the Auto Scaling service enjoy cloud security and cloud monitoring services by default, free of charge. As shown in the figure:

2. Once the configuration is confirmed and successfully created, you can view the created launch configuration on the Launch Configuration page, as depicted in the figure: