操作场景
在使用容器镜像部署更新业务应用时,传统方案将下载全量的容器镜像数据并解压,一方面导致容器启动耗时较长,另一方面也可能因为集群规模过大,下载解压环节造成较大的网络,磁盘读写压力,进而导致大规模容器启动不符合部署预期。实际上在容器启动时,可能仅使用容器镜像内的部分数据。
容器镜像服务企业版支持按需加载功能,您可在业务部署中使用经转换的加速镜像版本,实现镜像数据免全量下载和在线解压,大幅提升应用分发效率,享受卓越的弹性体验。本文介绍如何按需加载容器镜像。
前提条件
已成功 创建容器集群。当前按需加载功能仅面向腾讯云容器服务 TKE 提供适配支持,且需集群具备以下配置:
集群 Kubernetes 版本在1.16及以上。
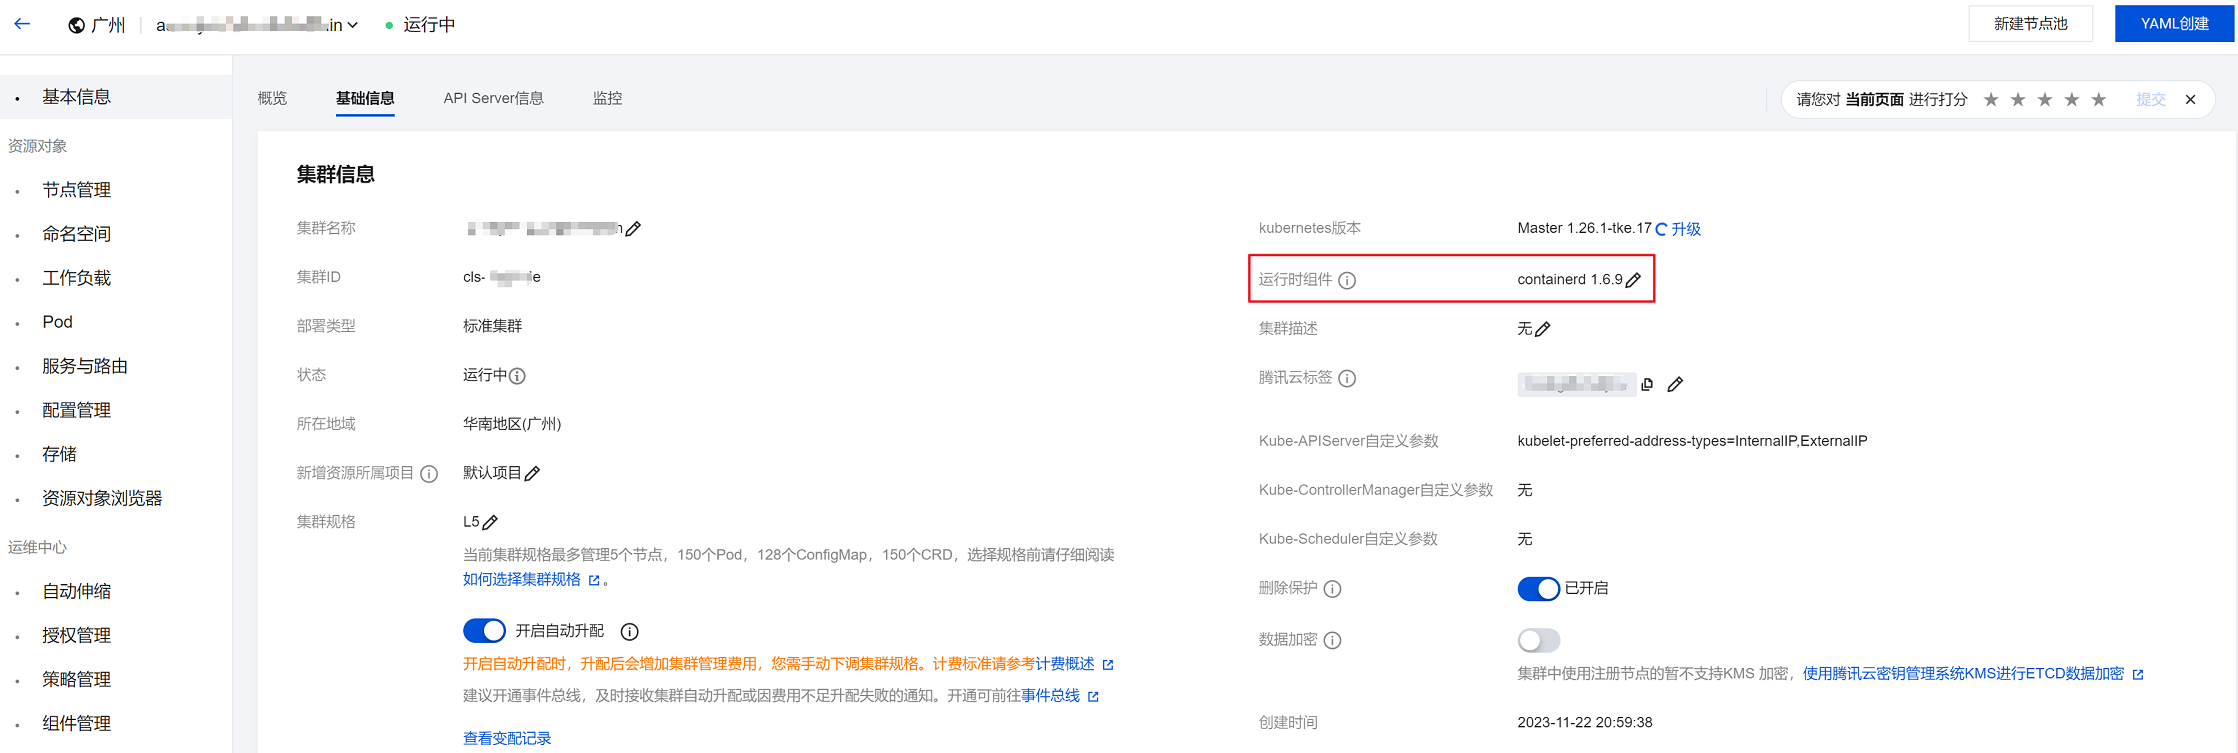
集群运行时组件为 containerd,且版本必须为1.4.3(暂不支持其他版本)。已创建的集群可修改运行时配置至 containerd 1.4.3,调整后添加的节点默认为此版本运行时。如果集群的运行时组件不能修改至 containerd 的 1.4.3 版本,则无法使用该镜像加速功能。TKE Serverless 集群的镜像缓存可以在创建实例时加速拉取镜像,详情请参见 镜像缓存。
注意:
若集群节点 containerd 版本不是1.4.3,安装本文档指定的加速套件应用会存在致命风险,导致相关节点 NotReady,严重影响业务数据面,高版本 containerd 适配正在进行中。
集群操作系统为 Ubuntu,TencentOS,CentOS。如果使用 CentOS,需要在集群节点上执行
yum install -y fuse 安装 fuse 应用。已成功 购买企业版实例。按需加载容器镜像功能当前仅限高级版实例开启使用。
容器集群所在私有网络 VPC 已接入至企业版实例,允许集群节点内网访问实例内镜像,具体配置可参考 配置私有网络的访问控制。
准备加速镜像
开启镜像加速
1. 登录 容器镜像服务 控制台,选择左侧导航栏中的镜像加速。
2. 在镜像加速页面选择需要开启镜像加速的实例地域和实例名称,可查看当前实例镜像加速的状态及镜像加速规则列表。
3. 单击开启镜像加速,在开通镜像加速服务中,请仔细阅读相关提示。如下图所示:
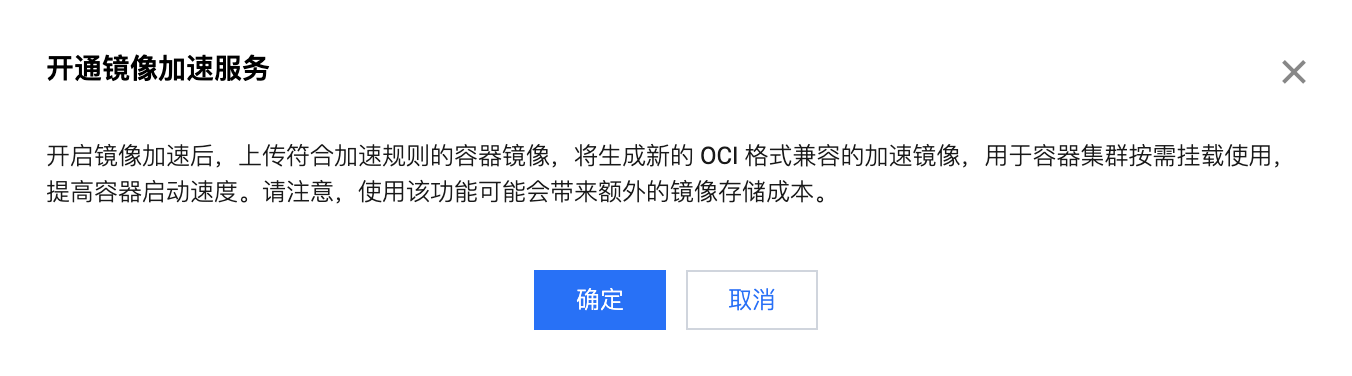
开启镜像加速后,上传符合加速规则的容器镜像,将生成新的 OCI 格式兼容的加速镜像。
请注意,开启并使用该功能后,同时存储普通镜像及加速镜像将带来额外的镜像存储成本。
4. 单击确定即可为当前实例开启镜像加速功能。
添加镜像加速规则
1. 单击添加镜像加速规则,在新建镜像加速规则中,参考以下提示进行规则配置。如下图所示:
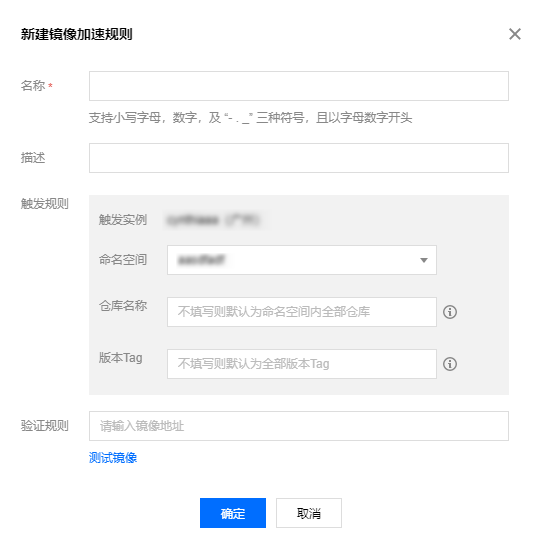
名称:规则名称。
描述:规则描述,支持中文。
触发规则:
触发实例:当前所选实例即为触发实例。
命名空间:当前实例内需要加速分发的命名空间,暂不支持选择全部命名空间。
仓库名称:加速的仓库,支持正则表达式筛选。不填写则默认为命名空间内全部仓库。
版本Tag:加速的版本,支持正则表达式筛选。不填写则默认为符合条件的仓库内所有版本。
验证规则:输入需要加速的镜像地址,验证当前规则下该镜像是否满足加速规则。
2. 单击确定即可为当前实例添加镜像加速规则。
推送镜像并自动转换
成功添加规则后,可在镜像加速页面查看已添加的镜像加速规则。确认规则状态为开启中,并向符合规则的镜像仓库内推送新的容器镜像,自动触发加速镜像格式转换,生成带有
-apparate 后缀的加速镜像。默认镜像的制品类型为 Docker-Image,经转换后的镜像制品类型为 OCI-Image-v1。
部署加速镜像
容器服务 TKE 是腾讯云官方提供的 Kubernetes 托管服务,与容器镜像服务 TCR 紧密结合,您可在 TKE 集群中安装 TCR 加速应用,部署加速镜像,提高业务启动速度。
配置集群节点
集群节点默认不支持使用加速镜像,节点若需优先使用加速镜像,您可通过命令行或容器服务控制台为集群节点添加镜像加速标签。
您可执行以下命令为集群节点添加镜像加速标签:
kubectl label node xxx cloud.tencent.com/apparate=true
1. 登录 容器服务控制台,选择左侧导航栏中的集群。
2. 在集群页面单击需要使用镜像加速分发功能的集群 ID,进入集群基本信息页。
3. 在左侧导航栏中,选择节点管理,在节点页签中,查看节点列表。
4. 选择需要设置 Label 的节点行,单击更多 > 编辑标签。
5. 在编辑 Label 中,编辑 Label 为
cloud.tencent.com/apparate=true。6. 单击确定。
安装加速应用
集群默认不支持使用加速镜像,需要在集群安装 TCR 加速套件应用。安装 TCR 加速套件应用后,已经被标记为支持部署加速镜像的节点将自动部署守护进程 DaemonSet,并可正常加载加速镜像。
在安装 TCR 加速套件应用,新增节点并使用 cloud.tencent.com/apparate=true 标记,节点也将自动部署守护进程,并可正常部署加速镜像。
通过命令行安装加速套件应用
1. 安装 Helm v3 命令行工具,参考 使用 Helm 客户端上传及下载 Helm Chart。
2. 添加 Helm Repo,并拉取 TCR 加速应用 Chart。
helm repo add tcr-helm-public https://helmhub.tencentcloudcr.com/chartrepo/publichelm pull tcr-helm-public/apparate --version 1.0.0
3. 解压已下载 Chart,并修改 values.yaml。
tar -xzvf apparate-1.0.0.tgzvim apparate/values.yaml
其中,请配置以下参数:
3.1 imagePullSecretsCrs:此配置用于拉取加速镜像。请修改其中的 dockerUsername,dockerPassword,dockerServer,分别填写企业版实例的用户名,密码及访问域名。
3.2 image:保持默认即可,此配置用于集群安装应用时拉取基础镜像。如集群是非中国大陆内部署,可修改为对应地域个人版镜像仓库的访问域名。
4. 重新打包 Chart,并安装至指定集群。
注意:
若集群节点 containerd 版本不是1.4.3,安装本文档指定的加速套件应用会存在致命风险,导致相关节点 NotReady,严重影响业务数据面,高版本 containerd 适配正在进行中。
helm package apparate/helm install apparate apparate-1.0.0.tgz
5. 进入 集群应用 页面,确认应用的安装状态及配置。
部署加速镜像
新建工作负载时选择实例内镜像,仅当符合以下条件时,集群将实现镜像按需加载,极速启动容器:
工作负载所指定的容器镜像为已经转换的加速格式镜像,如
nginx:latest-apparate,制品类型为 OCI-Image-v1。工作负载 Pod 被调度到的节点已添加使用镜像加速的标签,即已添加
cloud.tencent.com/apparate=true。因此,在创建工作负载时,请选择加速镜像版本,并添加 nodeSelector,设置为
cloud.tencent.com/apparate=true,该工作负载将强制调度至支持加速镜像的节点上,实现加速启动。常见问题
是否可以删除常规镜像及加速镜像?
可以,当镜像仓库内同时存在常规镜像和对应的加速镜像,删除其中一个镜像并不影响另一个的正常拉取及部署。


