操作场景
本文档指导您如何在 Tomcat 服务器中安装 JKS 格式的 SSL 证书。
说明:
本文档以证书名称
cloud.tencent.com 为例。Tomcat 版本以
tomcat-9.0.56 为例。当前服务器的操作系统为 Windows Server 2016 中文版,由于操作系统的版本不同,详细操作步骤略有区别。
安装 SSL 证书前,请您在 Tomcat 服务器上开启 “443” 端口,避免证书安装后无法启用 HTTPS。具体可参考 服务器如何开启443端口?
SSL 证书文件上传至服务器方法可参考 如何将本地文件拷贝到云服务器。
前提条件
已在当前服务器中安装配置 Tomcat 服务。
安装 SSL 证书前需准备的数据如下:
名称 | 说明 |
服务器的 IP 地址 | 服务器的 IP 地址,用于 PC 连接到服务器。 |
用户名 | 登录服务器的用户名。 |
密码 | 登录服务器的密码。 |
注意:
在腾讯云官网购买的云服务器,您可以登录 云服务器控制台 获取服务器 IP 地址、用户名及密码。
当您申请 SSL 证书时选择 “粘贴 CSR” 方式,或购买的品牌证书为 Wotrus,则不提供 JKS 证书文件的下载,需要您通过手动转换格式的方式生成密钥库。其操作方法如下:
访问 转换工具。
将 Nginx 文件夹中的证书文件和私钥文件上传至转换工具中,并填写密钥库密码,单击提交,转换为 jks 格式证书。
当您申请 SSL 证书时选择 “粘贴 CSR” 方式,或购买的品牌证书为 Wotrus,则不提供 JKS 证书文件的下载,需要您通过手动转换格式的方式生成密钥库。其操作方法如下:
访问 转换工具。
将 Nginx 文件夹中的证书文件和私钥文件上传至转换工具中,并填写密钥库密码,单击提交,转换为 jks 格式证书。
操作步骤
证书安装
1. 请在 SSL 证书控制台 中选择您需要安装的证书并单击下载。
2. 在弹出的证书下载窗口中,服务器类型选择 JKS,单击下载并解压缩
cloud.tencent.com 证书文件包到本地目录。
解压缩后,可获得相关类型的证书文件。其中包含 cloud.tencent.com_jks 文件夹:文件夹名称:
cloud.tencent.com_jks文件夹内容:
cloud.tencent.com.jks 密钥库keystorePass.txt 密码文件(若已设置私钥密码,则无 keystorePass.txt 密码文件)3. 将已获取到的 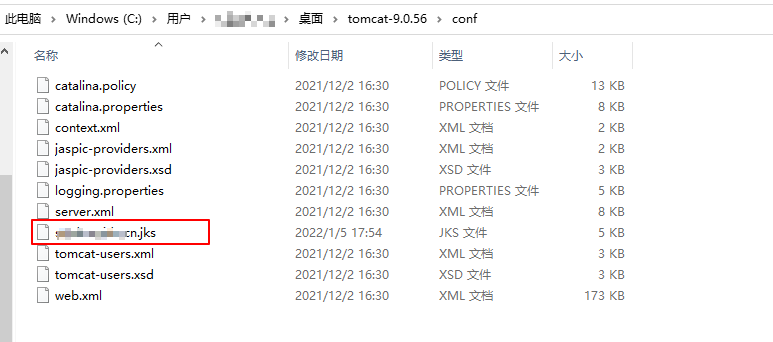
cloud.tencent.com.jks 密钥库文件拷贝至 Tomcat 安装目录 conf 目录下。如下图所示:
4. 编辑在
conf 目录下的 server.xml 文件。添加如下内容:<Connector port="443" protocol="HTTP/1.1" SSLEnabled="true"maxThreads="150" scheme="https" secure="true"#证书保存的路径keystoreFile="Tomcat 安装目录/conf/cloud.tencent.com.jks"#密钥库密码keystorePass="******"clientAuth="false"/>
详细
server.xml 文件请参考如下内容:注意:
不建议您直接复制 server.xml 文件内容,避免格式有误。
<?xml version="1.0" encoding="UTF-8"?><Server port="8005" shutdown="SHUTDOWN"><Listener className="org.apache.catalina.startup.VersionLoggerListener" /><Listener className="org.apache.catalina.core.AprLifecycleListener" SSLEngine="on" /><Listener className="org.apache.catalina.core.JreMemoryLeakPreventionListener" /><Listener className="org.apache.catalina.mbeans.GlobalResourcesLifecycleListener" /><Listener className="org.apache.catalina.core.ThreadLocalLeakPreventionListener" /><GlobalNamingResources><Resource name="UserDatabase" auth="Container"type="org.apache.catalina.UserDatabase"description="User database that can be updated and saved"factory="org.apache.catalina.users.MemoryUserDatabaseFactory"pathname="conf/tomcat-users.xml" /></GlobalNamingResources><Service name="Catalina"><Connector port="80" protocol="HTTP/1.1" connectionTimeout="20000" redirectPort="443" /><Connector port="443" protocol="HTTP/1.1"maxThreads="150" SSLEnabled="true" scheme="https" secure="true"clientAuth="false"keystoreFile="Tomcat 安装目录/conf/cloud.tencent.com.jks"keystorePass="******" /><Connector port="8009" protocol="AJP/1.3" redirectPort="8443" /><Engine name="Catalina" defaultHost="cloud.tencent.com"><Realm className="org.apache.catalina.realm.LockOutRealm"><Realm className="org.apache.catalina.realm.UserDatabaseRealm"resourceName="UserDatabase"/></Realm><Host name="cloud.tencent.com" appBase="webapps"unpackWARs="true" autoDeploy="true" ><Context path="" docBase ="Knews" /><Valve className="org.apache.catalina.valves.AccessLogValve" directory="logs"prefix="localhost_access_log" suffix=".txt"pattern="%h %l %u %t "%r" %s %b" /></Host></Engine></Service></Server>
配置文件的主要参数说明如下:
keystoreFile:密钥库文件的存放位置,可以指定绝对路径,也可以指定相对于 <CATALINA_HOME> (Tomcat 安装目录)环境变量的相对路径。如果此项没有设定,默认情况下,Tomcat 将从当前操作系统用户的用户目录下读取名为 “.keystore” 的文件。
keystorePass:密钥库密码,指定 keystore 的密码。申请证书时若设置了私钥密码,请填写私钥密码;若申请证书时未设置私钥密码,请填写 Tomcat 文件夹中 keystorePass.txt 文件的密码。
clientAuth:如果设为 true,表示 Tomcat 要求所有的 SSL 客户出示安全证书,对 SSL 客户进行身份验证。
5. 确认 Tomcat 服务器是否启动。
若已启动,您需要在 Tomcat 安装目录
bin 目录下依次执行以下 bat 脚本,关闭和重启 Tomcat 服务。shutdown.bat (关闭 Tomcat 服务器)startup.bat (启动 Tomcat 服务器)
若未启动,您需要在 Tomcat 安装目录
bin 目录下执行以下 bat 脚本,启动 Tomcat 服务。startup.bat
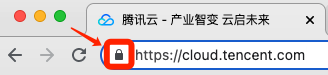
6. 若启动成功,即可使用
https://cloud.tencent.com 进行访问。如果浏览器地址栏显示安全锁标识,则说明证书安装成功。如下图所示:
如果网站访问异常,可参考以下常见问题解决方案进行处理:
HTTP 自动跳转 HTTPS 的安全配置(可选)
如果您需要将 HTTP 请求自动重定向到 HTTPS。您可以通过以下操作设置:
1. 编辑 Tomcat 安装目录 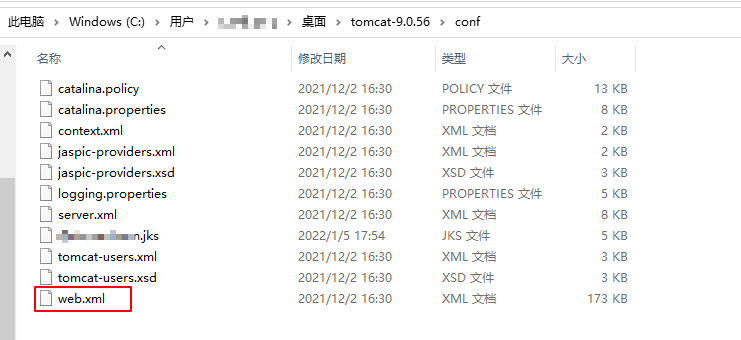
conf 目录下的 web.xml 文件,并找到 </welcome-file-list> 标签。如下图所示:
2. 请在结束标签 </welcome-file-list> 后面换行,并添加以下内容:
<login-config><!-- Authorization setting for SSL --><auth-method>CLIENT-CERT</auth-method><realm-name>Client Cert Users-only Area</realm-name></login-config><security-constraint><!-- Authorization setting for SSL --><web-resource-collection><web-resource-name>SSL</web-resource-name><url-pattern>/*</url-pattern></web-resource-collection><user-data-constraint><transport-guarantee>CONFIDENTIAL</transport-guarantee></user-data-constraint></security-constraint>
3. 编辑 Tomcat 安装目录下的
server.xml 文件,将 redirectPort 参数修改为 SSL 的 connector 的端口,即443端口。如下所示:<Connector port="80" protocol="HTTP/1.1"connectionTimeout="20000"redirectPort="443" />
说明:
此修改操作可将非 SSL 的 connector 跳转到 SSL 的 connector 中。
4. 在 Tomcat 安装目录
/bin 目录下执行执行以下 bat 脚本,关闭 Tomcat 服务器。shutdown.bat
5. 执行以下命令,确认配置是否存在问题。
configtest.bat
若存在,请您重新配置或者根据提示修改存在问题。
若不存在,请执行下一步。
6. 执行以下 bat 脚本,启动 Tomcat 服务器,即可使用
http://cloud.tencent.com 进行访问。startup.bat


