操作步骤
本文以 PHP SDK 为例介绍客户端接入 TDMQ CMQ 版服务并收发消息的操作步骤。
前提条件
队列模型
操作步骤
1. 在控制台创建符合需求的队列服务,参见 创建队列服务。
说明
2. 添加依赖。
composer require tencentcloud/tencentcloud-sdk-php
3. 添加引用。
require '/path/to/vendor/autoload.php';
4. 创建消息队列。
$cred = new Credential($secretId, $secretKey);$httpProfile = new HttpProfile();$httpProfile->setEndpoint($endPoint);$clientProfile = new ClientProfile();$clientProfile->setHttpProfile($httpProfile);$client = new TdmqClient($cred, "ap-guangzhou", $clientProfile);$req = new CreateCmqQueueRequest();$params = array("QueueName" => "queue_api", // 消息队列名称// 以下是死信队列相关配置"DeadLetterQueueName" => "dead_queue_api", // 死信队列名称,该队列需要优先创建"Policy" => 0, // 死信策略。0为消息被多次消费未删除,1为Time-To-Live过期"MaxReceiveCount" => 3 // 最大接收次数 1-1000// MaxTimeToLive policy为1时必选。最大未消费过期时间。范围300-43200,单位秒,需要小于消息最大保留时间msgRetentionSeconds);$req->fromJsonString(json_encode($params));$resp = $client->CreateCmqQueue($req);
参数 | 说明 |
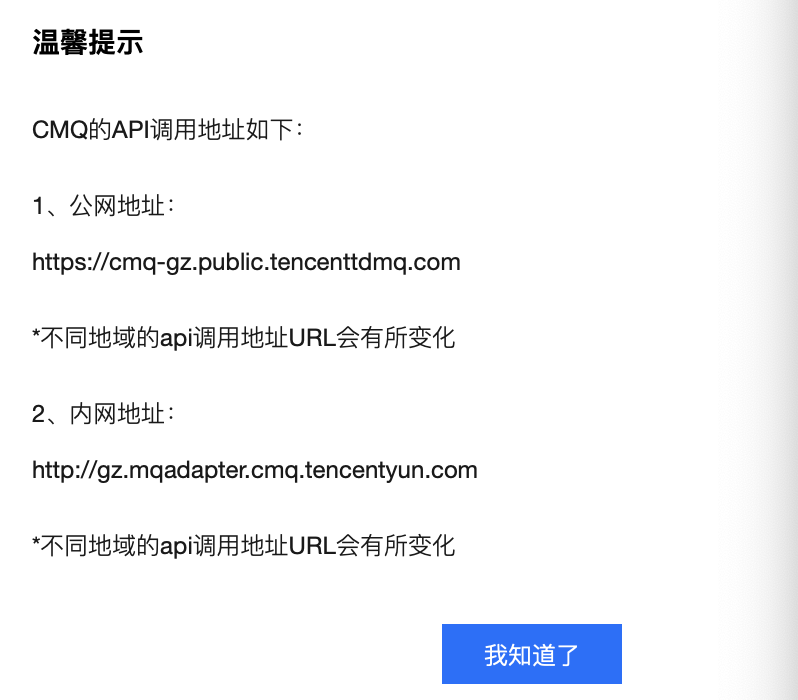
$endPoint | |
$secretId、$secretKey |


5. 在项目中引入 CMQ 相关文件。
6. 发送消息。
// 消息队列名称$queue_name = "php_queue";// 认证信息$my_account = new Account($this->endpoint, $this->secretId, $this->secretKey);$my_queue = $my_account->get_queue($queue_name);$queue_meta = new QueueMeta();$queue_meta->queueName = $queue_name;$queue_meta->pollingWaitSeconds = 10;$queue_meta->visibilityTimeout = 10;$queue_meta->maxMsgSize = 1024;$queue_meta->msgRetentionSeconds = 3600;try {// 消息内容$msg_body = "I am test message.";$msg = new Message($msg_body);// 发送消息$re_msg = $my_queue->send_message($msg);echo "Send Message Succeed! MessageBody:" . $msg_body . " MessageID:" . $re_msg->msgId . "\\n";} catch (CMQExceptionBase $e) {echo "Create Queue Fail! Exception: " . $e;return;}
参数 | 说明 |
endpoint | |
secretId、secretKey | |
$queue_name |

7. 消费消息。
// 消息队列名称$queue_name = "php_queue";// 认证结果$my_account = new Account($this->endpoint, $this->secretId, $this->secretKey);$my_queue = $my_account->get_queue($queue_name);$queue_meta = new QueueMeta();$queue_meta->queueName = $queue_name;$queue_meta->pollingWaitSeconds = 10;$queue_meta->visibilityTimeout = 10;$queue_meta->maxMsgSize = 1024;$queue_meta->msgRetentionSeconds = 3600;try {// 获取消息$recv_msg = $my_queue->receive_message(3);echo "Receive Message Succeed! " . $recv_msg . "\\n";// 消费成功,删除消息$my_queue->delete_message($recv_msg->receiptHandle);} catch (CMQExceptionBase $e) {echo "Create Queue Fail! Exception: " . $e;return;}
参数 | 说明 |
endpoint | |
secretId、secretKey | |
$queue_name |


主题模型
操作步骤
1. 准备所需资源,创建主题订阅和订阅者。
1.1 创建主题订阅,创建主题订阅可通过控制台,或云 API 进行创建,使用云 API 需要安装相关 SDK,SDK 安装可参见 PHP SDK 3.0安装使用。
$cred = new Credential($secretId, $secretKey);$httpProfile = new HttpProfile();$httpProfile->setEndpoint($endPoint);$clientProfile = new ClientProfile();$clientProfile->setHttpProfile($httpProfile);$client = new TdmqClient($cred, "ap-guangzhou", $clientProfile);$req = new CreateCmqTopicRequest();$params = array("TopicName" => "topic_api1", // 主题名字,在单个地域同一帐号下唯一"FilterType" => 2, // 用于指定主题的消息匹配策略。1:表示标签匹配策略;2:表示路由匹配策略"MsgRetentionSeconds" => 86400 // 消息保存时间。取值范围60 - 86400 s(即1分钟 - 1天));$req->fromJsonString(json_encode($params));// 创建topic$resp = $client->CreateCmqTopic($req);
参数 | 说明 |
$endPoint | |
$secretId、$secretKey |


1.2 创建订阅者,创建订阅者可通过控制台,或云 API 进行创建,使用云 API 需要安装相关 SDK,SDK 安装可参见 PHP SDK 3.0安装使用。
$cred = new Credential($secretId, $secretKey);$httpProfile = new HttpProfile();$httpProfile->setEndpoint($endPoint);$clientProfile = new ClientProfile();$clientProfile->setHttpProfile($httpProfile);$client = new TdmqClient($cred, "ap-guangzhou", $clientProfile);$req = new CreateCmqSubscribeRequest();$params = array(// 创建订阅的topic名称"TopicName" => "topic_api1",// 订阅名称"SubscriptionName" => "sub1",// 订阅的协议,目前支持两种协议:http、queue。使用http协议,用户需自己搭建接受消息的web server。使用queue,消息会自动推送到CMQ queue,用户可以并发地拉取消息。"Protocol" => "queue",// 接收通知的Endpoint,根据协议Protocol区分:对于http,Endpoint必须以“http://”开头,host可以是域名或IP;对于Queue,则填QueueName。"Endpoint" => "topic_queue_api",// CMQ推送服务器的重试策略。取值有:1)BACKOFF_RETRY,退避重试。;2)EXPONENTIAL_DECAY_RETRY,指数衰退重试。"NotifyStrategy" => "BACKOFF_RETRY",// BindingKey数量不超过5个, 每个BindingKey长度不超过64字节,该字段表示订阅接收消息的过滤策略"BindingKey" => array("a.b"),// 消息标签(用于消息过滤)。标签数量不能超过5个// "FilterTag" => array("TAG"),// 推送内容的格式。取值:1)JSON;2)SIMPLIFIED,即raw格式。如果Protocol是queue,则取值必须为SIMPLIFIED。如果Protocol是http,两个值均可以,默认值是JSON。"NotifyContentFormat" => "SIMPLIFIED");$req->fromJsonString(json_encode($params));// 创建订阅$resp = $client->CreateCmqSubscribe($req);
注意
BindingKey 与 FilterTag 要根据所订阅 Topic 类型进行设置,否则无效。
参数 | 说明 |
$endPoint | |
$secretId、$secretKey |


2. 在项目中引入 CMQ 文件。
3. 创建 my_topic,用来发布消息。
// 主题订阅名称$topic_name = "php_topic_tag";// 认证信息$my_account = new Account($this->endpoint, $this->secretId, $this->secretKey);$my_topic = $my_account->get_topic($topic_name);
参数 | 说明 |
endpoint | |
secretId、secretKey | |
$topic_name |


4. 发送 TAG 类型消息。
// 发送tag消息$msg = "this is a test message for tag.";$msgid = $my_topic->publish_message($msg, array("TAG","TAG1"));
5. 发送 route 消息。
// 发送route消息$msg = "this is a test message for route.";$msgid = $my_topic->publish_message($msg, array(), "a.b.c");
6. 消费者消费订阅者订阅的消息队列即可。


